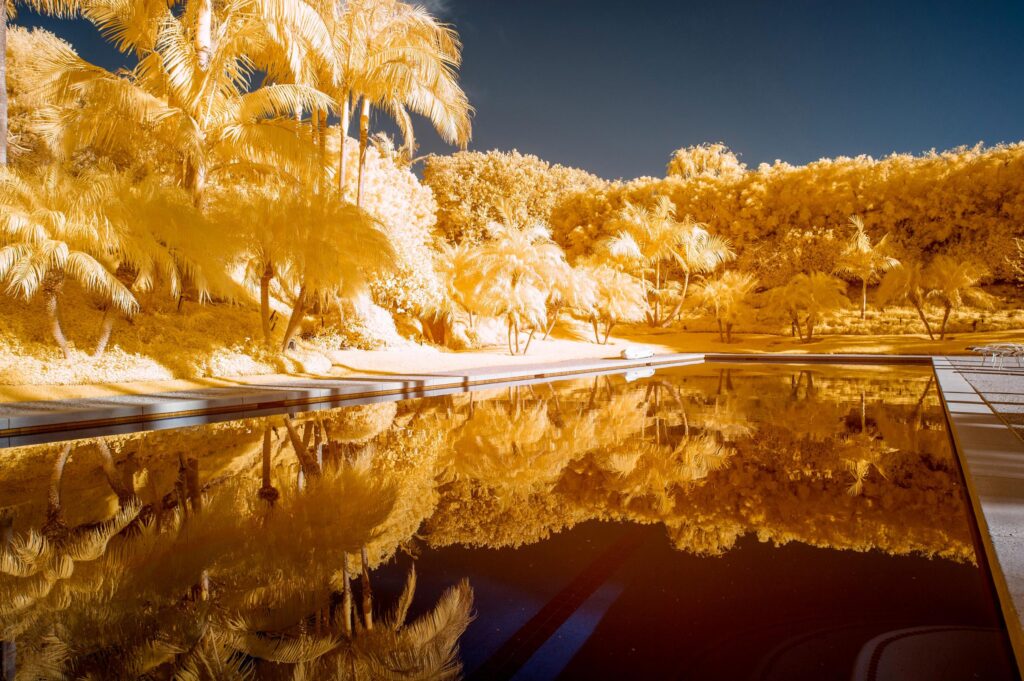
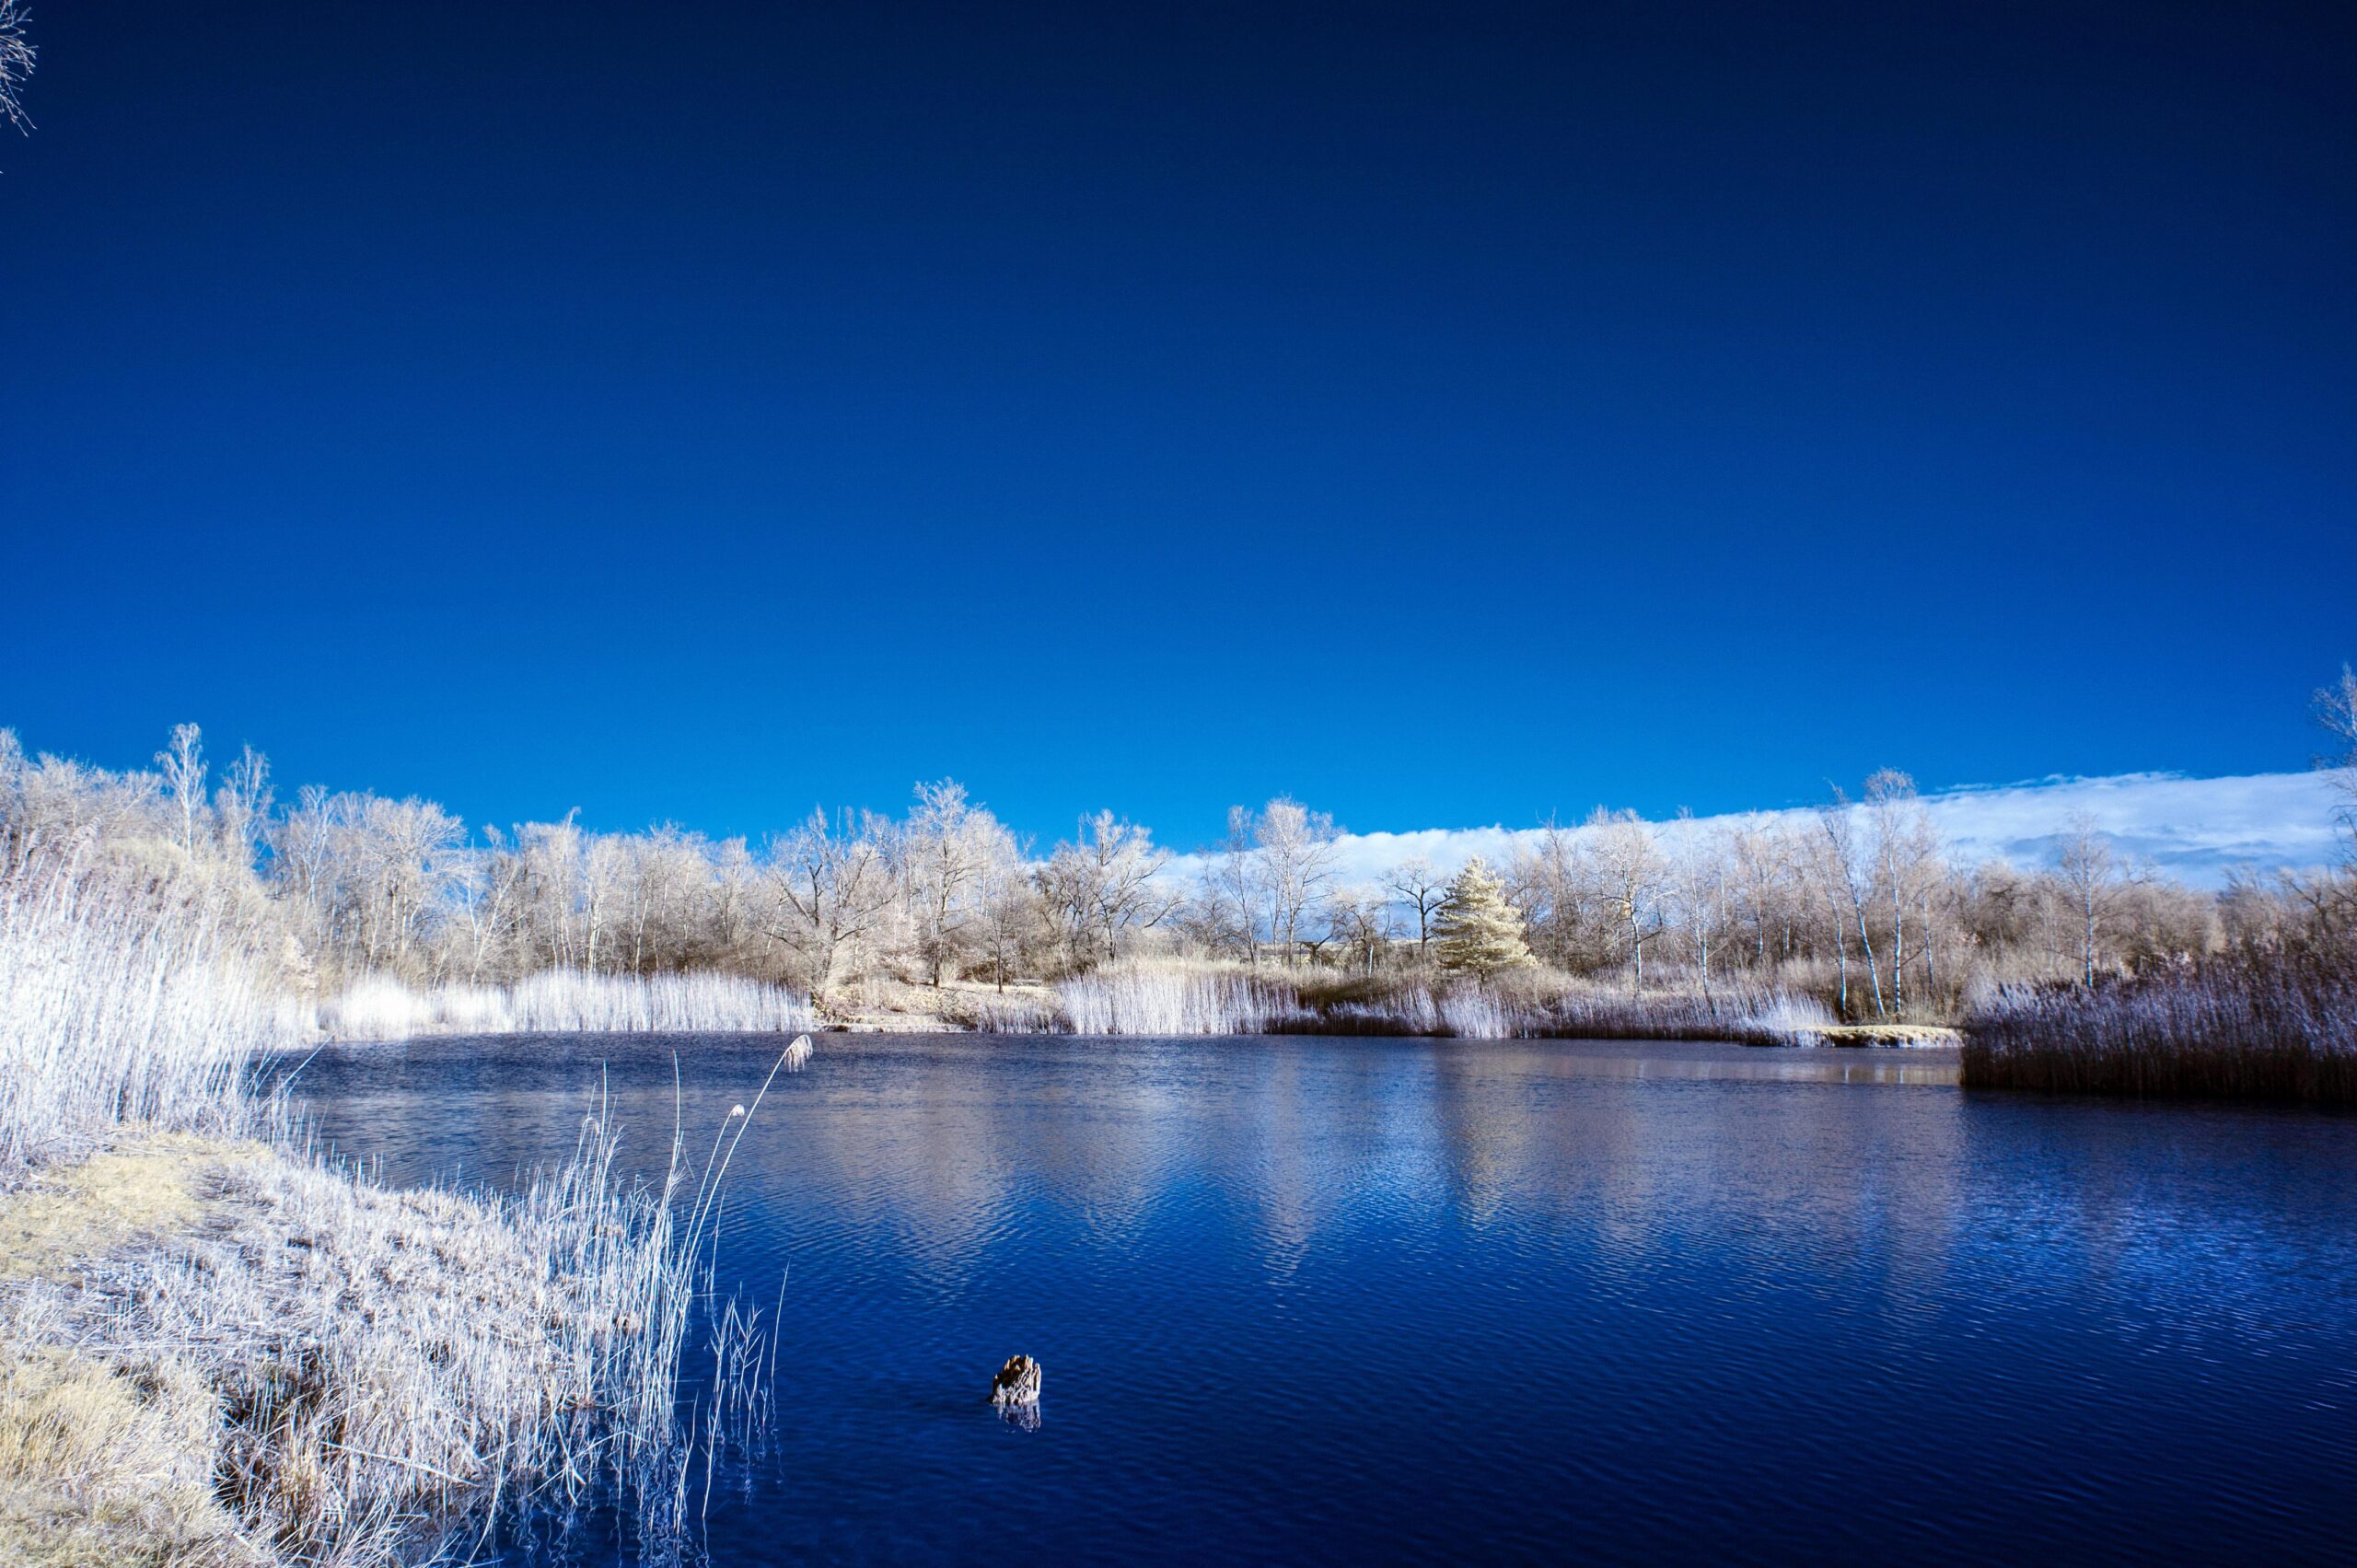
Who isn’t fascinated by pictures of white or yellow trees, blue skies and filigree clouds? Who has never heard of the “Wood effect“? And how did I come up with the idea of trying infrared photography with a Nikon D700?
Introduction
These are all questions I asked myself as I set out on the infrared train. It was the beginning, and I learned a great deal along the way. And I wouldn’t rule out that you might one day be captured by the same genre.
The human eye can detect electromagnetic waves between 400nm (violet) and 700nm (red) wavelengths as visible light. Film photography, I believe, covers a similar span, except in the case of special film emulsions, such as the legendary Kodak Aerochrome. You can still buy it “inexpensively” on eBay for €130 or more. And, even then, you’ll get a long-expired roll.
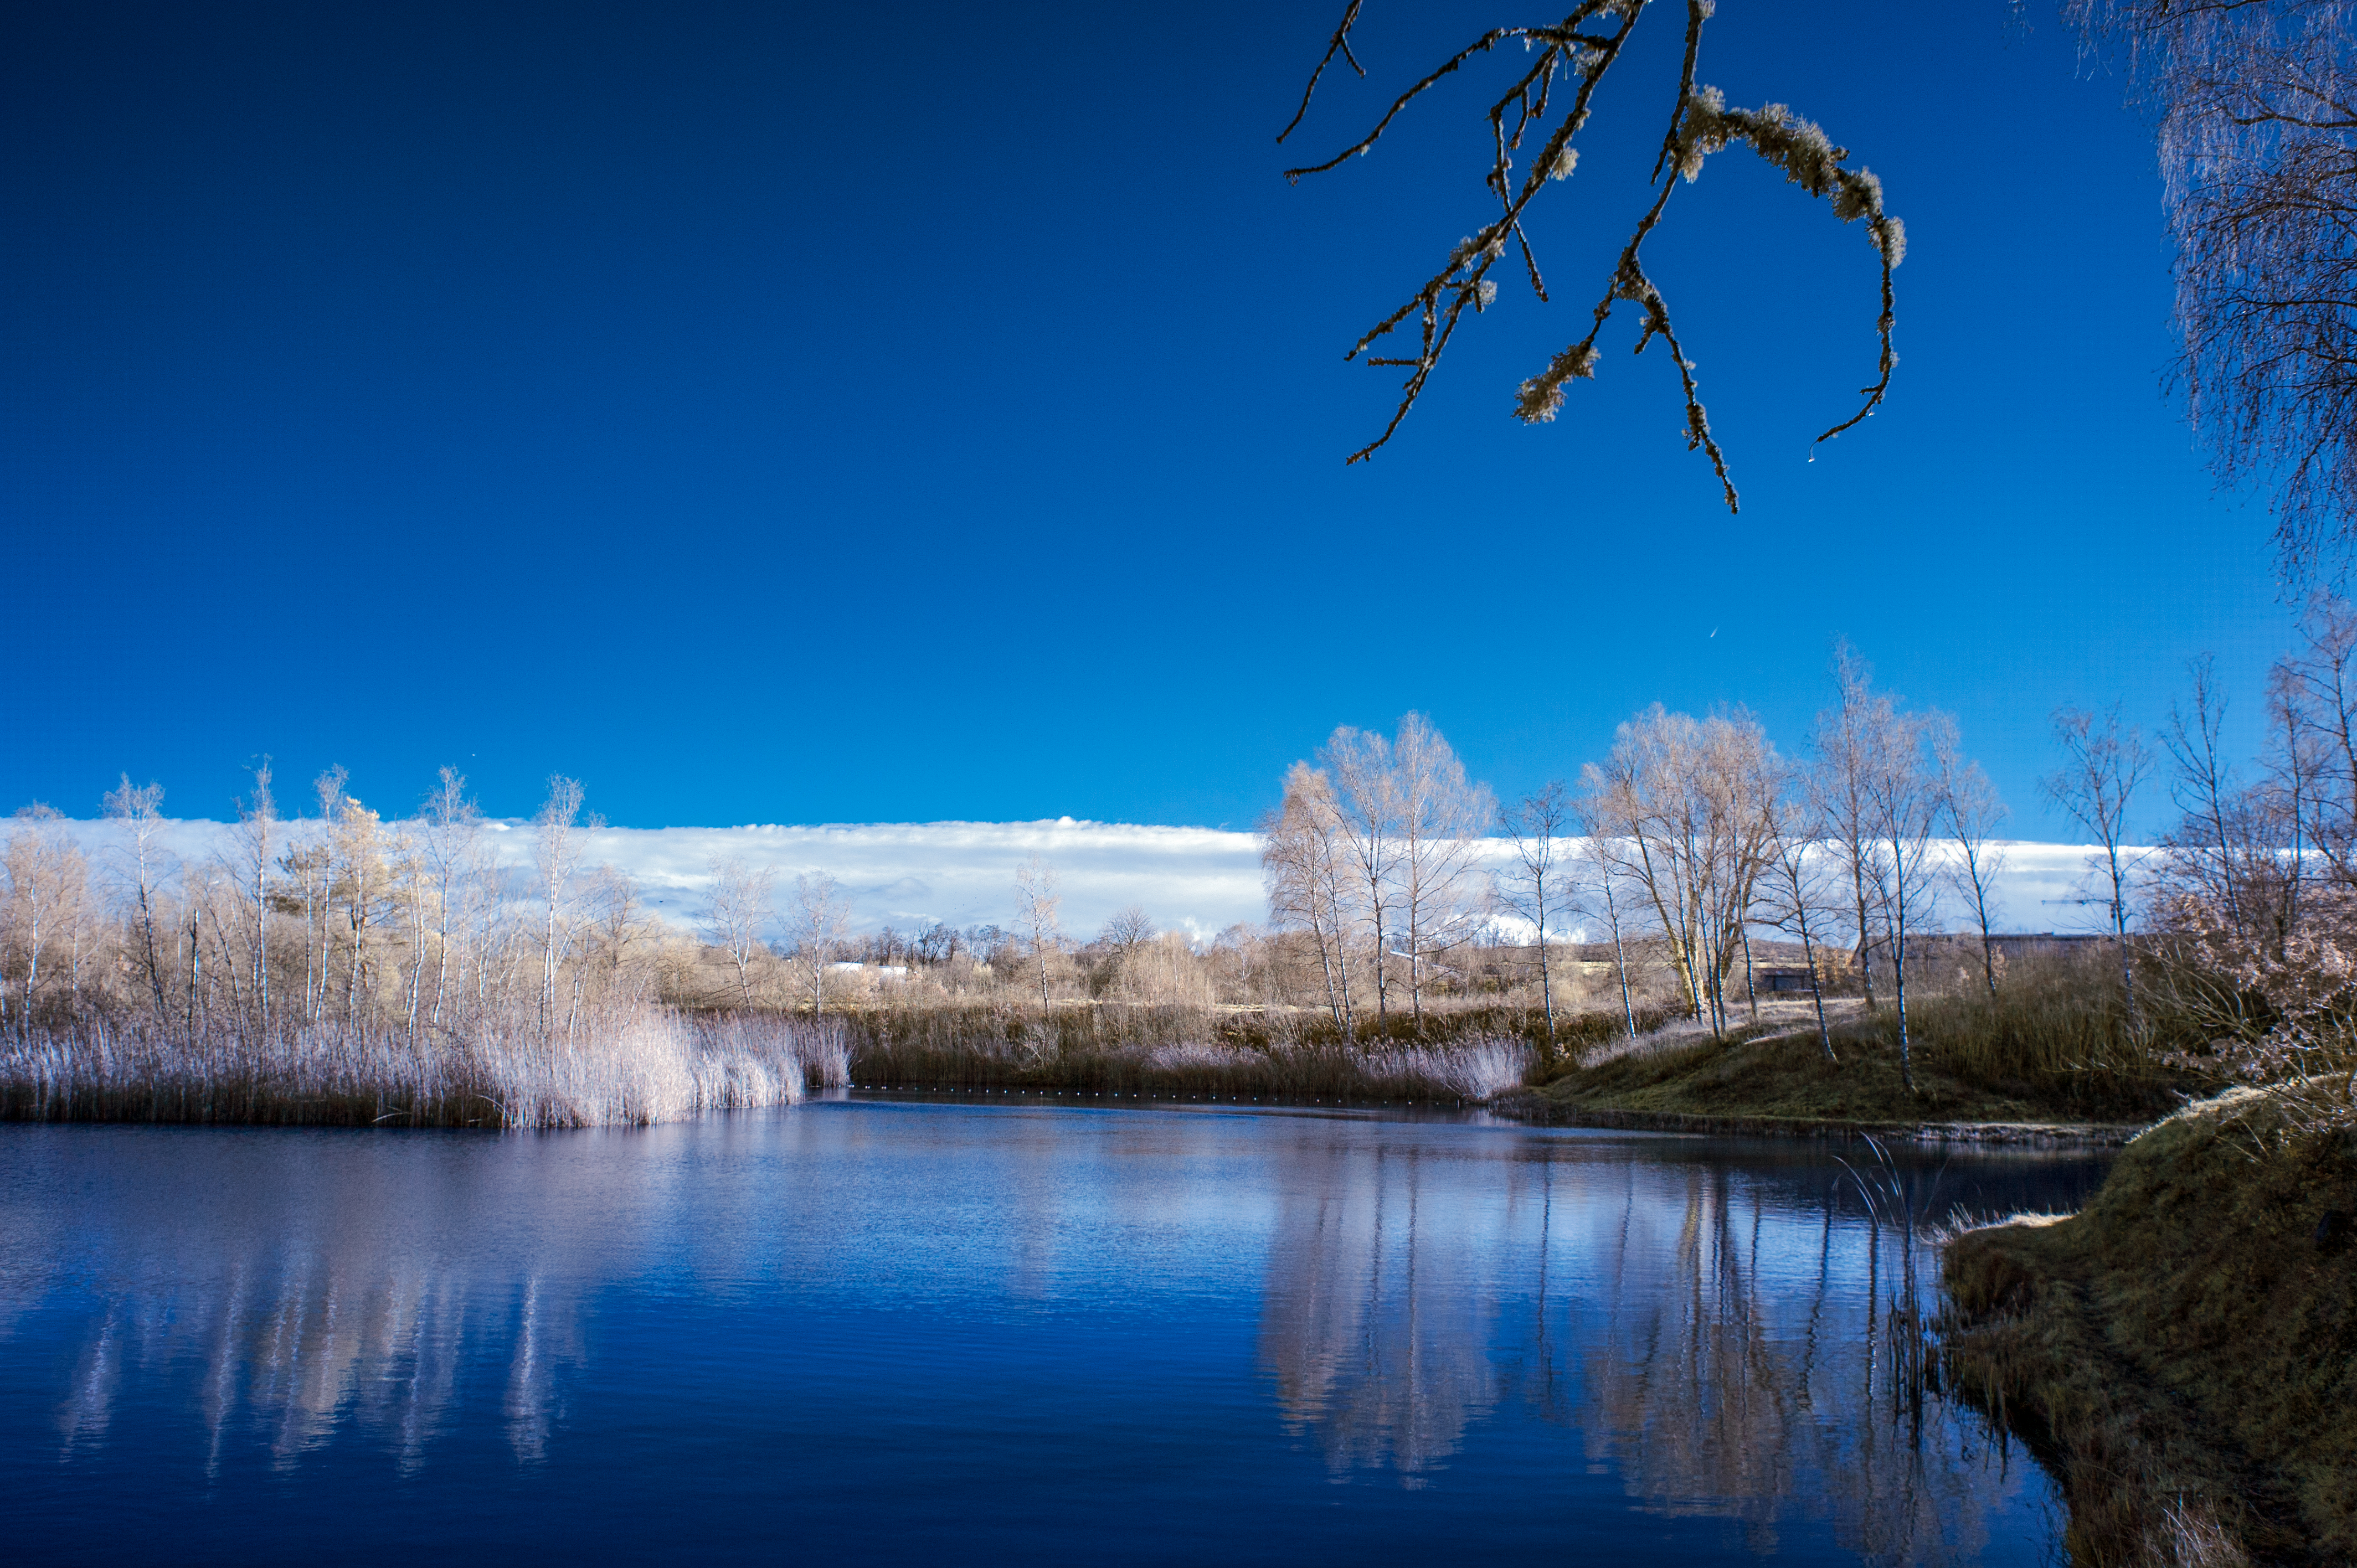
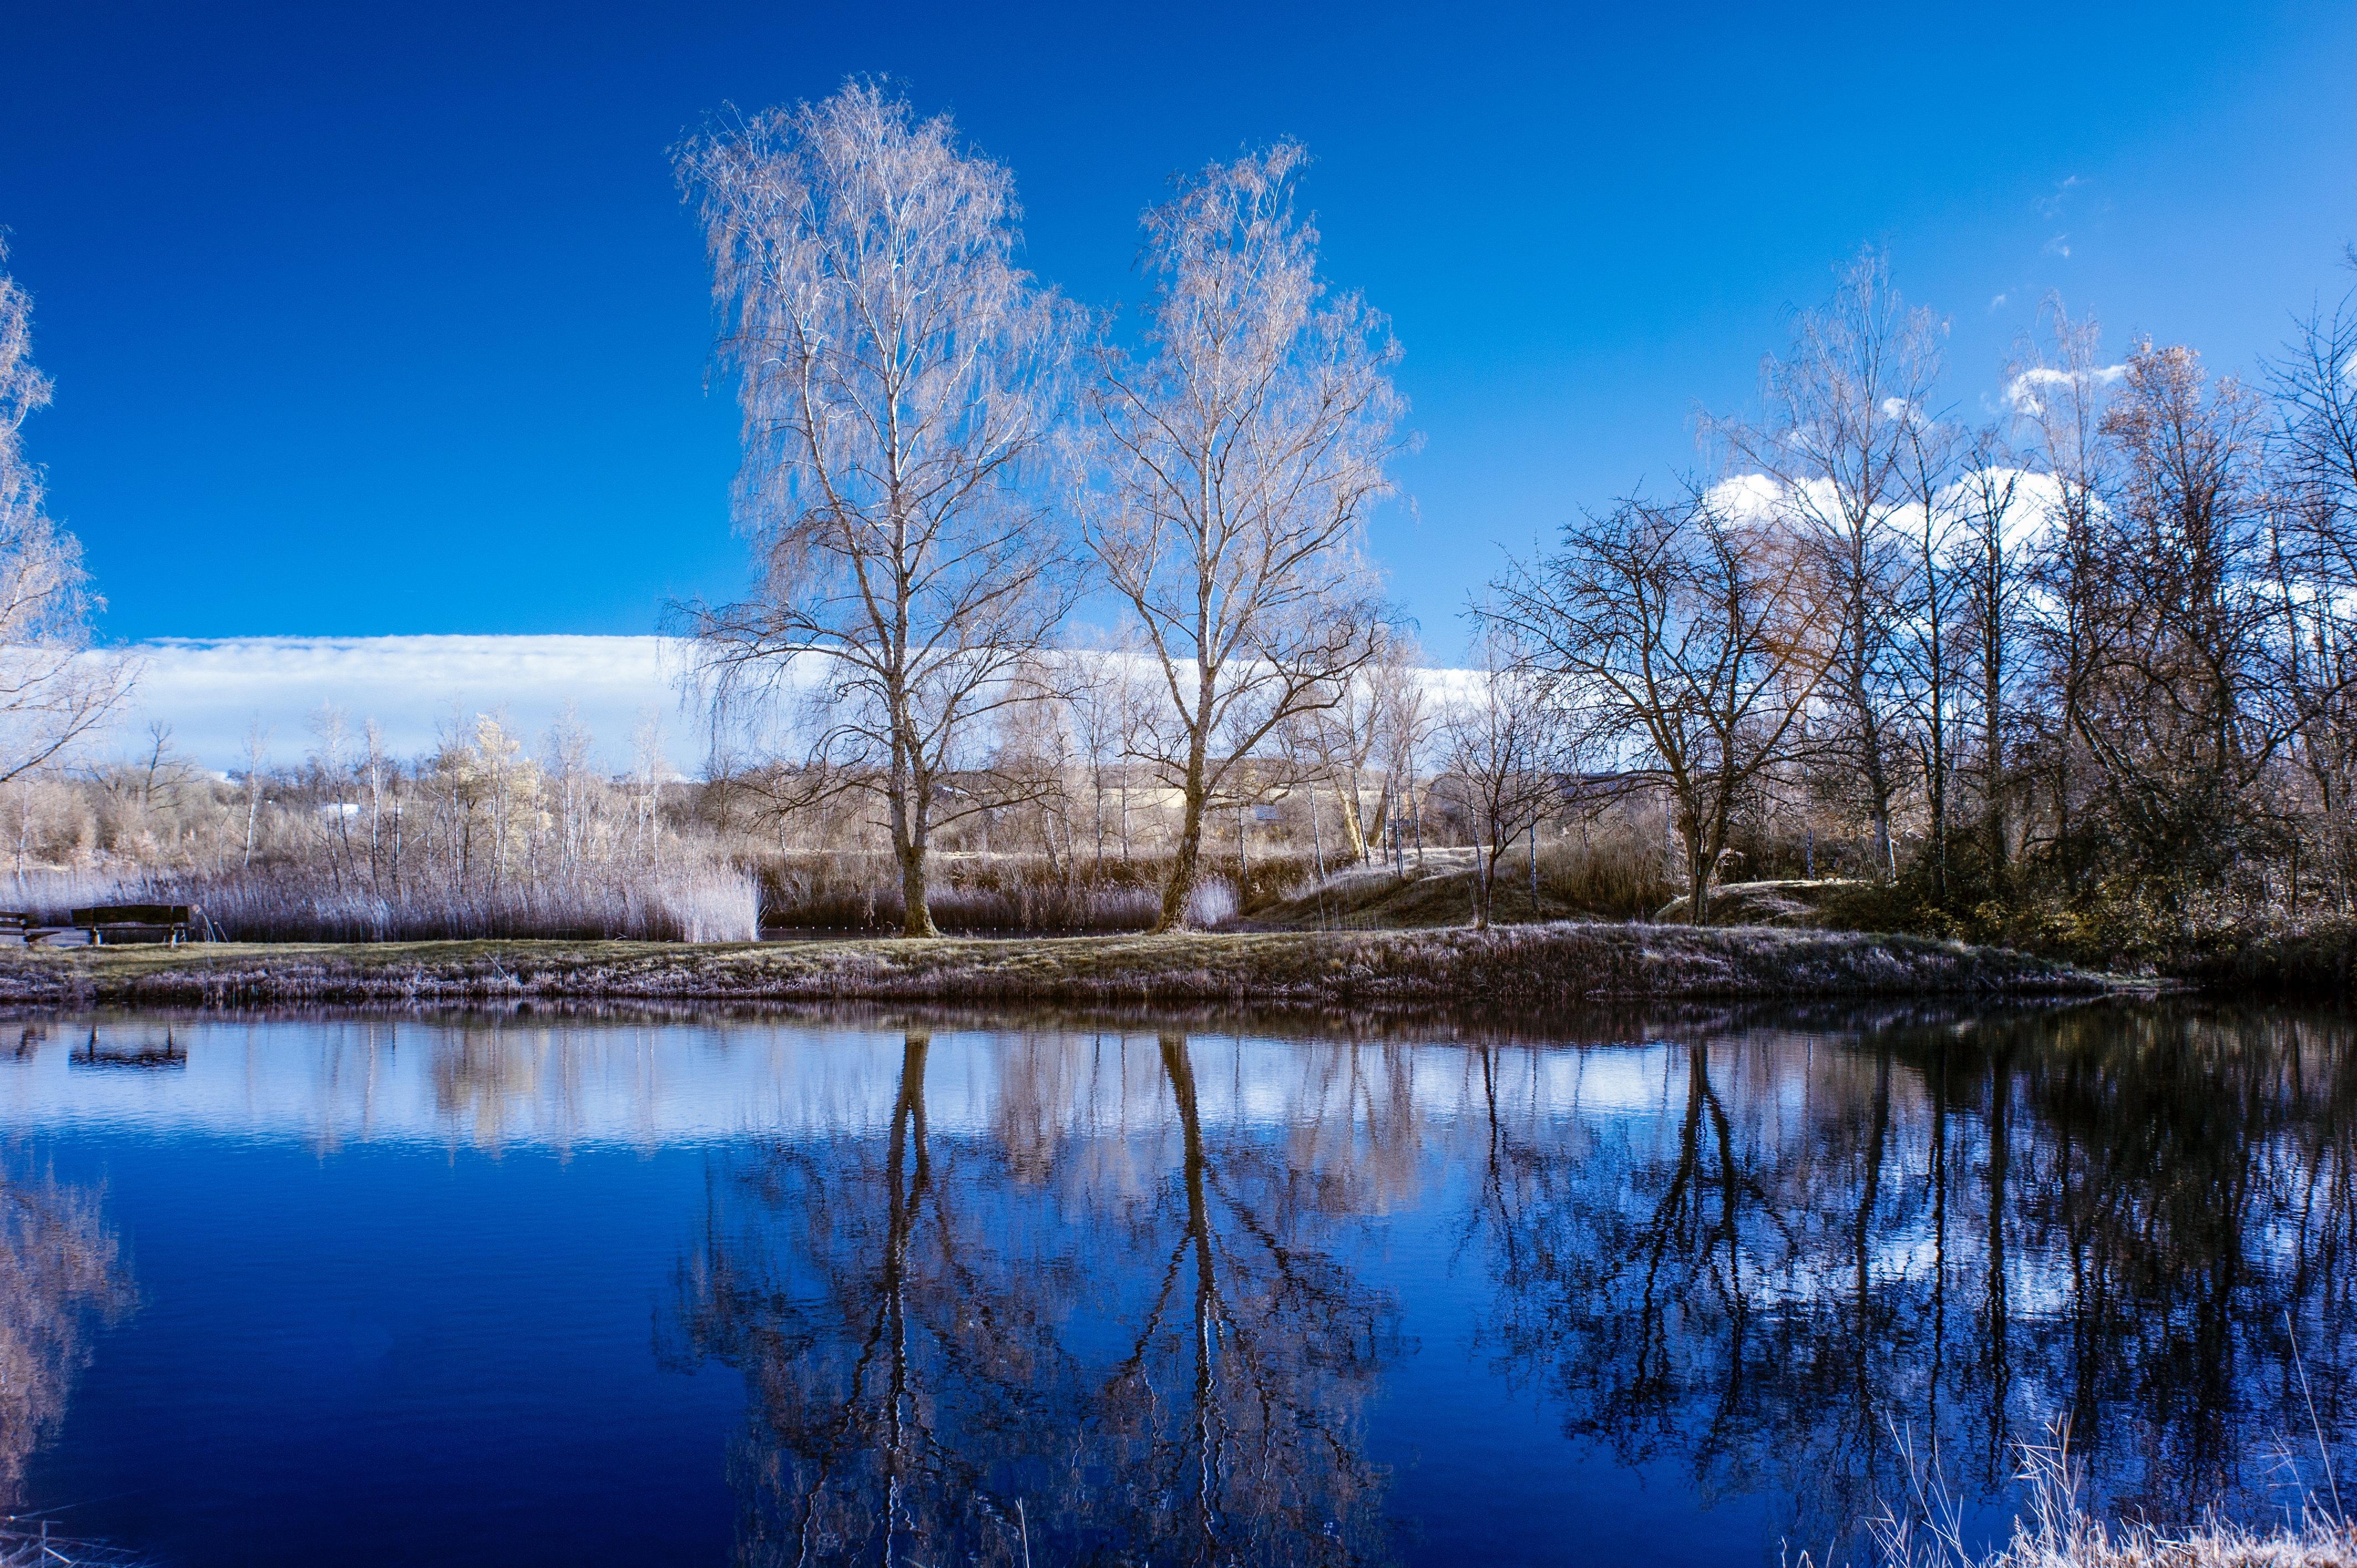
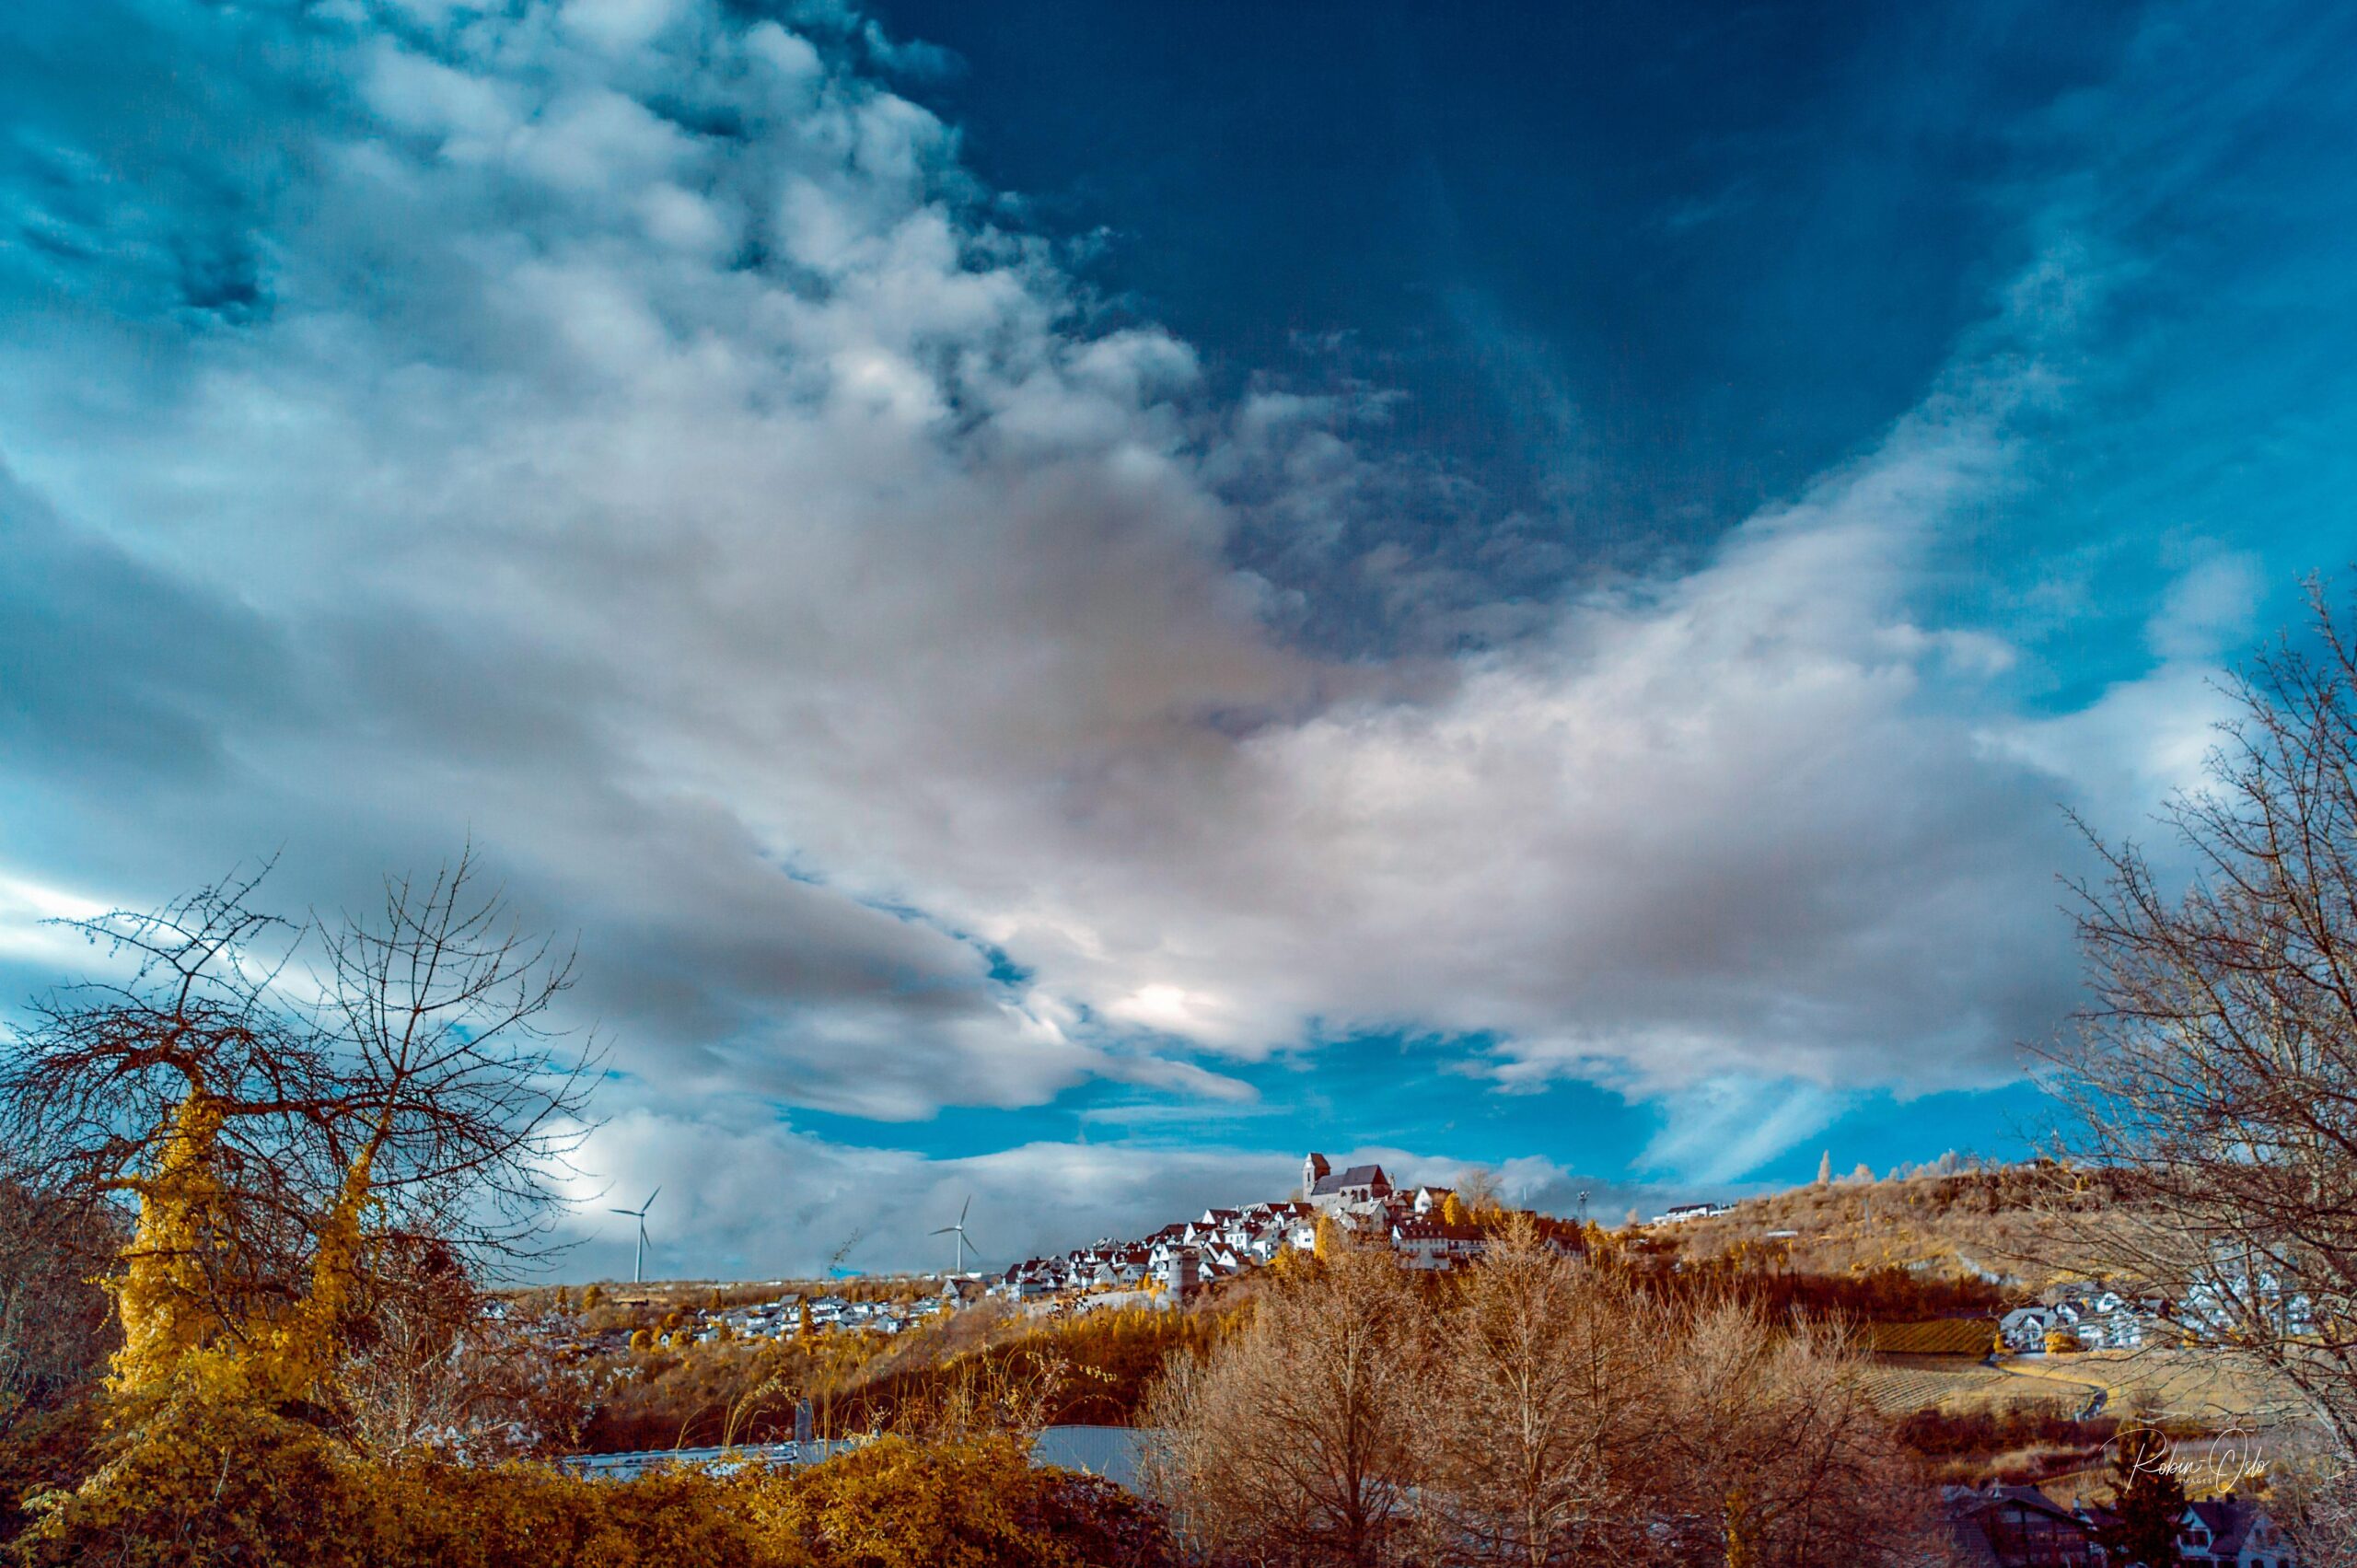
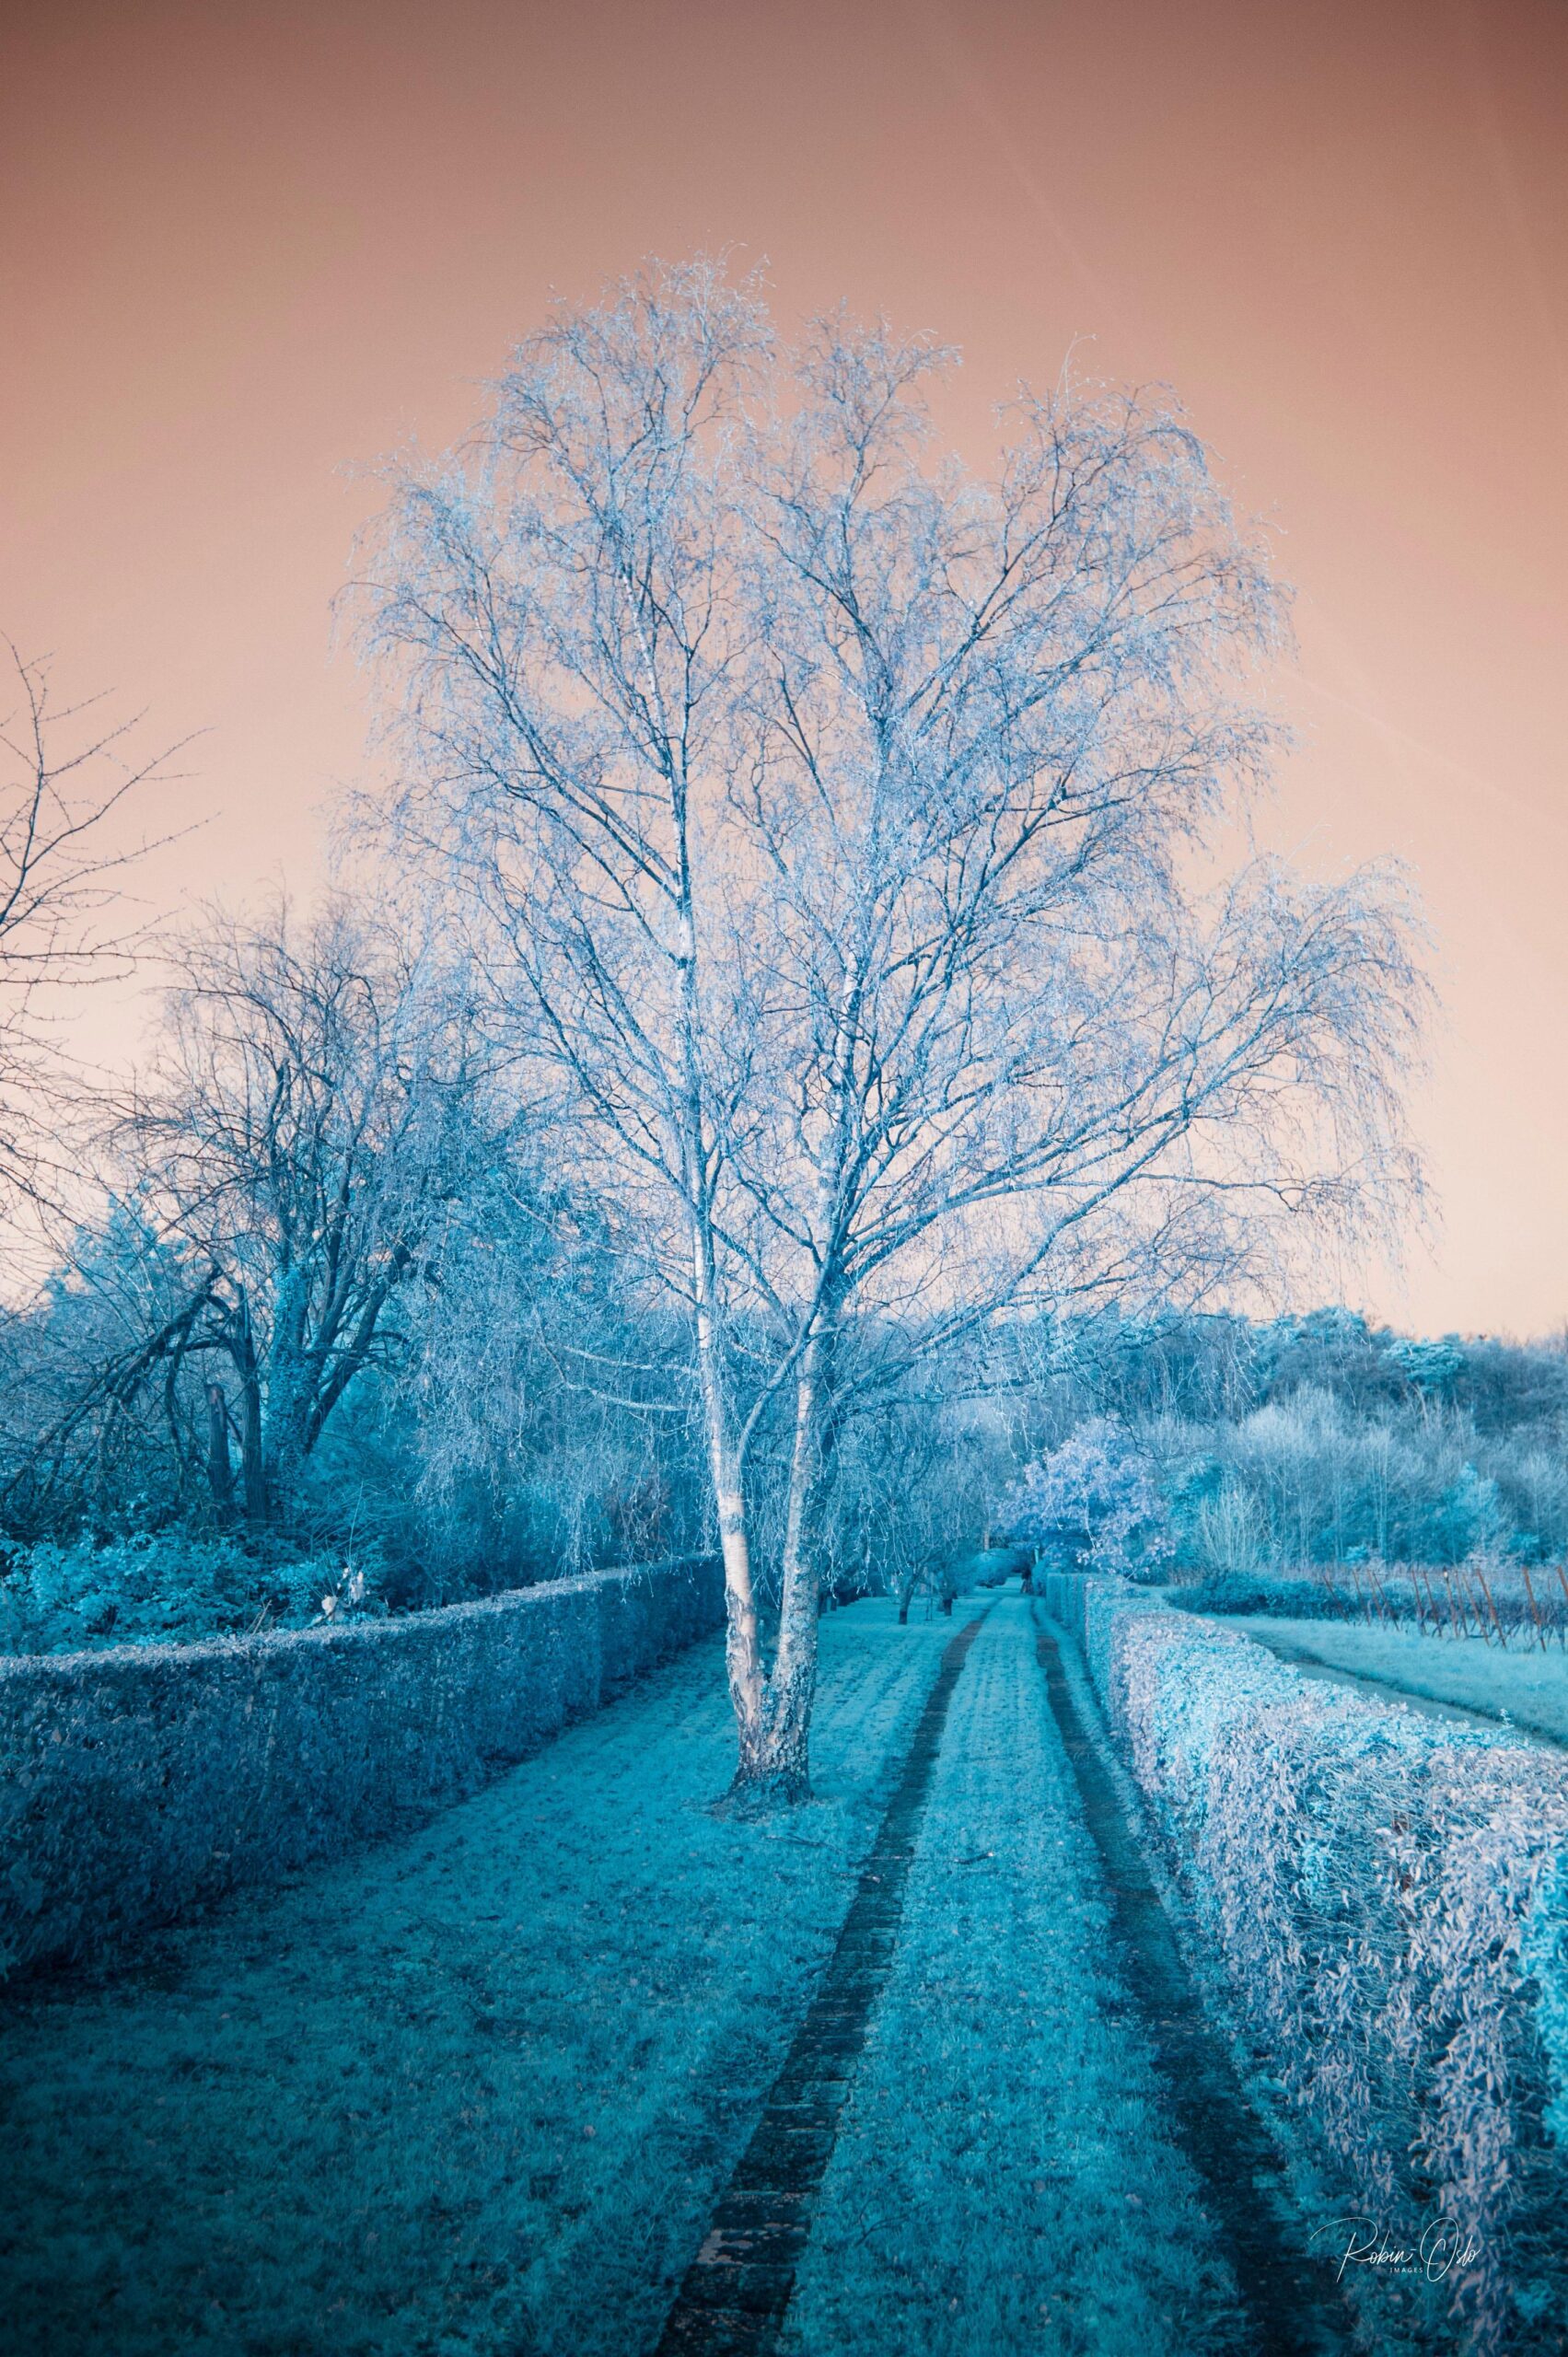
The area of infrared photography is a fascinating subject. Let’s start with the “Wood effect”. In 1919, the American physicist Robert Williams Wood described the phenomenon according to which green leaves appear white in infrared photography. The chlorophyll in the leaves is transparent in the near-infrared range. As a result, the water contained in the leaf reflects the infrared range and makes foliage appear white. At 630nm, the foliage becomes yellowish.
Filters
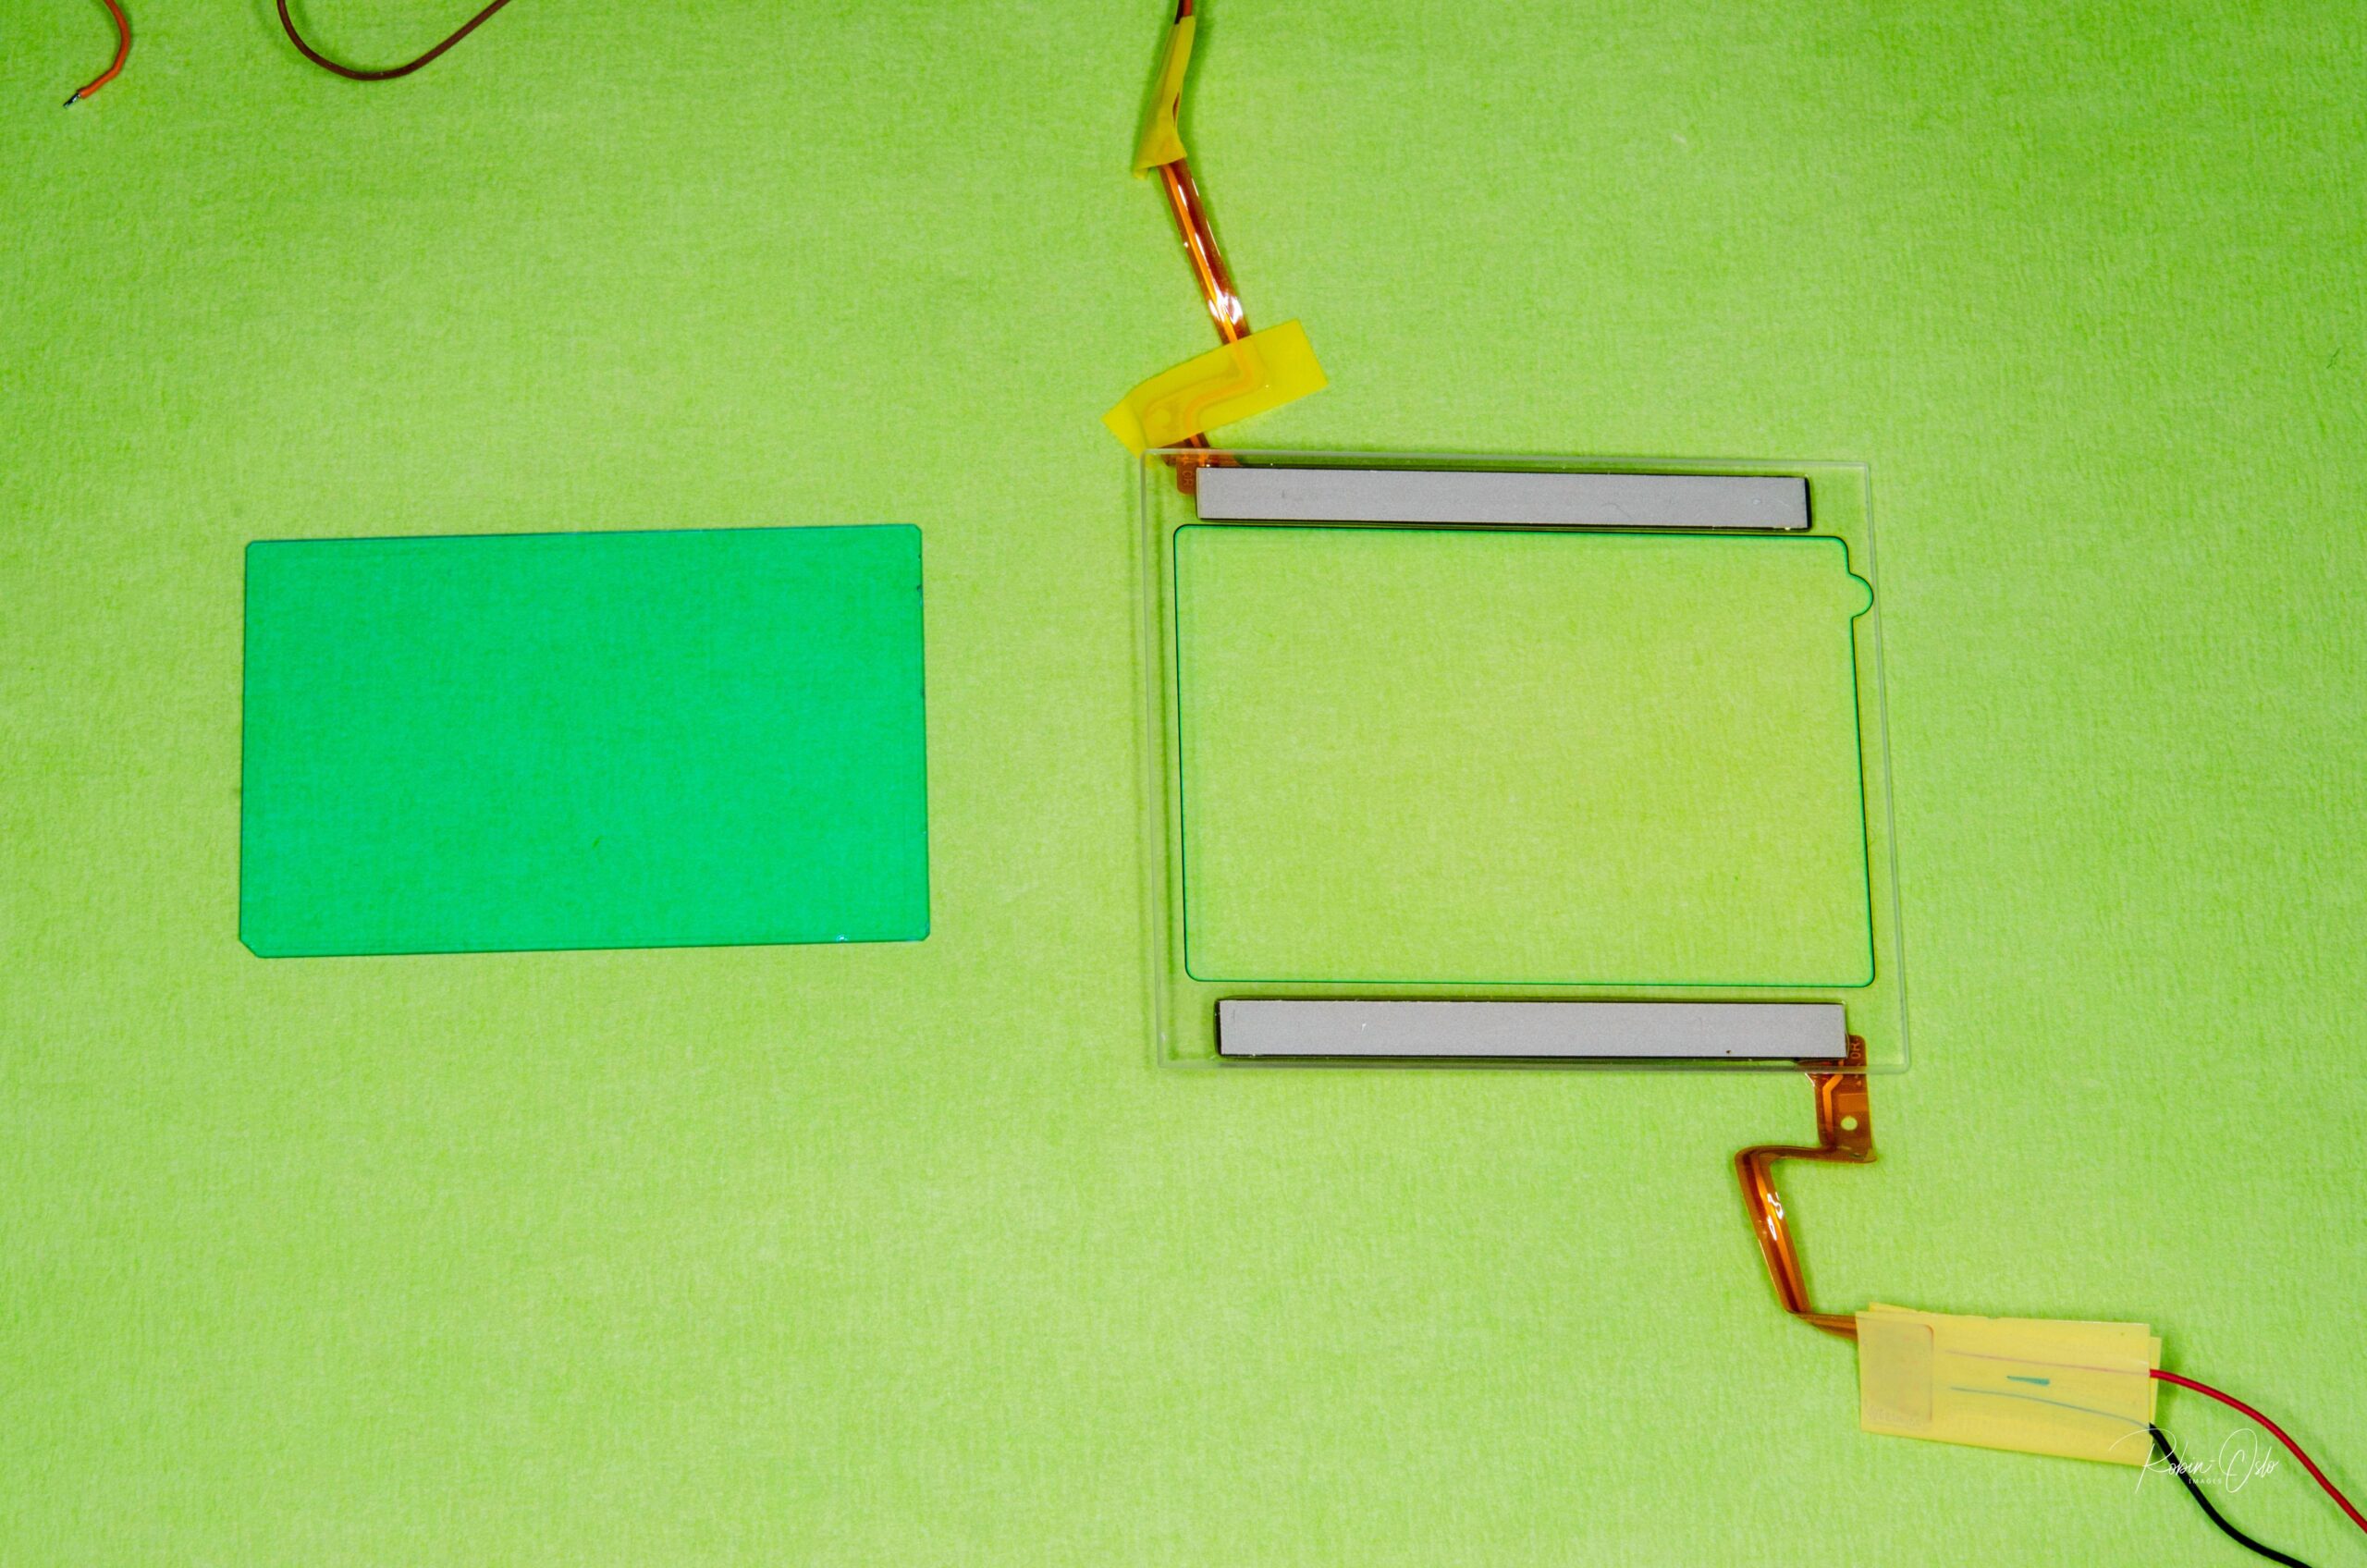
In principle, digital sensors can capture a much wider spectral range. However, to prevent unwanted diversions, our compassionate manufacturers have placed blocking filters in front of the sensors to „lock out“ these problematic wavelengths as much as possible. Thus we long-suffering photographers are spared untold Angst in post-processing.
This provides the opportunity for the use of various screw-on filters. They allow light only above a specific wavelength to pass through. That would be, for example, 650nm or 720nm. For the digital sensor, this means that only a small amount of light reaches it through its pre-cut filter. You photograph through a grey filter, so to speak. This takes you into the area of long exposure, and by this, I mean 30s upwards, depending on the ambient light.
Furthermore, conditions should be as calm as possible so that no motion blur occurs through wind movement — at least when photographing in the open air. And that’s not all. Hardly any camera will be able to find an acceptable focus point. This, in turn, means that you screw on the filter only after focusing or use lenses that can be operated manually. Done? No… The focal point for infrared light is different from that of the visible one. With older lenses, you can often find a red dot on the distance scale. This would then be the obvious saviour.
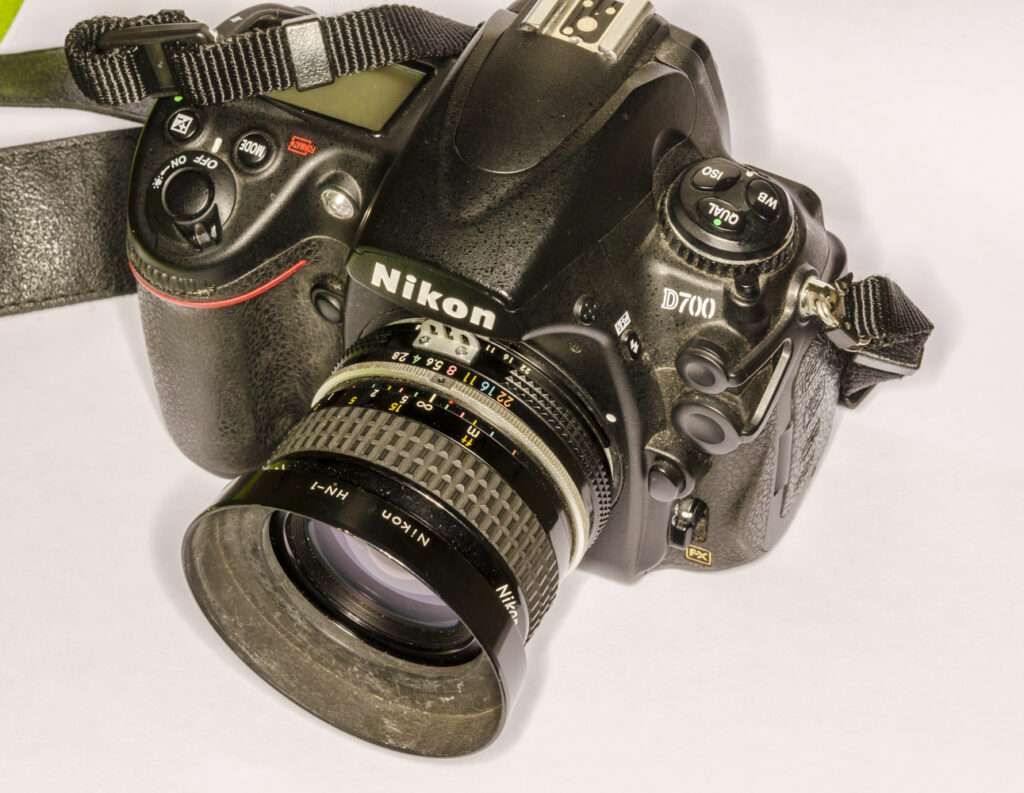
Does that sound like fun? Such an idea springing into my mind surely indicates the need for psychological support. Indeed, My unalloyed respect goes expressly to the enthusiasts who do it this way
Converting
What other possibility is there? Yes, you guessed. Get rid of that blocking filter in front of the sensor. This I did, but did fettle the camera myself? Not brave enough for that…
As it happened, my photo cupboard housed a Nikon D700 that had been unused for over two years. A sale would have added just a few pennies to the pocket money. So the D700 was an obvious and suitable case for treatment. This led me to the decision to „sacrifice“ this camera and have it rebuilt. The D700 has a 12MP full-frame sensor, and I am wholly familiar with the camera, which is clearly a good start.
As an infrared photographer Johnny-come-lately, I decided it was only common sense to use the best specialist I could find. So, after some deliberation, I chose a German specialist company, IReCams, to perform the vasectomy.
My Nikon D700 got a 630nm conversion, which means that a 630nm filter replaced the old blocking filter. That allows light between 630 to 1200 nm to pass through.
Each wavelength of a new filter initially brings different colour effects. But from around 830nm, only black-and-white images are created because no further colour information reaches the sensor.
What is the advantage of a conversion?
First, the need to use screw-on filters, with all the inconvenience they bring, is completely eliminated. The camera can be used “normally“. By this, I mean that you can shoot handheld with the usual settings.
The autofocus is readjusted during the conversion. It works in LiveView anyway.
The only disadvantage is that it’s likely a one-way conversion. It’s not easy to revert to your old camera — and, in any case, it wouldn’t be worth the hassle or cost. That’s why it’s a good plan to use an older camera that has served you well.
And now everything is fine and dandy? Nothing to worry about?
Logically, the answer is negative; otherwise, I would have nothing more to say on the subject.
So what did I learn next?
Hot-Spot
There are plenty of lenses with an infrared hot spot. In the centre of the image, an area is created in which more infrared light falls on the sensor than at the edge. If it were similar to a vignette, it could be removed if necessary. But no, it’s coloured. I’m not a Photoshop professional who can do that, let’s say, with umpteen masks and editing steps. So I needed a Plan B.
Sigma 35mm f/1.4 Art, hopeless hotspot
Intensive vignette of the lens? No problem, I’ll just stop down. You can do it, and you will find out that the hot spot can be neutralised much more effectively in this way. My cherished Sigma 35 f/1.4 Art is such a hot-spot machine.
An example from the Sigma 35mm f/1.4 Art at f/5.6. Left: Before Channel swap; right: after channel swap
Lenses with a low hot spot tendency:
As already mentioned, the Sigma 35 Art is not one of the most usable lenses. Up to f/2.8, it is halfway okay. Go wider, and the reddish area becomes uncorrectable. This wide-open aperture on the Sigma is definitely not the desired solution for landscape photography.
The Nikkor 24mm f/1.8 AF-S ED works much better in this regard. This led me to the idea of trying my manual Nikkors. Lo and behold, the Nikkor 35mm f/2 Ai seems to be entirely problem free. The legendary Nikkor 105mm f/2.5 AiS gave equally good results.
The 50mm will come at a later date. There has not been enough time so far.
In the meanwhile, sufficient time has passed to give me more confidence. I used a Nikkor 50mm f/1.4 pre-Ai and got good results with it. However, I don’t know how later Ai or AiS versions of this lens perform.
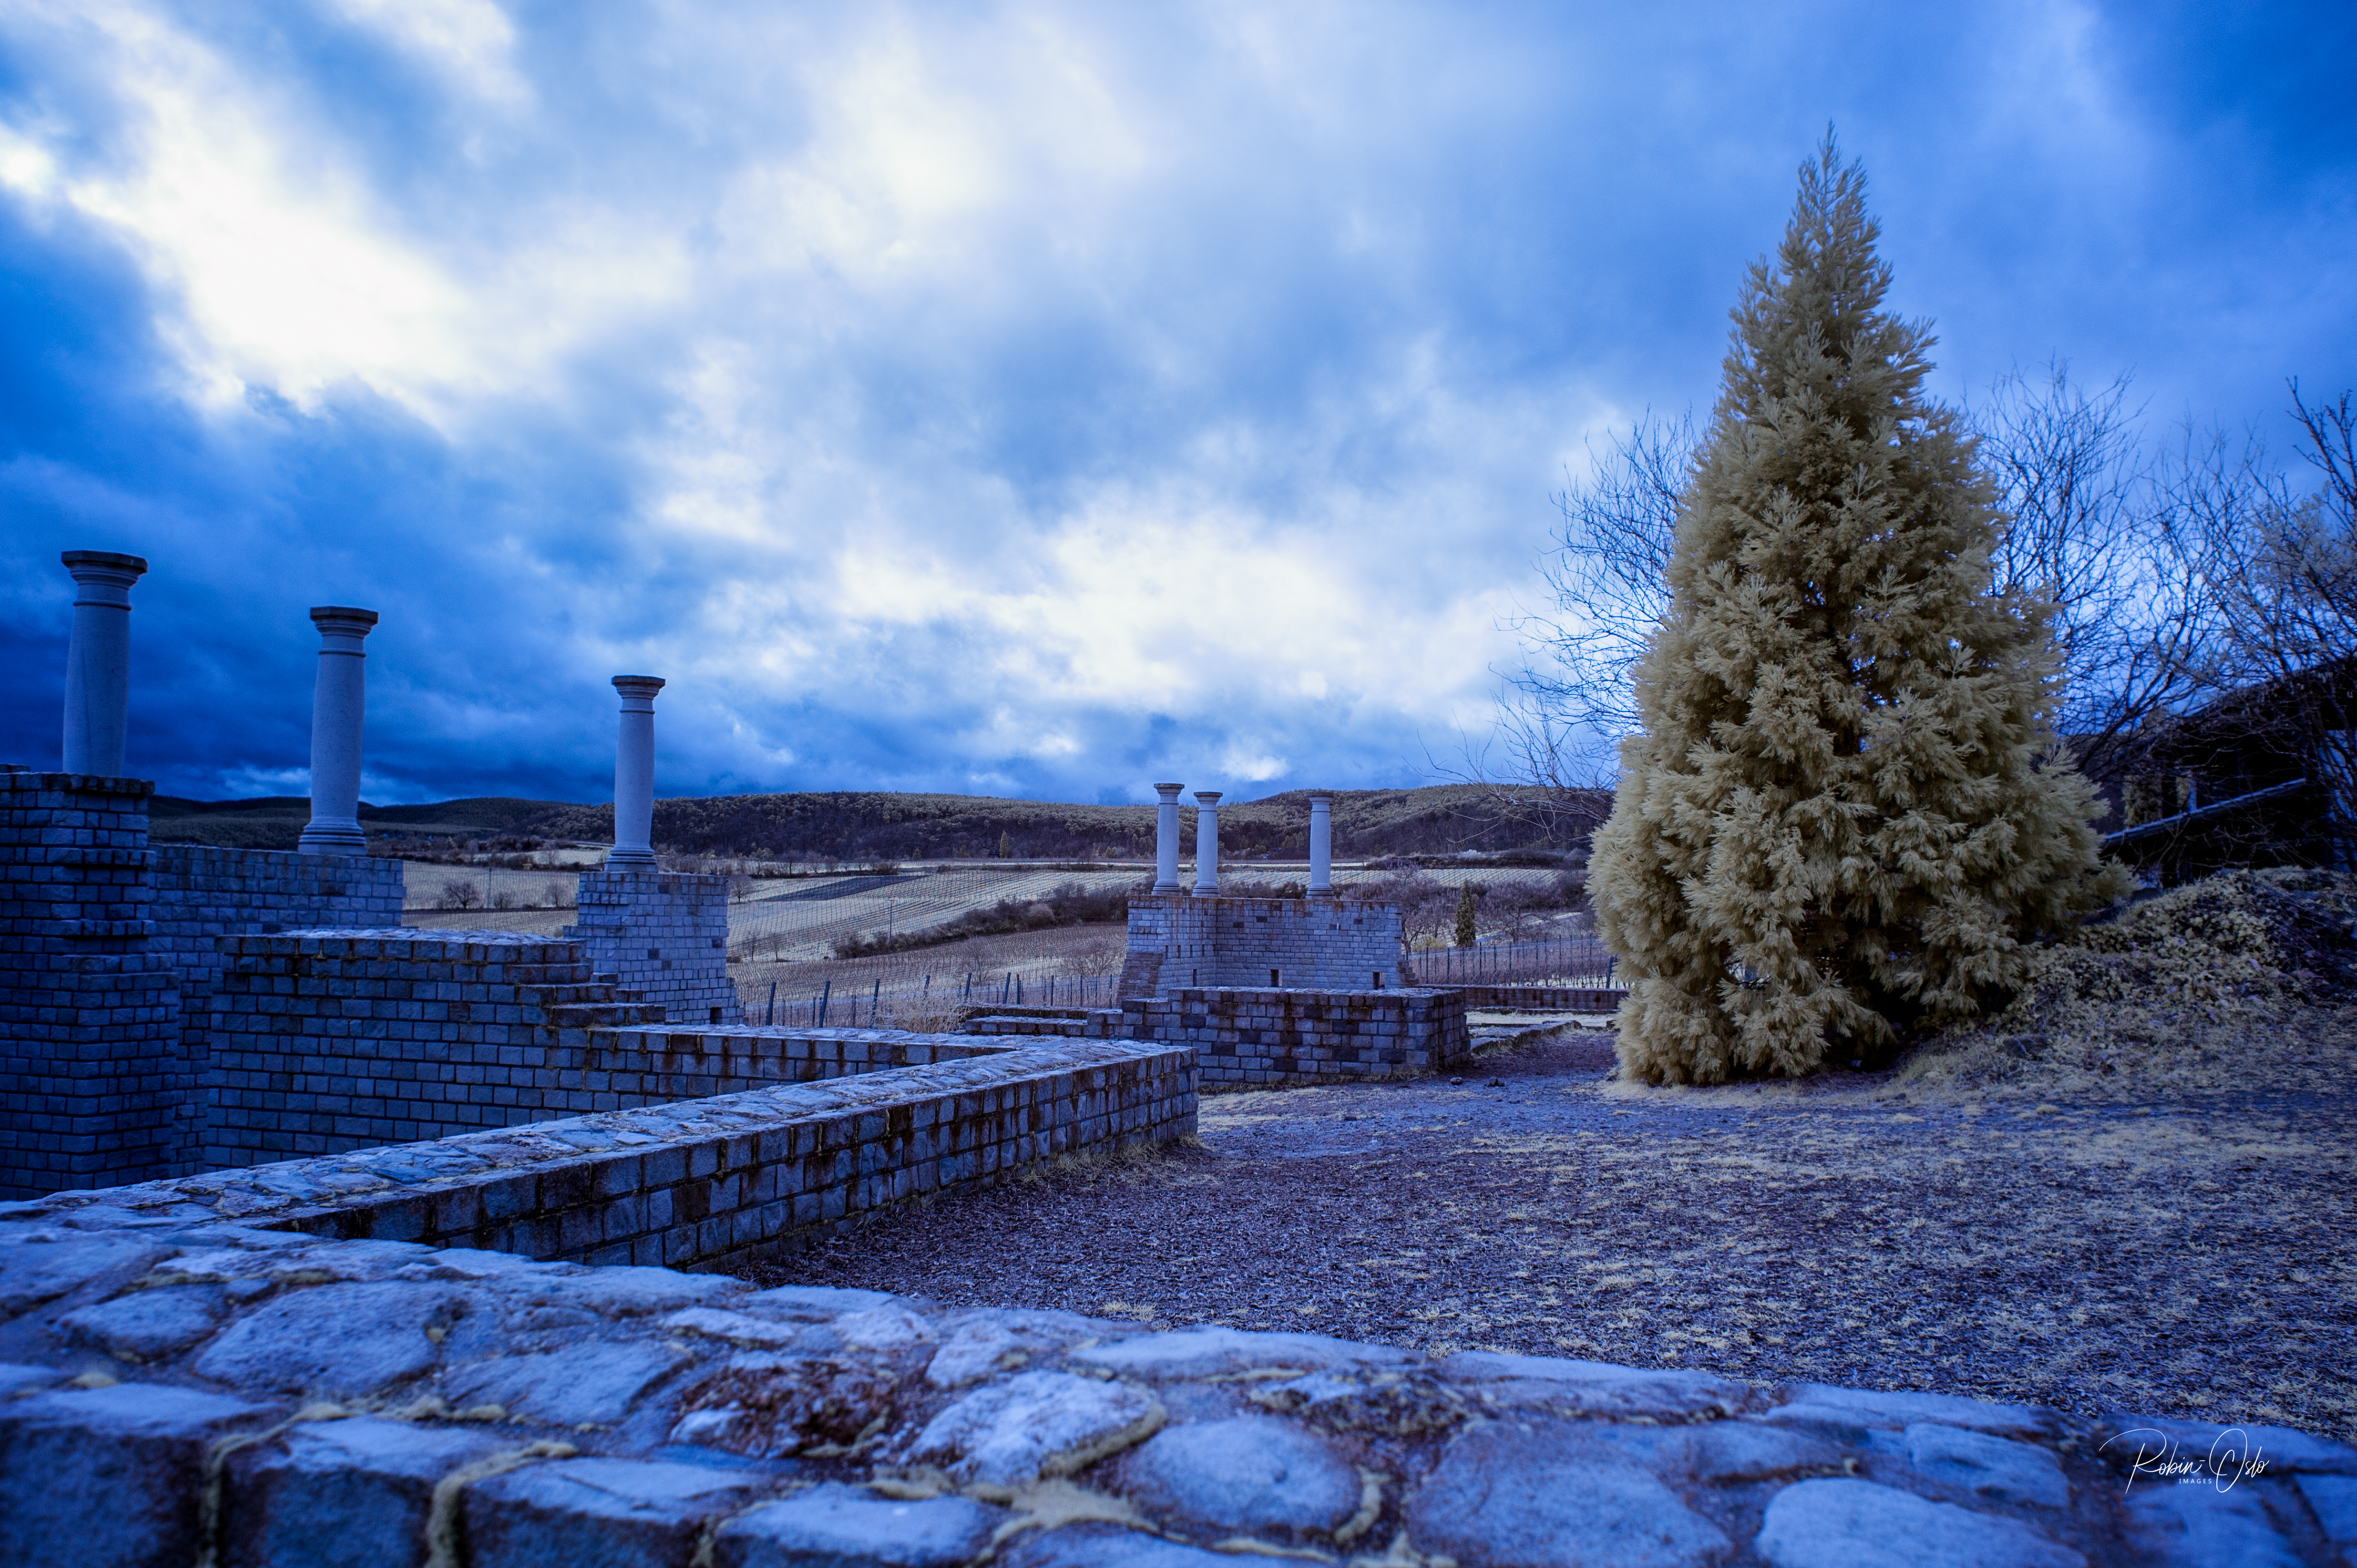
The Kolari company, which does conversions in the US, maintains a list of compatible lenses.
First steps in image editing
The pictures have been taken. Now it’s time for post-processing. But first, a bit of advice. Please always shoot RAW. You will soon see why…
After importing your new masterpieces into Lightroom, you will see nothing but red. Okay, it does come in certain gradations, but it’s red all the same. Fiddle with the white balance, by all means. Pipette on a bright spot. Hmmm…that won’t work either way.
One should do a channel swap of red and blue for a 630nm conversion. I did this in Photoshop, but the images looked totally messed up. The possible range for the white balance in Lightroom is many times too narrow.
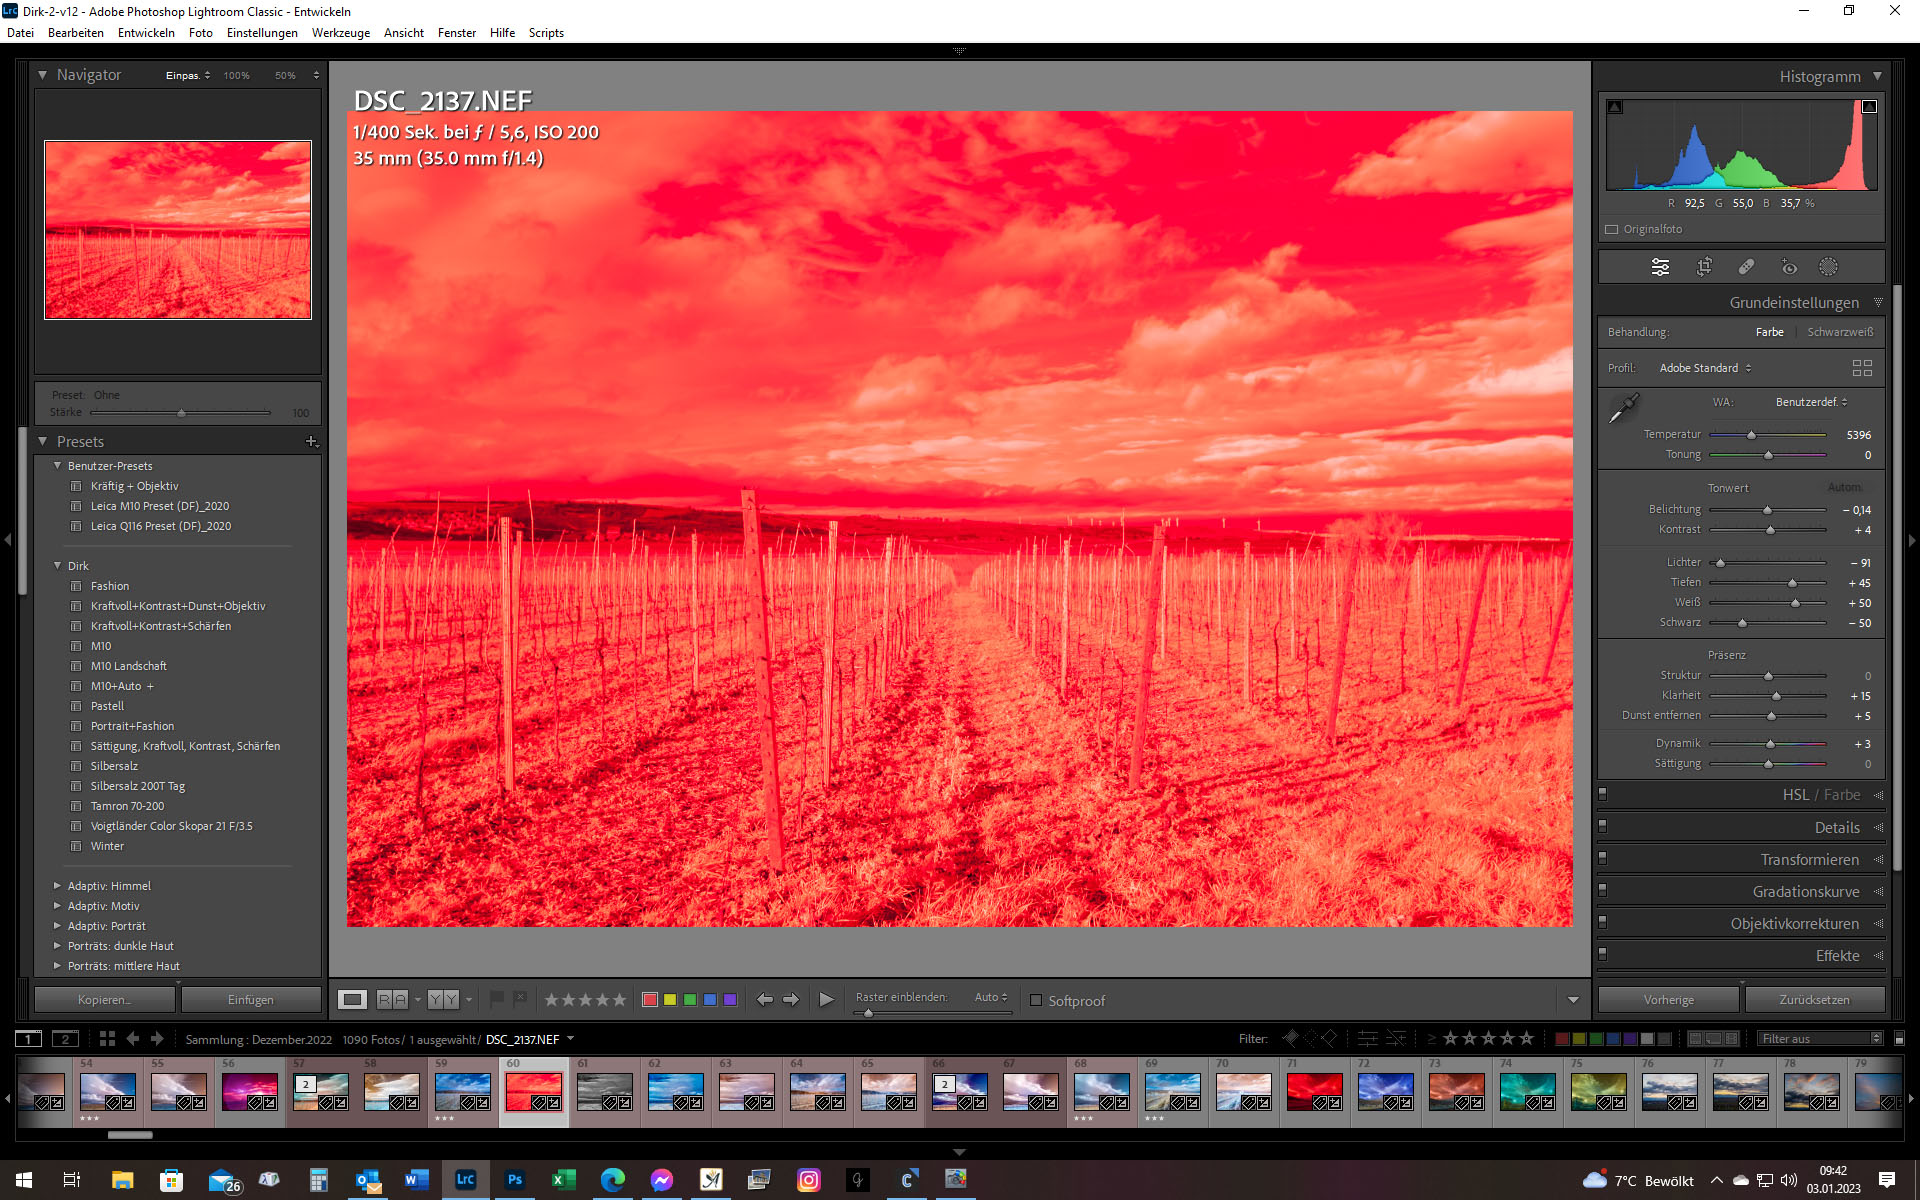
What now?
I download the Adobe DNG Profile Editor and made my own profile for the camera. This is one possible approach to solving the white-balance problem. I’m sure you can find others.
For this purpose, an appropriate photo is exported as DNG and called up in the editor.
Under “Color Matrices”, set the temperature of the white balance to -100. I have adjusted the “Tone Curve“ a tad as well. Then the new profile is exported. I gave it a descriptive name to make it easy to find. In Lightroom, it can be added to the Favourites.
The Adobe DNG-Profile EditorL Left, white balance -100; centre, graduation curve; right, name of the new profile
For Windows users, the following address applies when exporting:
C:Users%username%AppDataRoamingAdobeCameraRawCameraProfiles.
After restarting Lightroom, usable values can be set for the white balance. All you need to do is apply the profile you just created to the desired image.
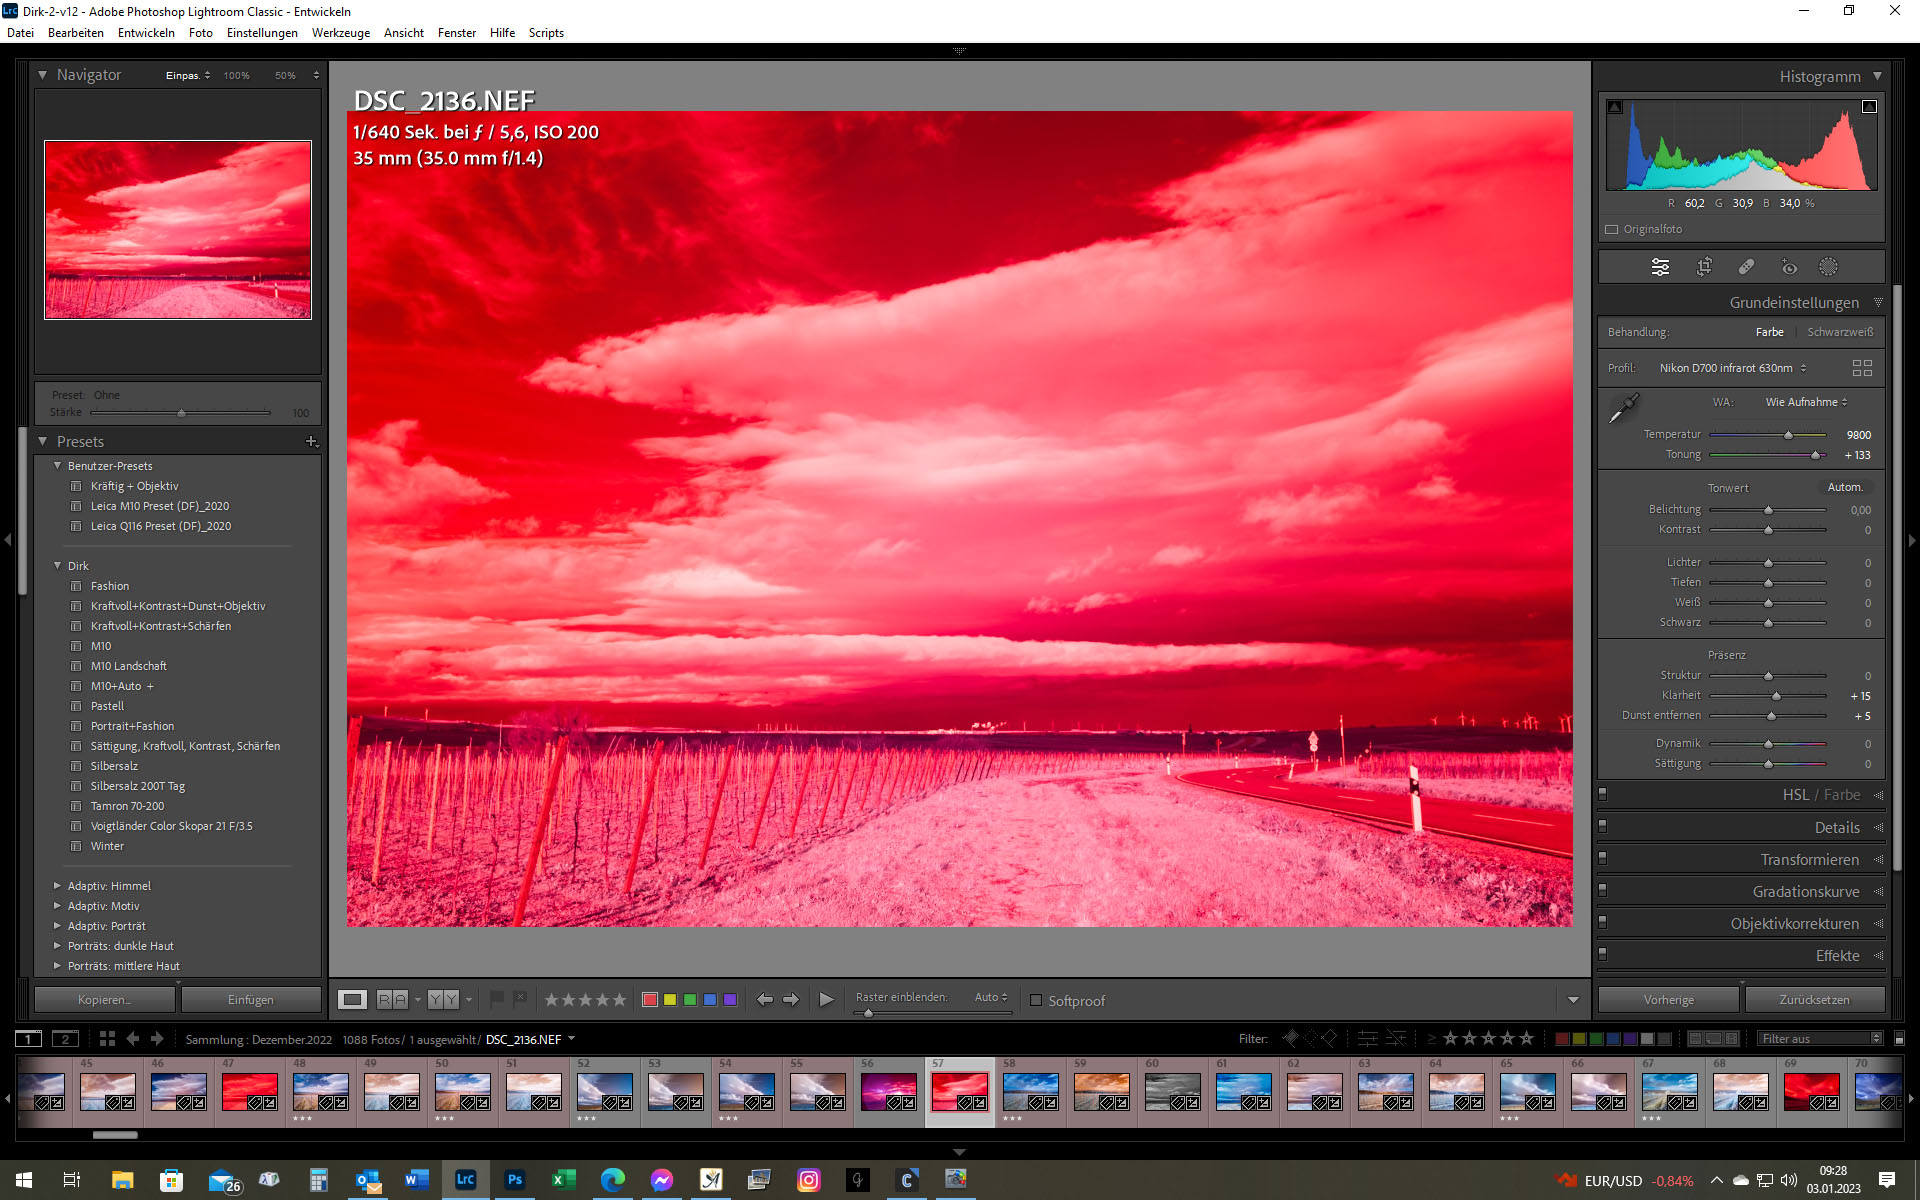
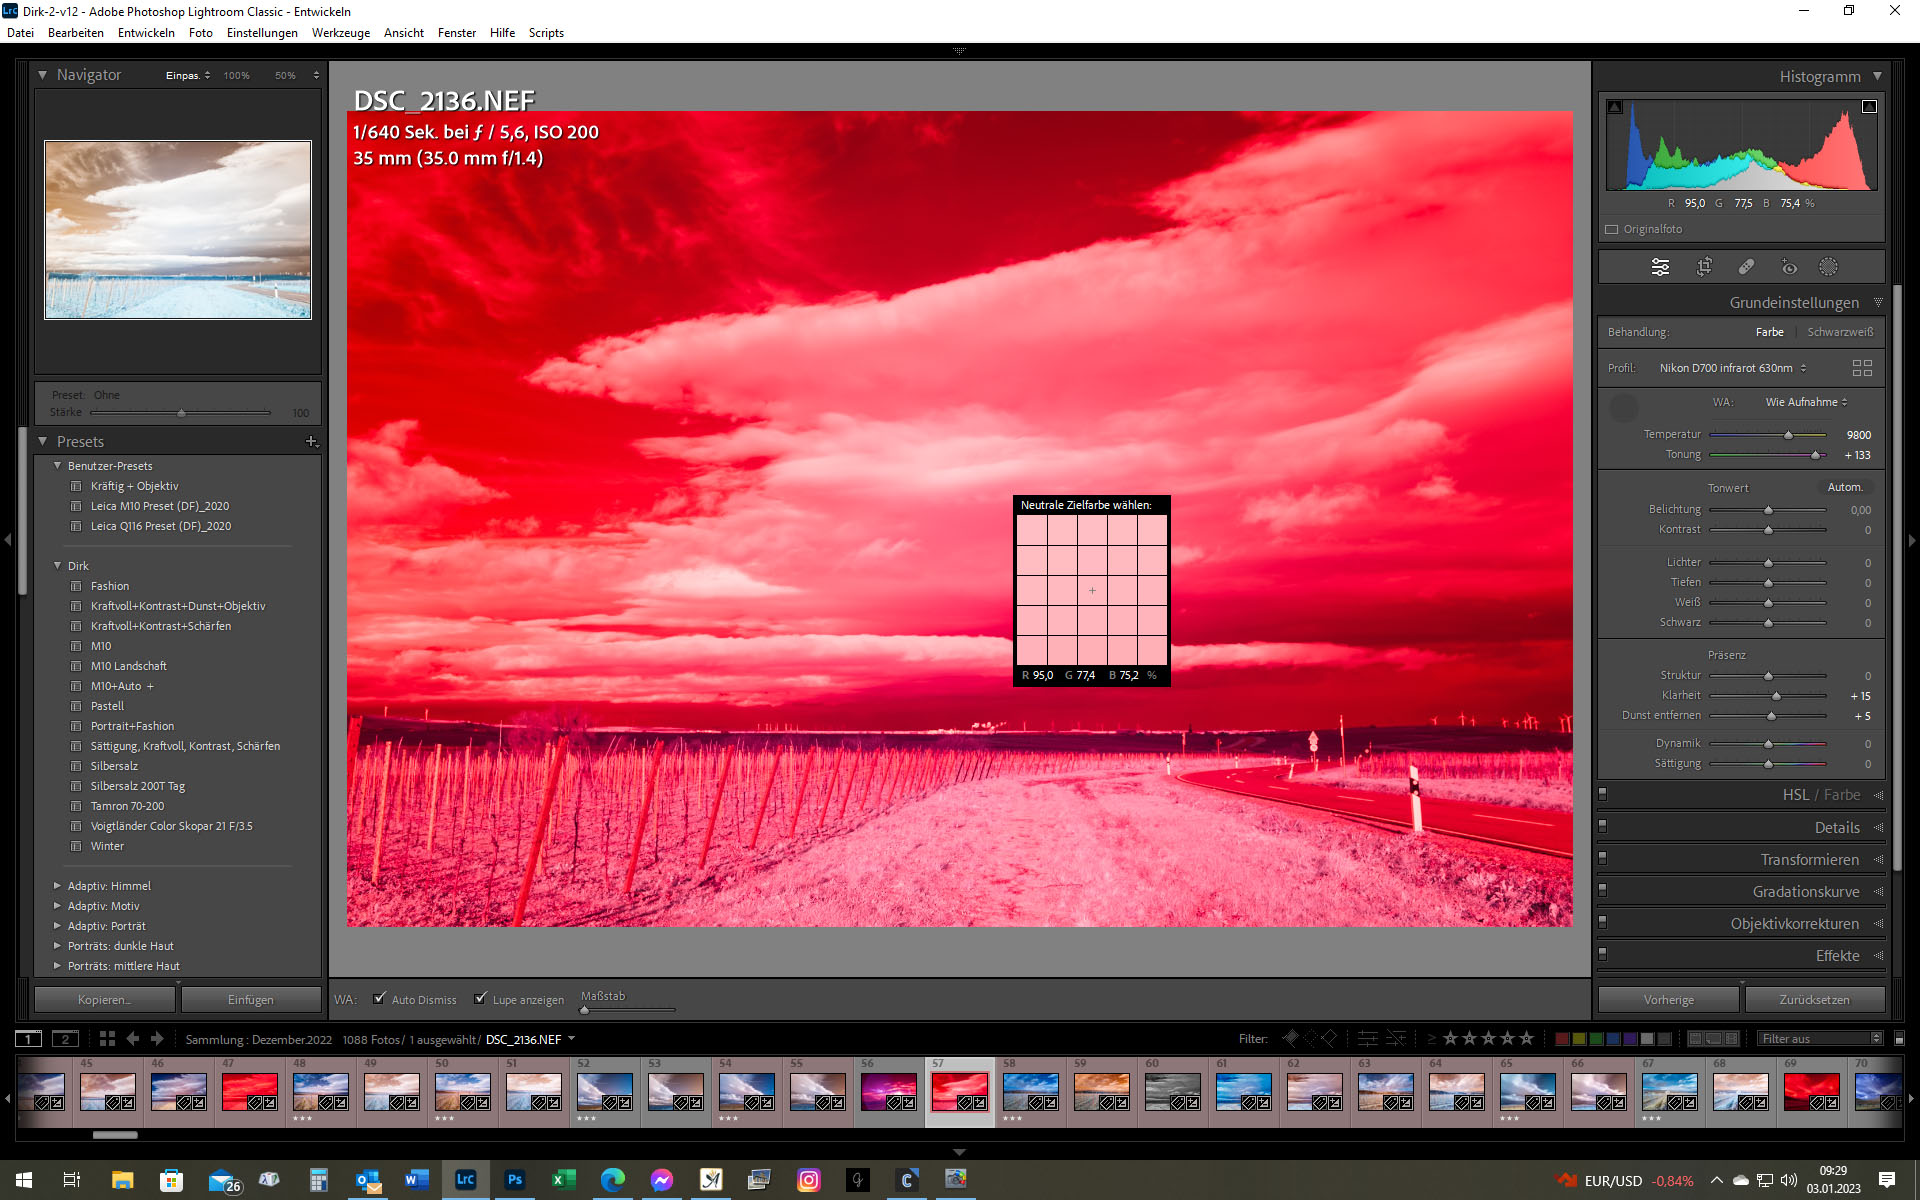
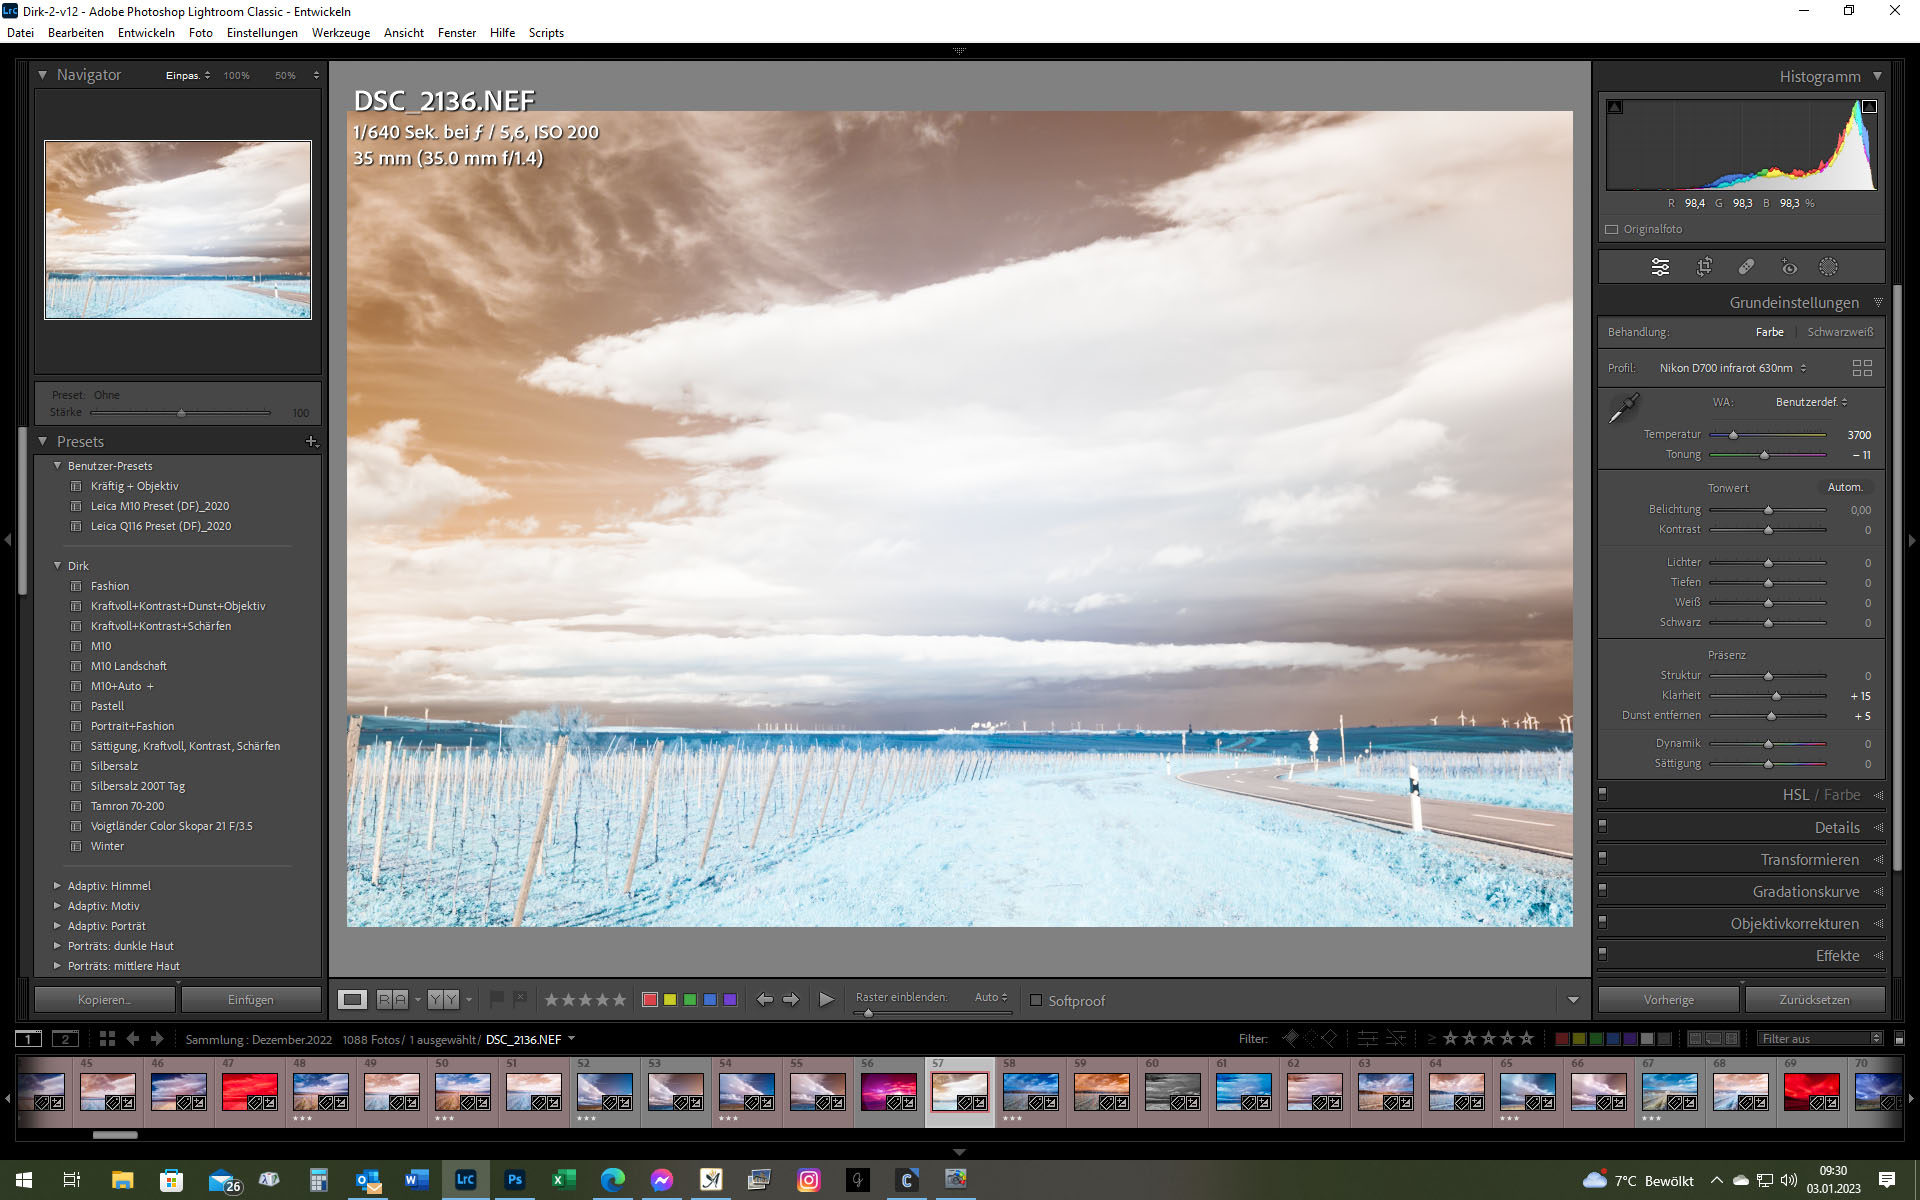
Back in Lightroom, you can set more sensible values in the white balance
You can even create a preset for the import to Lightroom. If the profile is lost, LR makes the image red again (see above).
Next is the channel swap at 630nm. For this, I pass the image to Photoshop. This adds the possibility of recording recurring actions and assigning them to a function key. The swap runs in fractions of a second. For the red channel, red is set to 0, and blue to +100. For the blue channel, red is set to +100 and blue to 0.
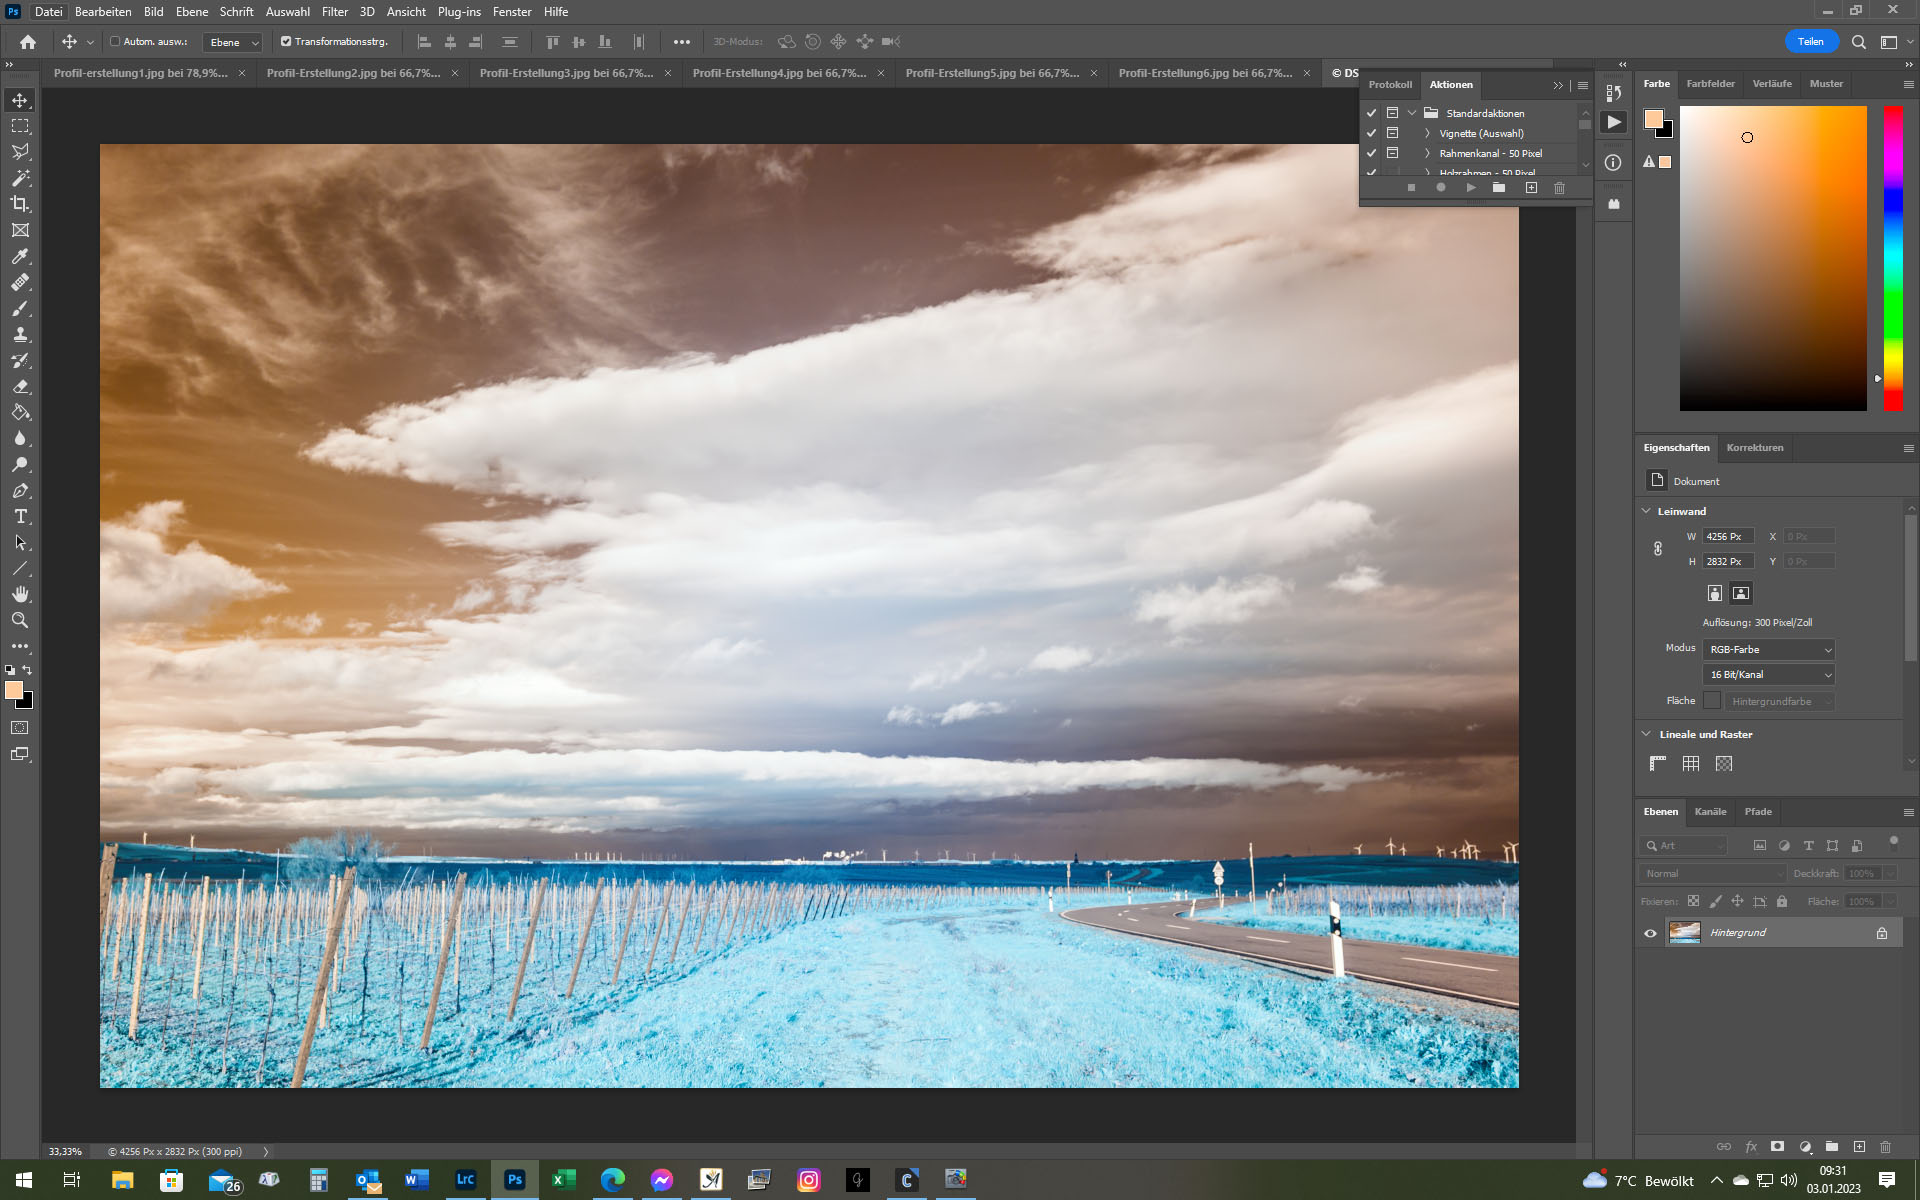

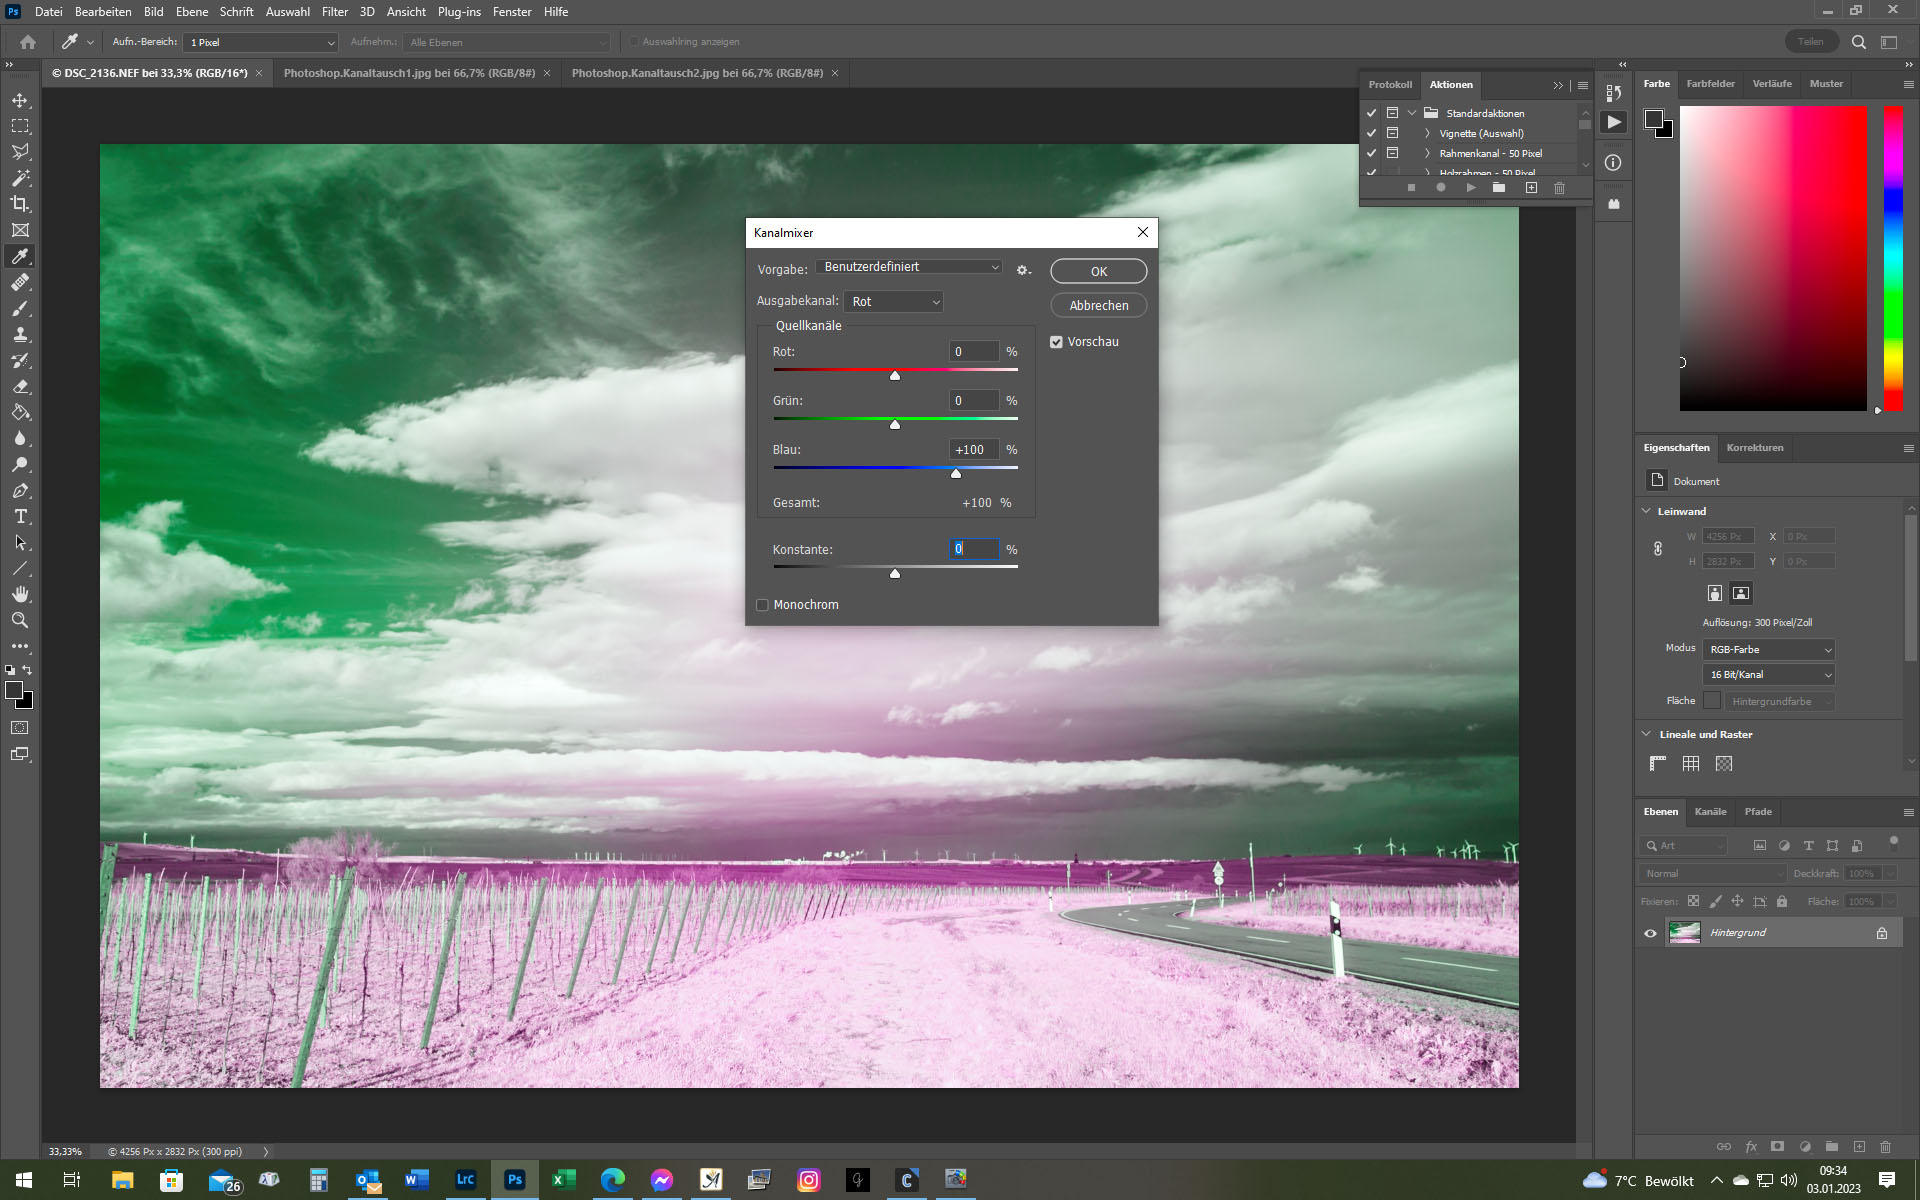
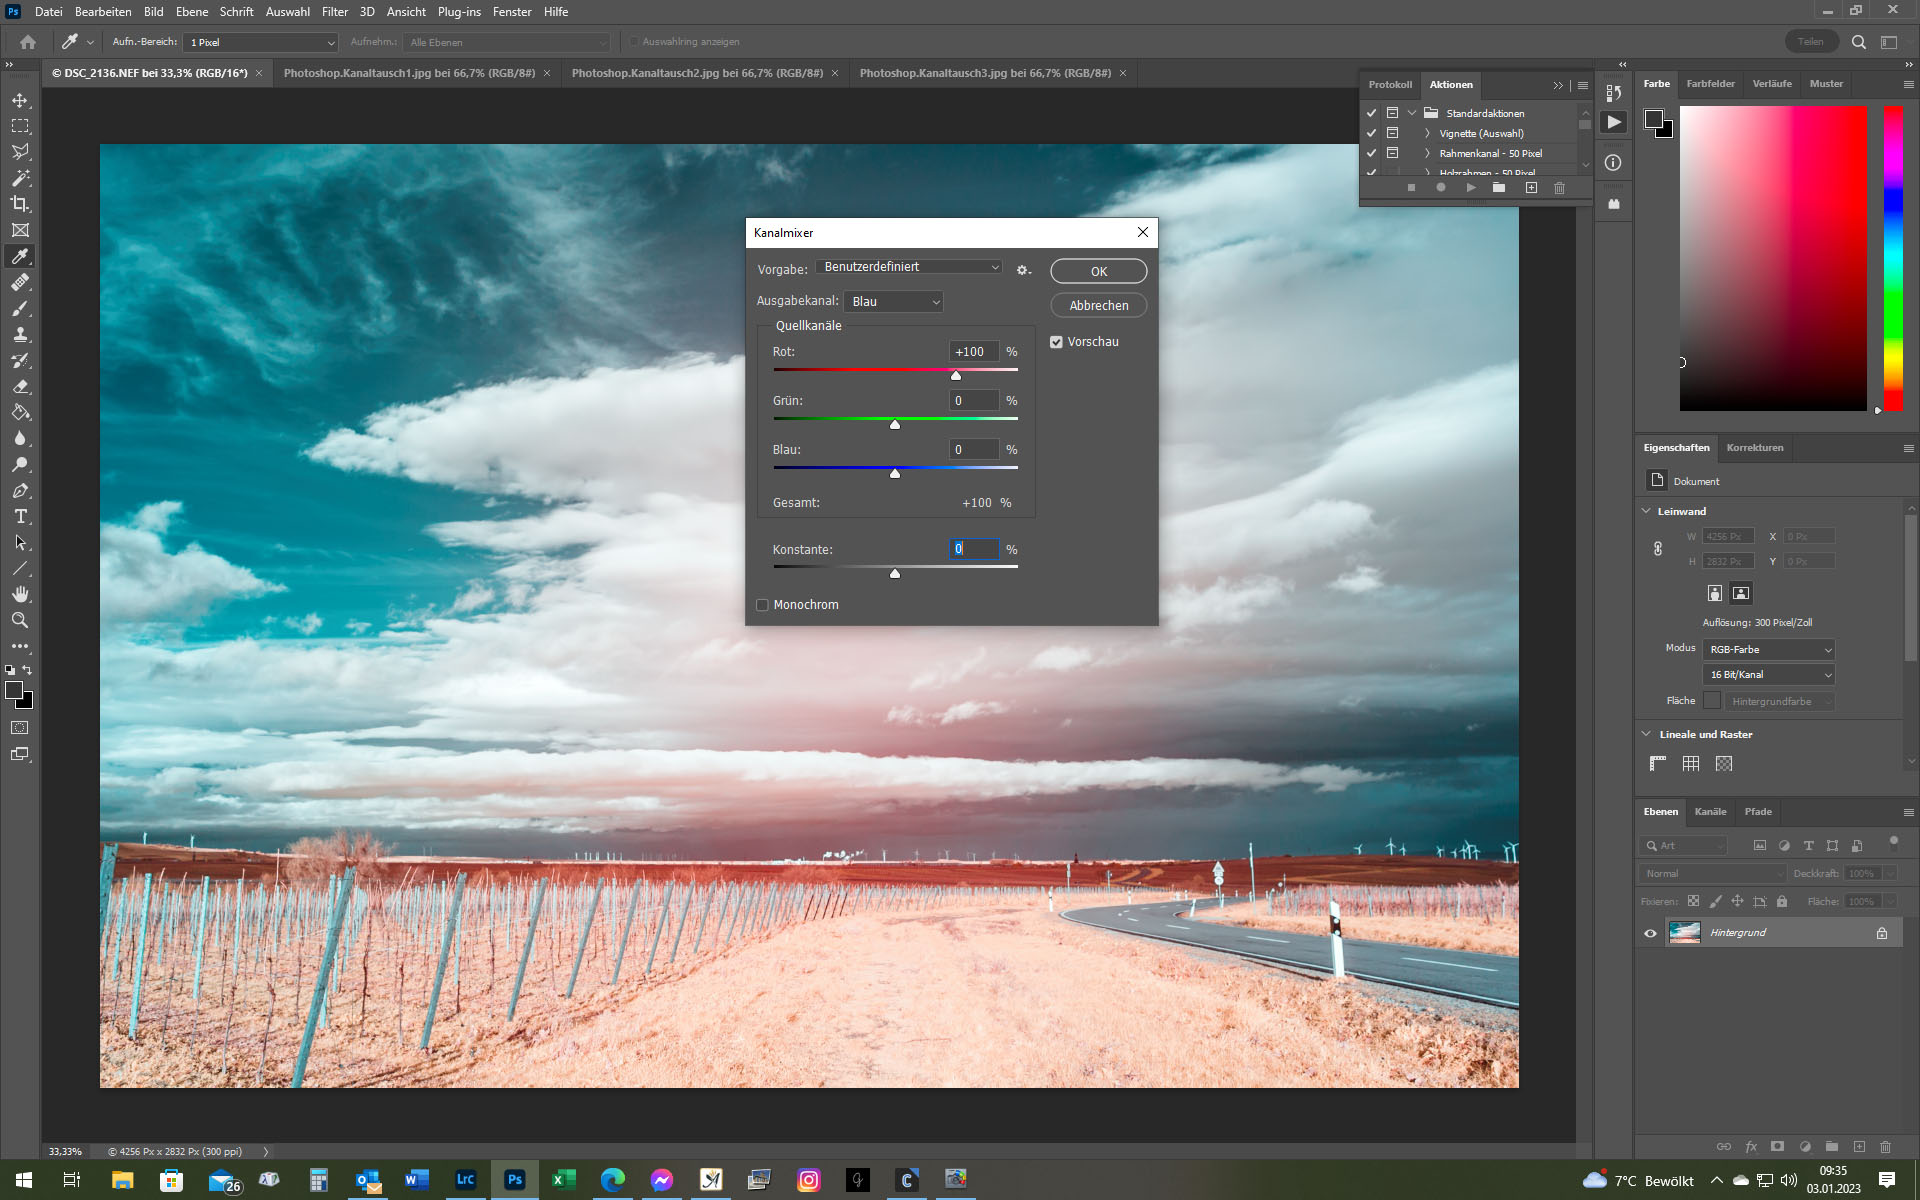
The channel swap process in Photoshop. Note the hot spot of the 35mm Sigma
After saving, the image appears in other colours in Lightroom and can be further changed there and possibly made worse. This is left to individual taste.
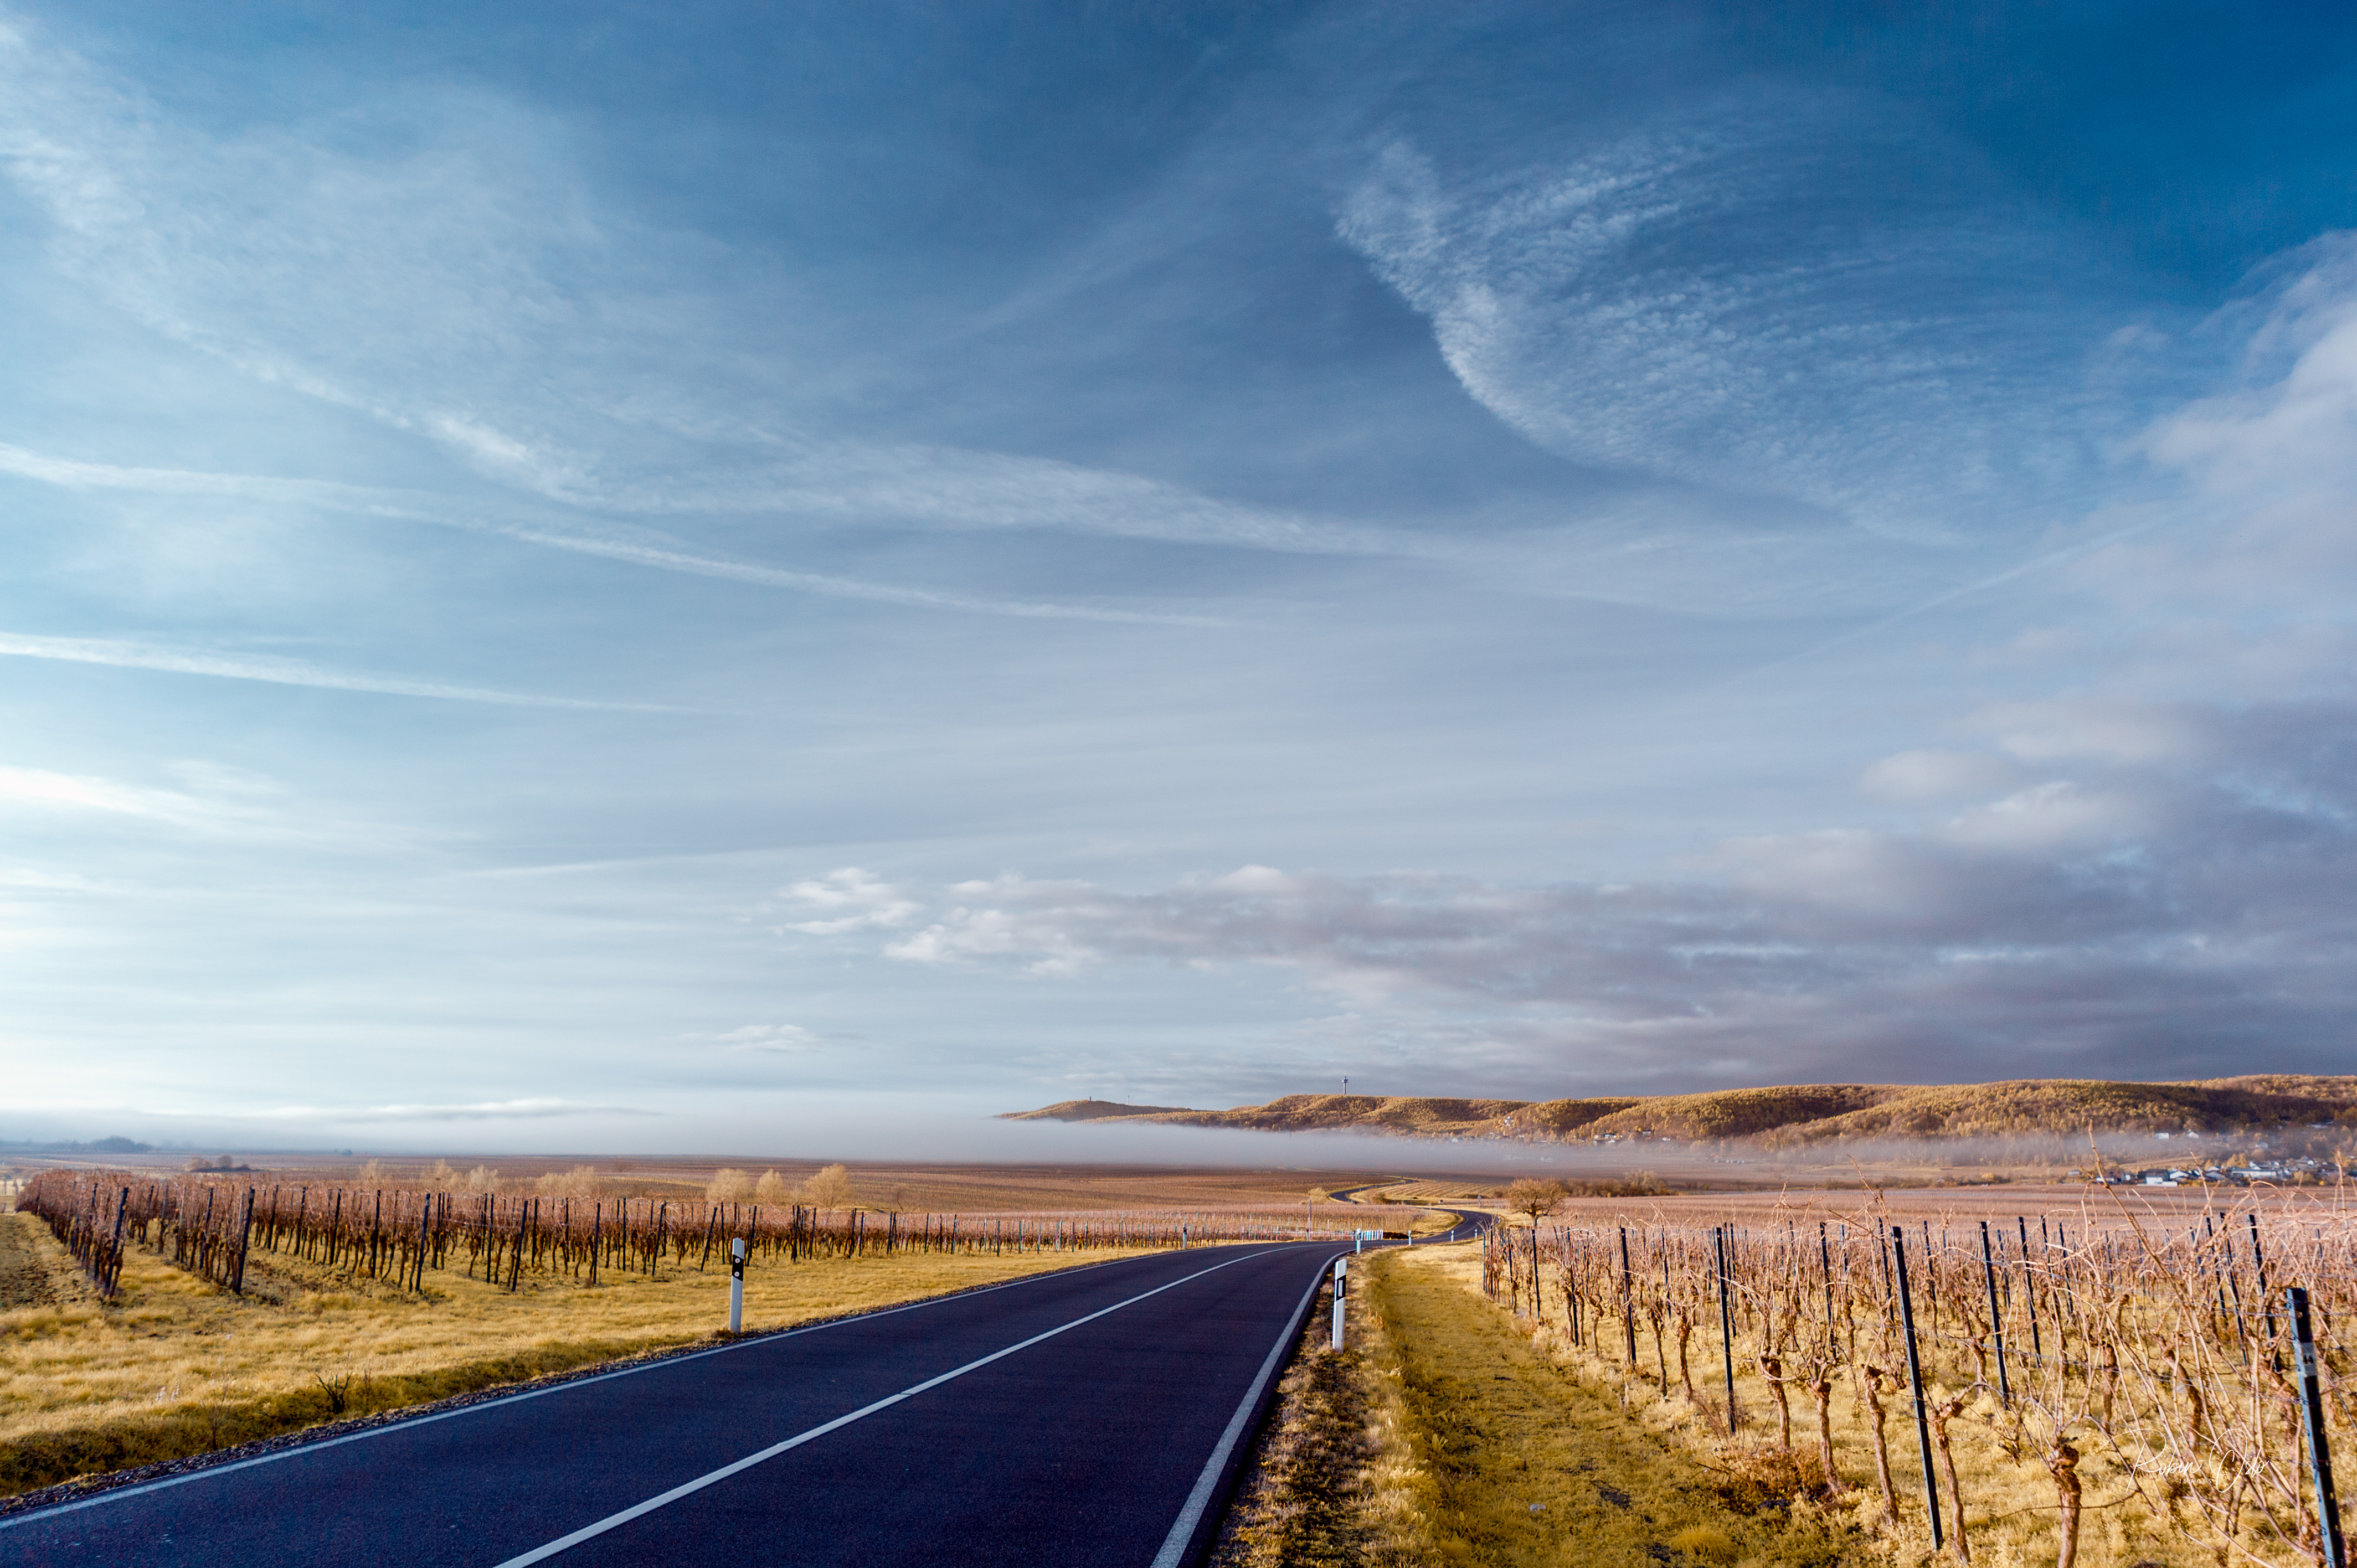
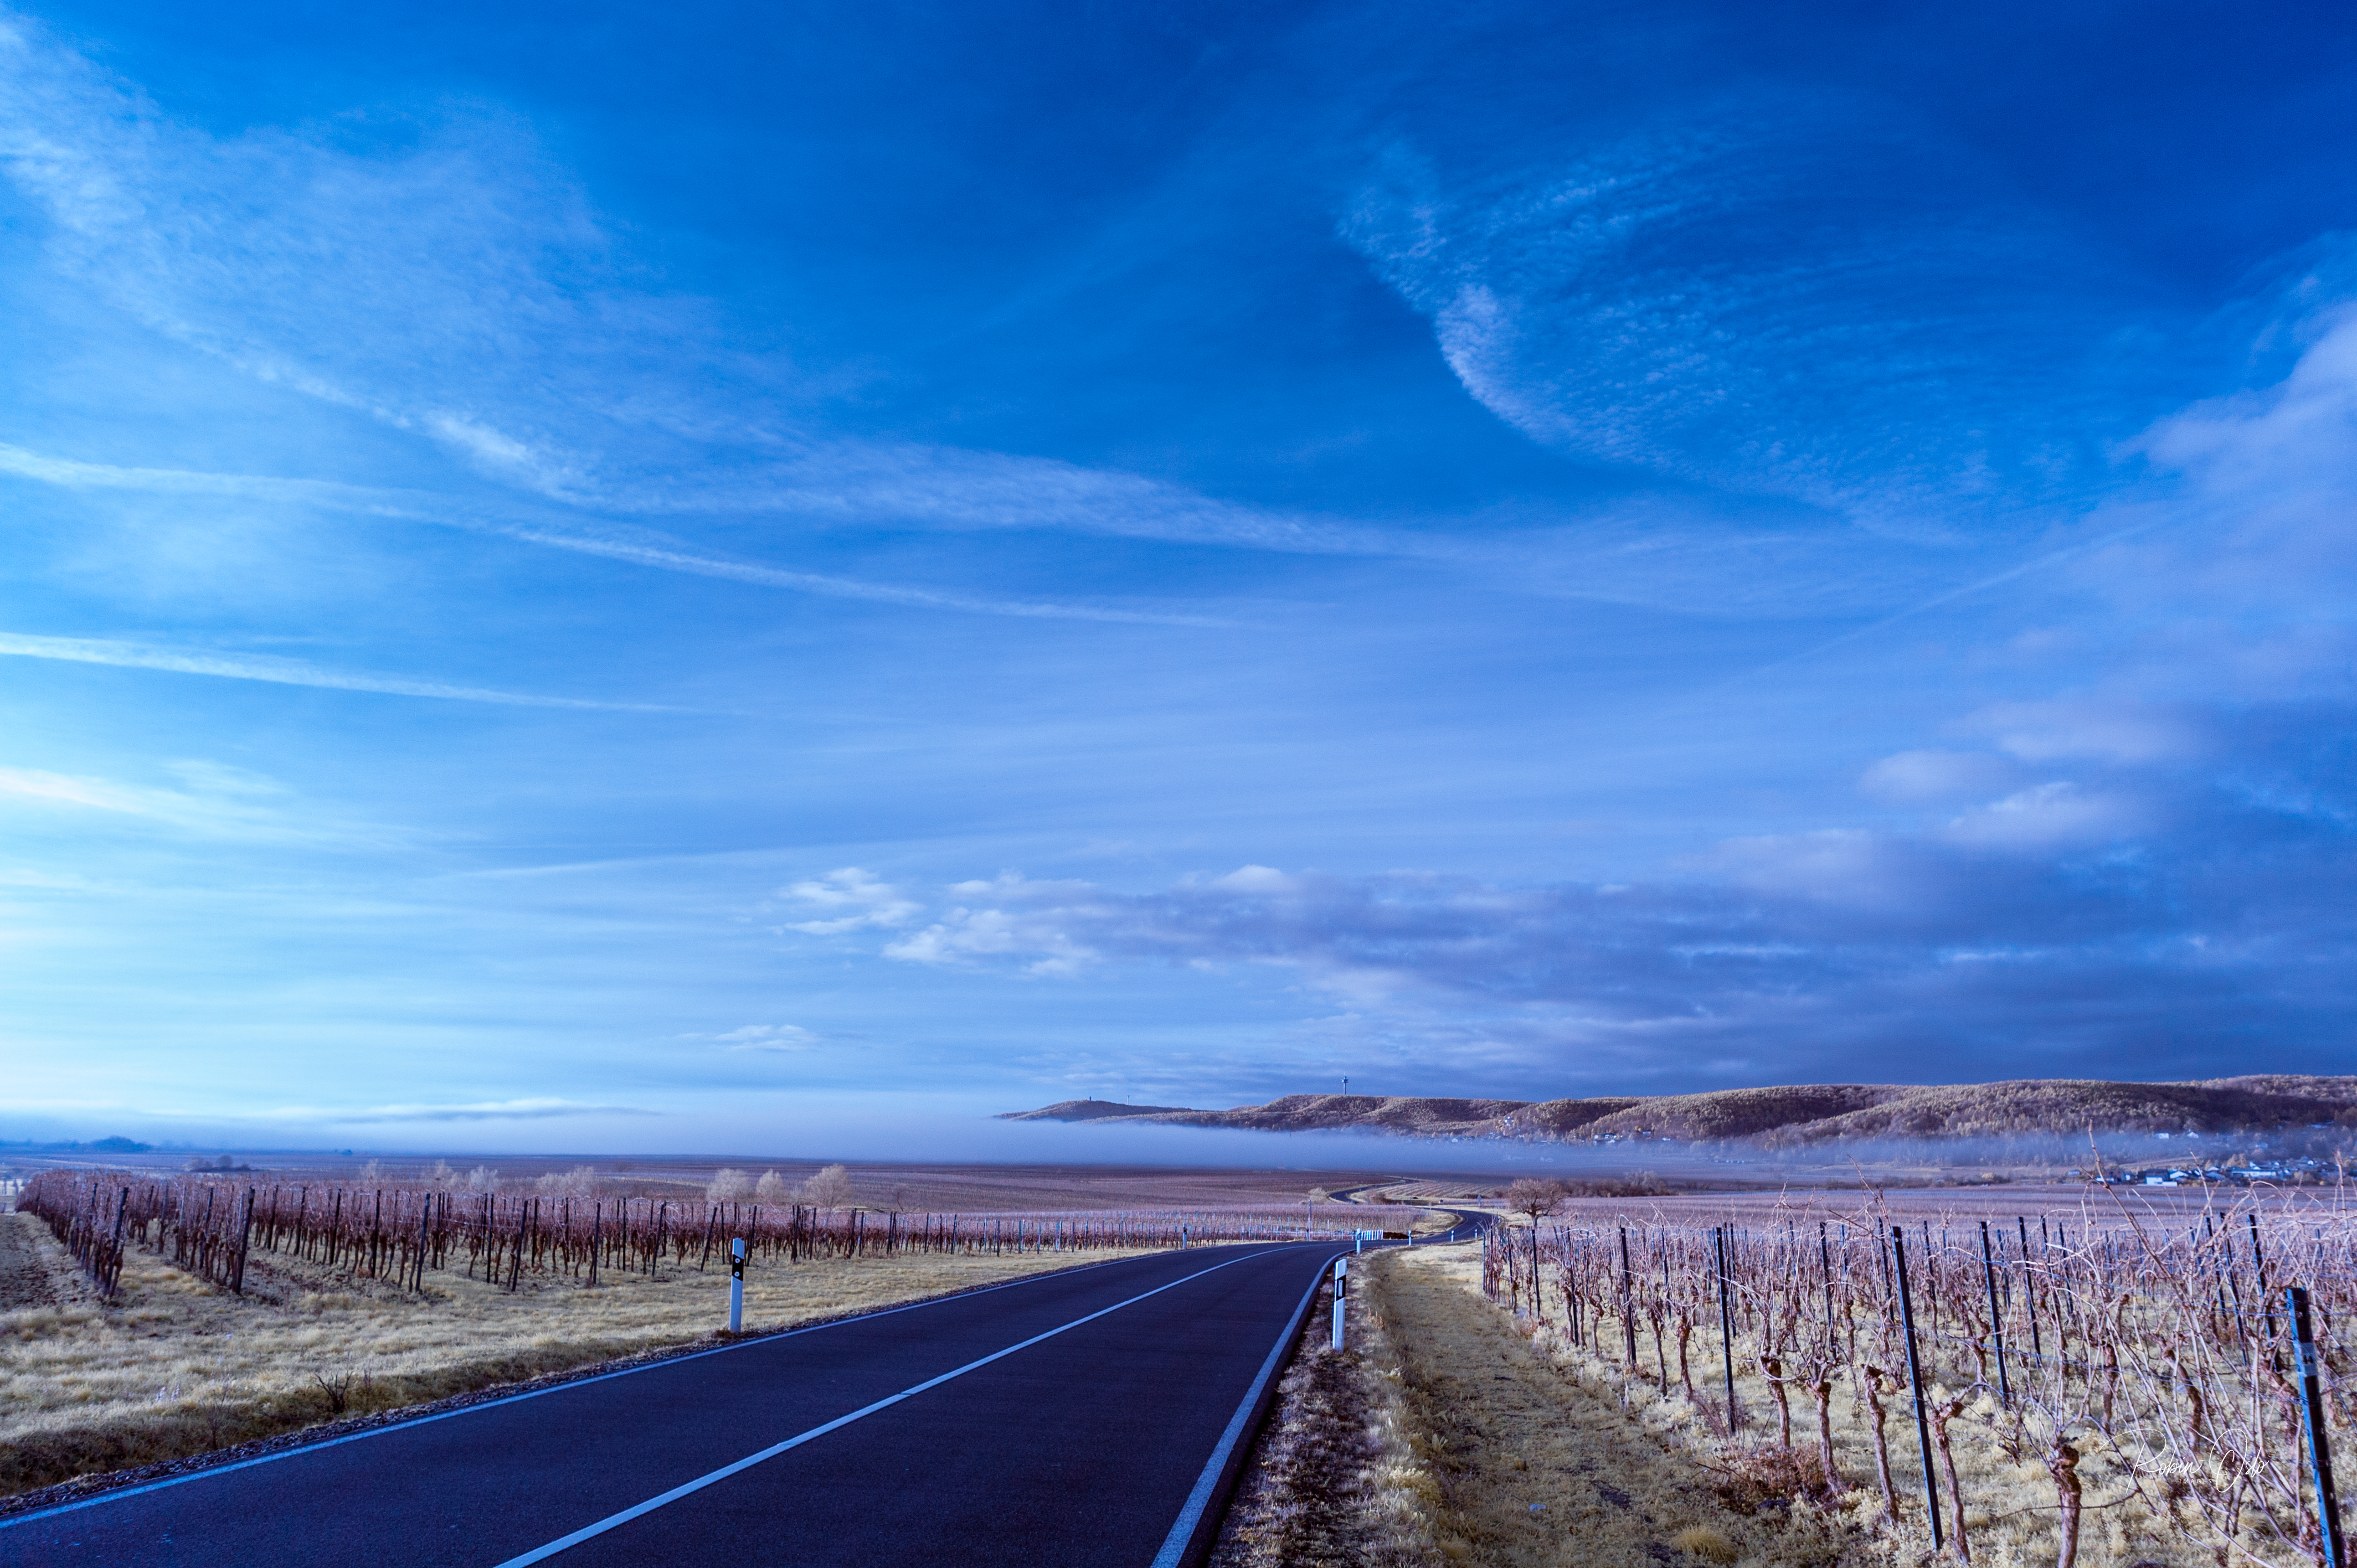
Channel swap with different white balances
The white balance in LR determines the colours after the channel swap. Here you have the opportunity to experiment a little. For example, you can click with the pipette on a bright cloud or select the grass. Just experiment…
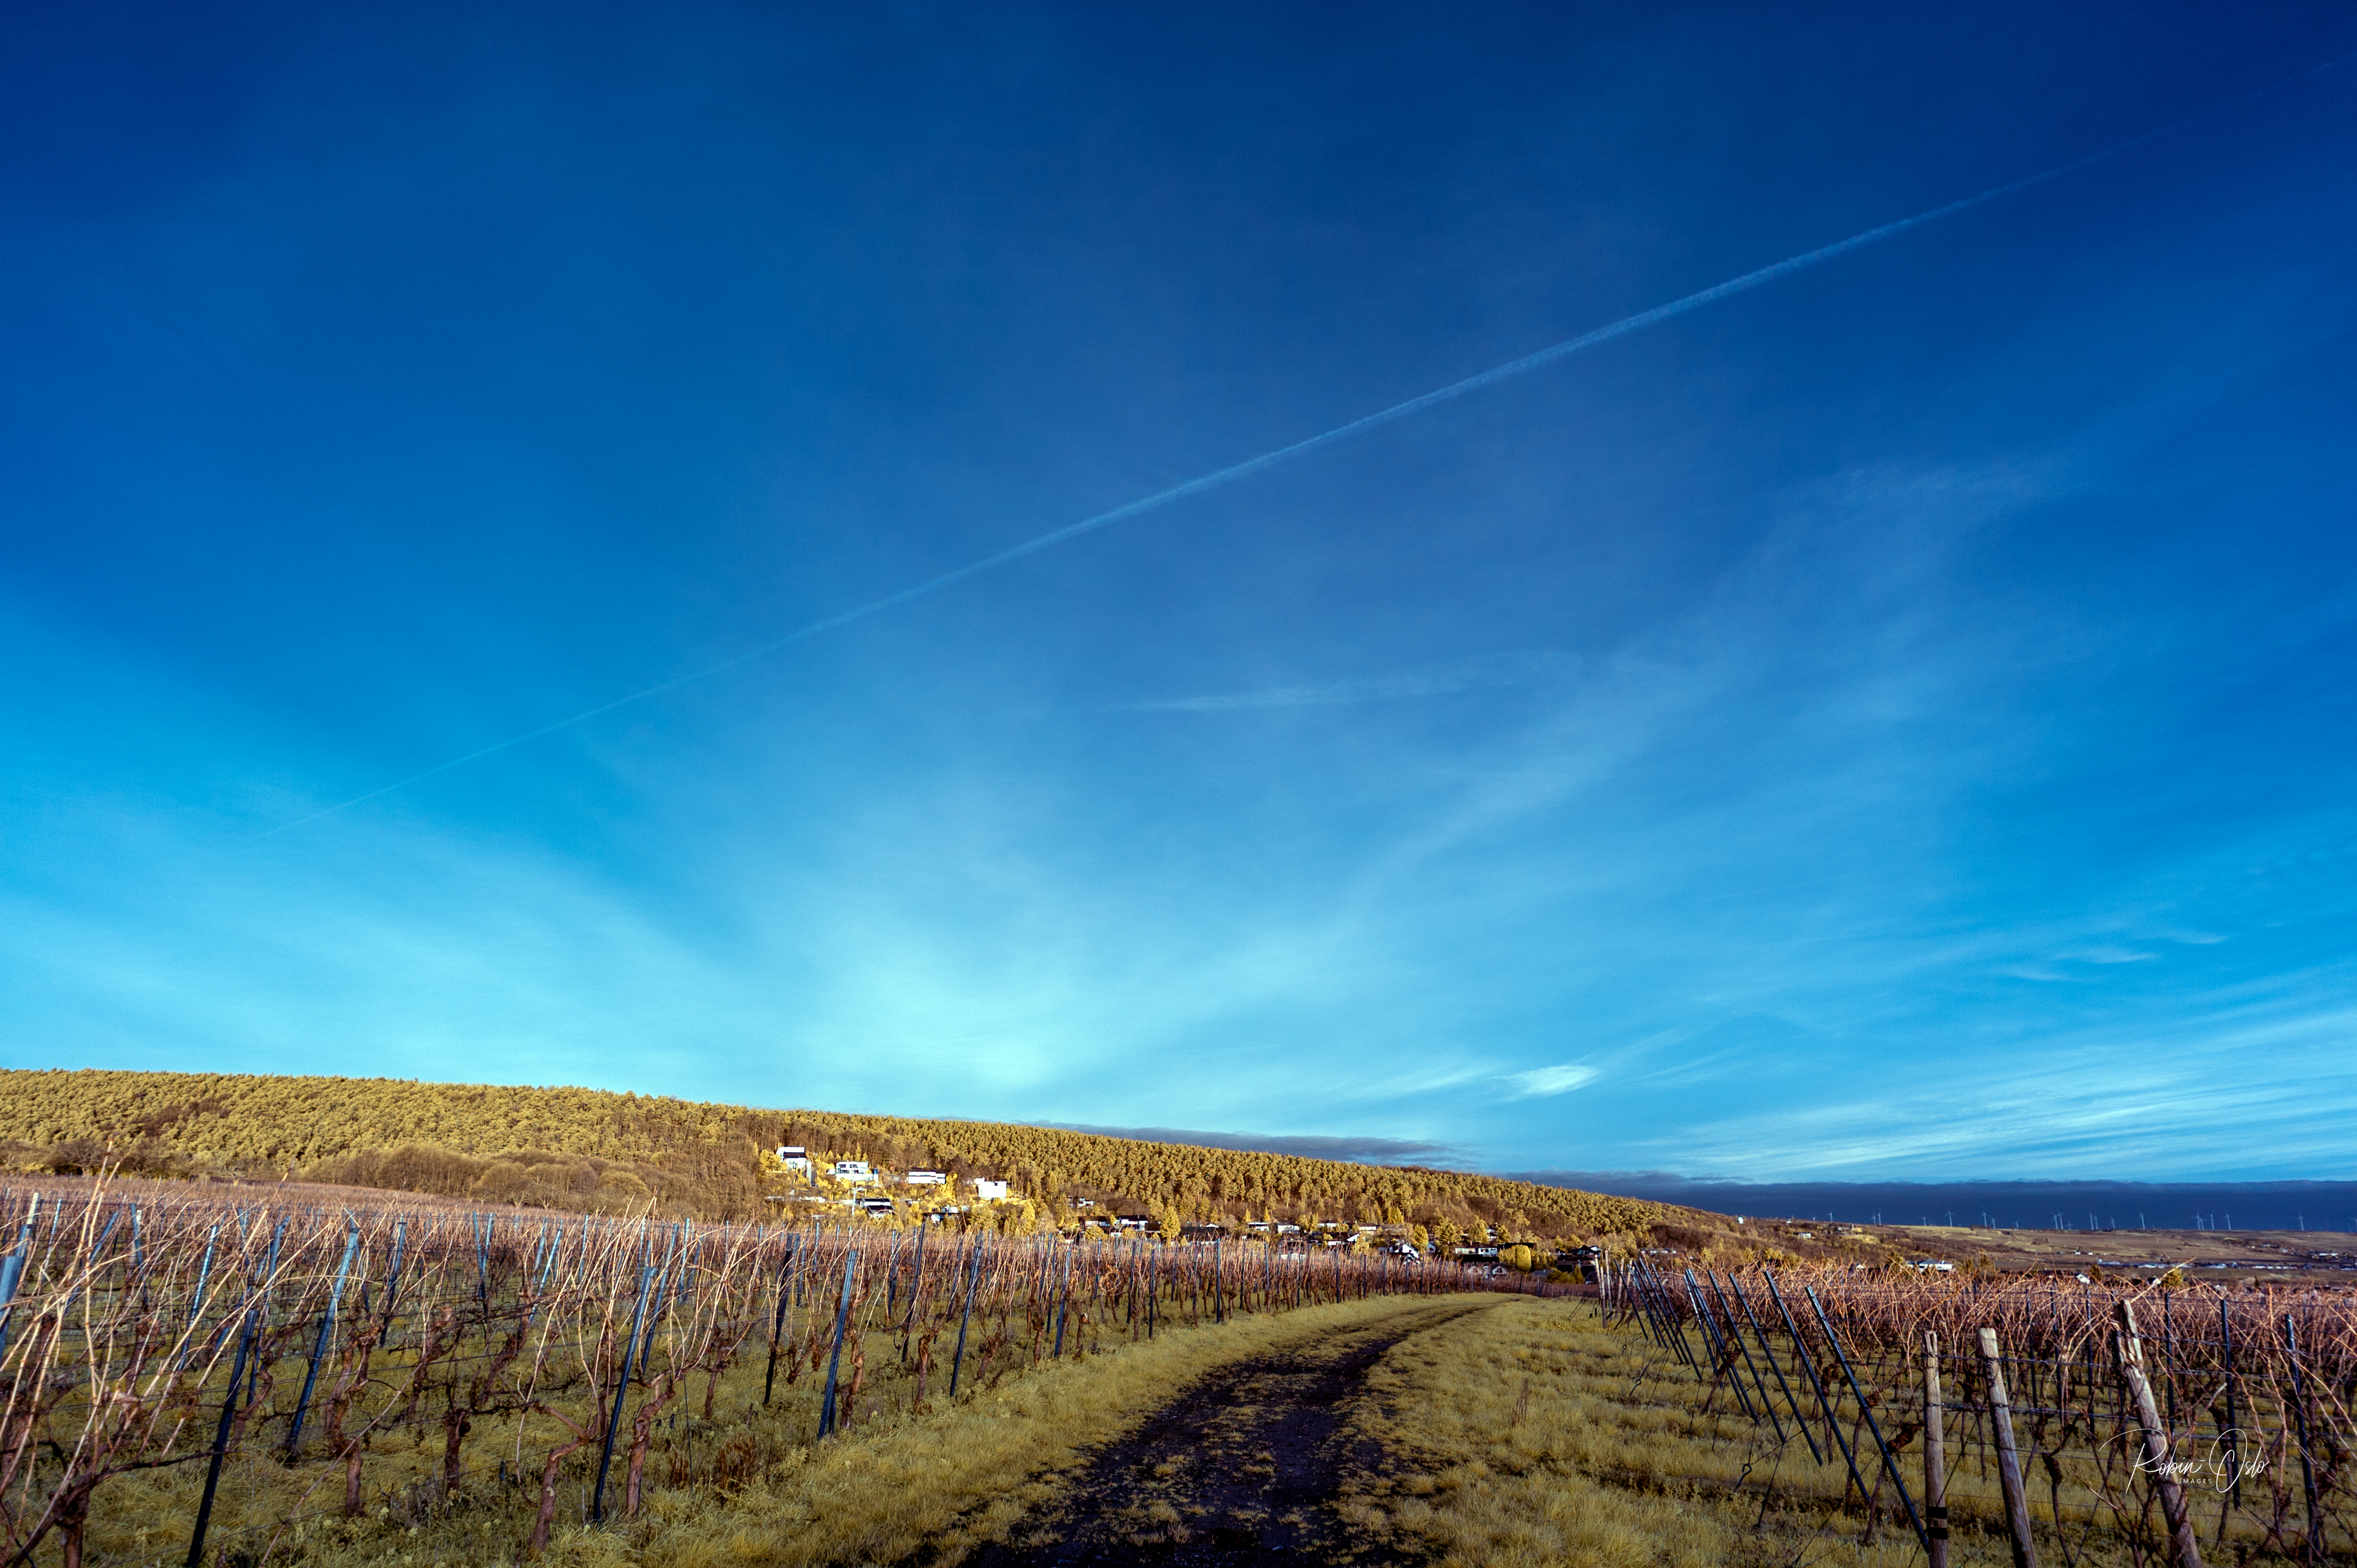
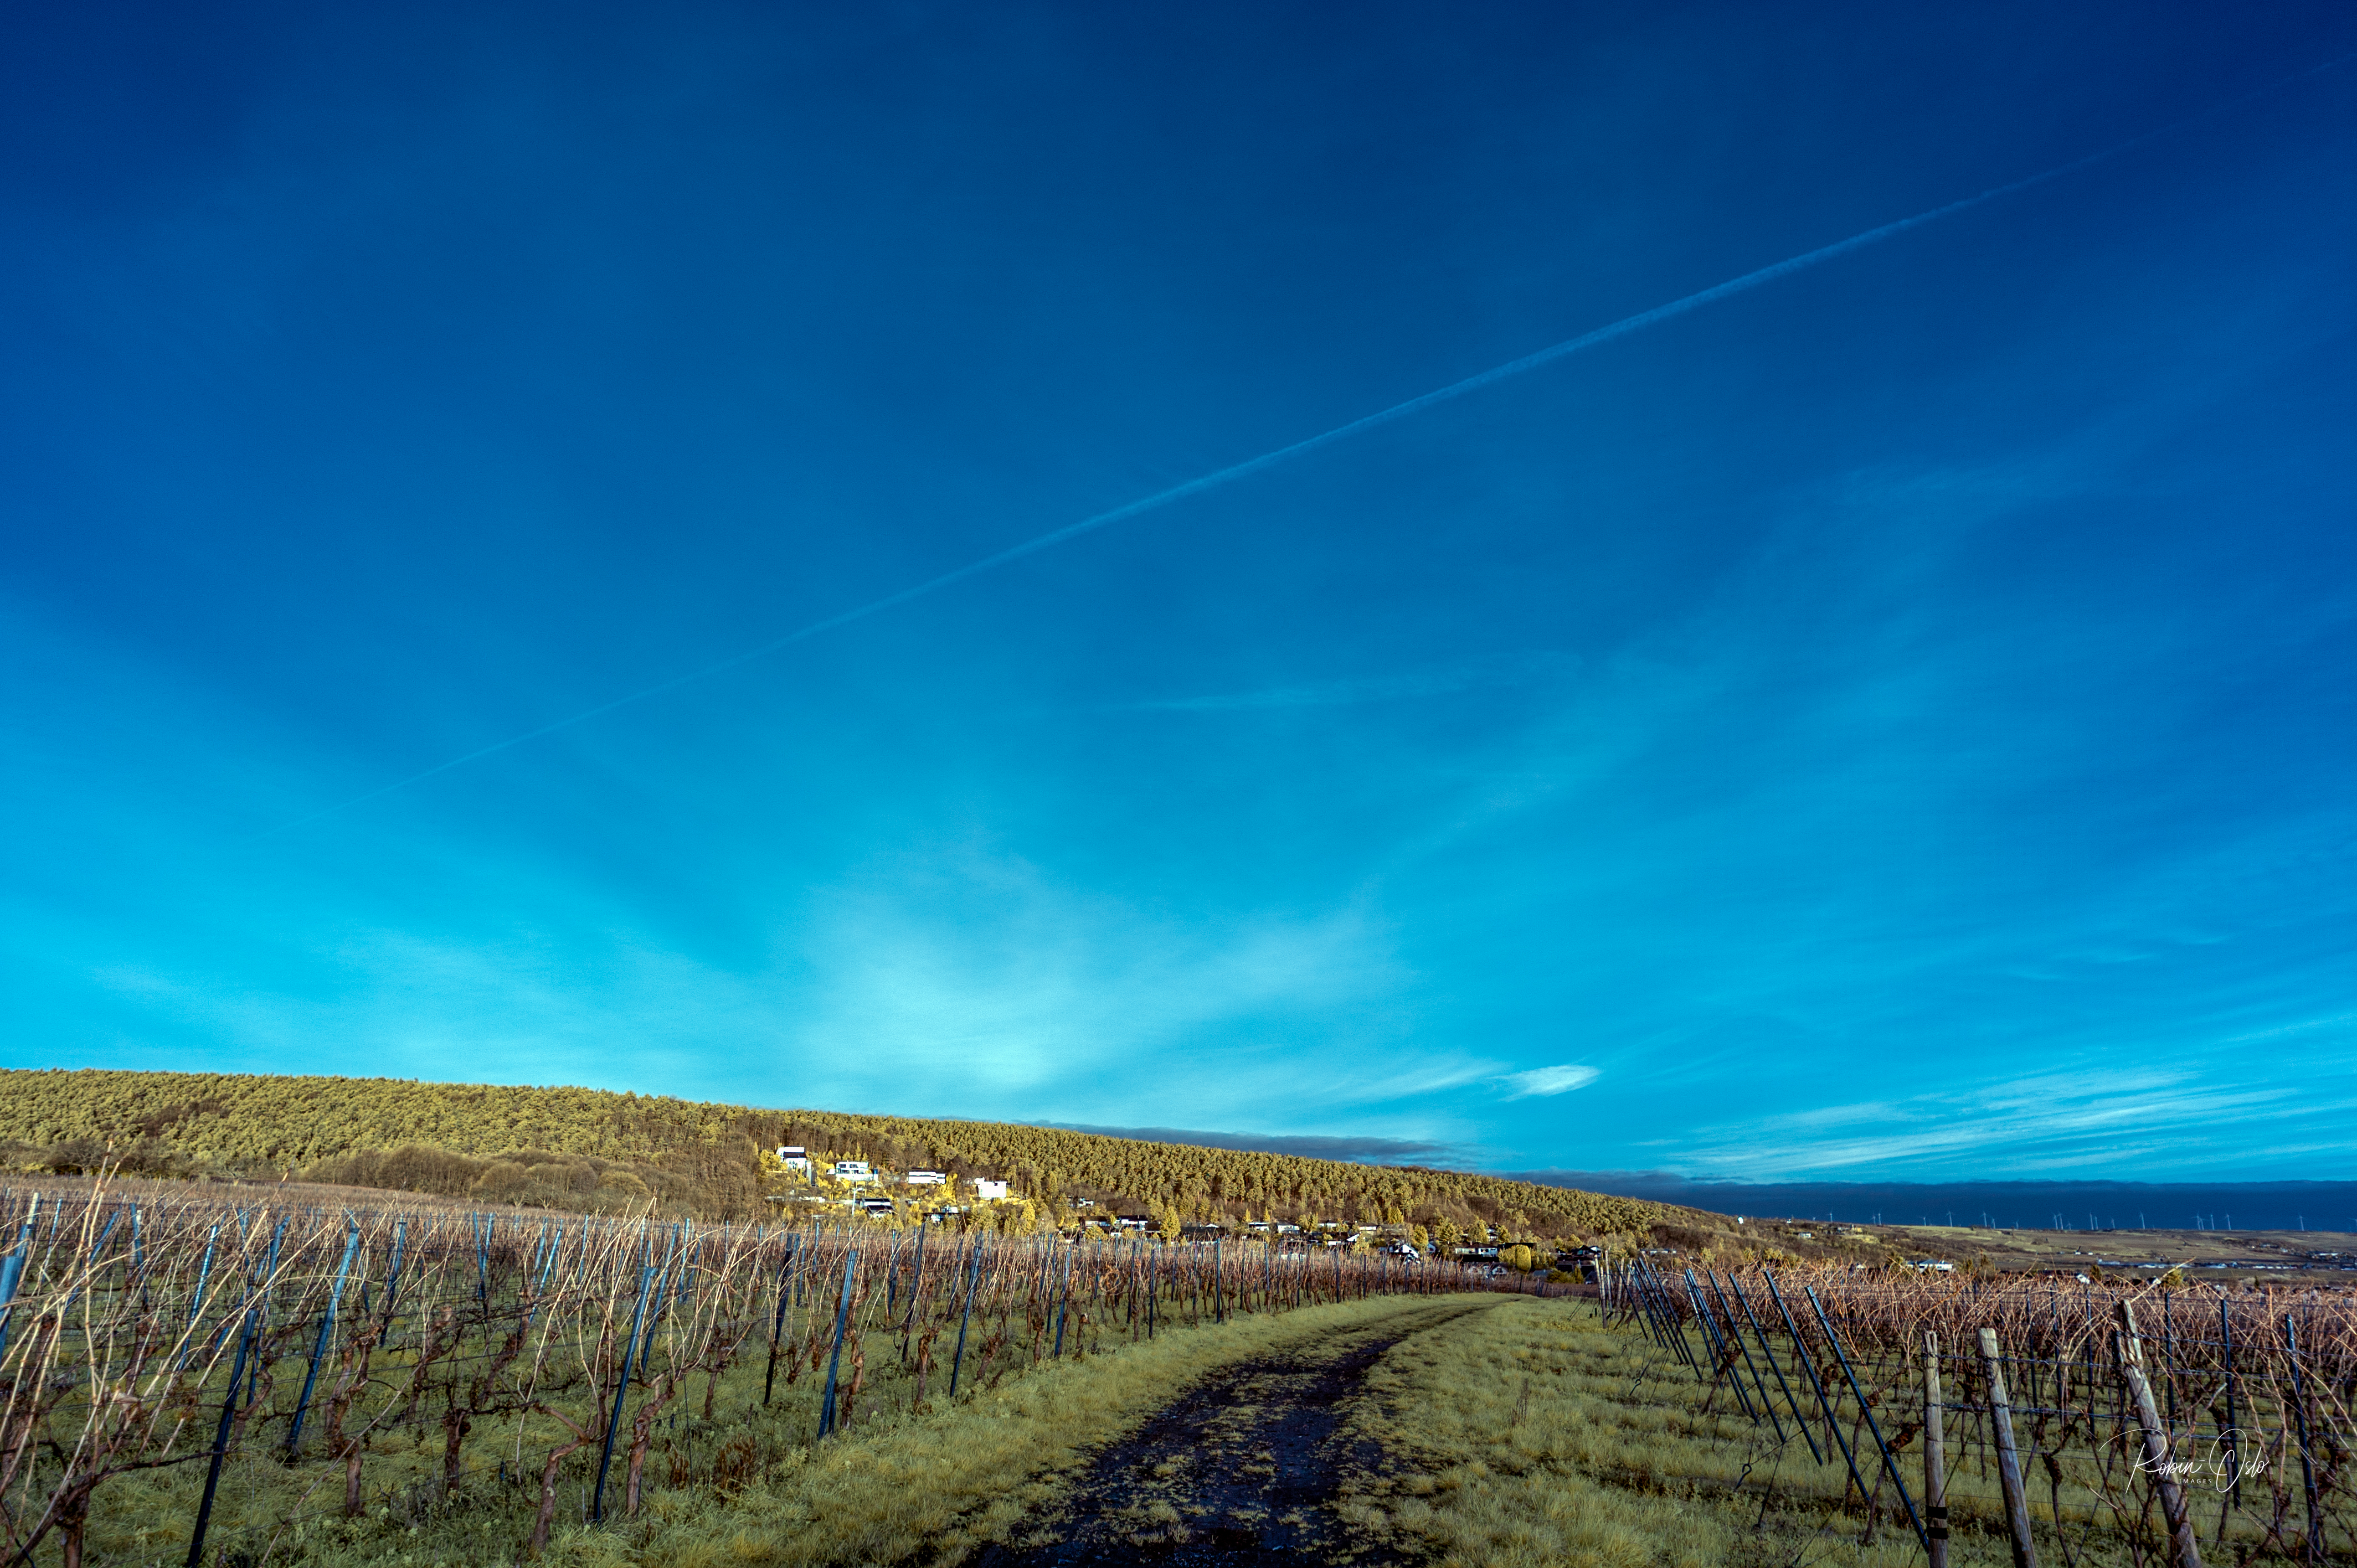
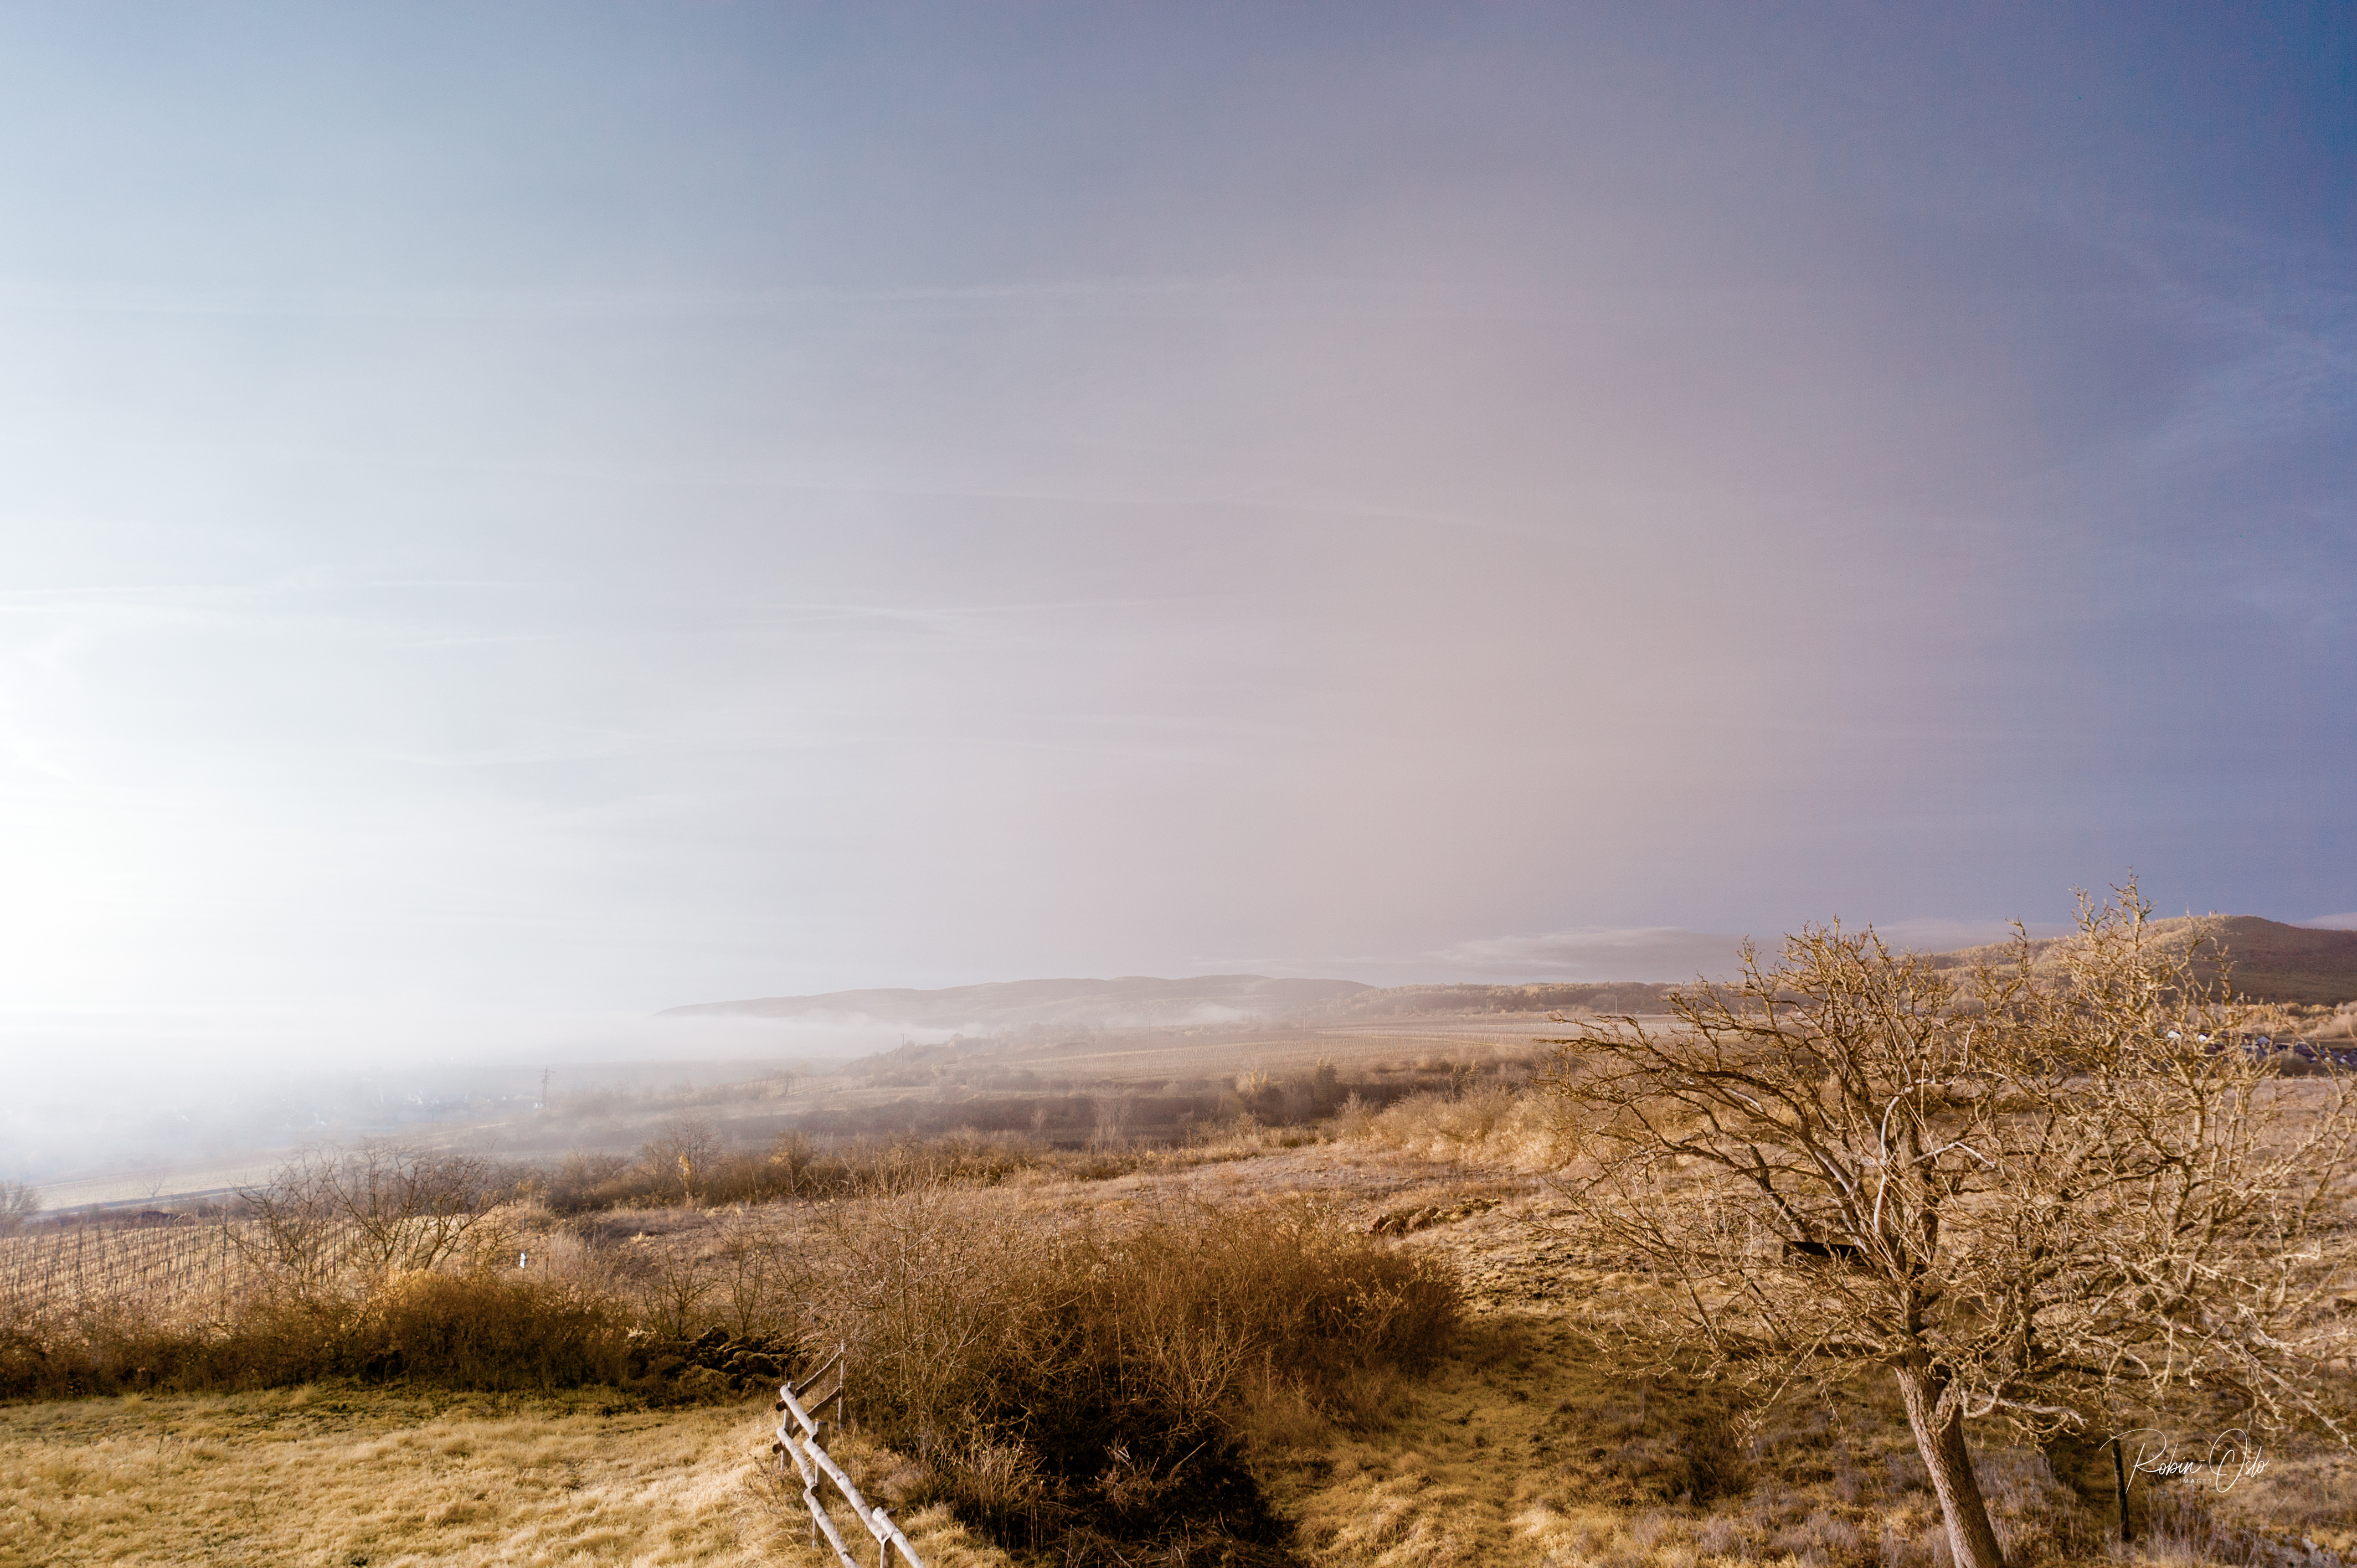
The Pfalz in January
February
I added the following paragraph and pictures on 27 February 2023. By this time, the merest breath of Spring can be felt in the Pfalz in Germany, where I live. The trees do not yet possess reflective leaves, but the first delicate flowers are appearing on early blooming almond trees.
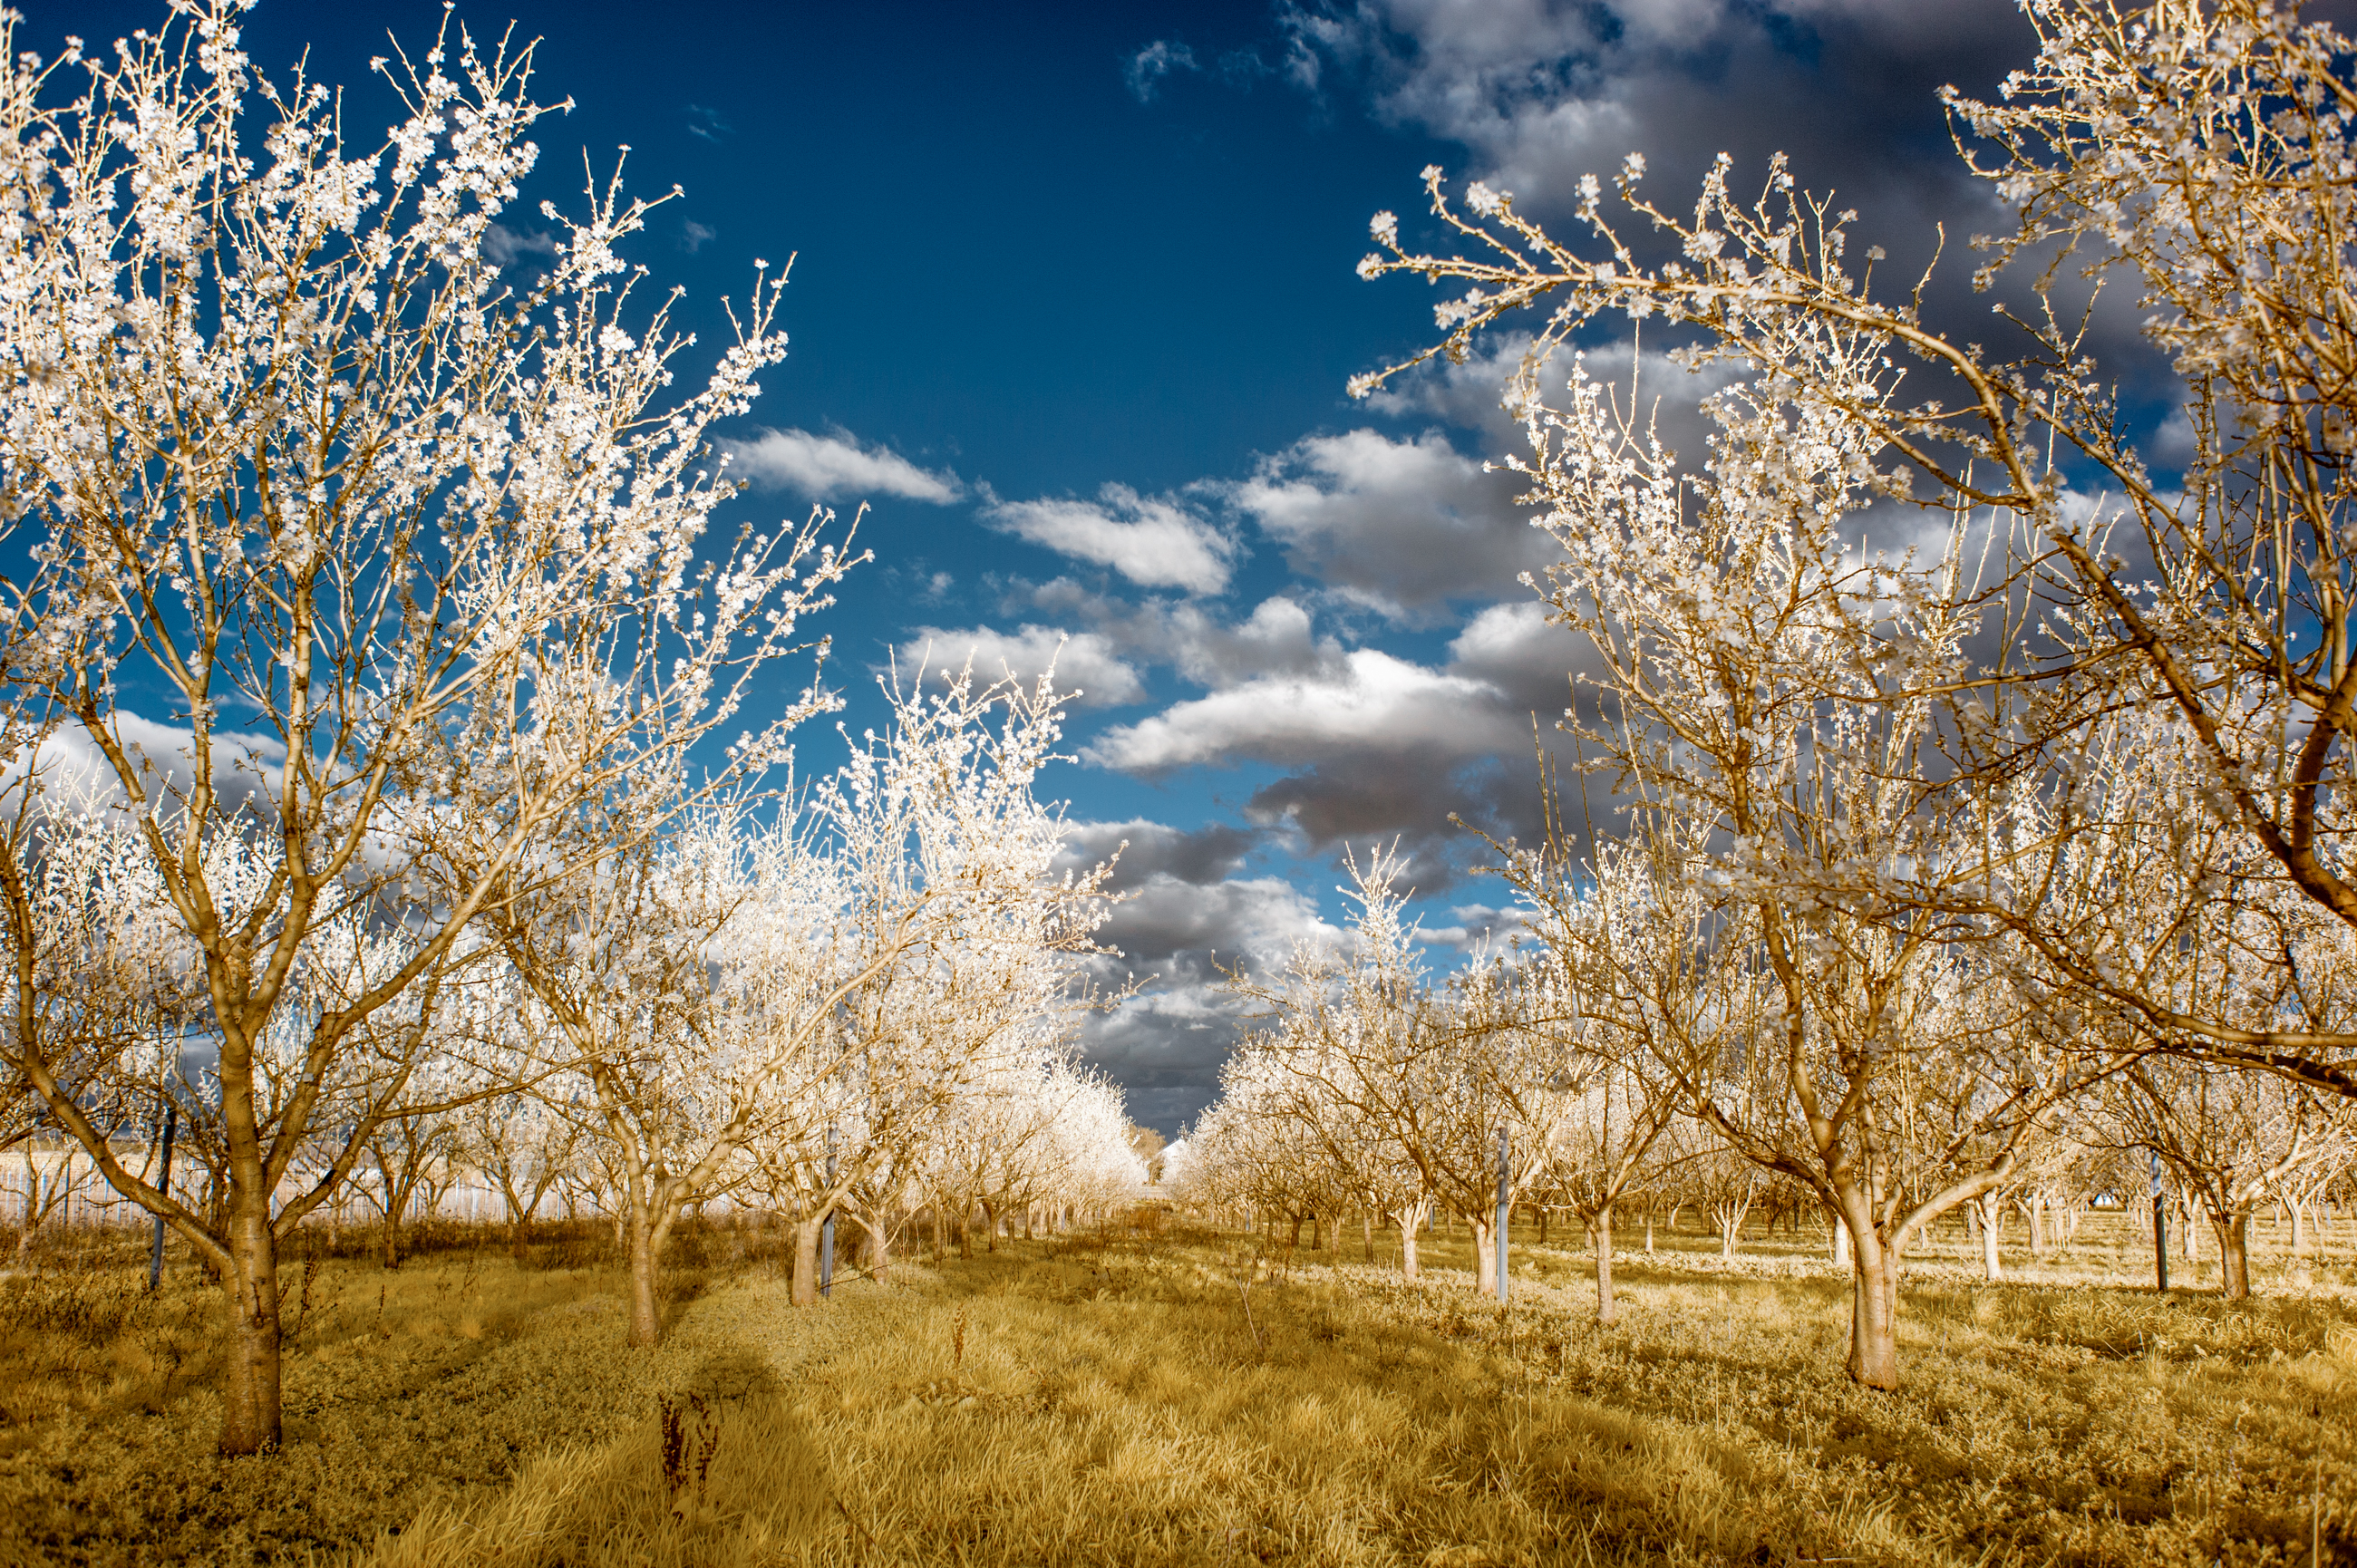
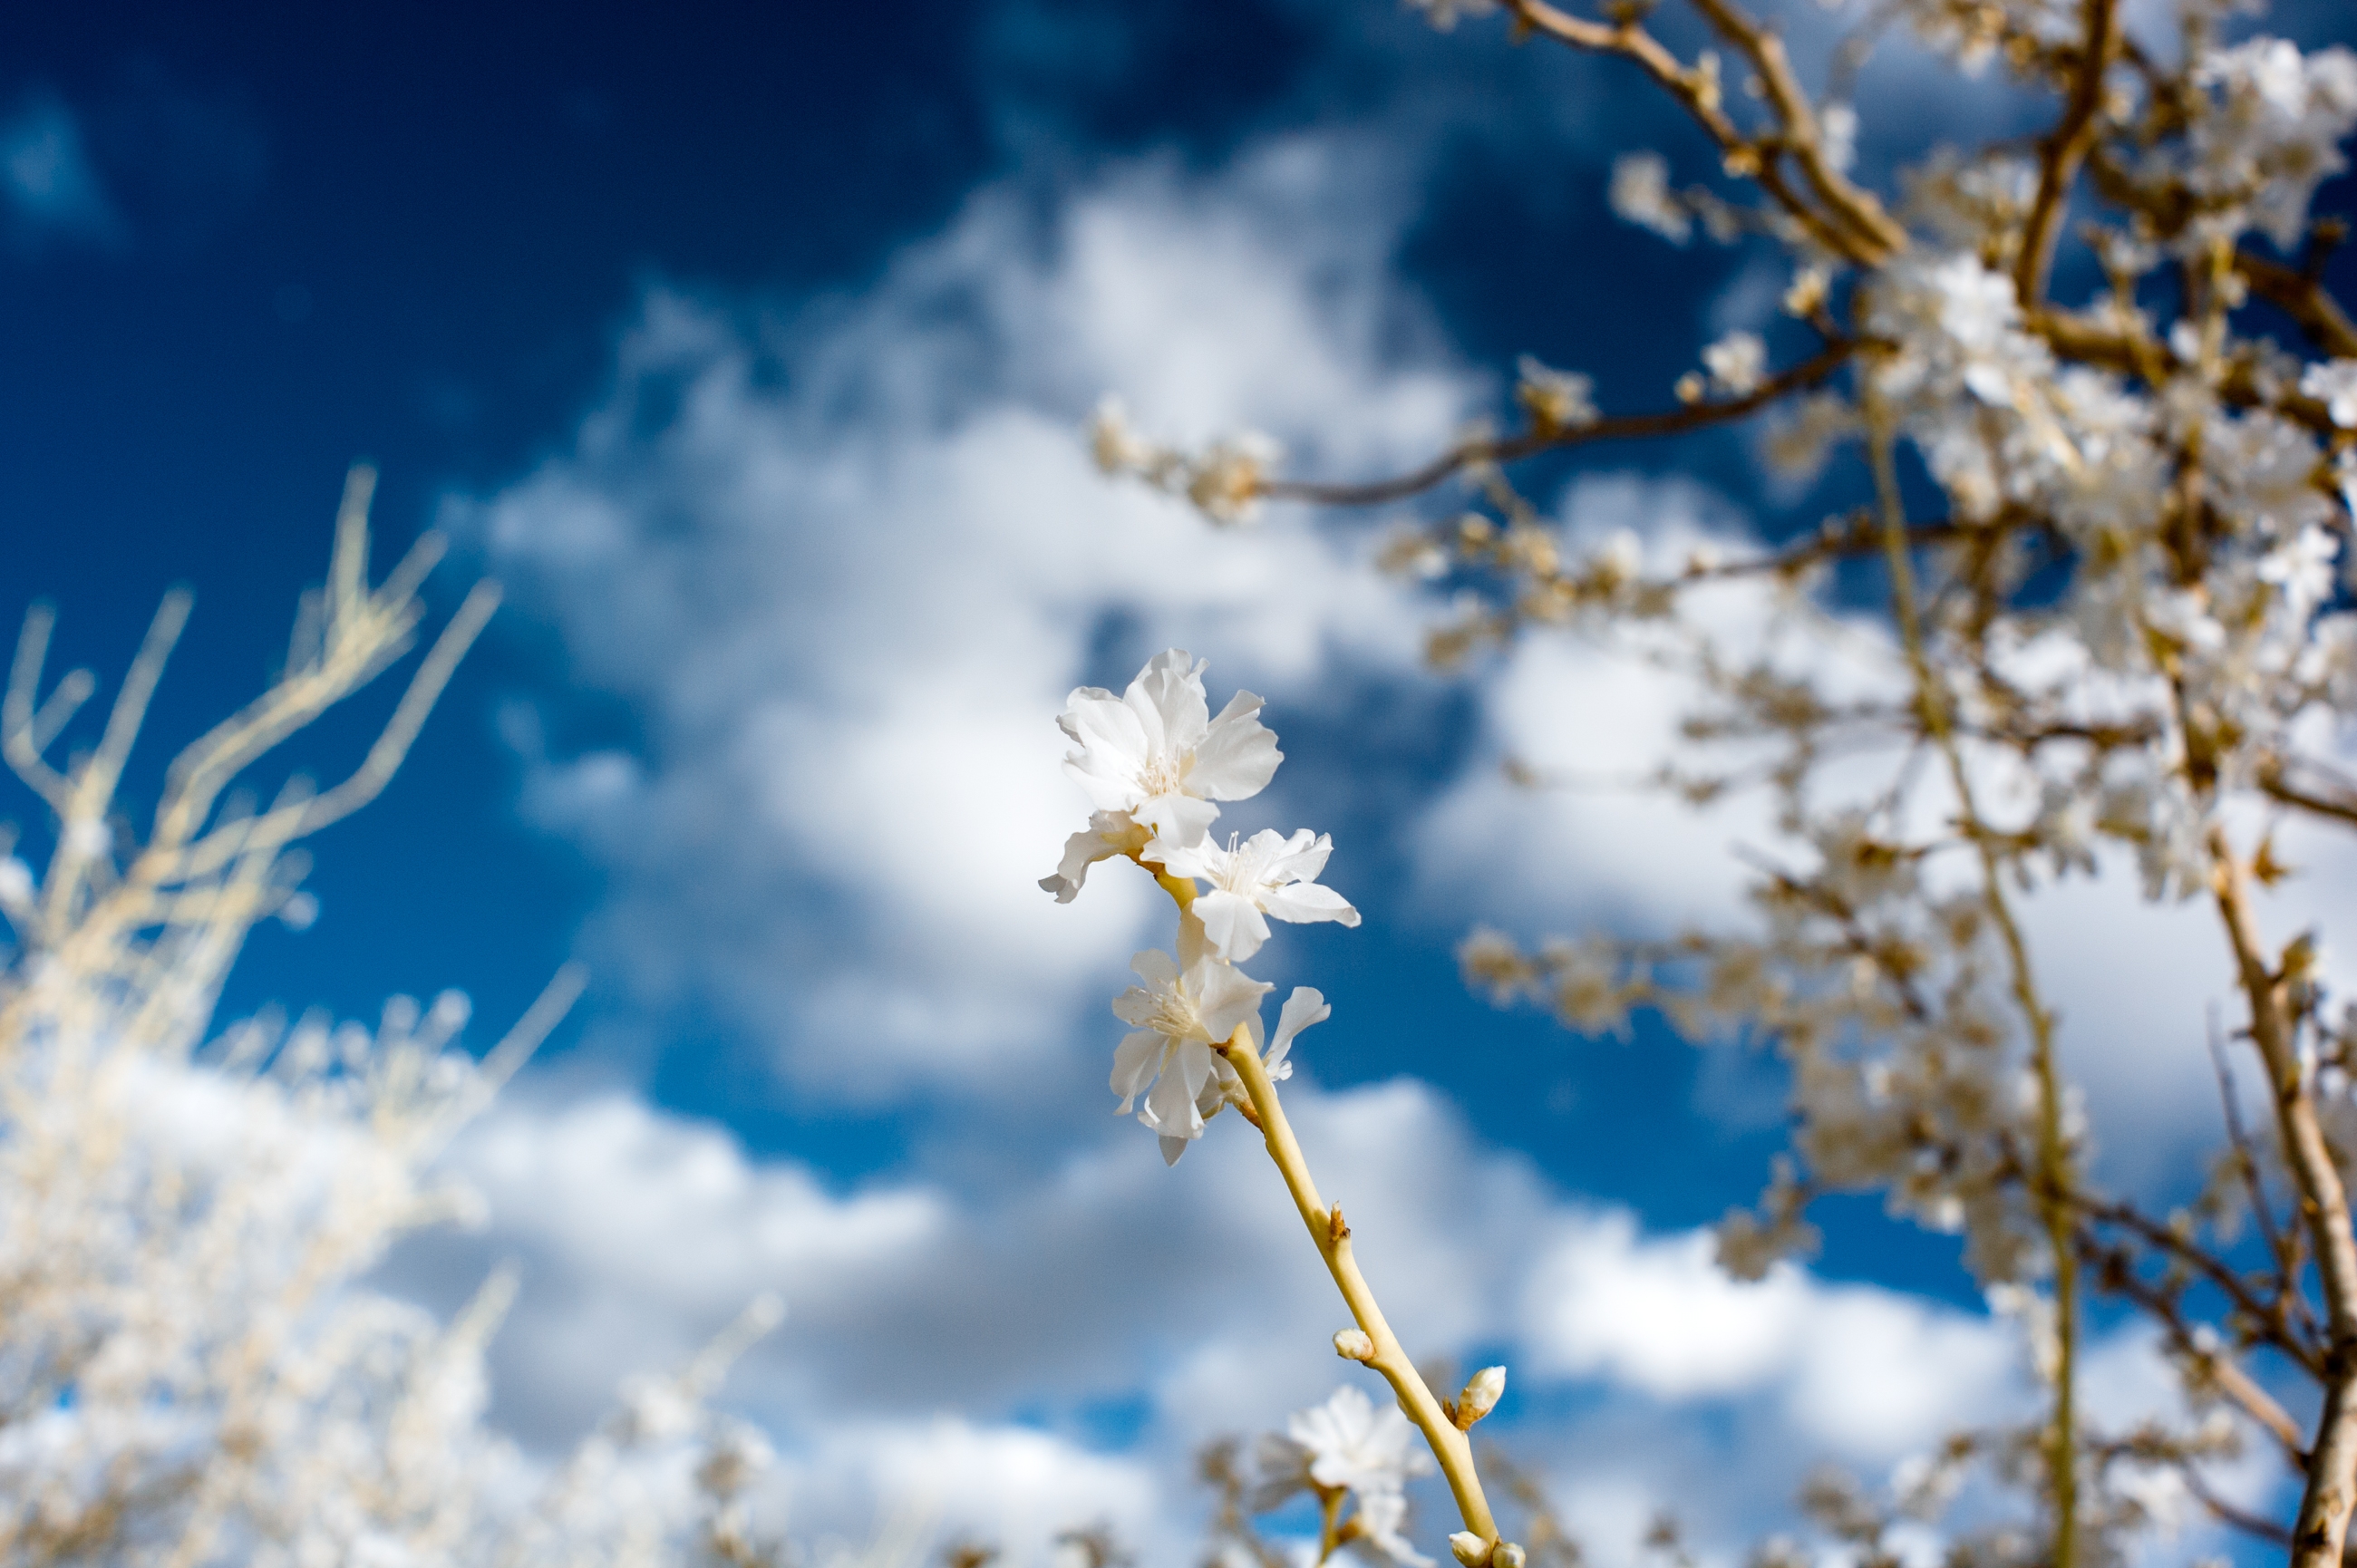
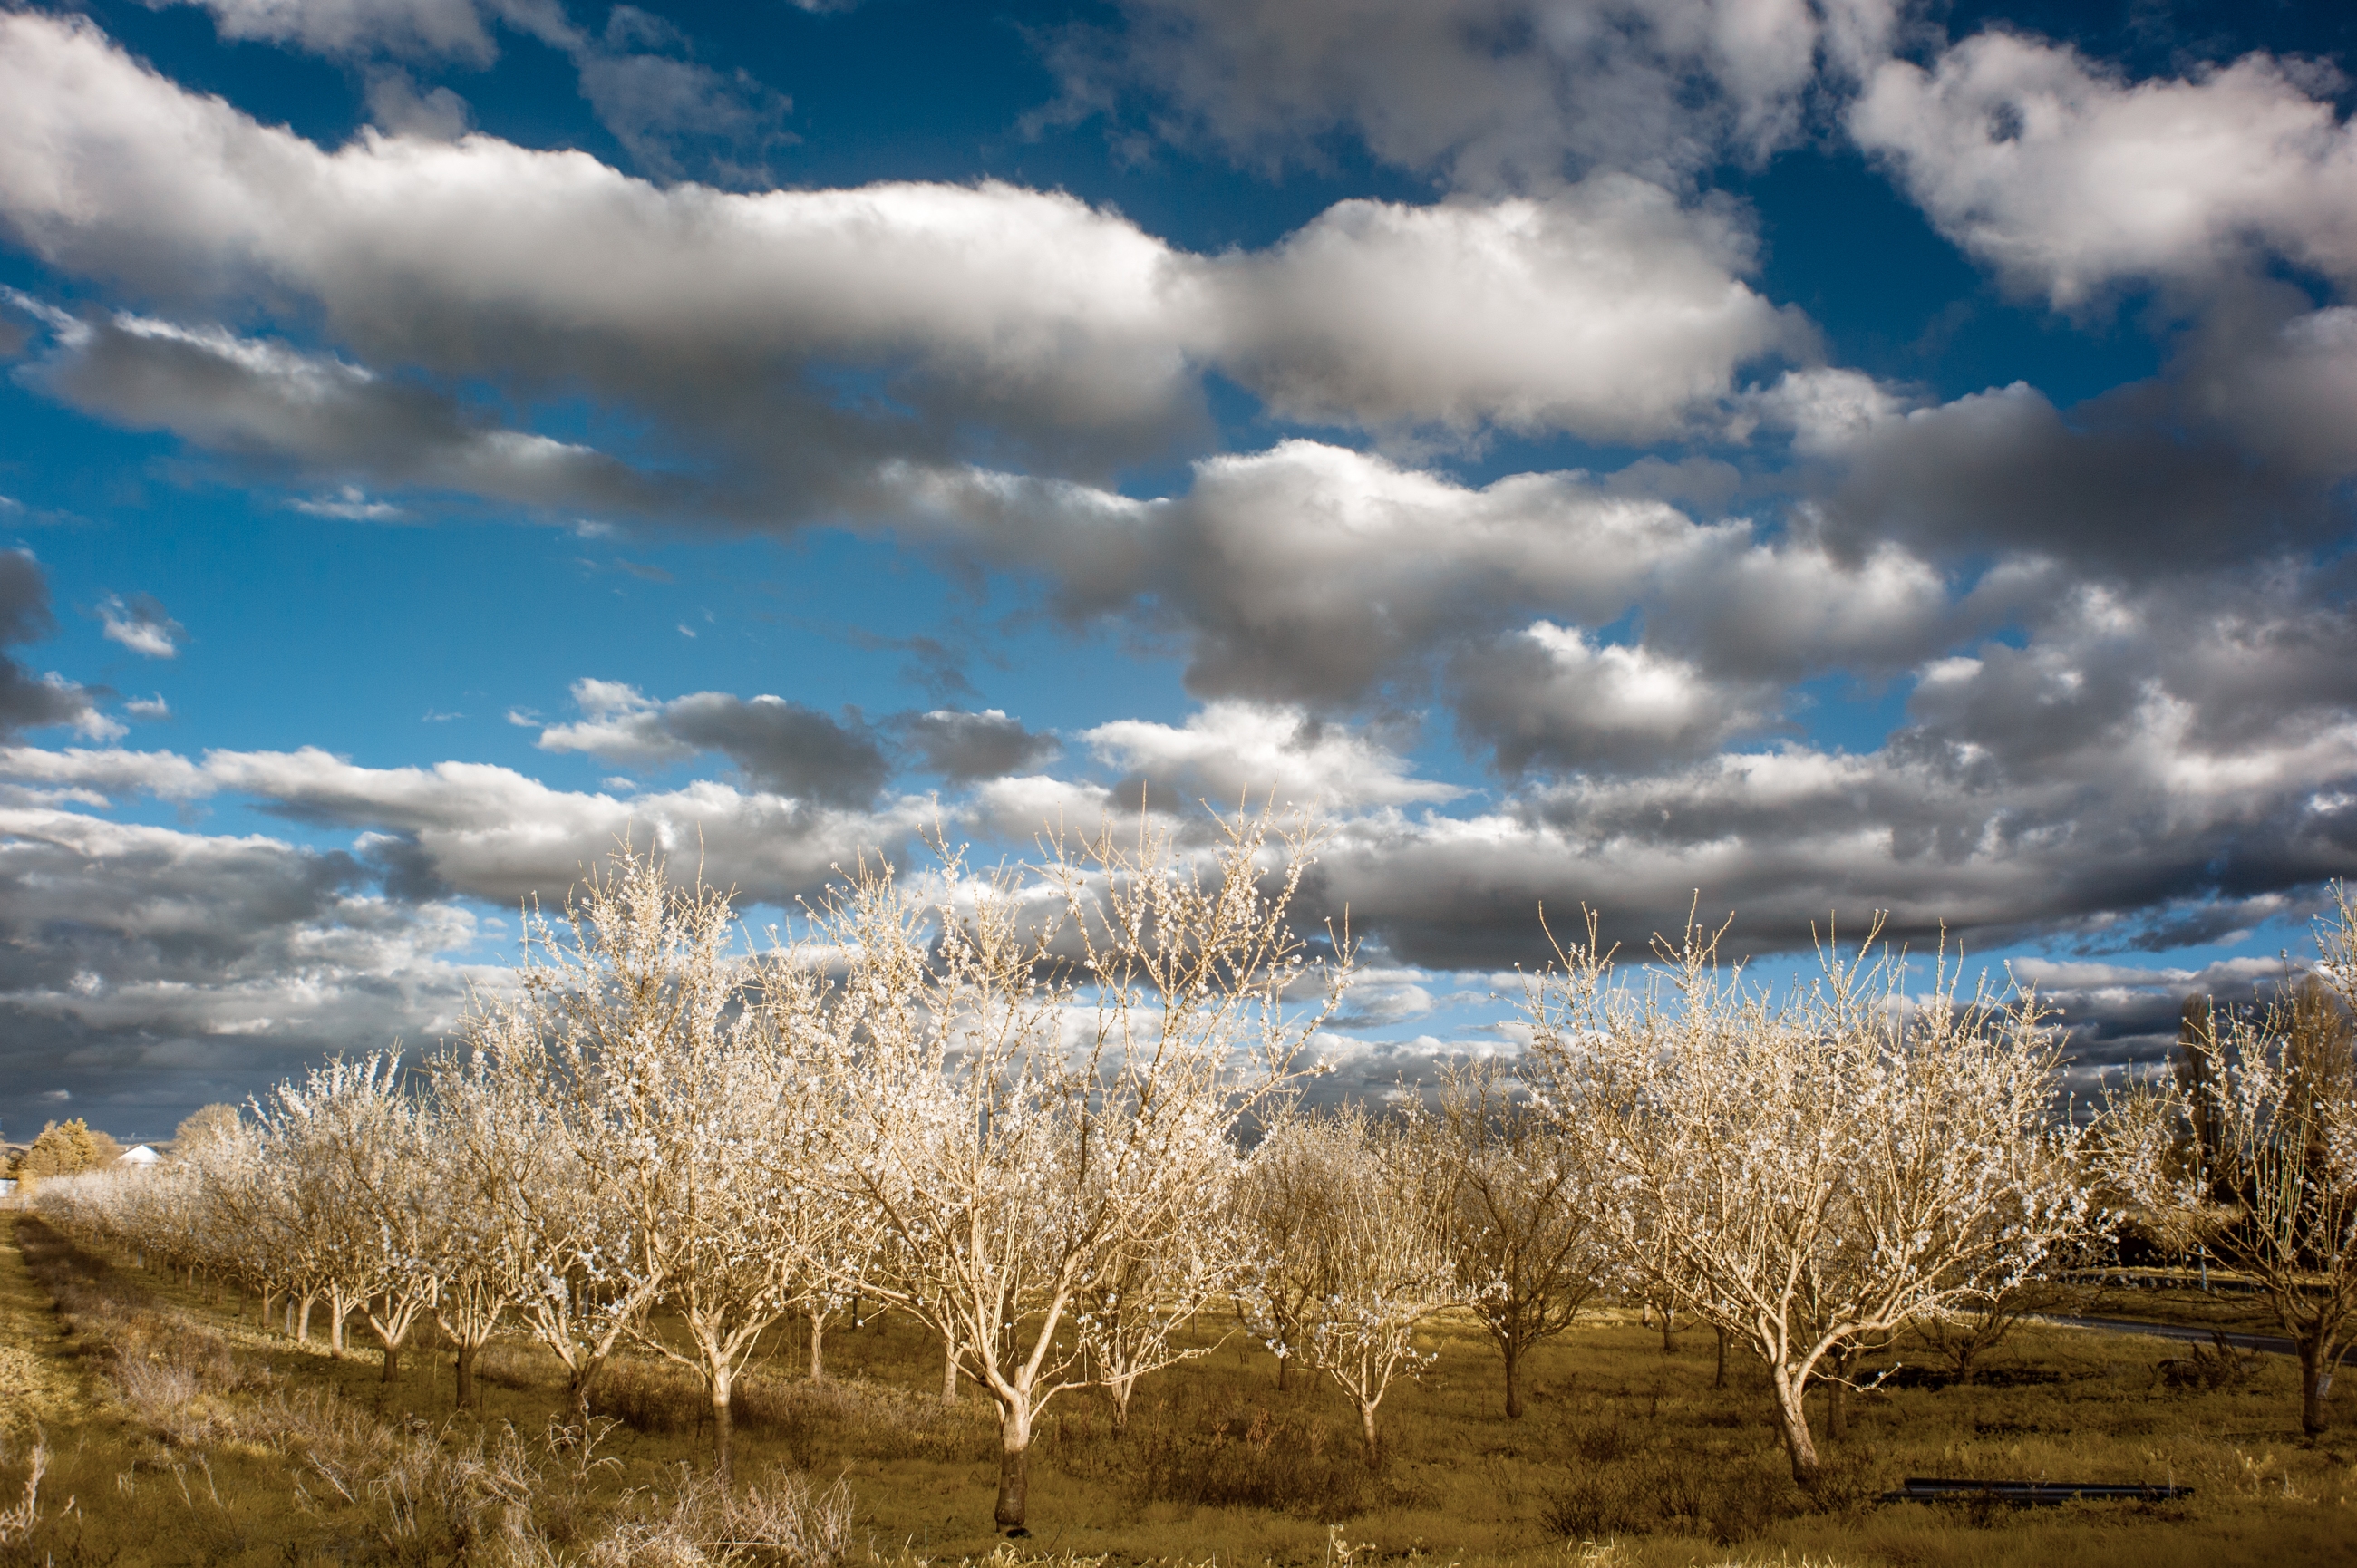
Almond bloom in infrared
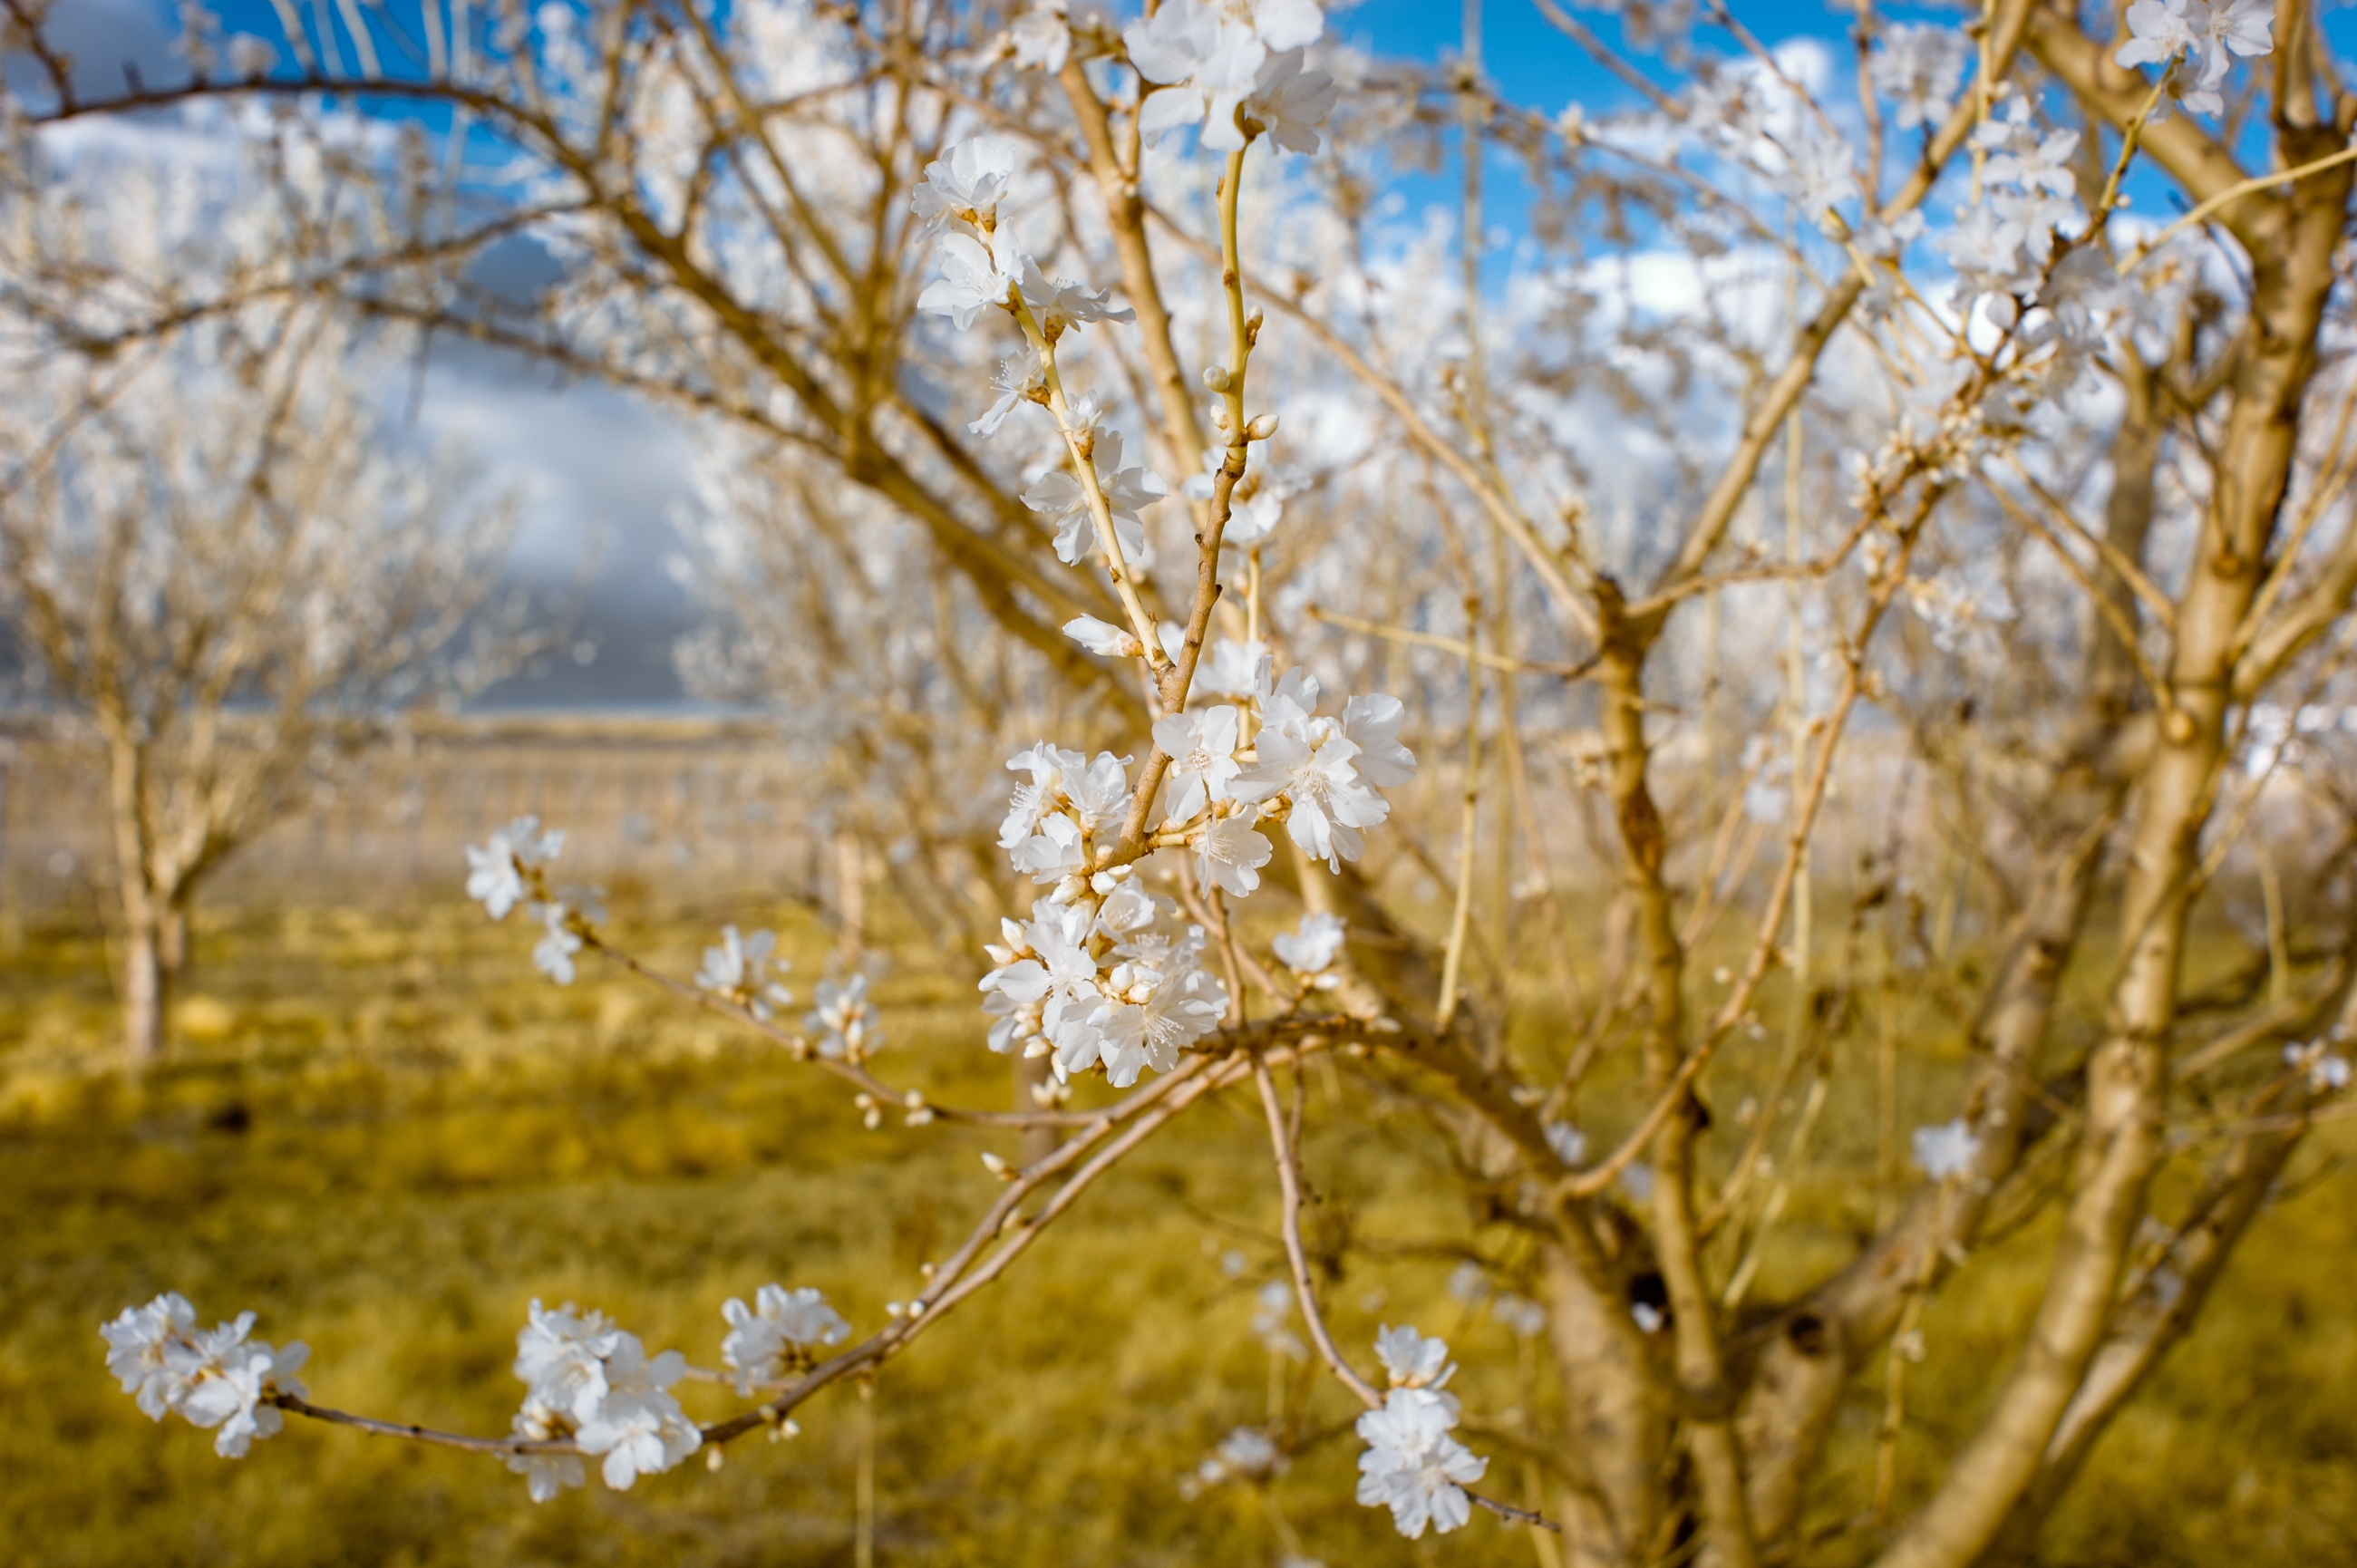
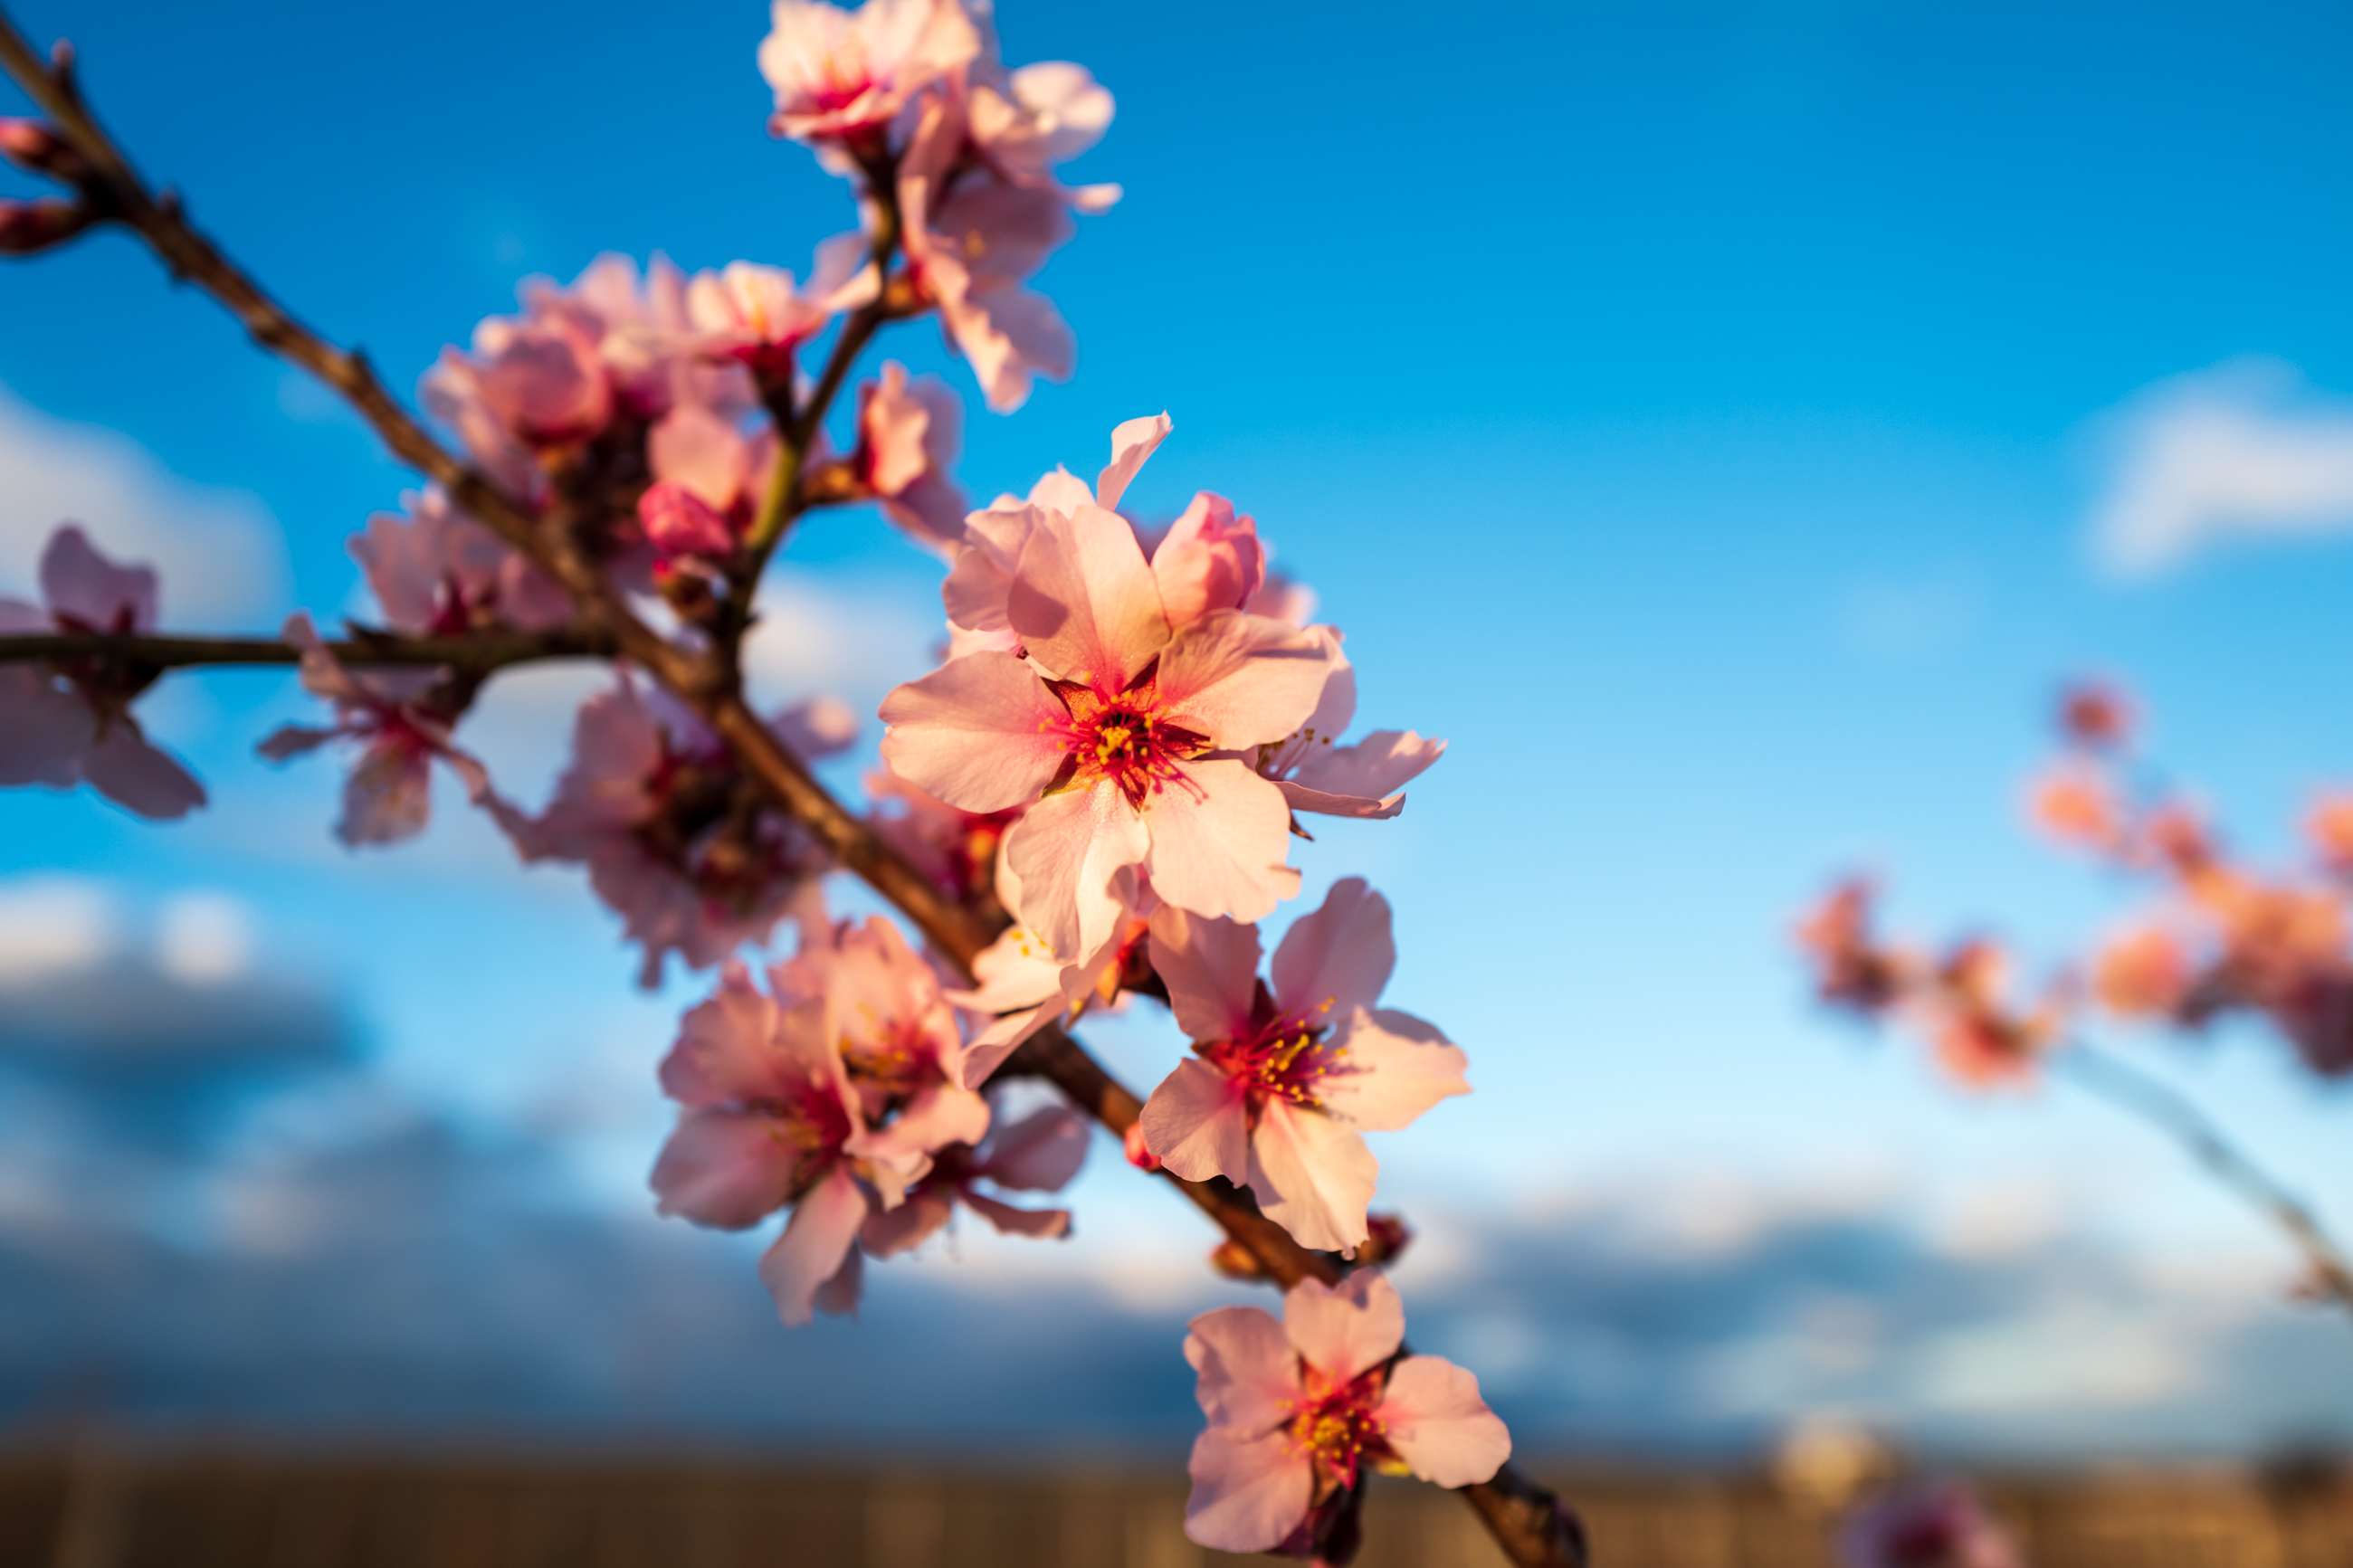
Comparison of the colour effect left infrared, right normal colours of a regular camera from the same almond grove.
Conversion to black and white using Silver Efex Pro 2
Conversion to black and white images can be done easily in Silver Efex Pro after the channel swap. I have noticed that many images appear subjectively to have a finer drawing. Maybe I’m just imagining it. In any case, darker image effects can be achieved that are probably not to everyone’s taste but, from my perspective, are well worth seeing.
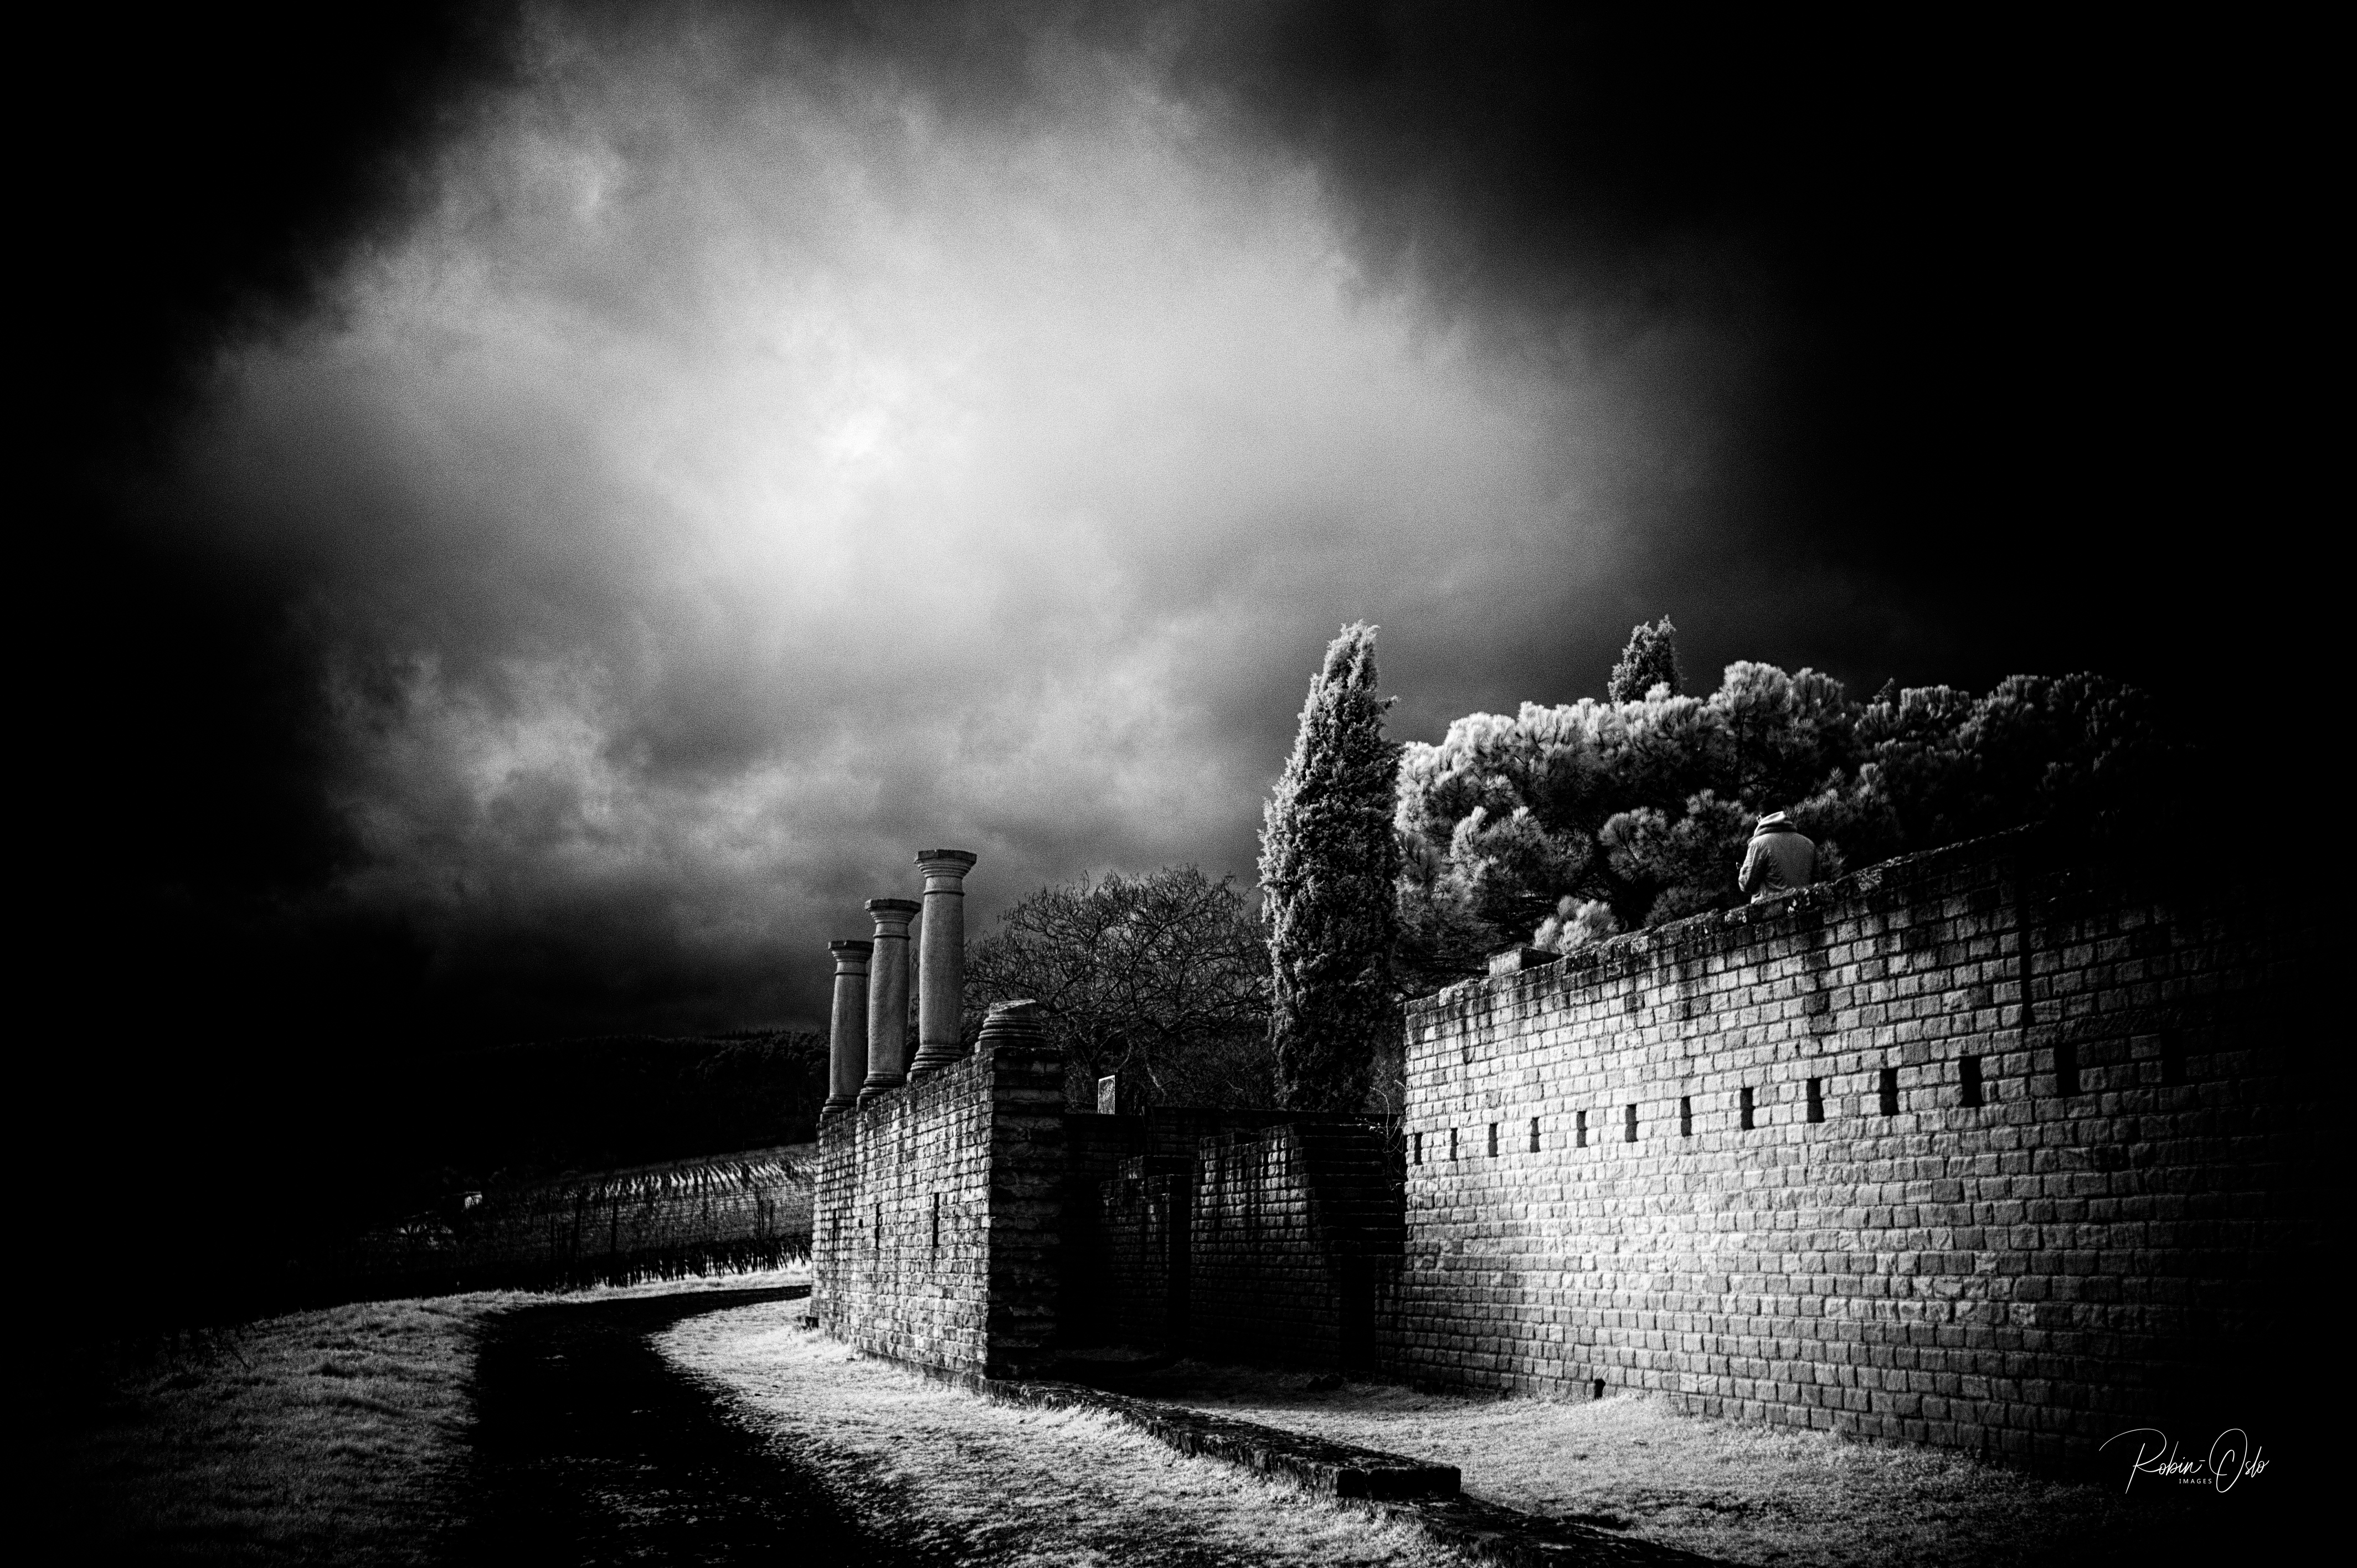
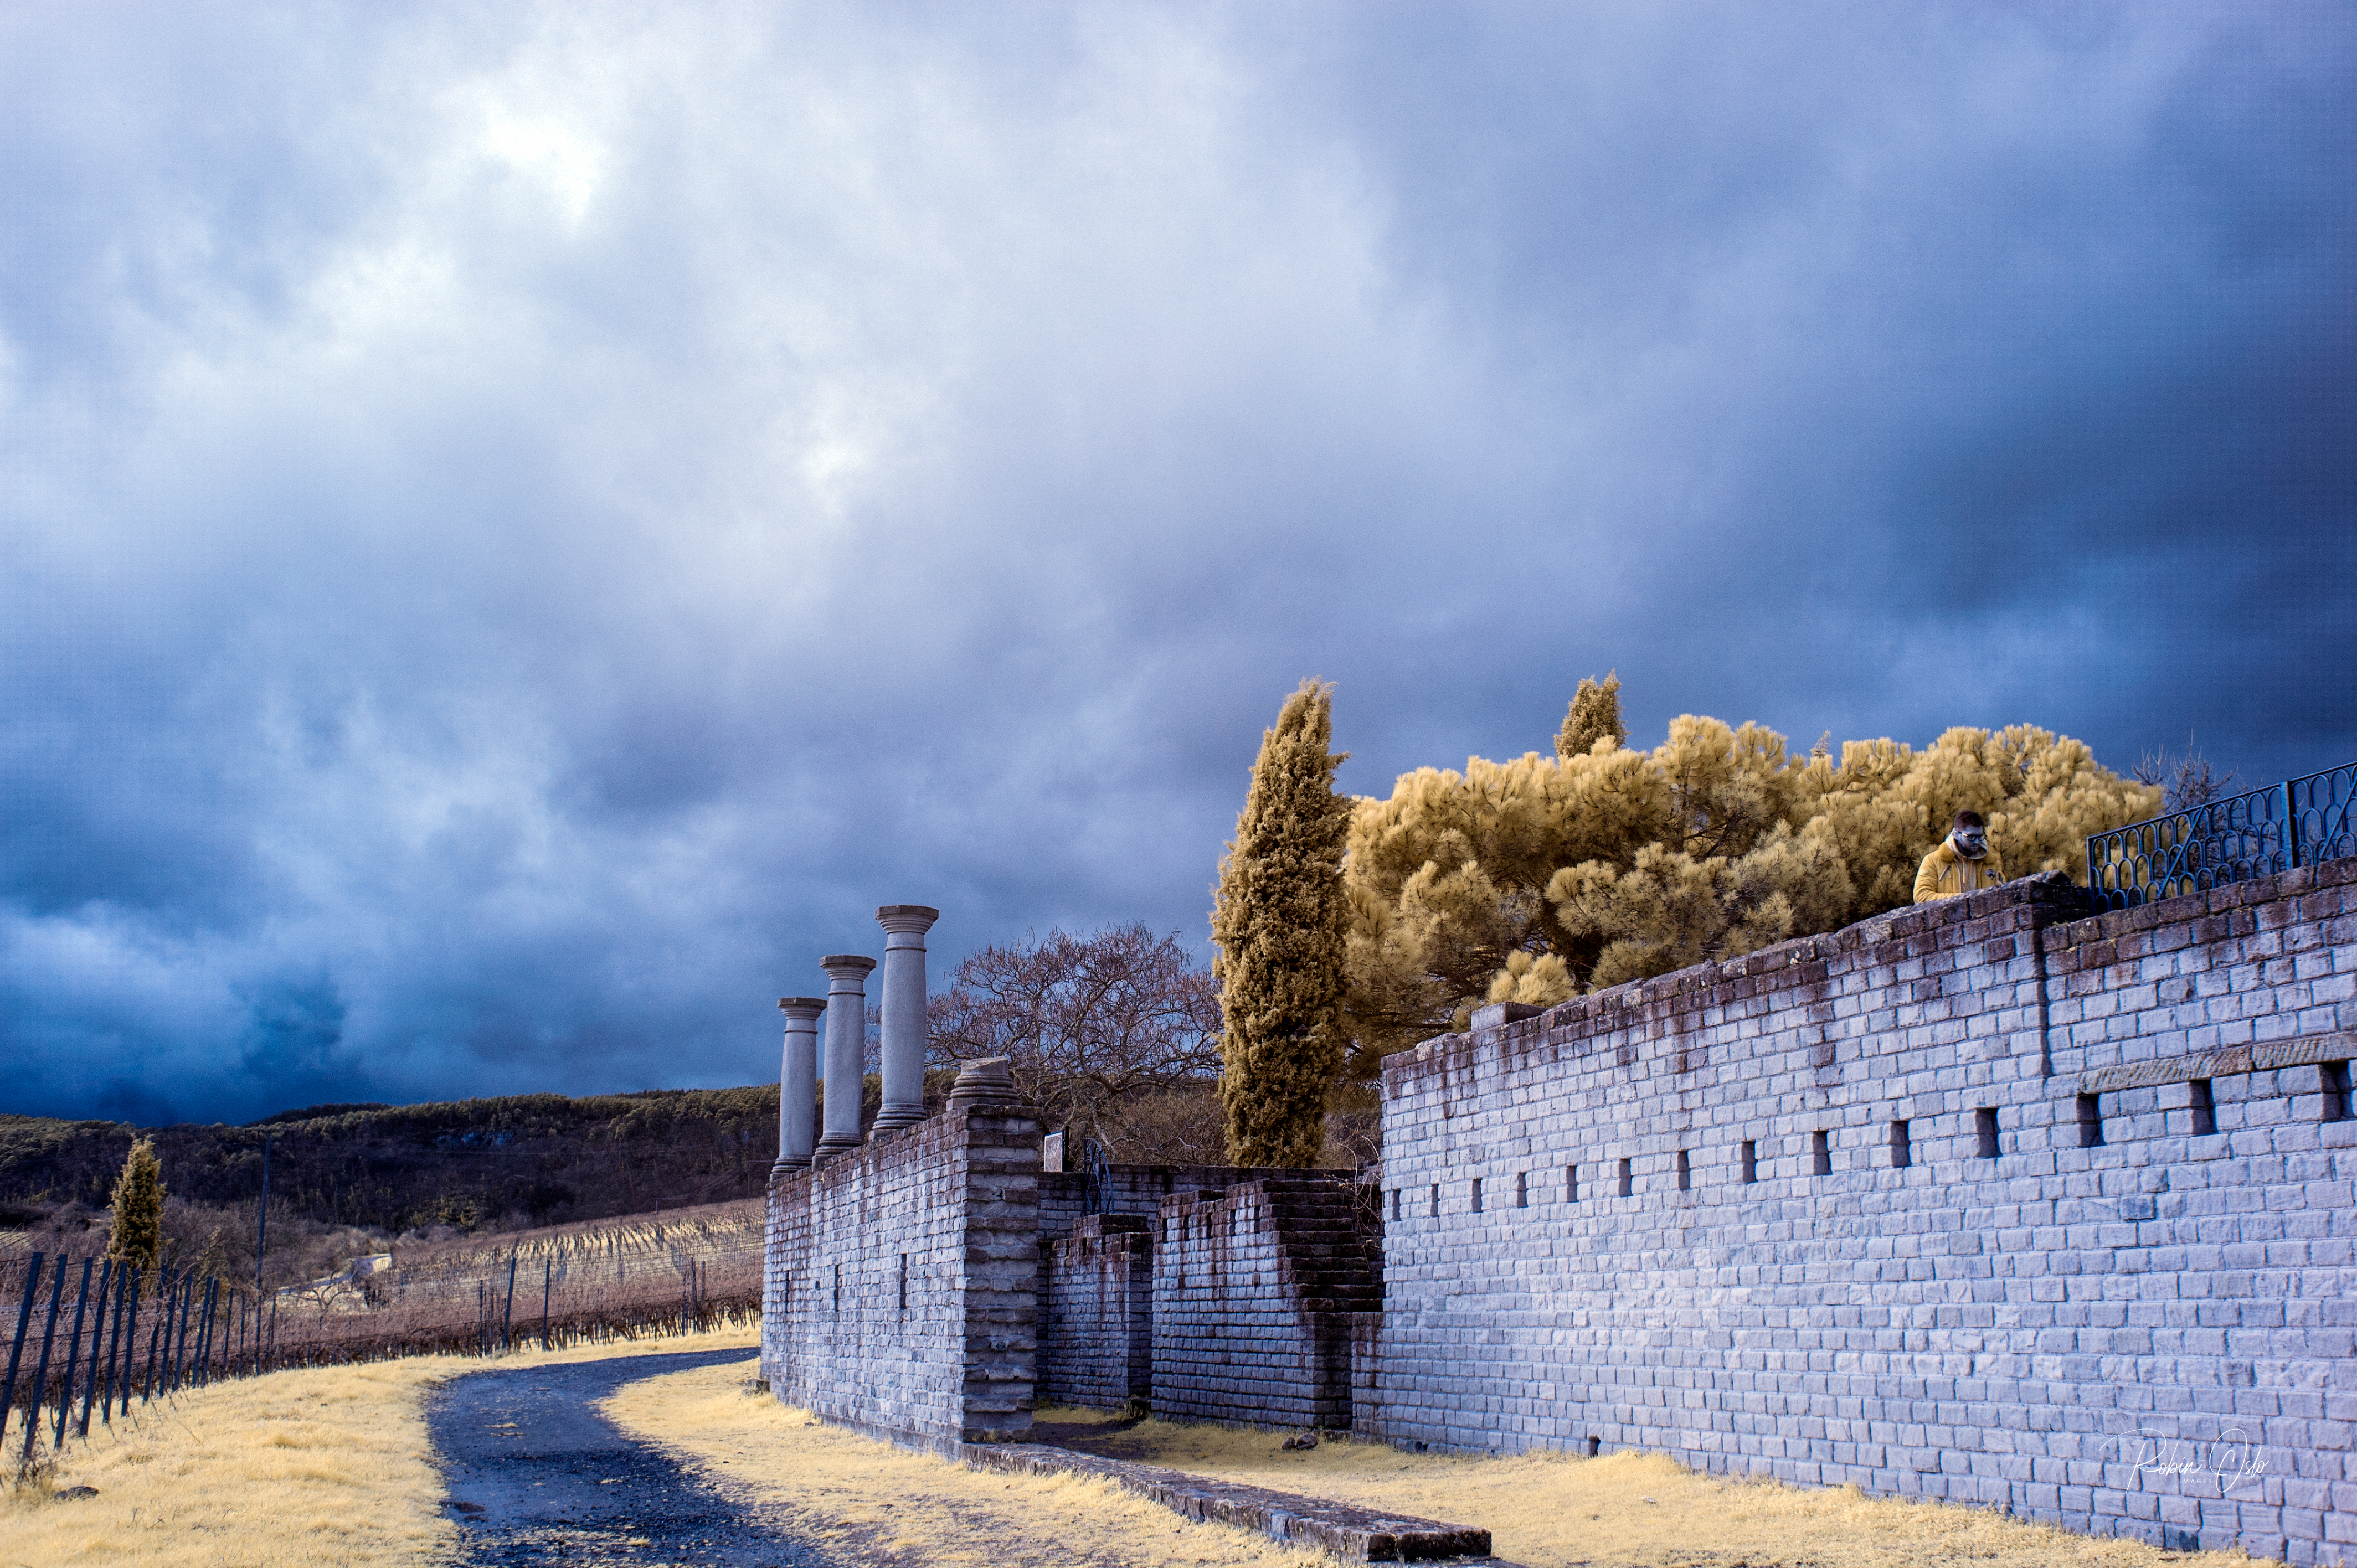
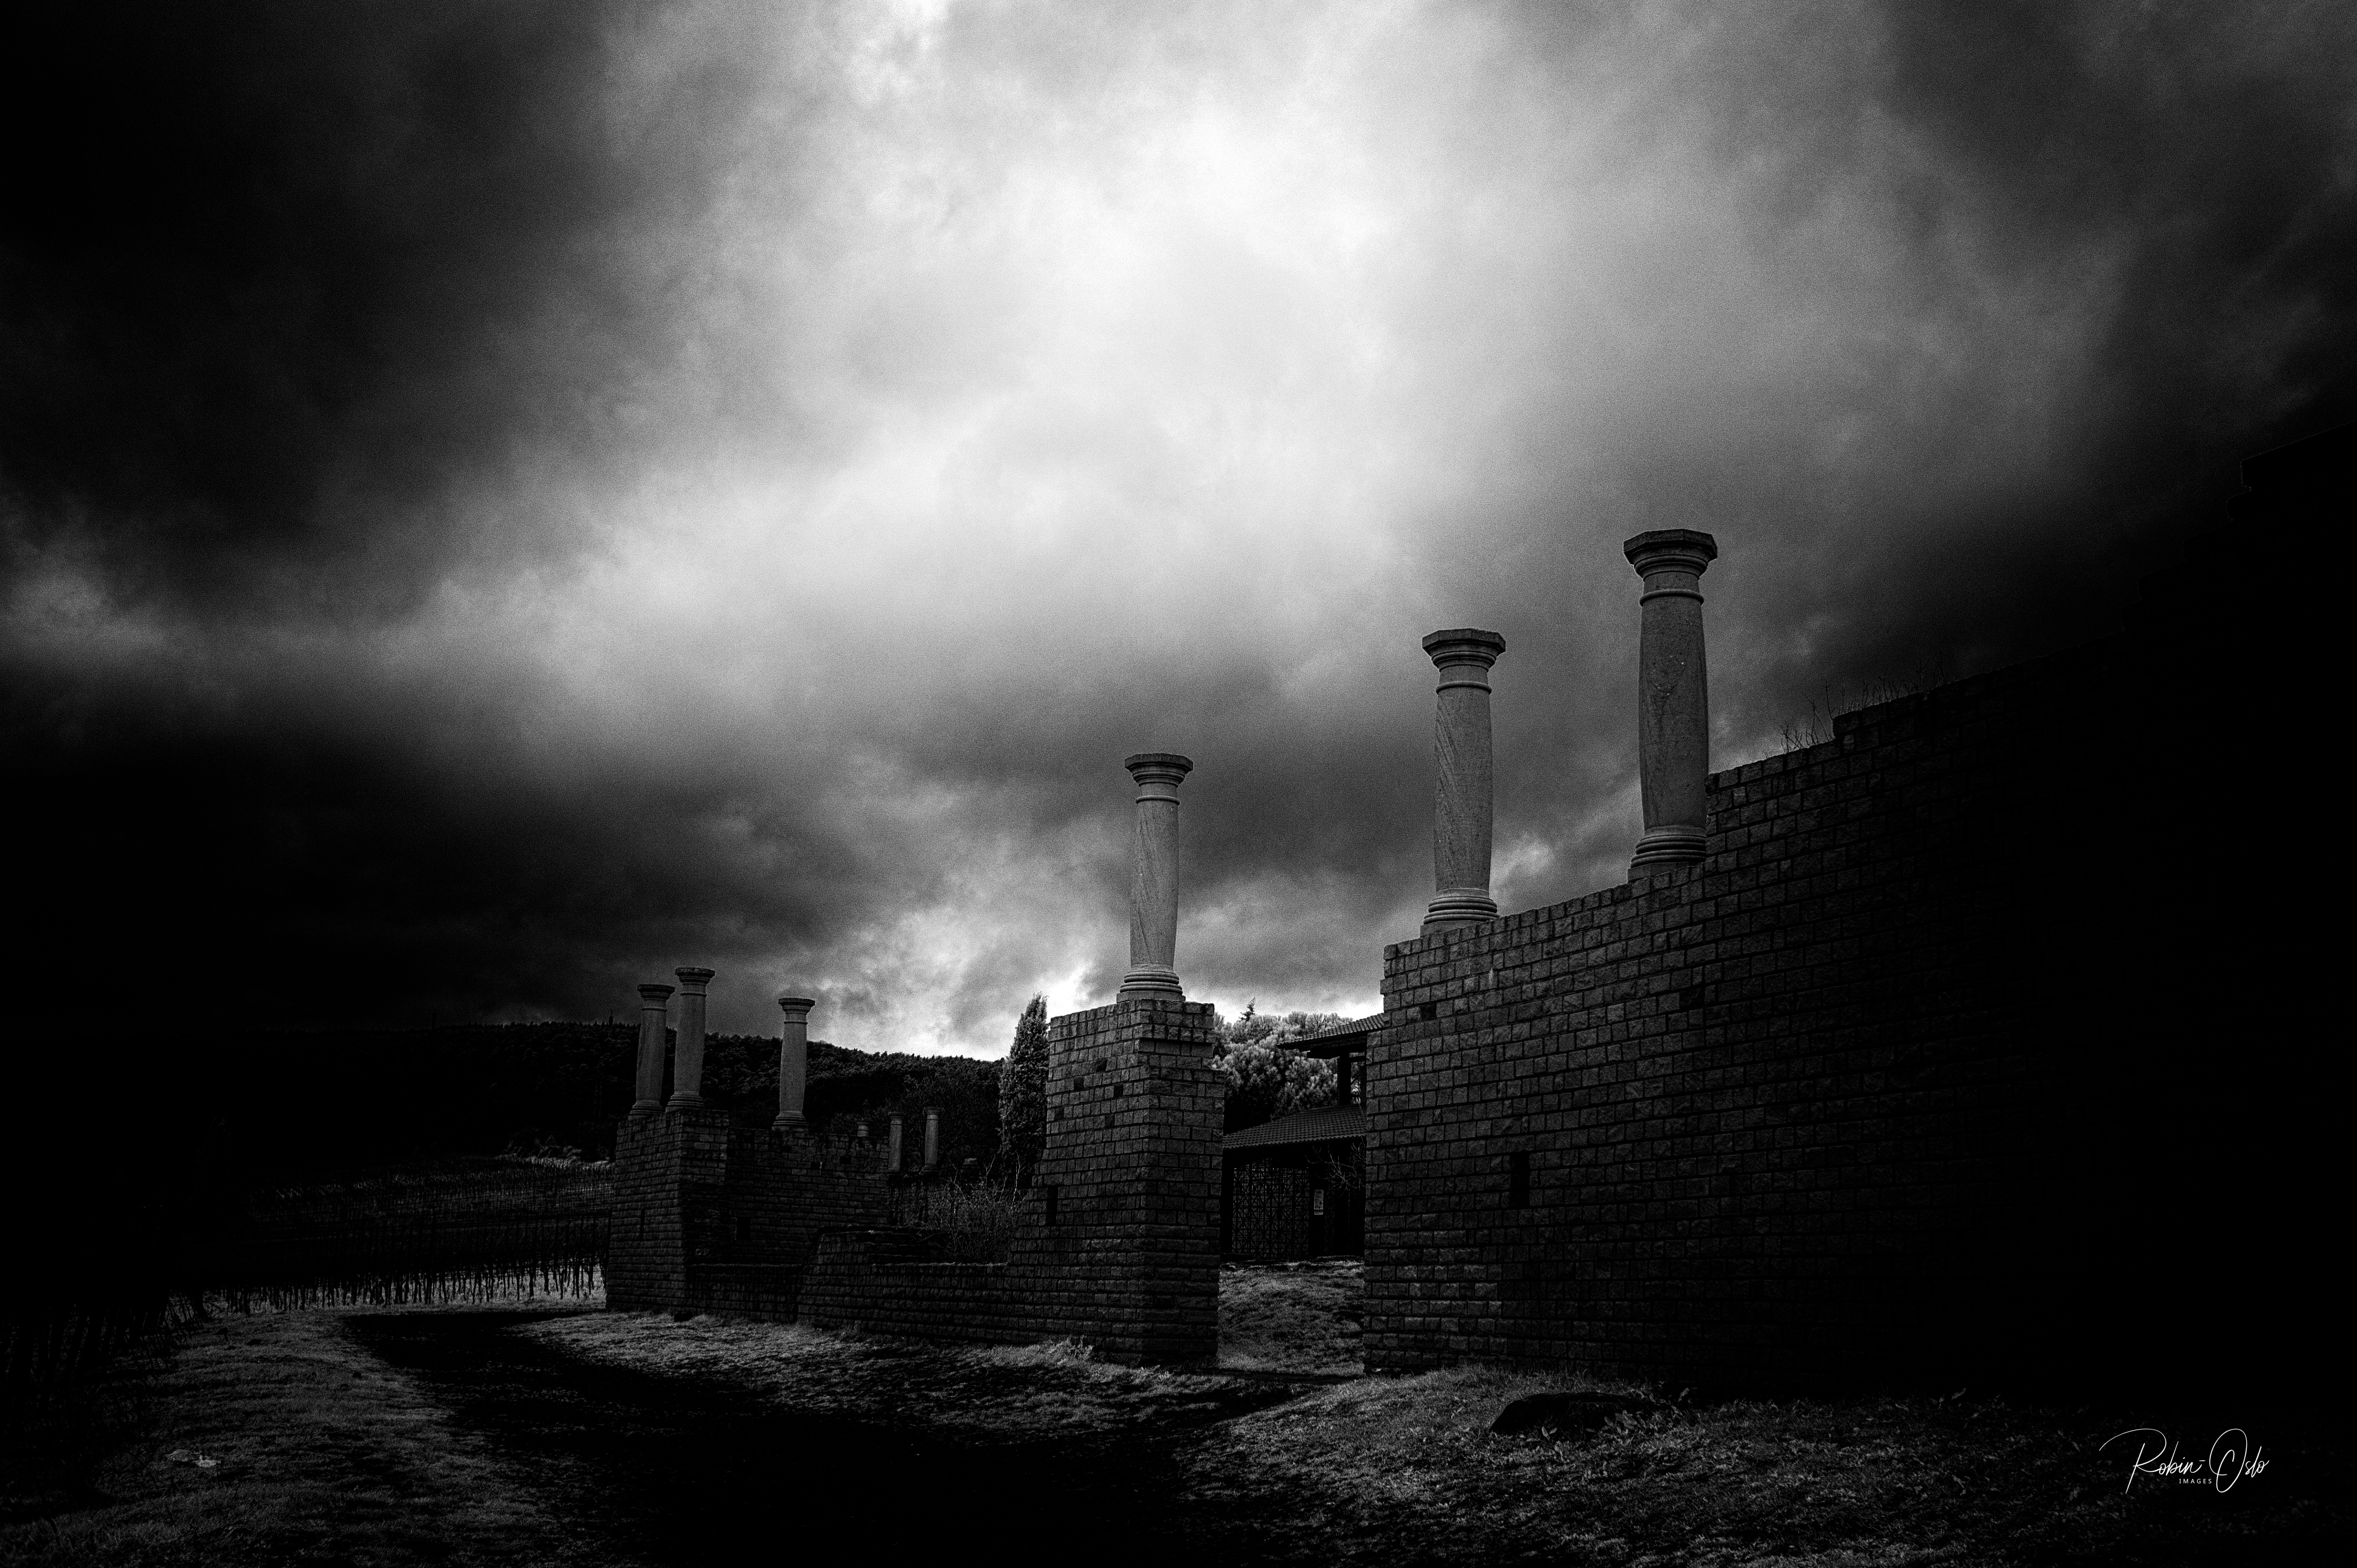
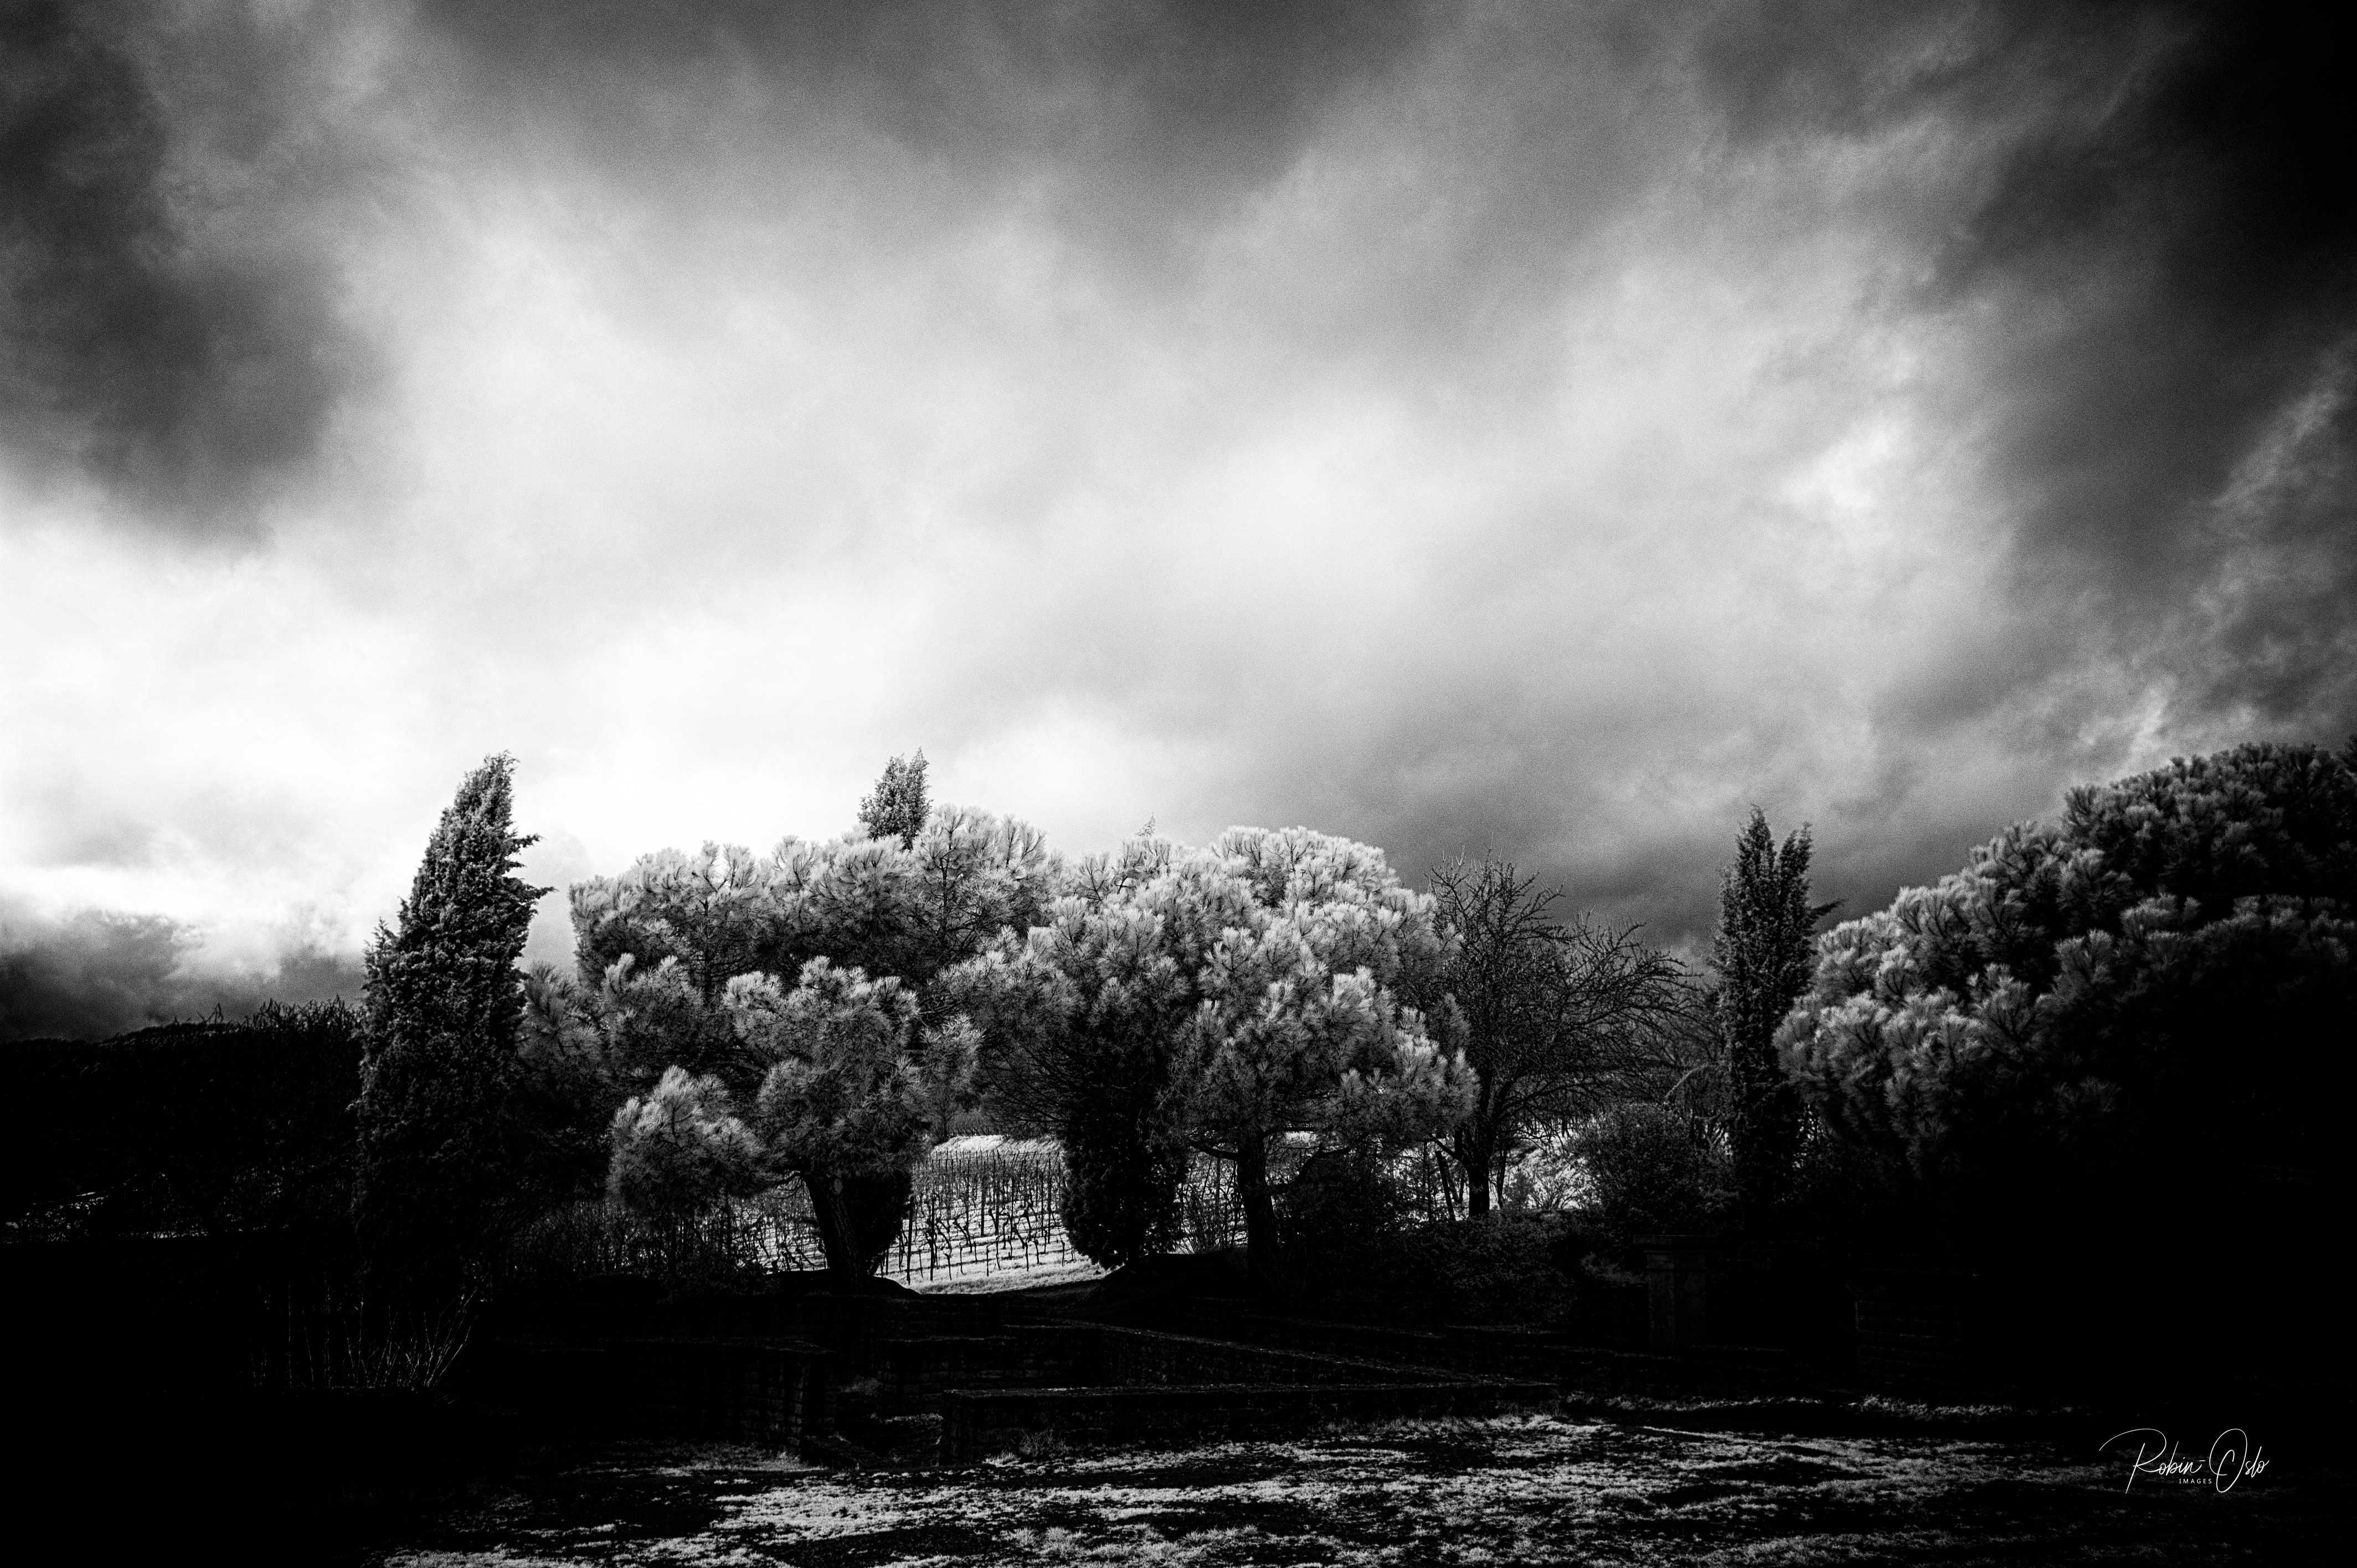
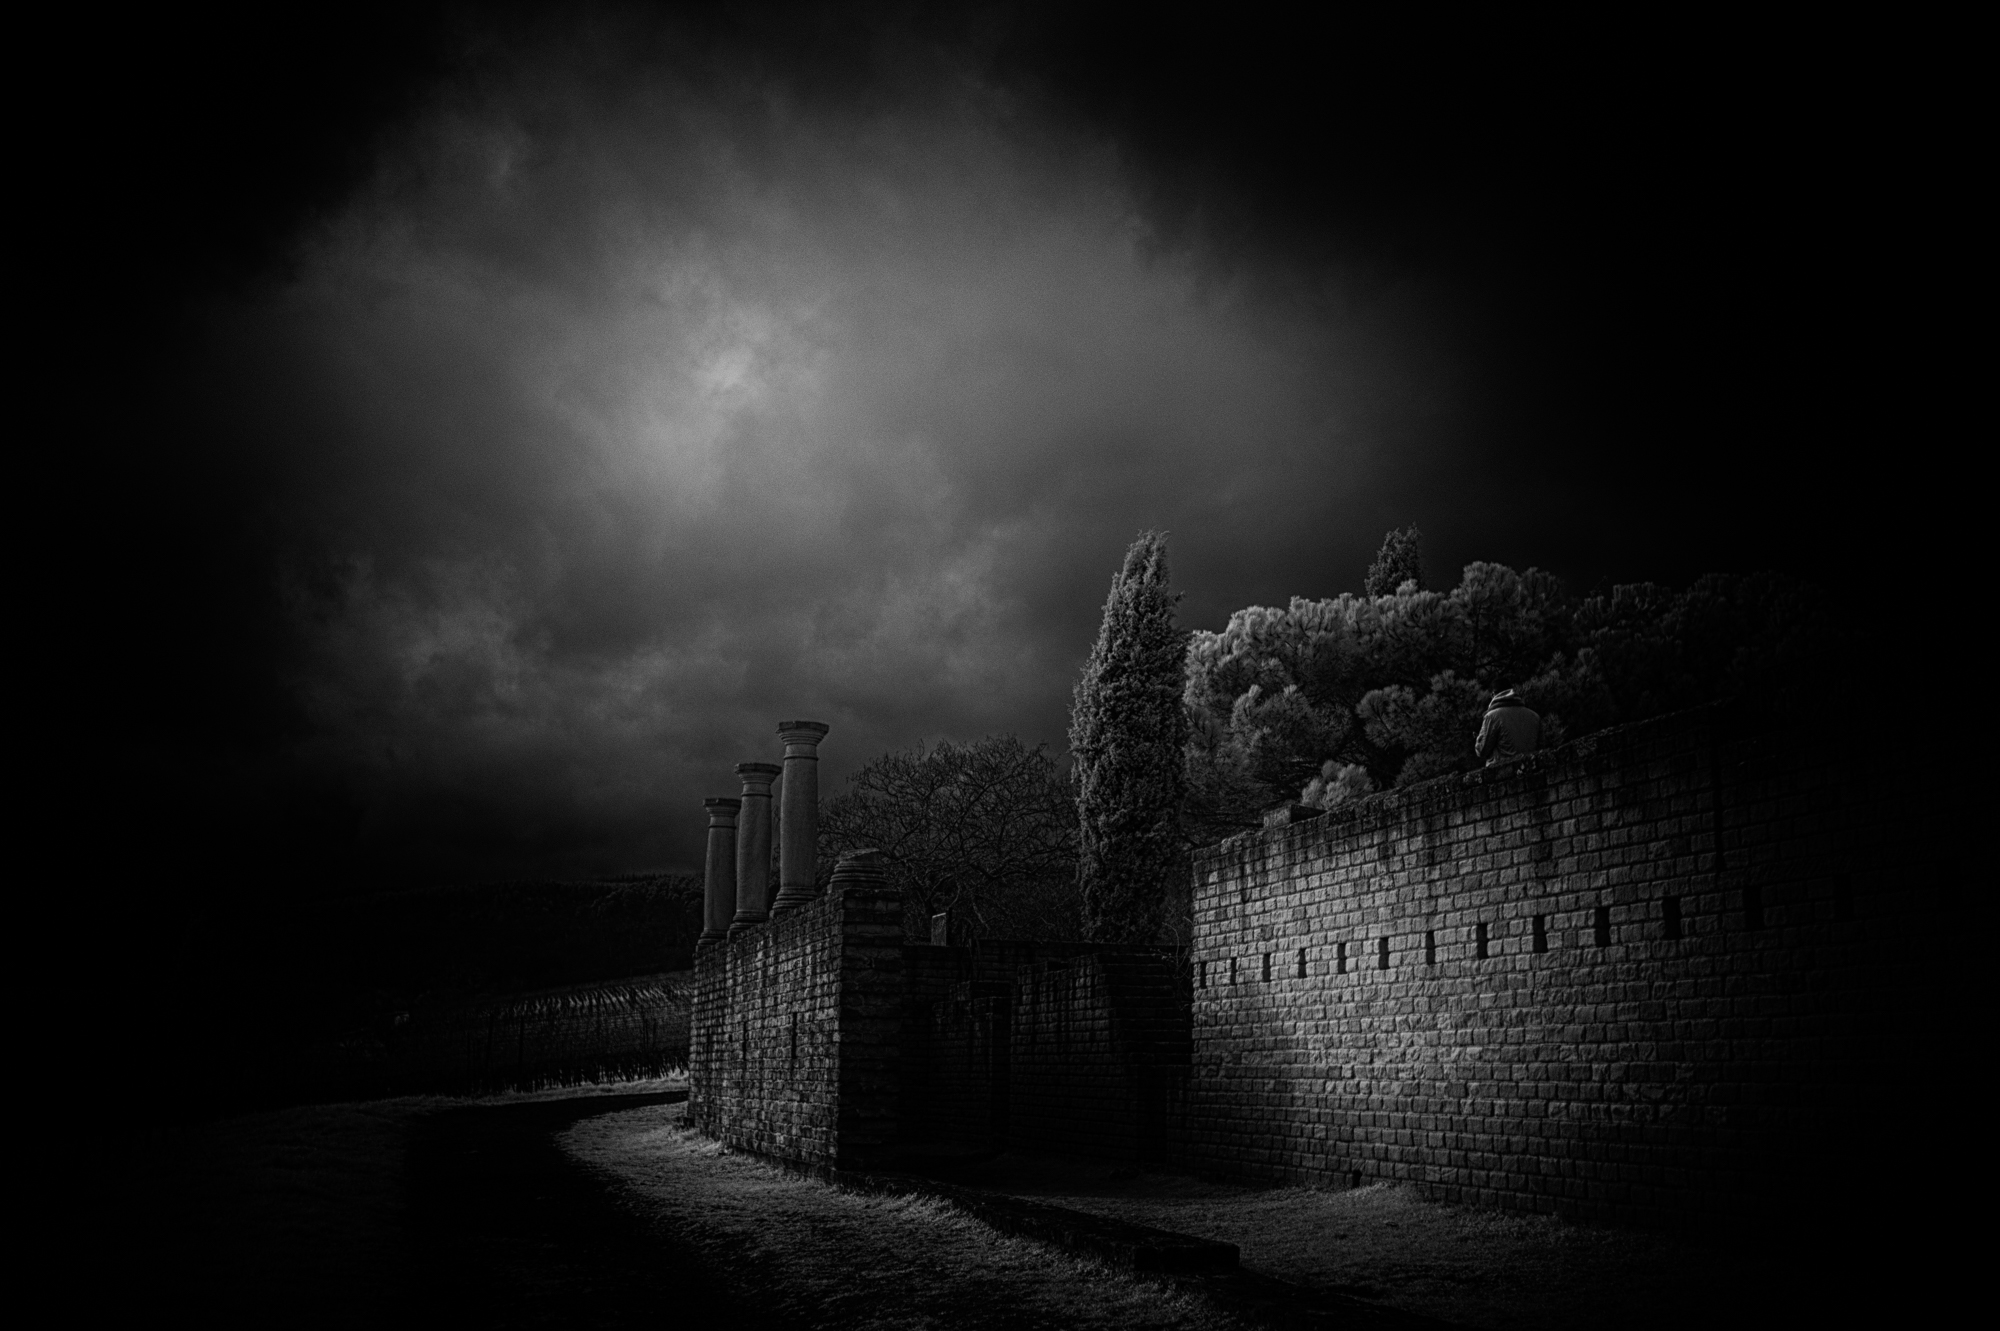
Examples of conversion, Nikkor 35mm f/2 Ai with f/5.6
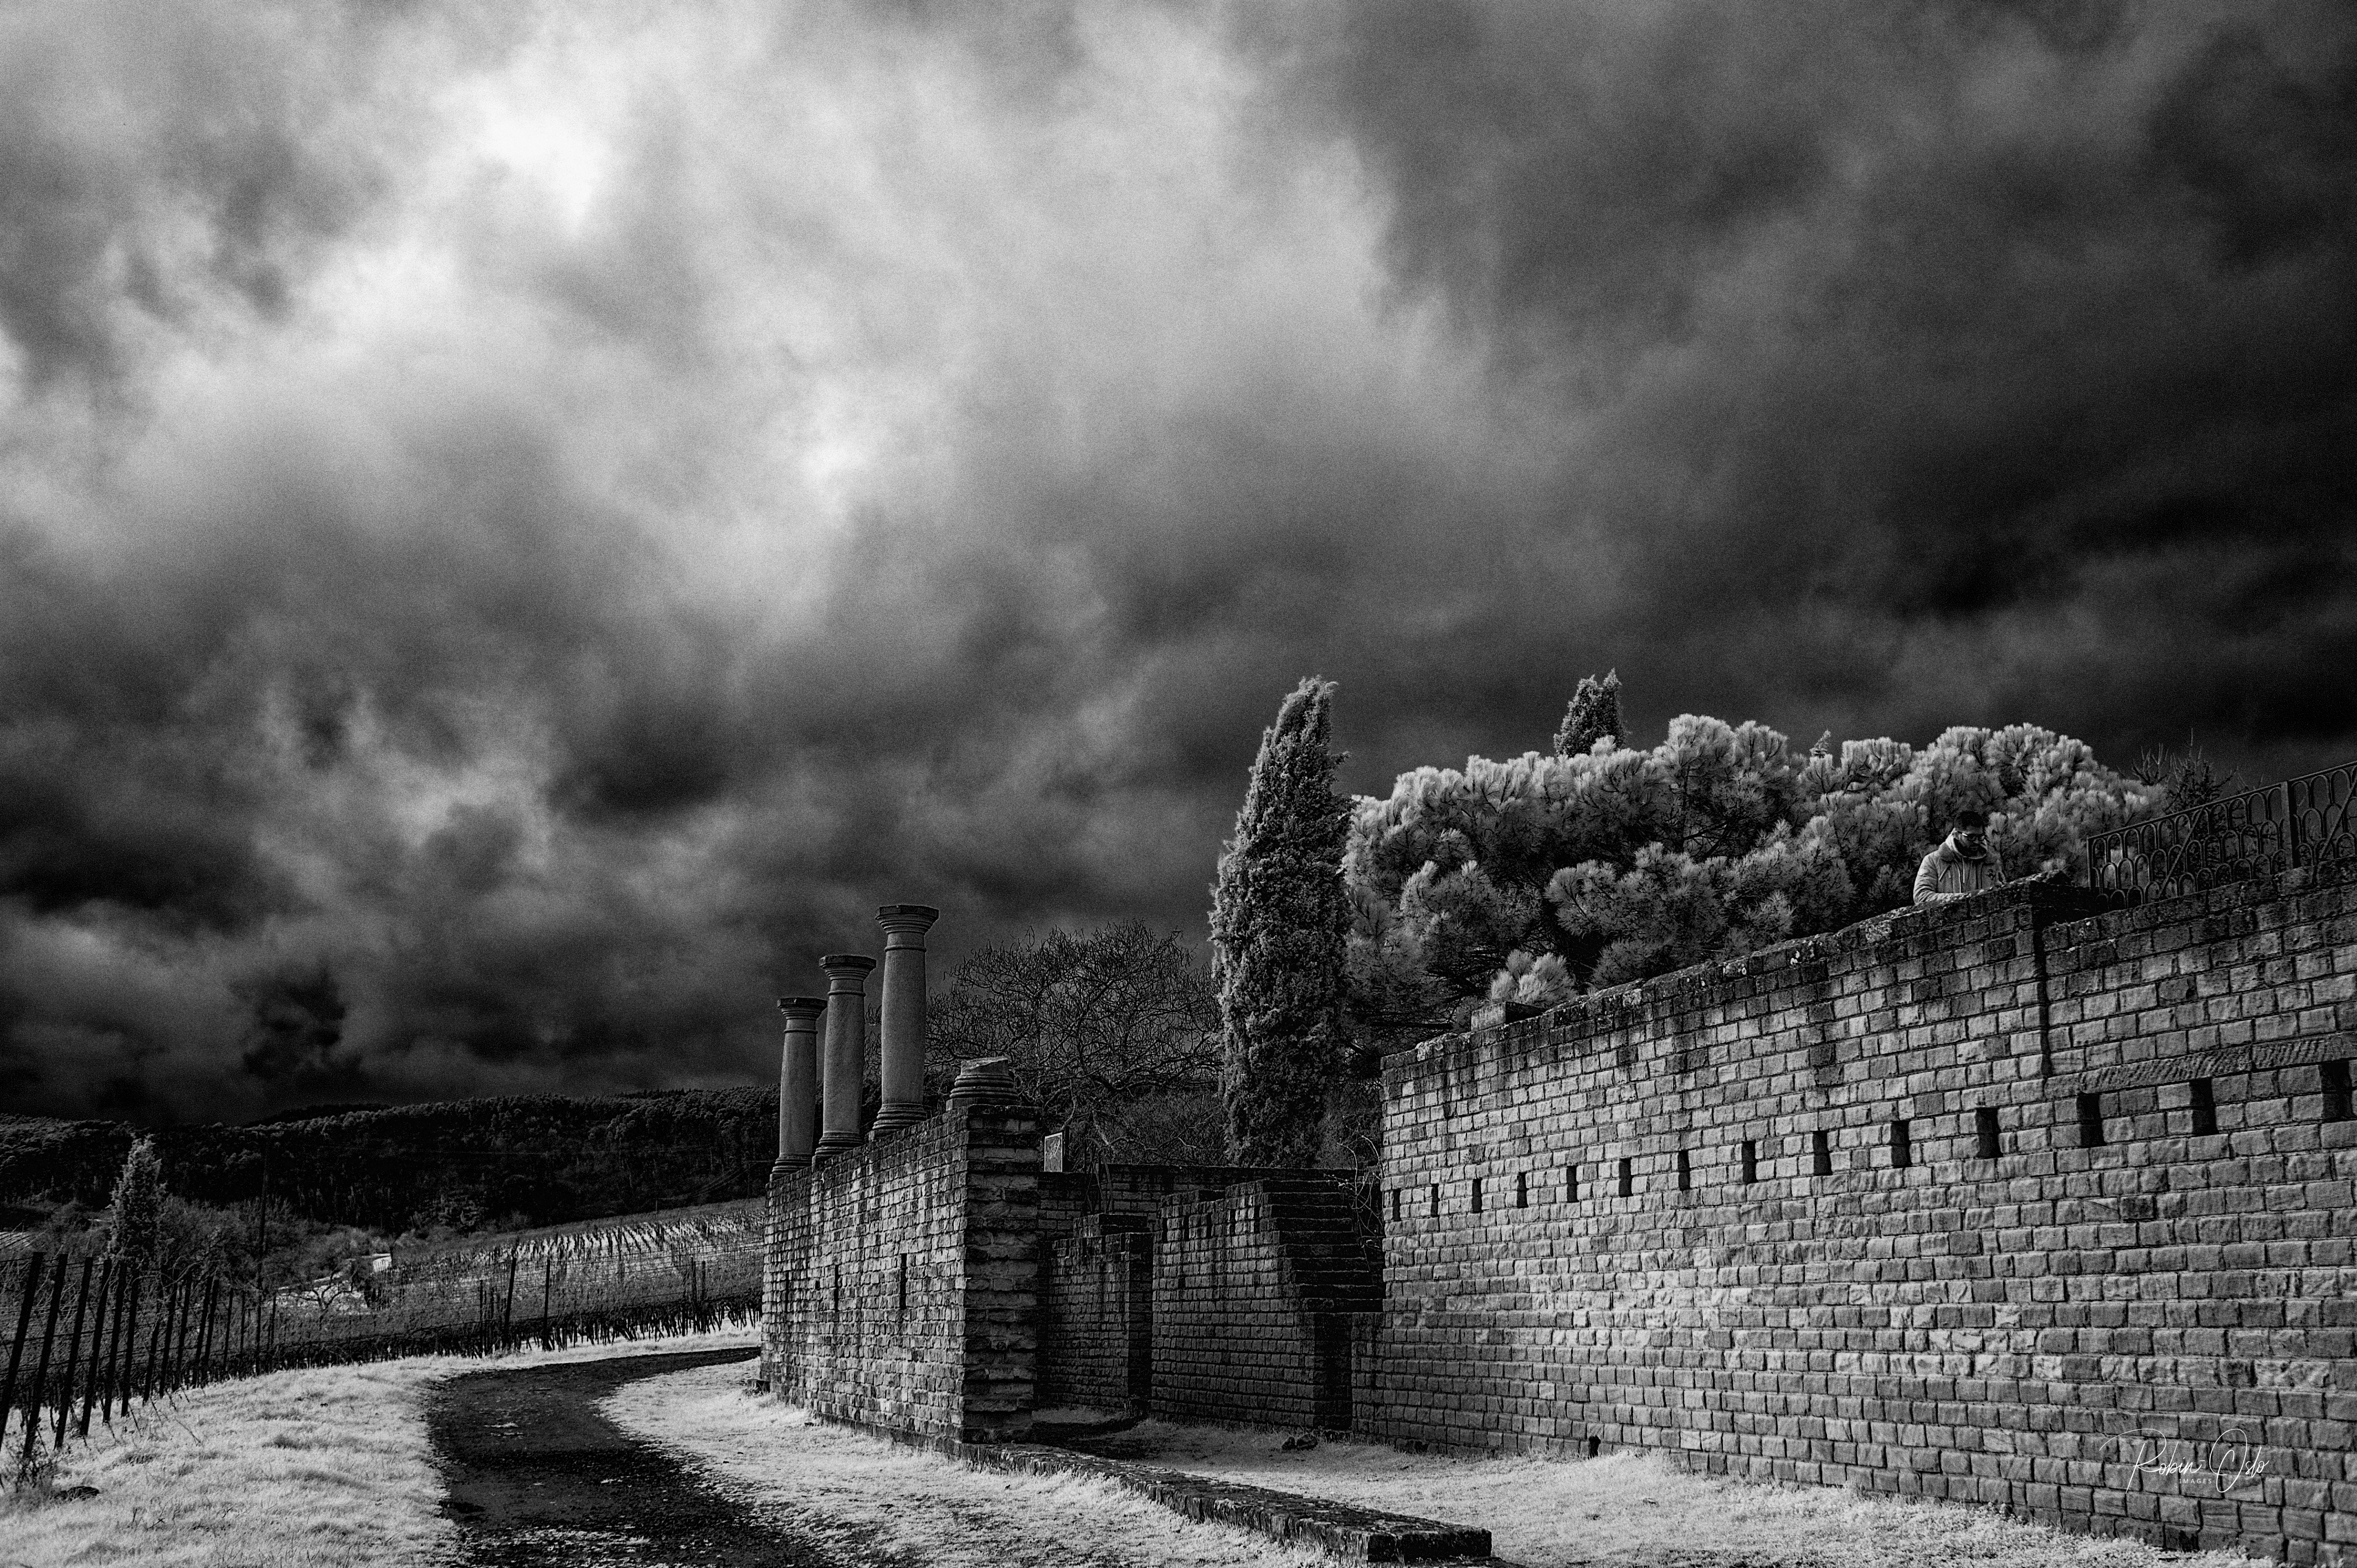
Same subject as above, a moment or two later
Below: Infrared photography with the Nikon D700, 630nm
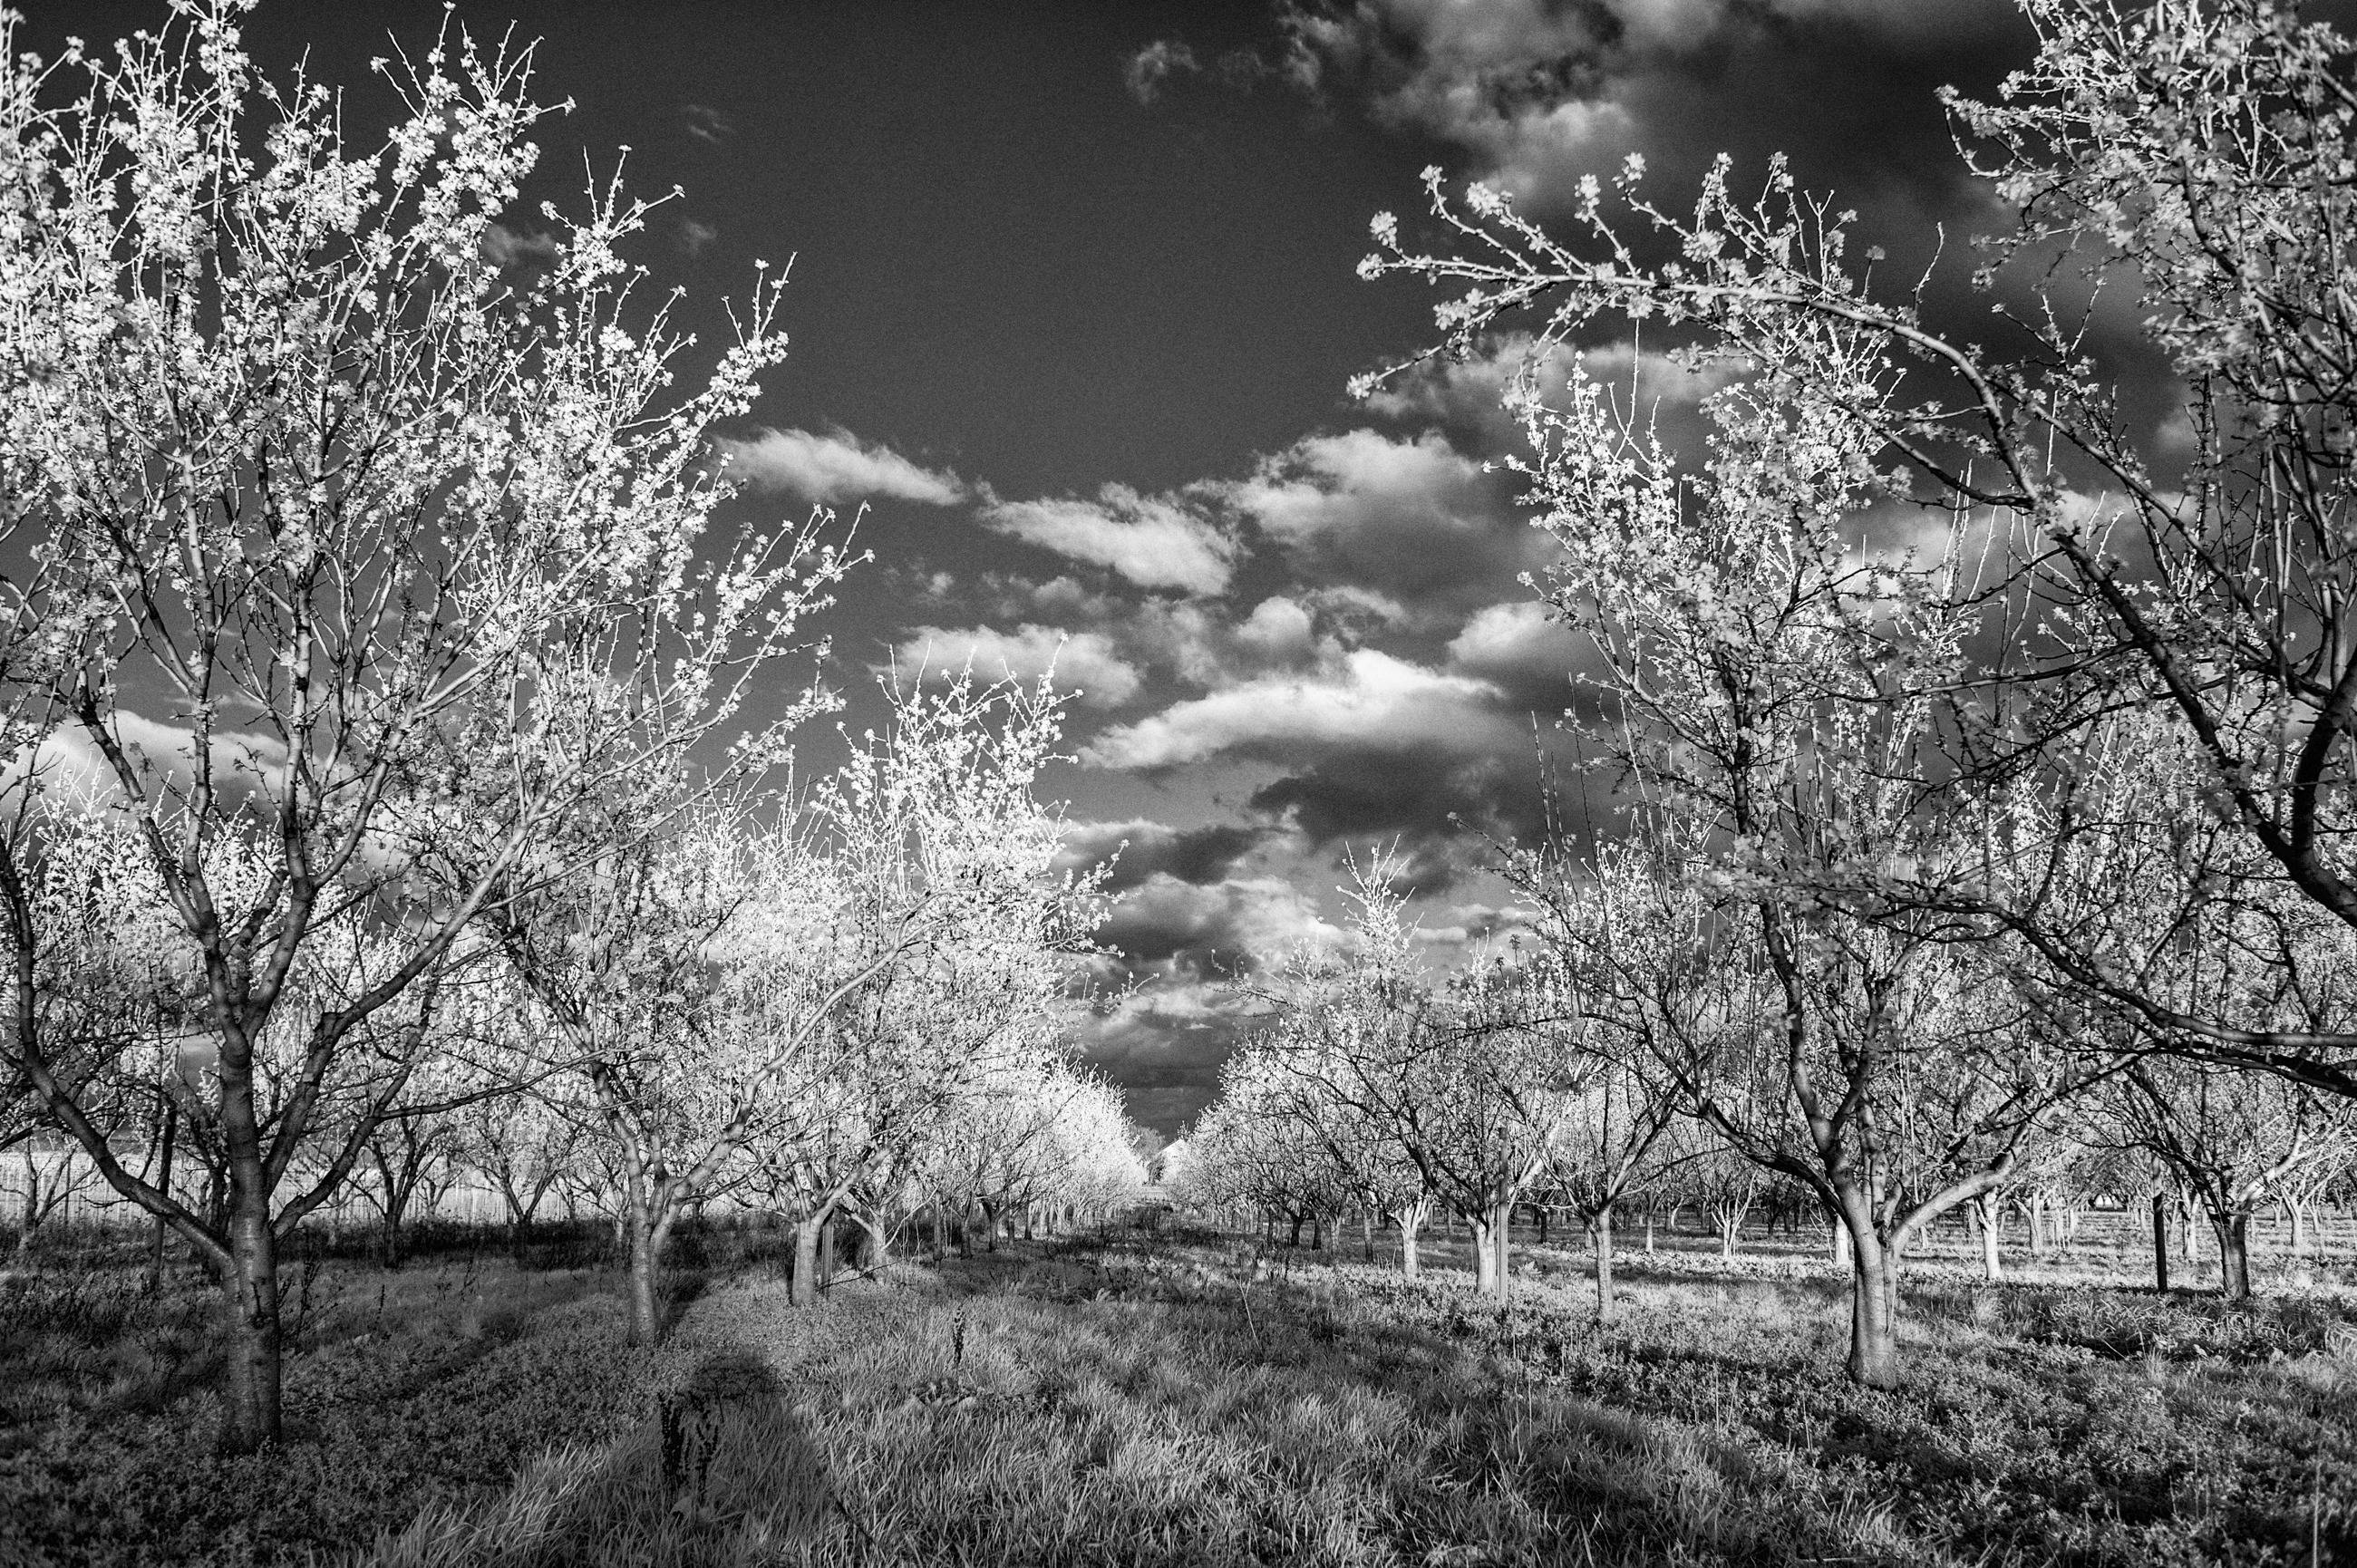
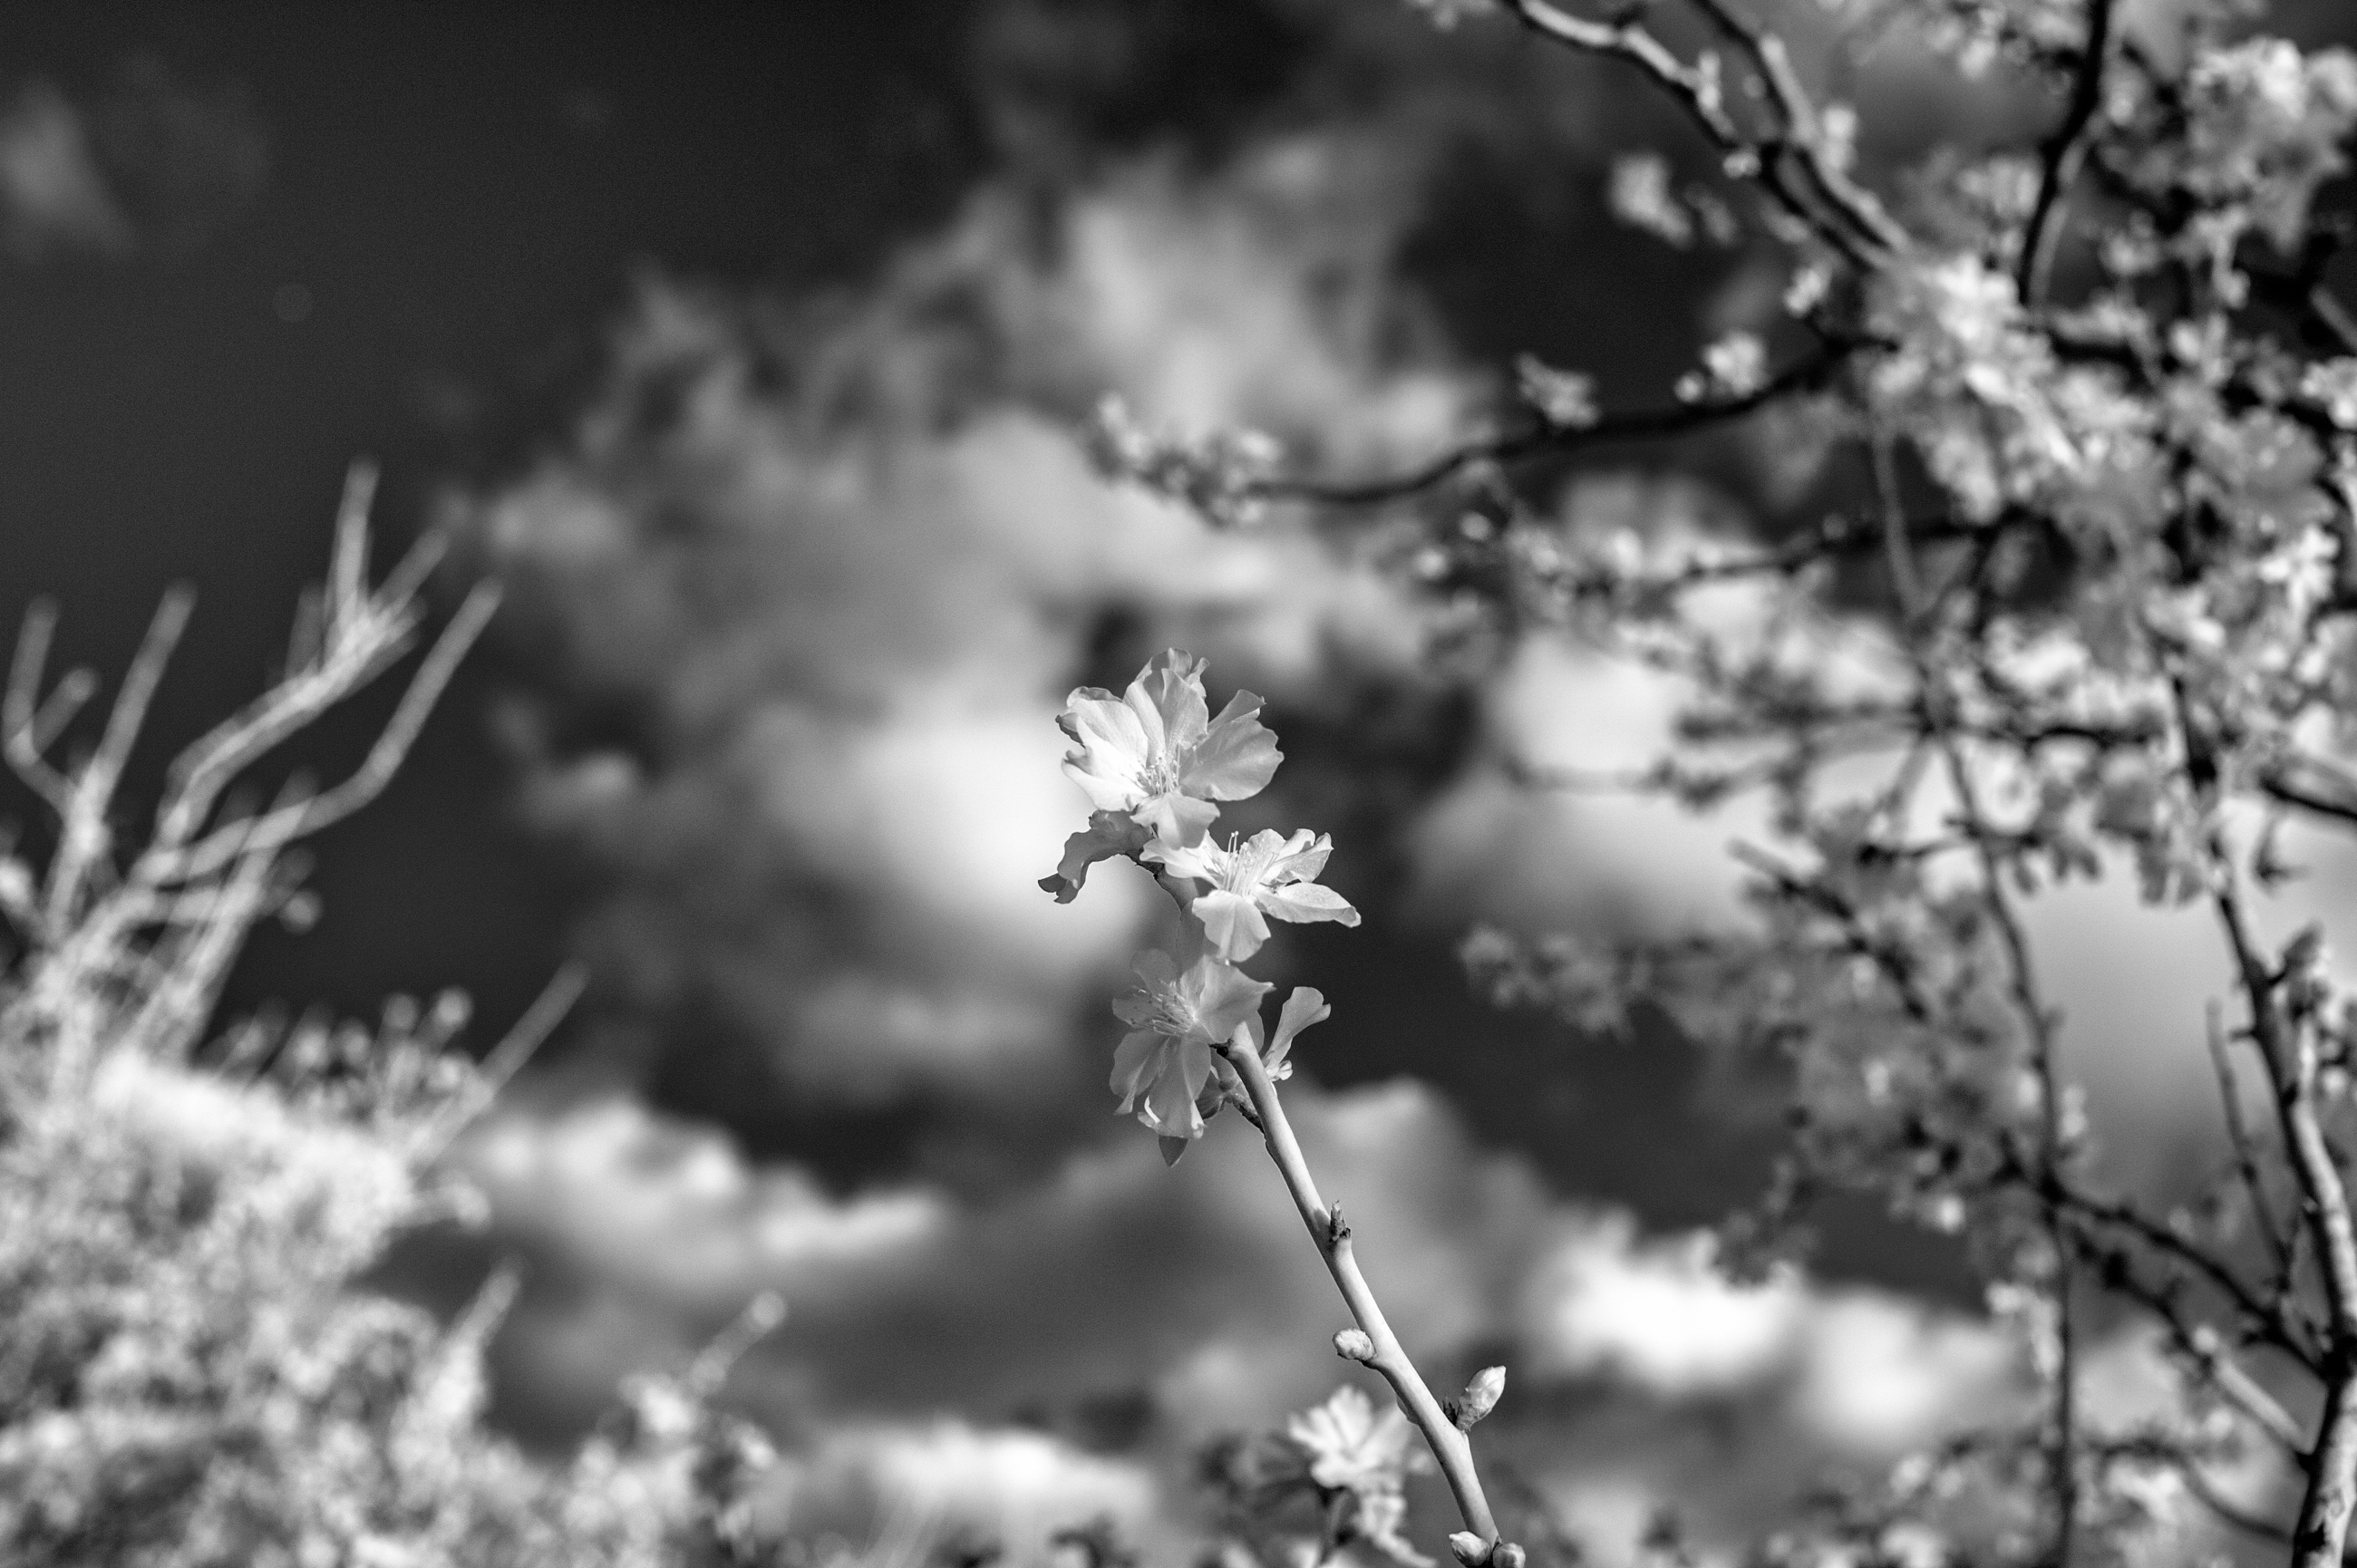
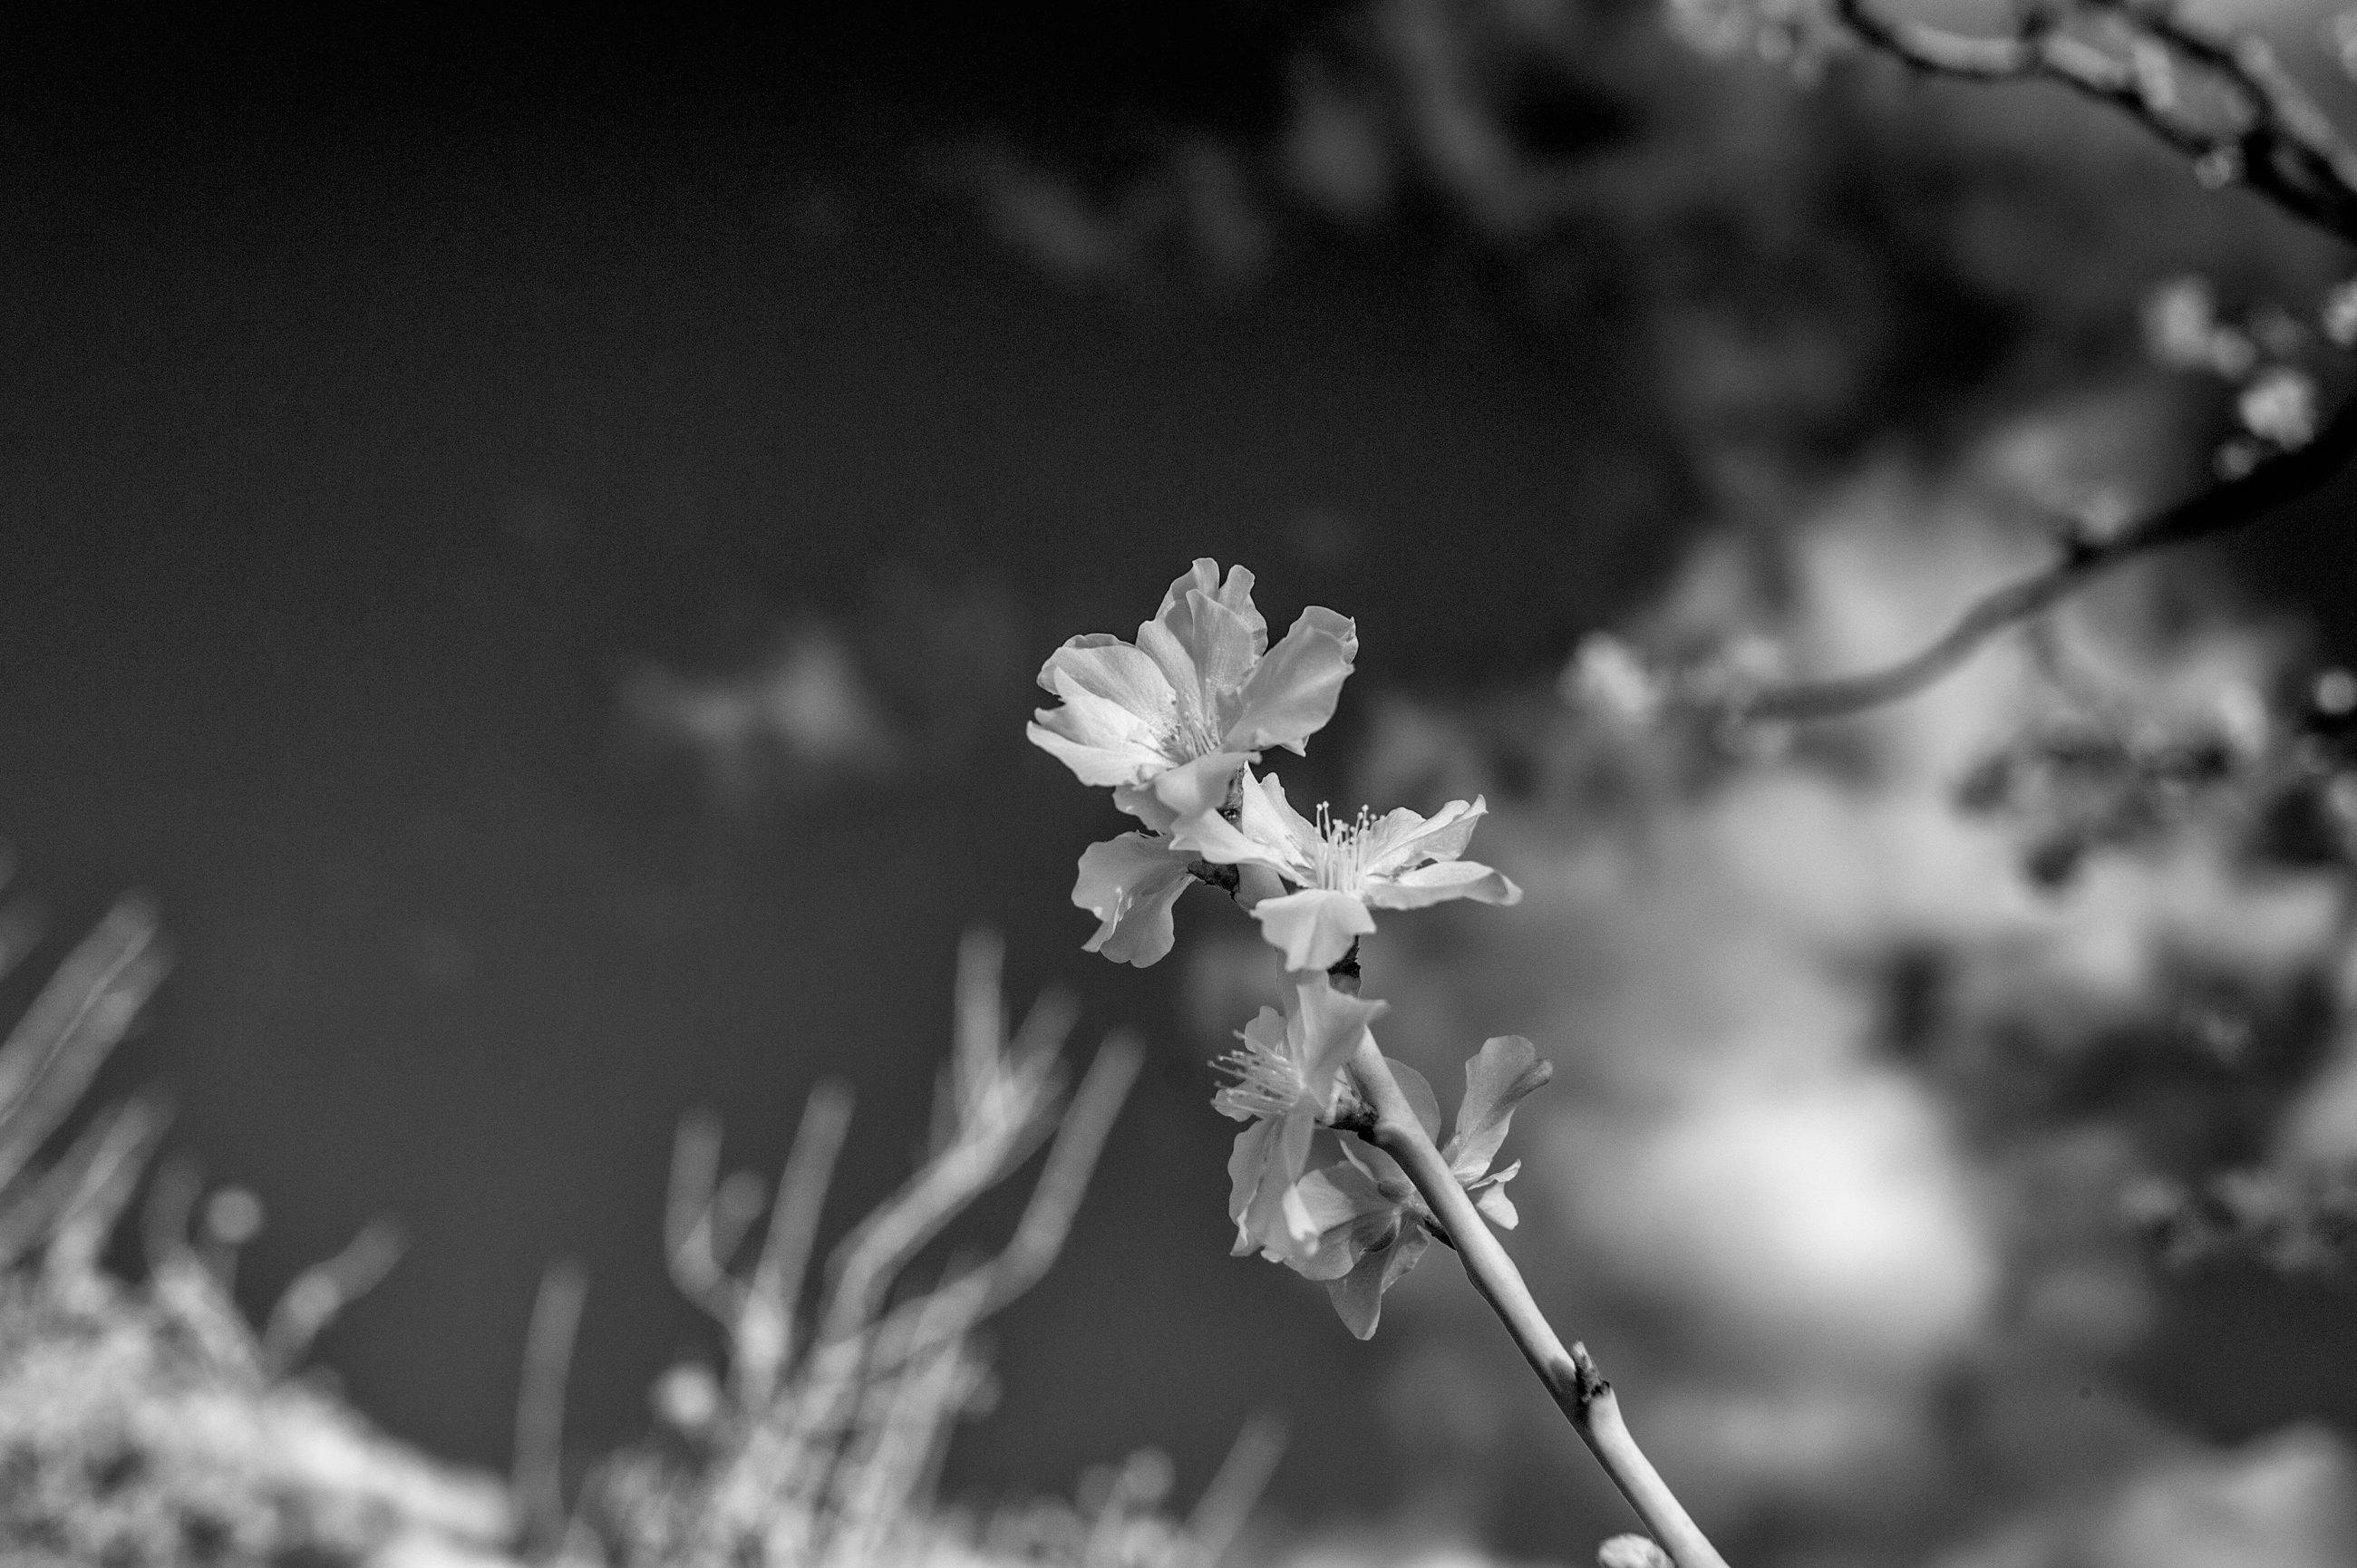
Almond blossom in black and white at 630nm
What more can we learn?
The excuse of not taking pictures in full sunlight has thus become obsolete. Sorry…
The sun burns down on deciduous trees at midday and the subject is clearly defined?
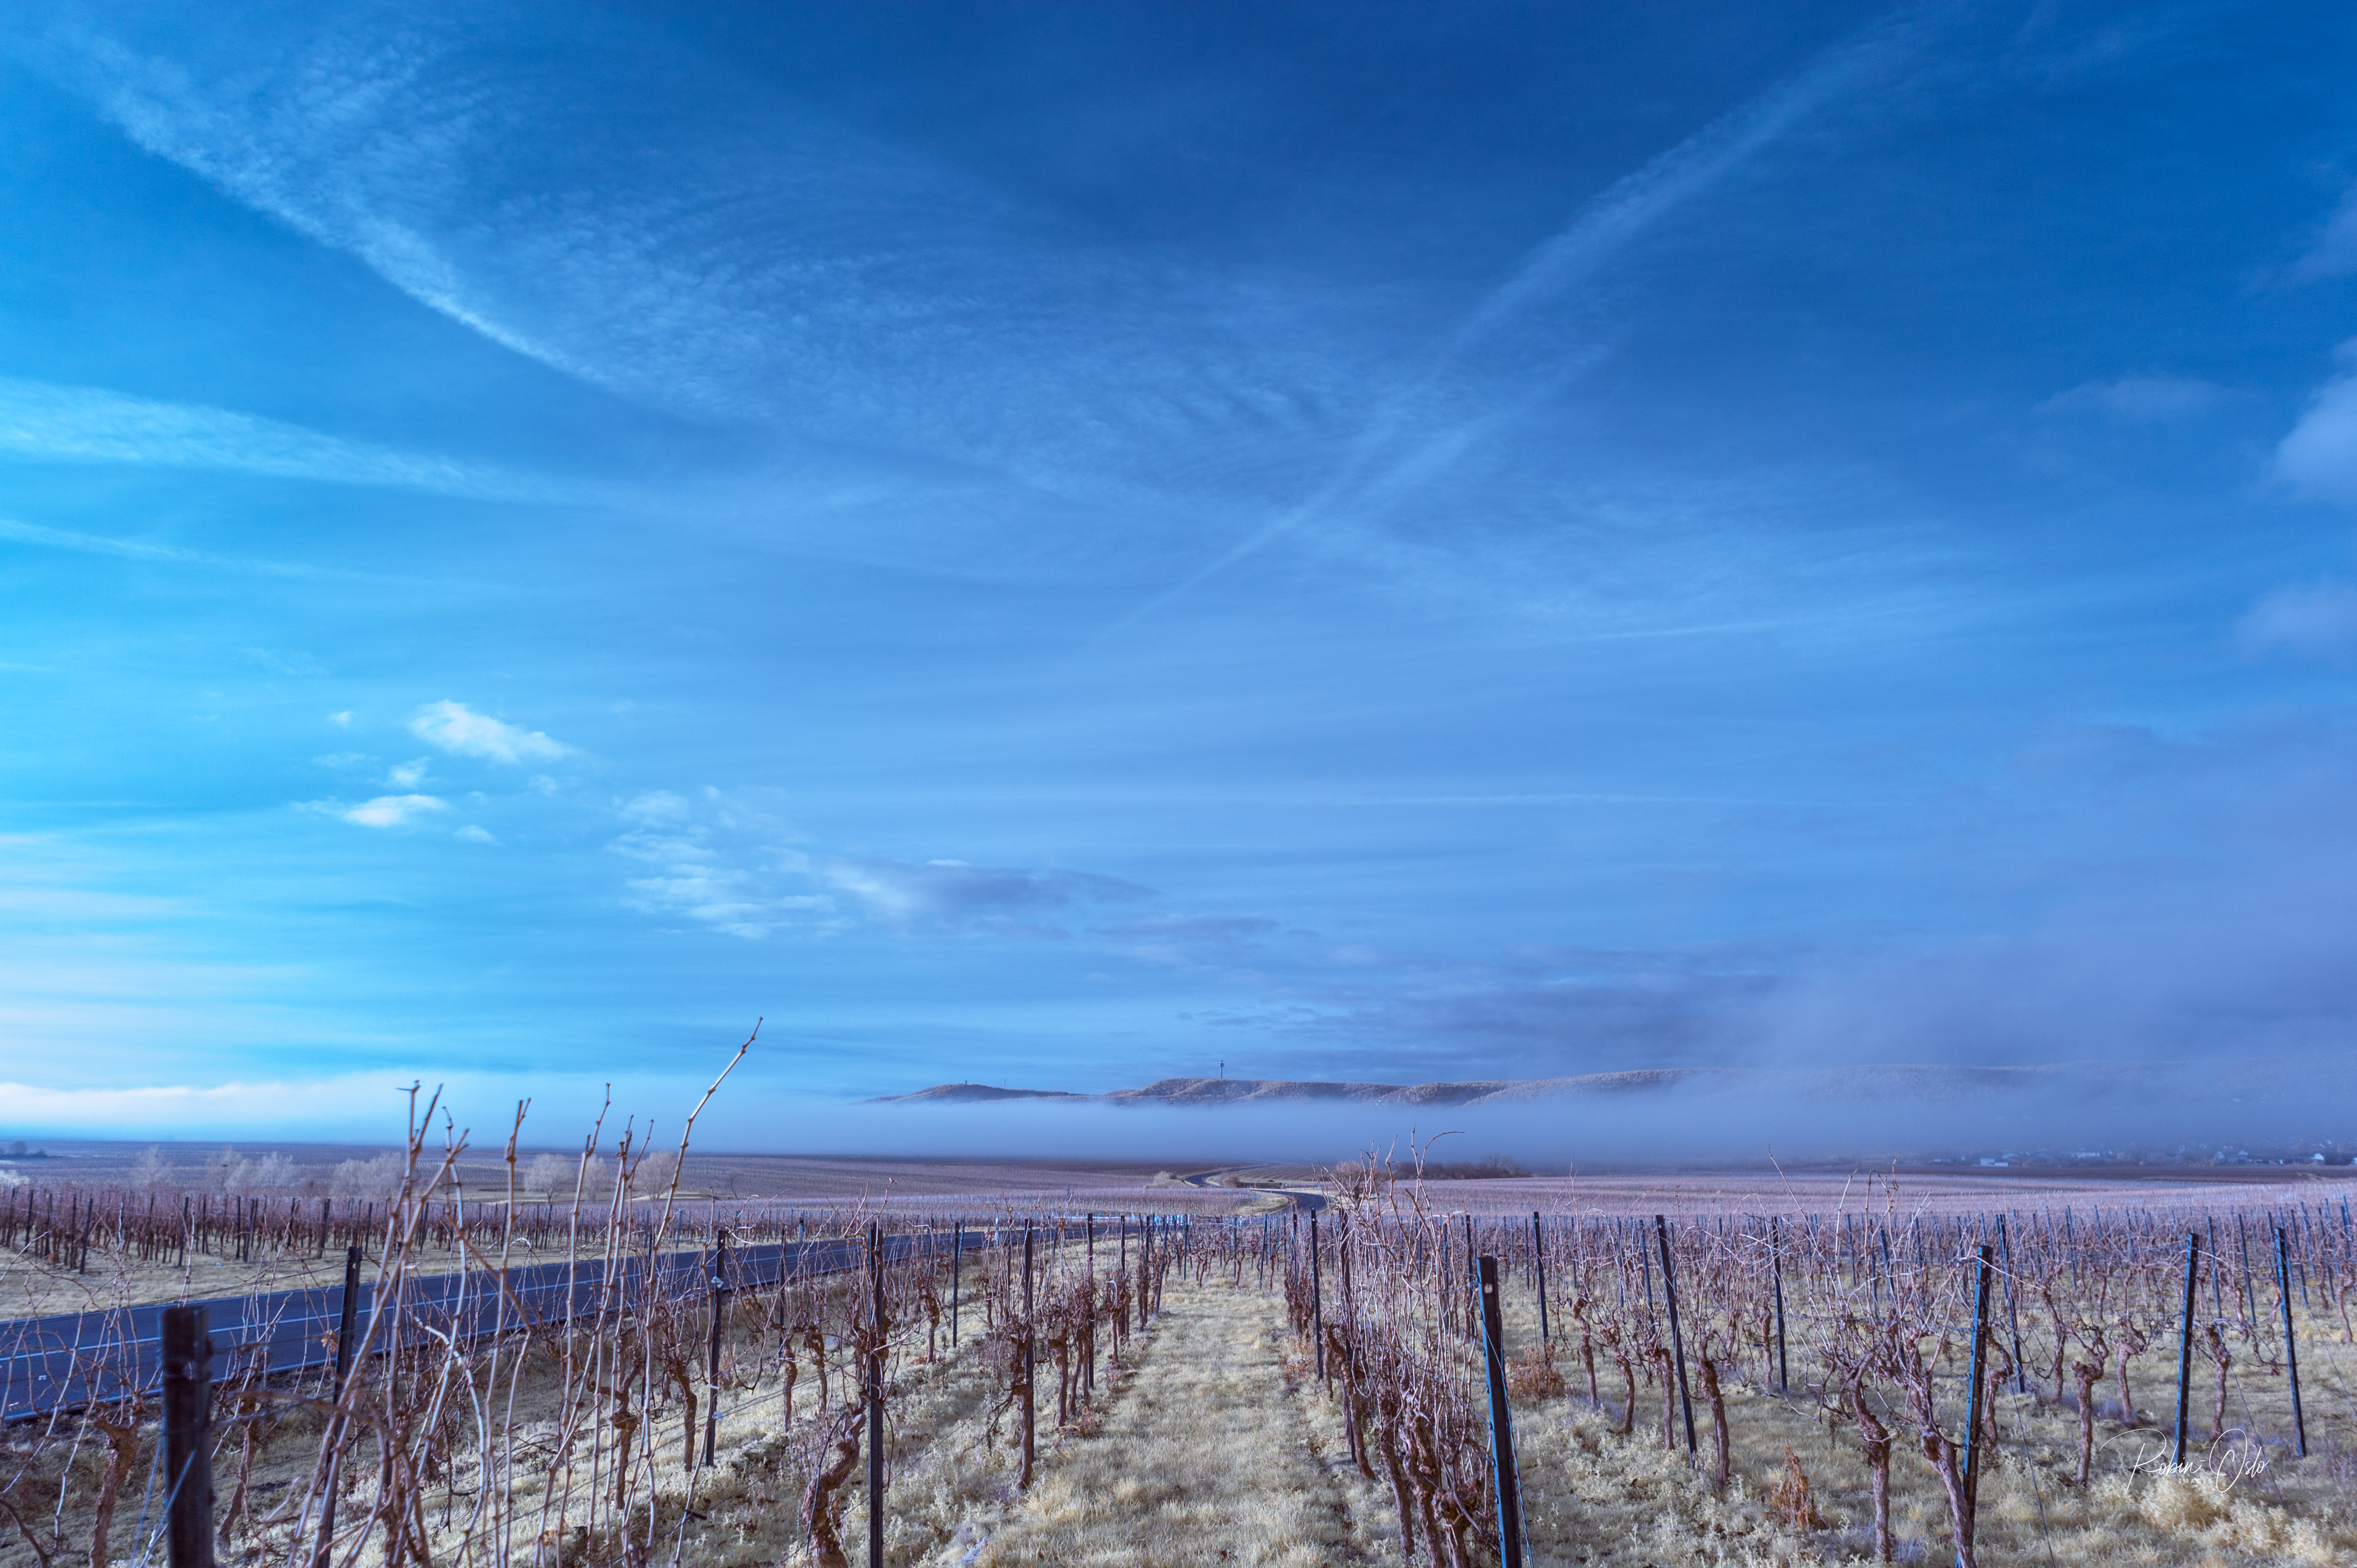
Go ahead, create enchanting, dreamy images, images that are unthinkable at this time of day with any other camera.
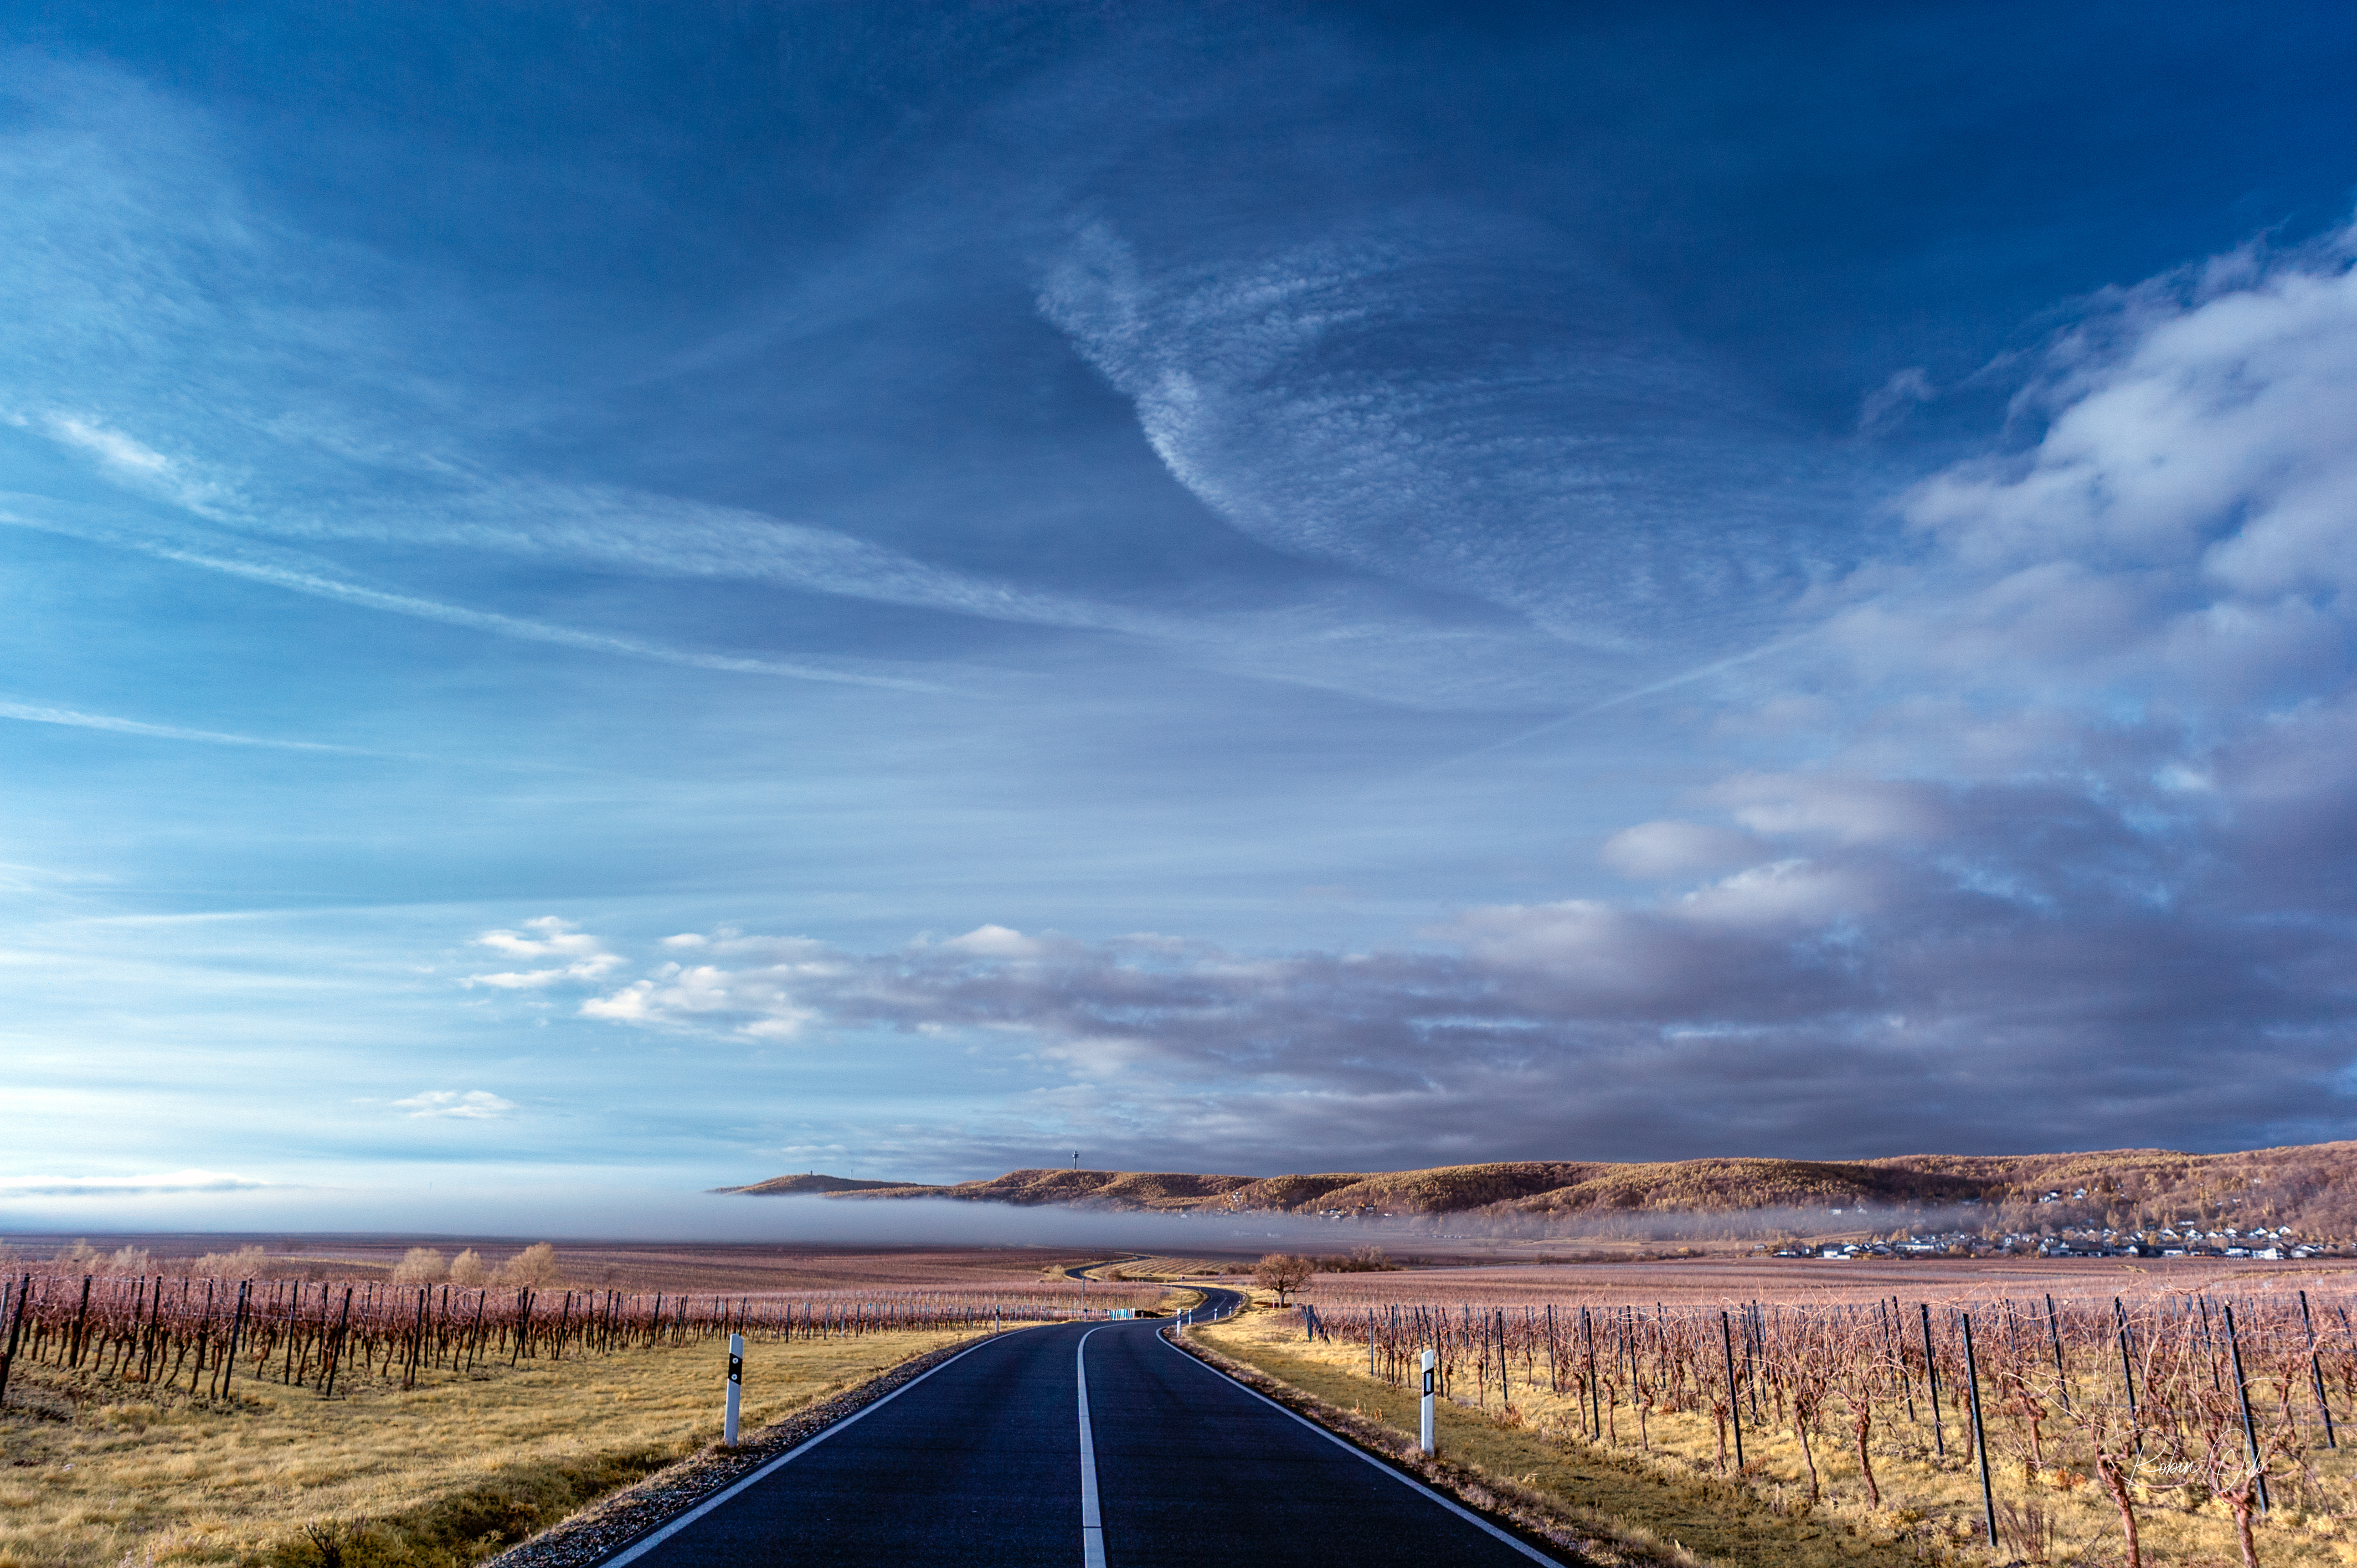
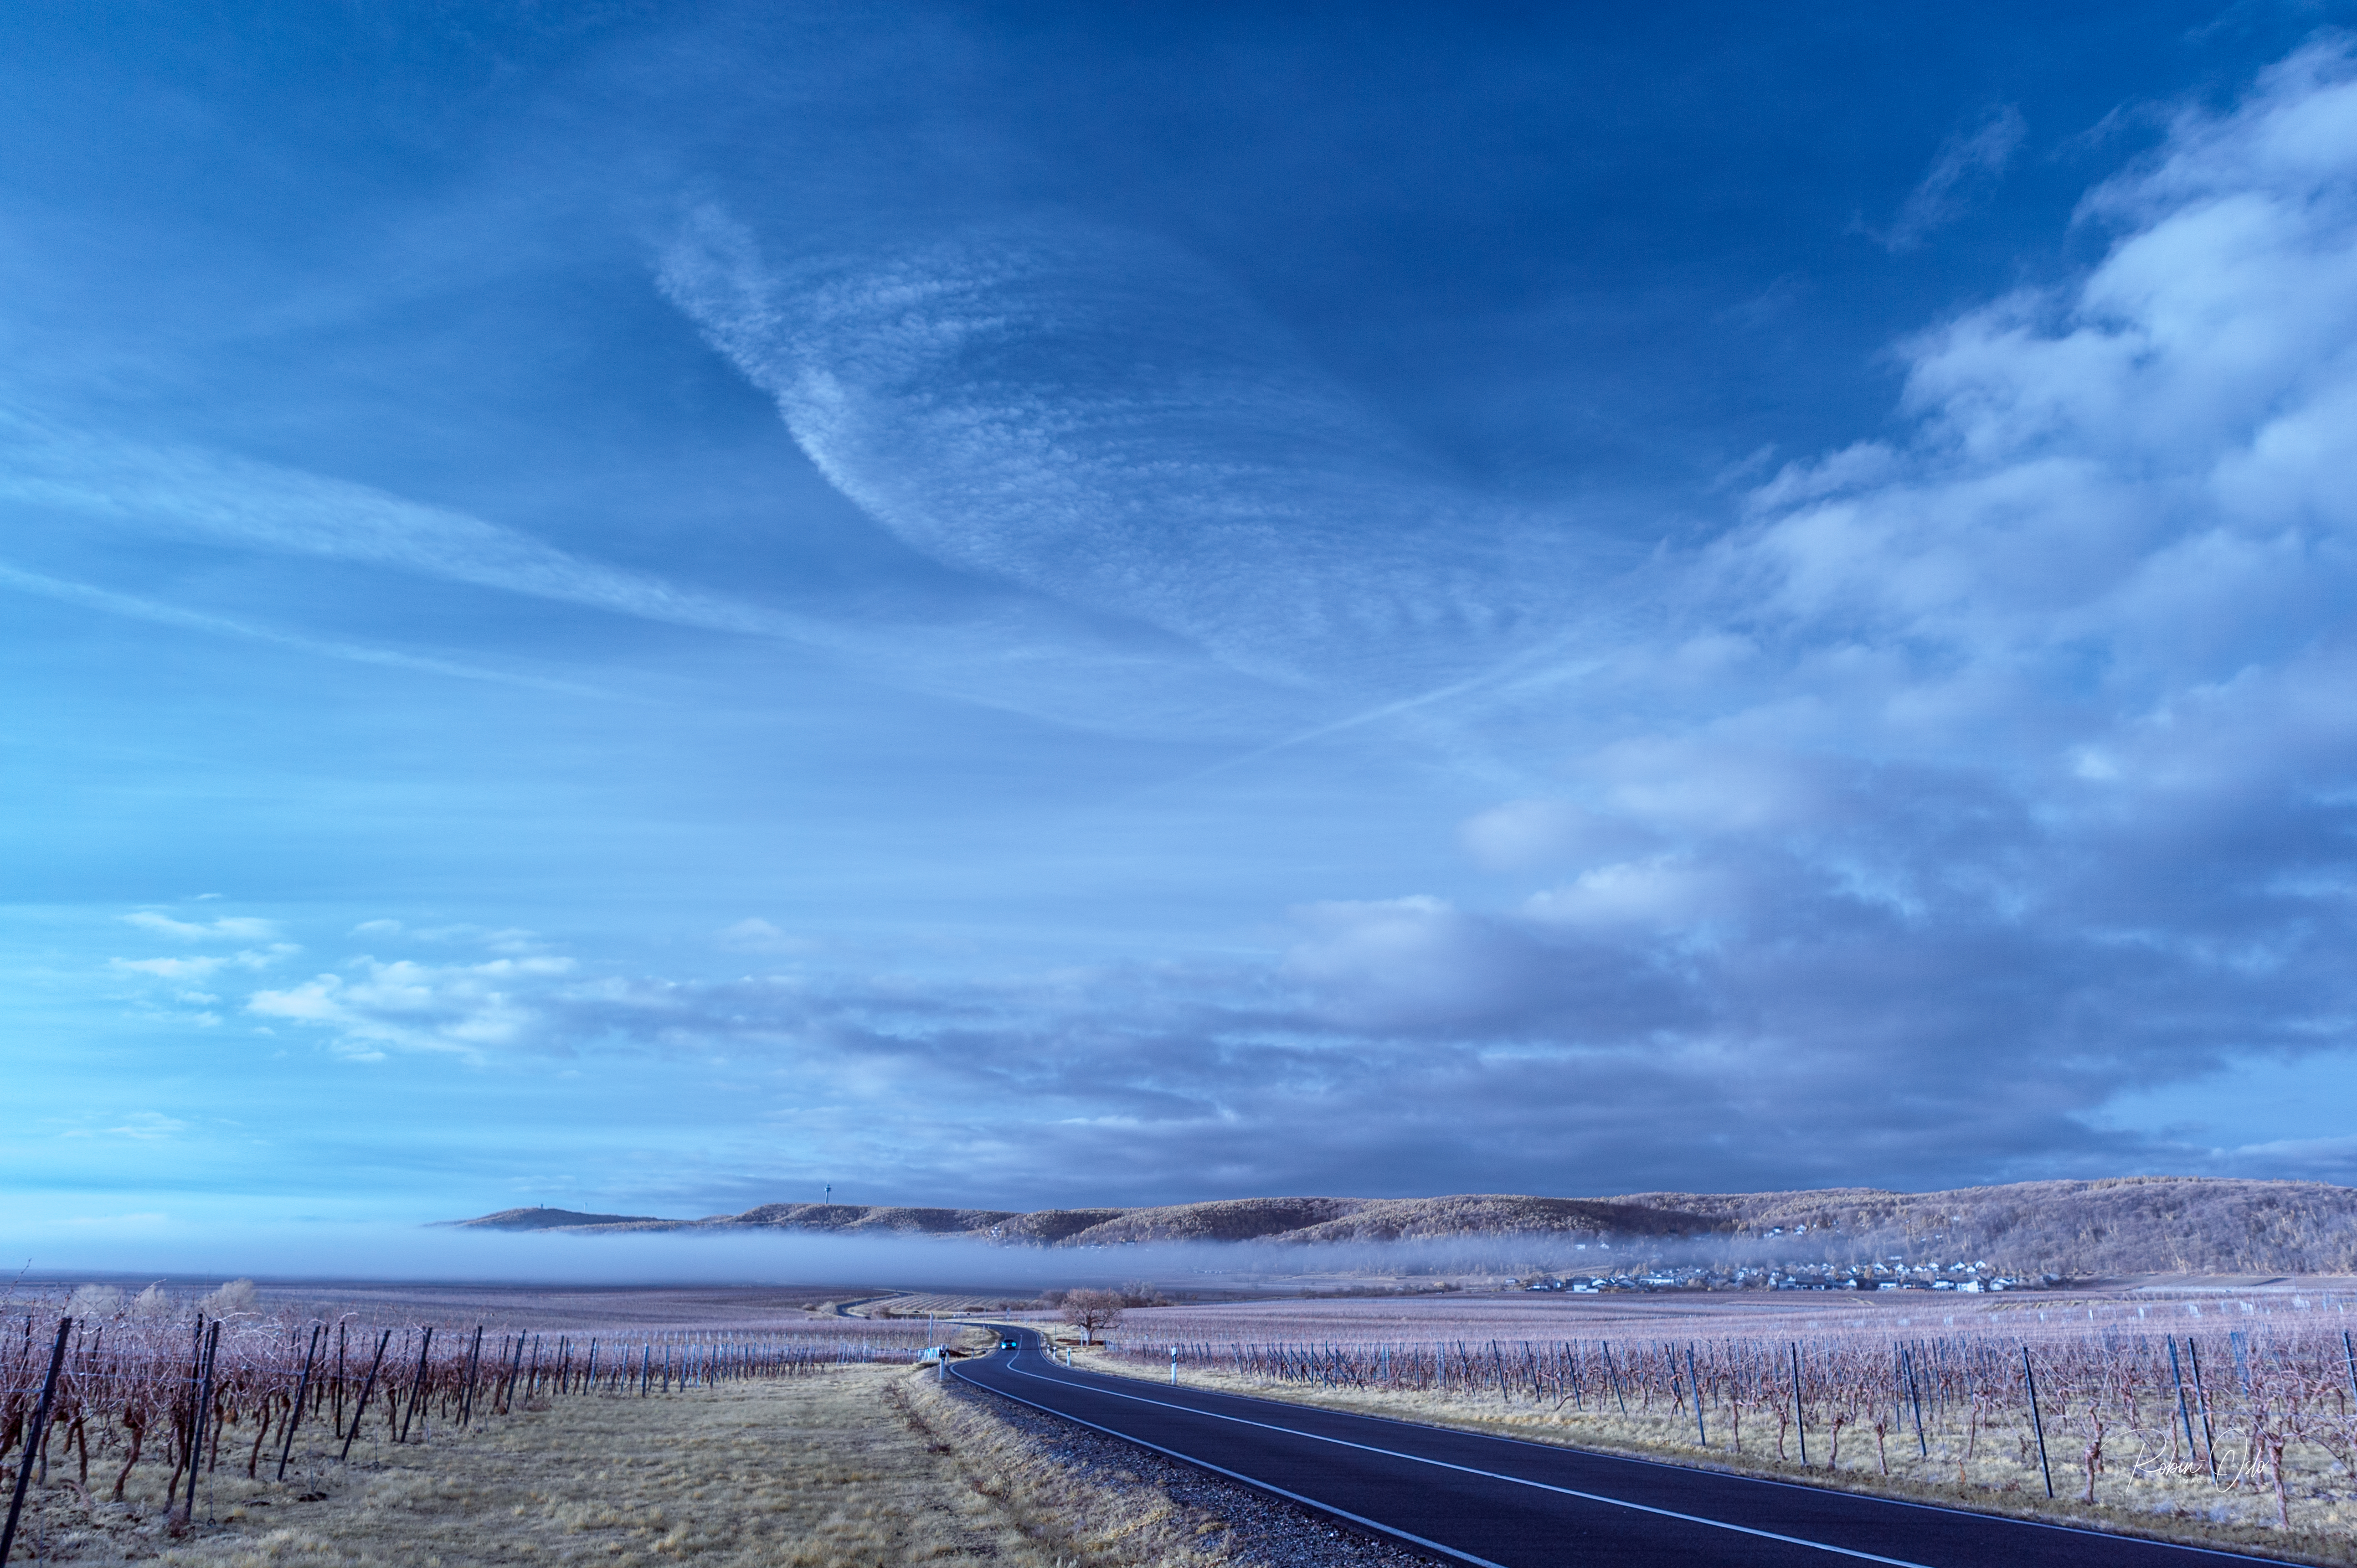
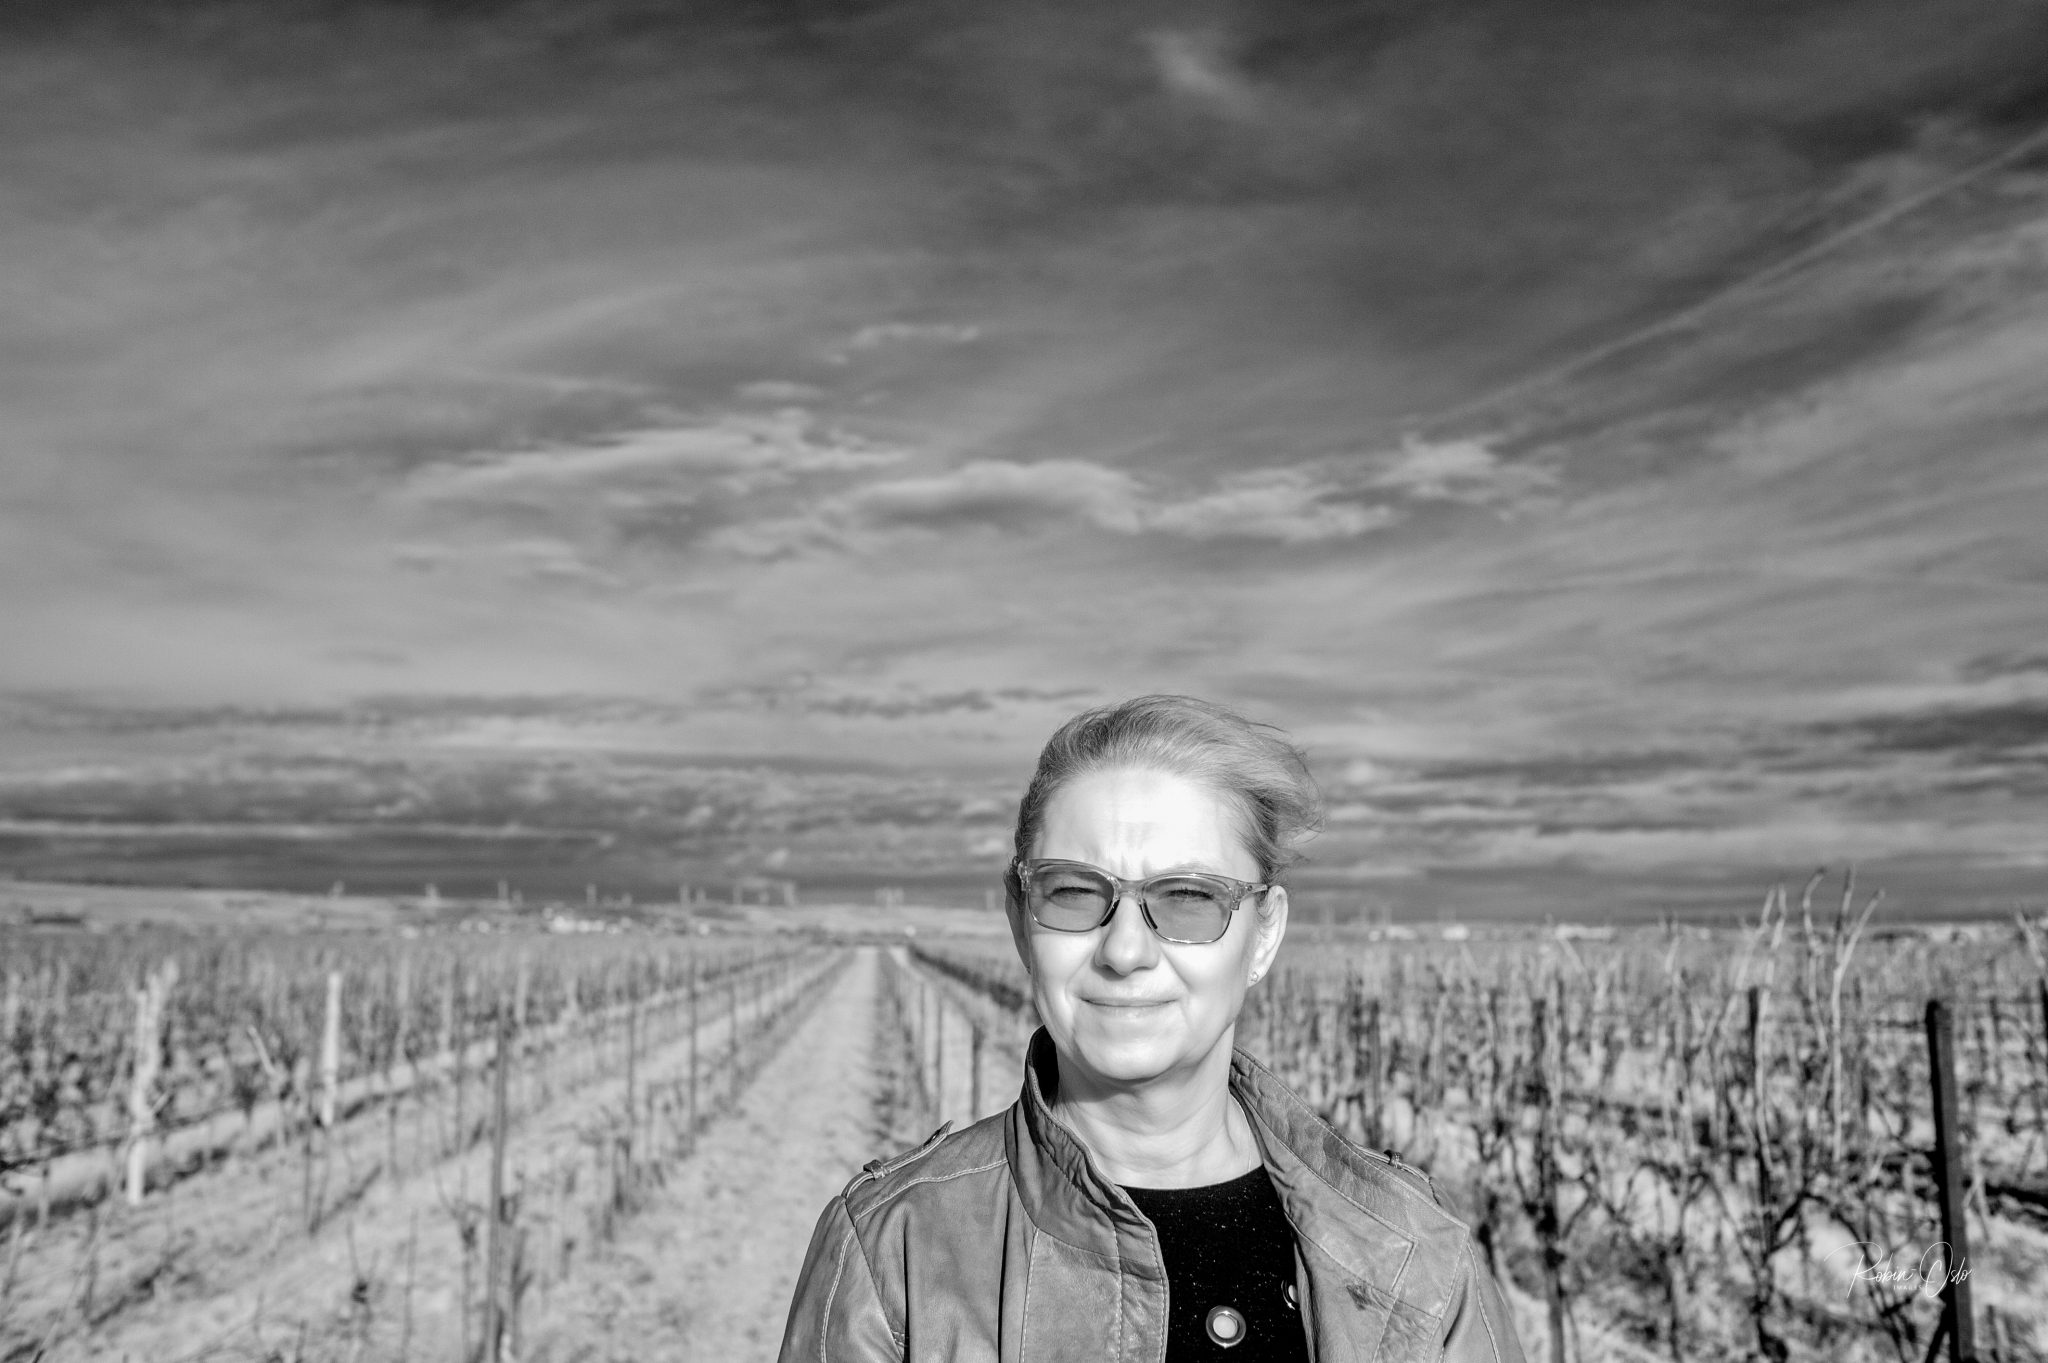
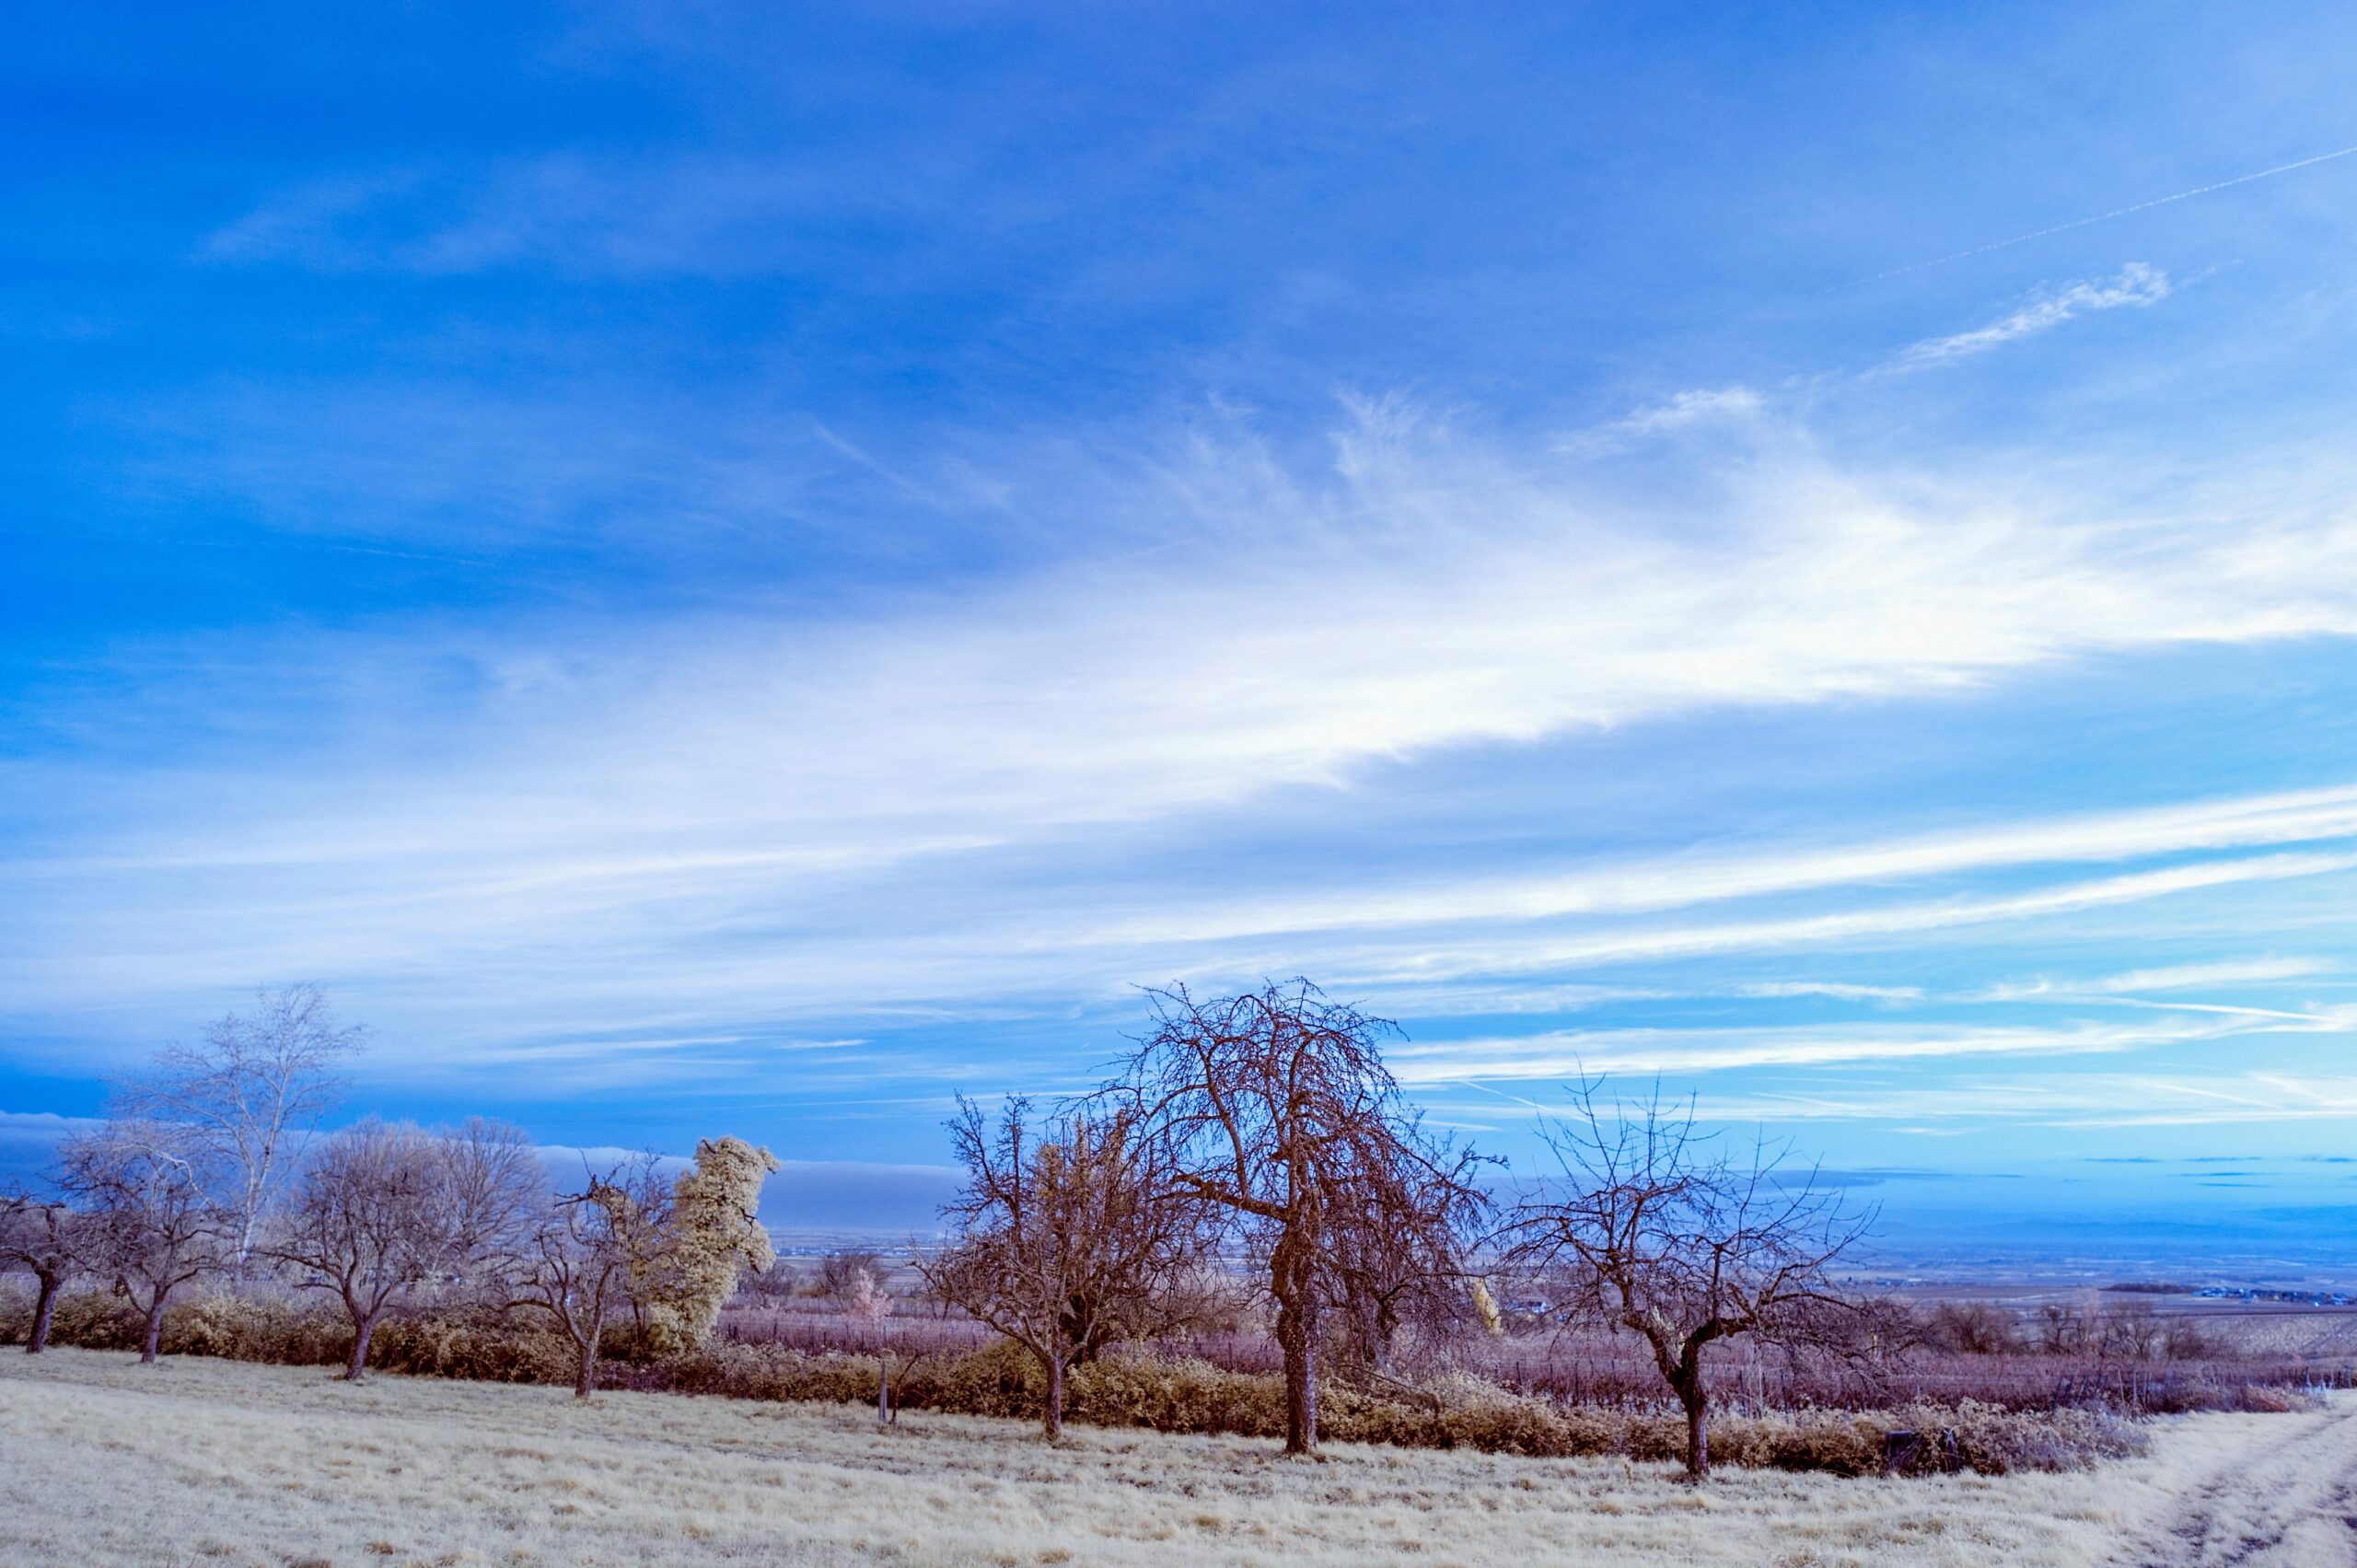
A winter that is not … Vineyards in Palatinate
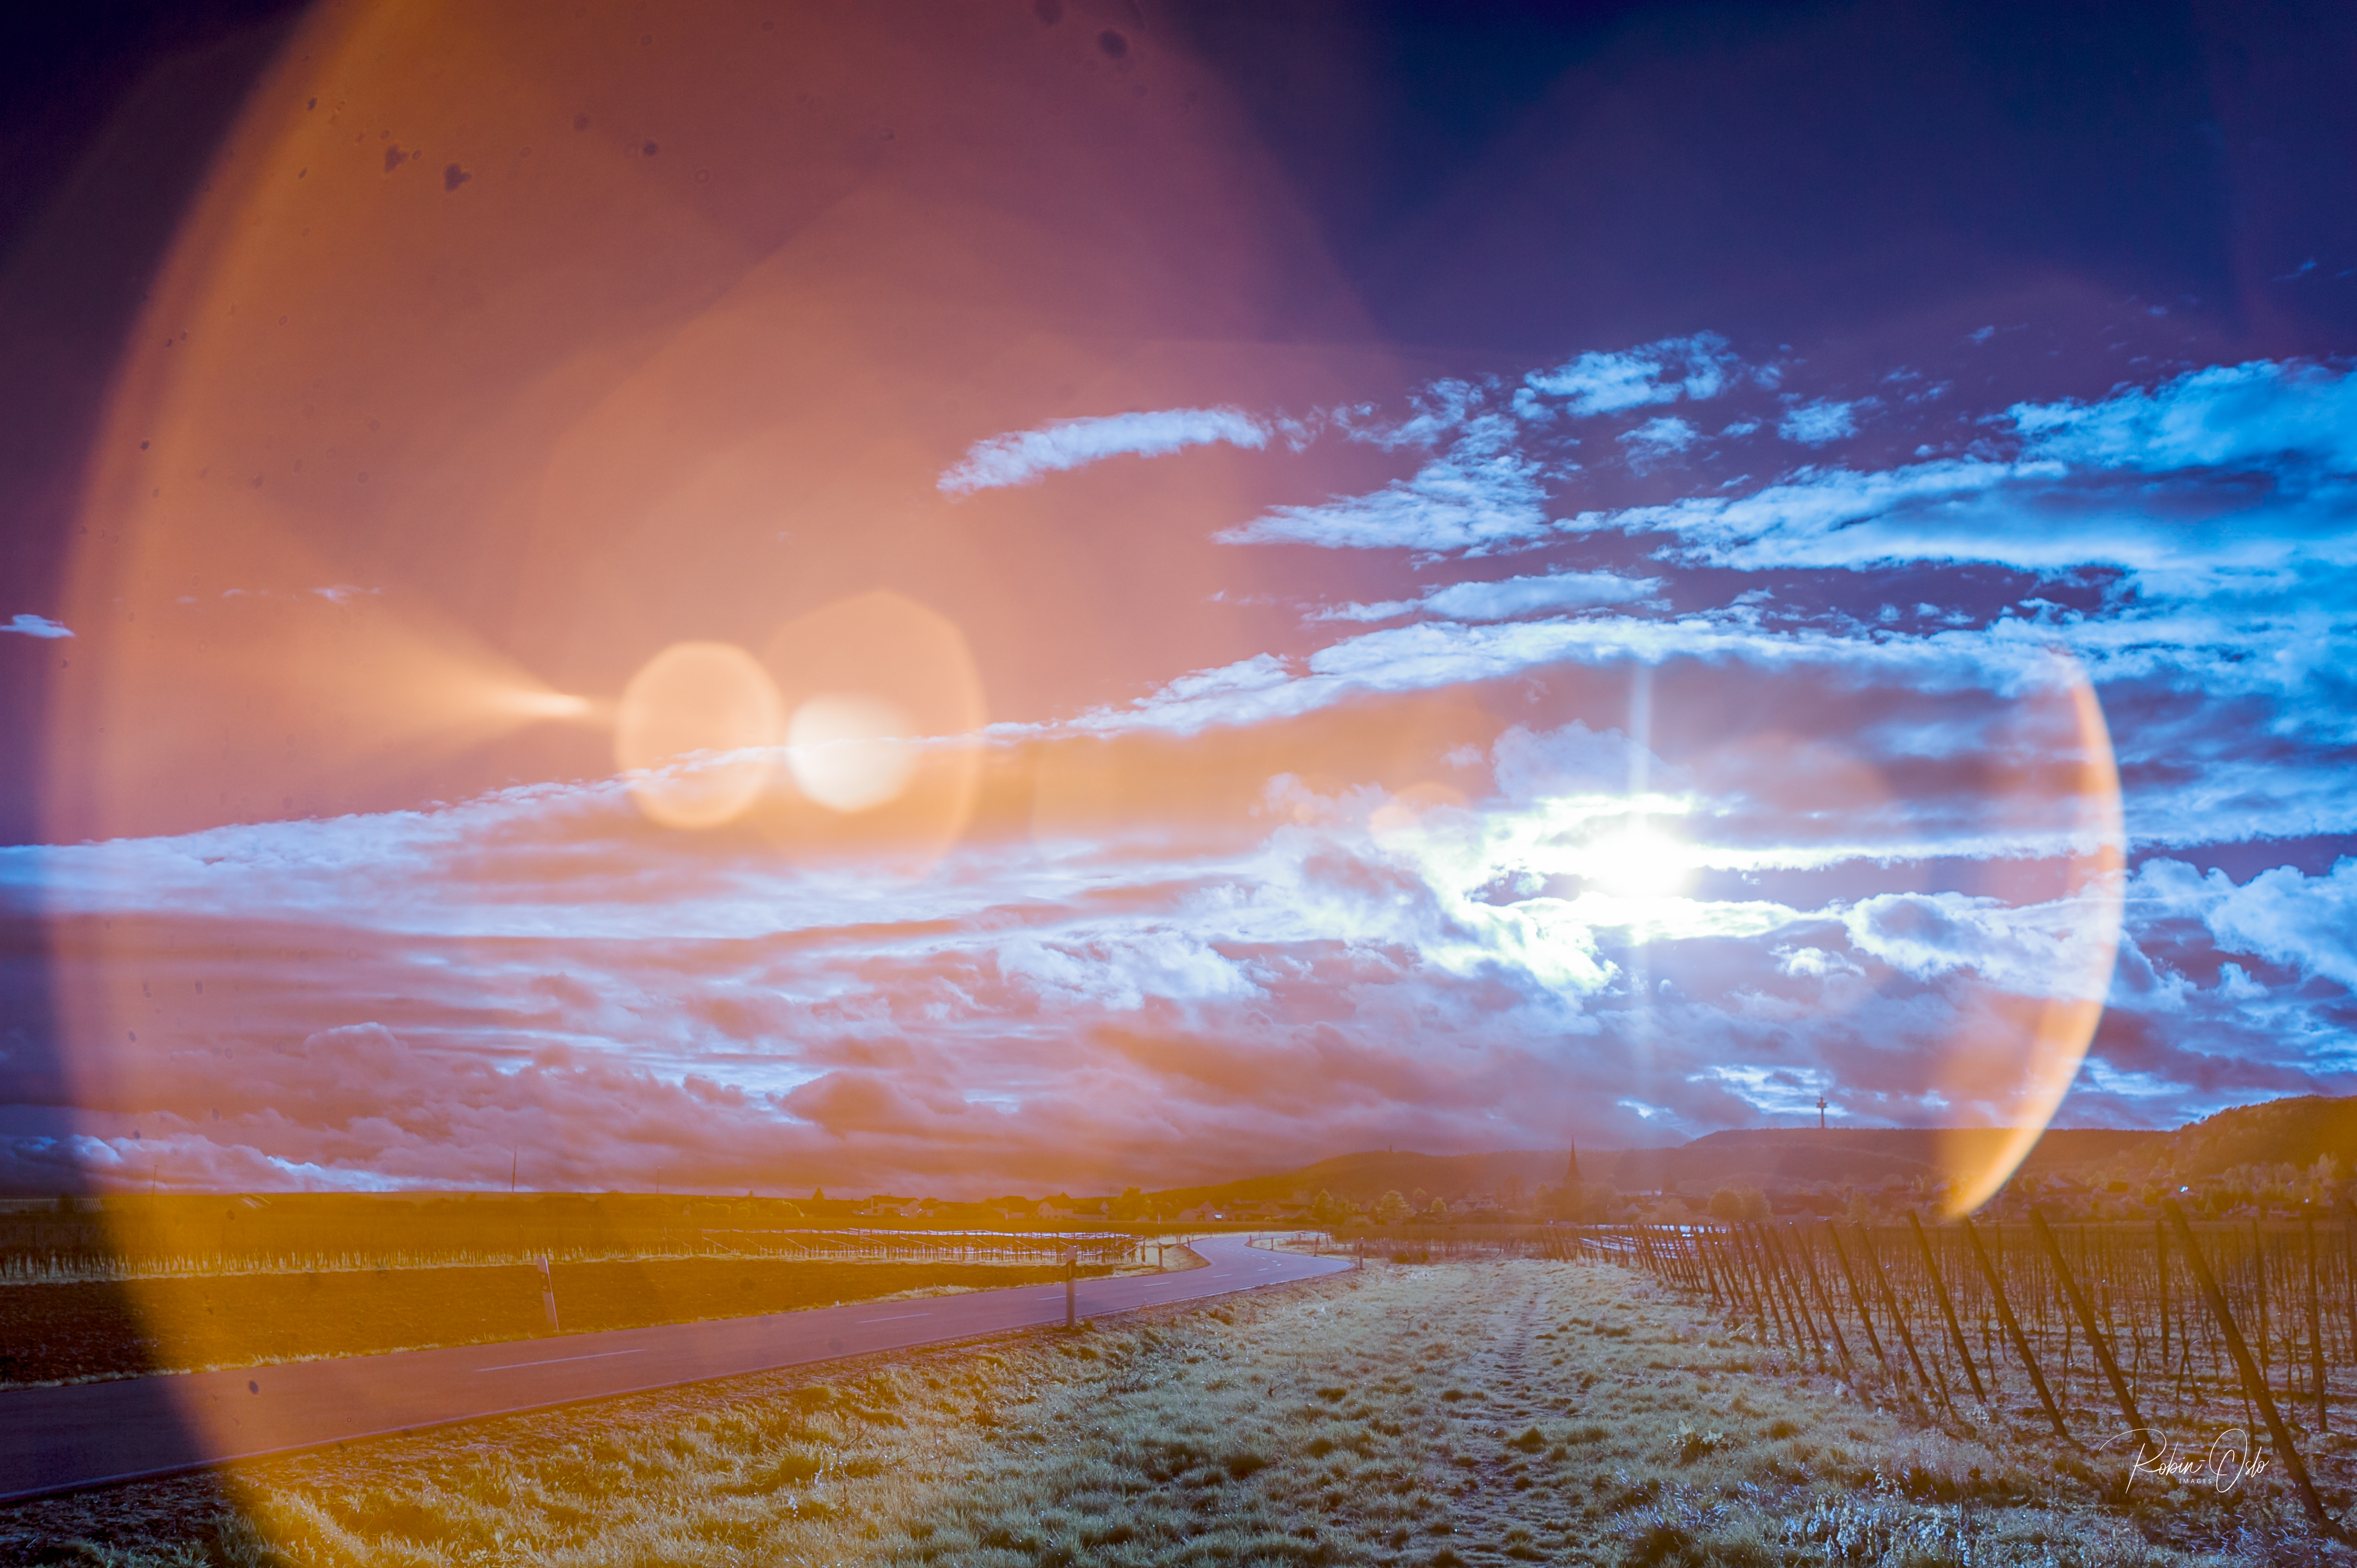
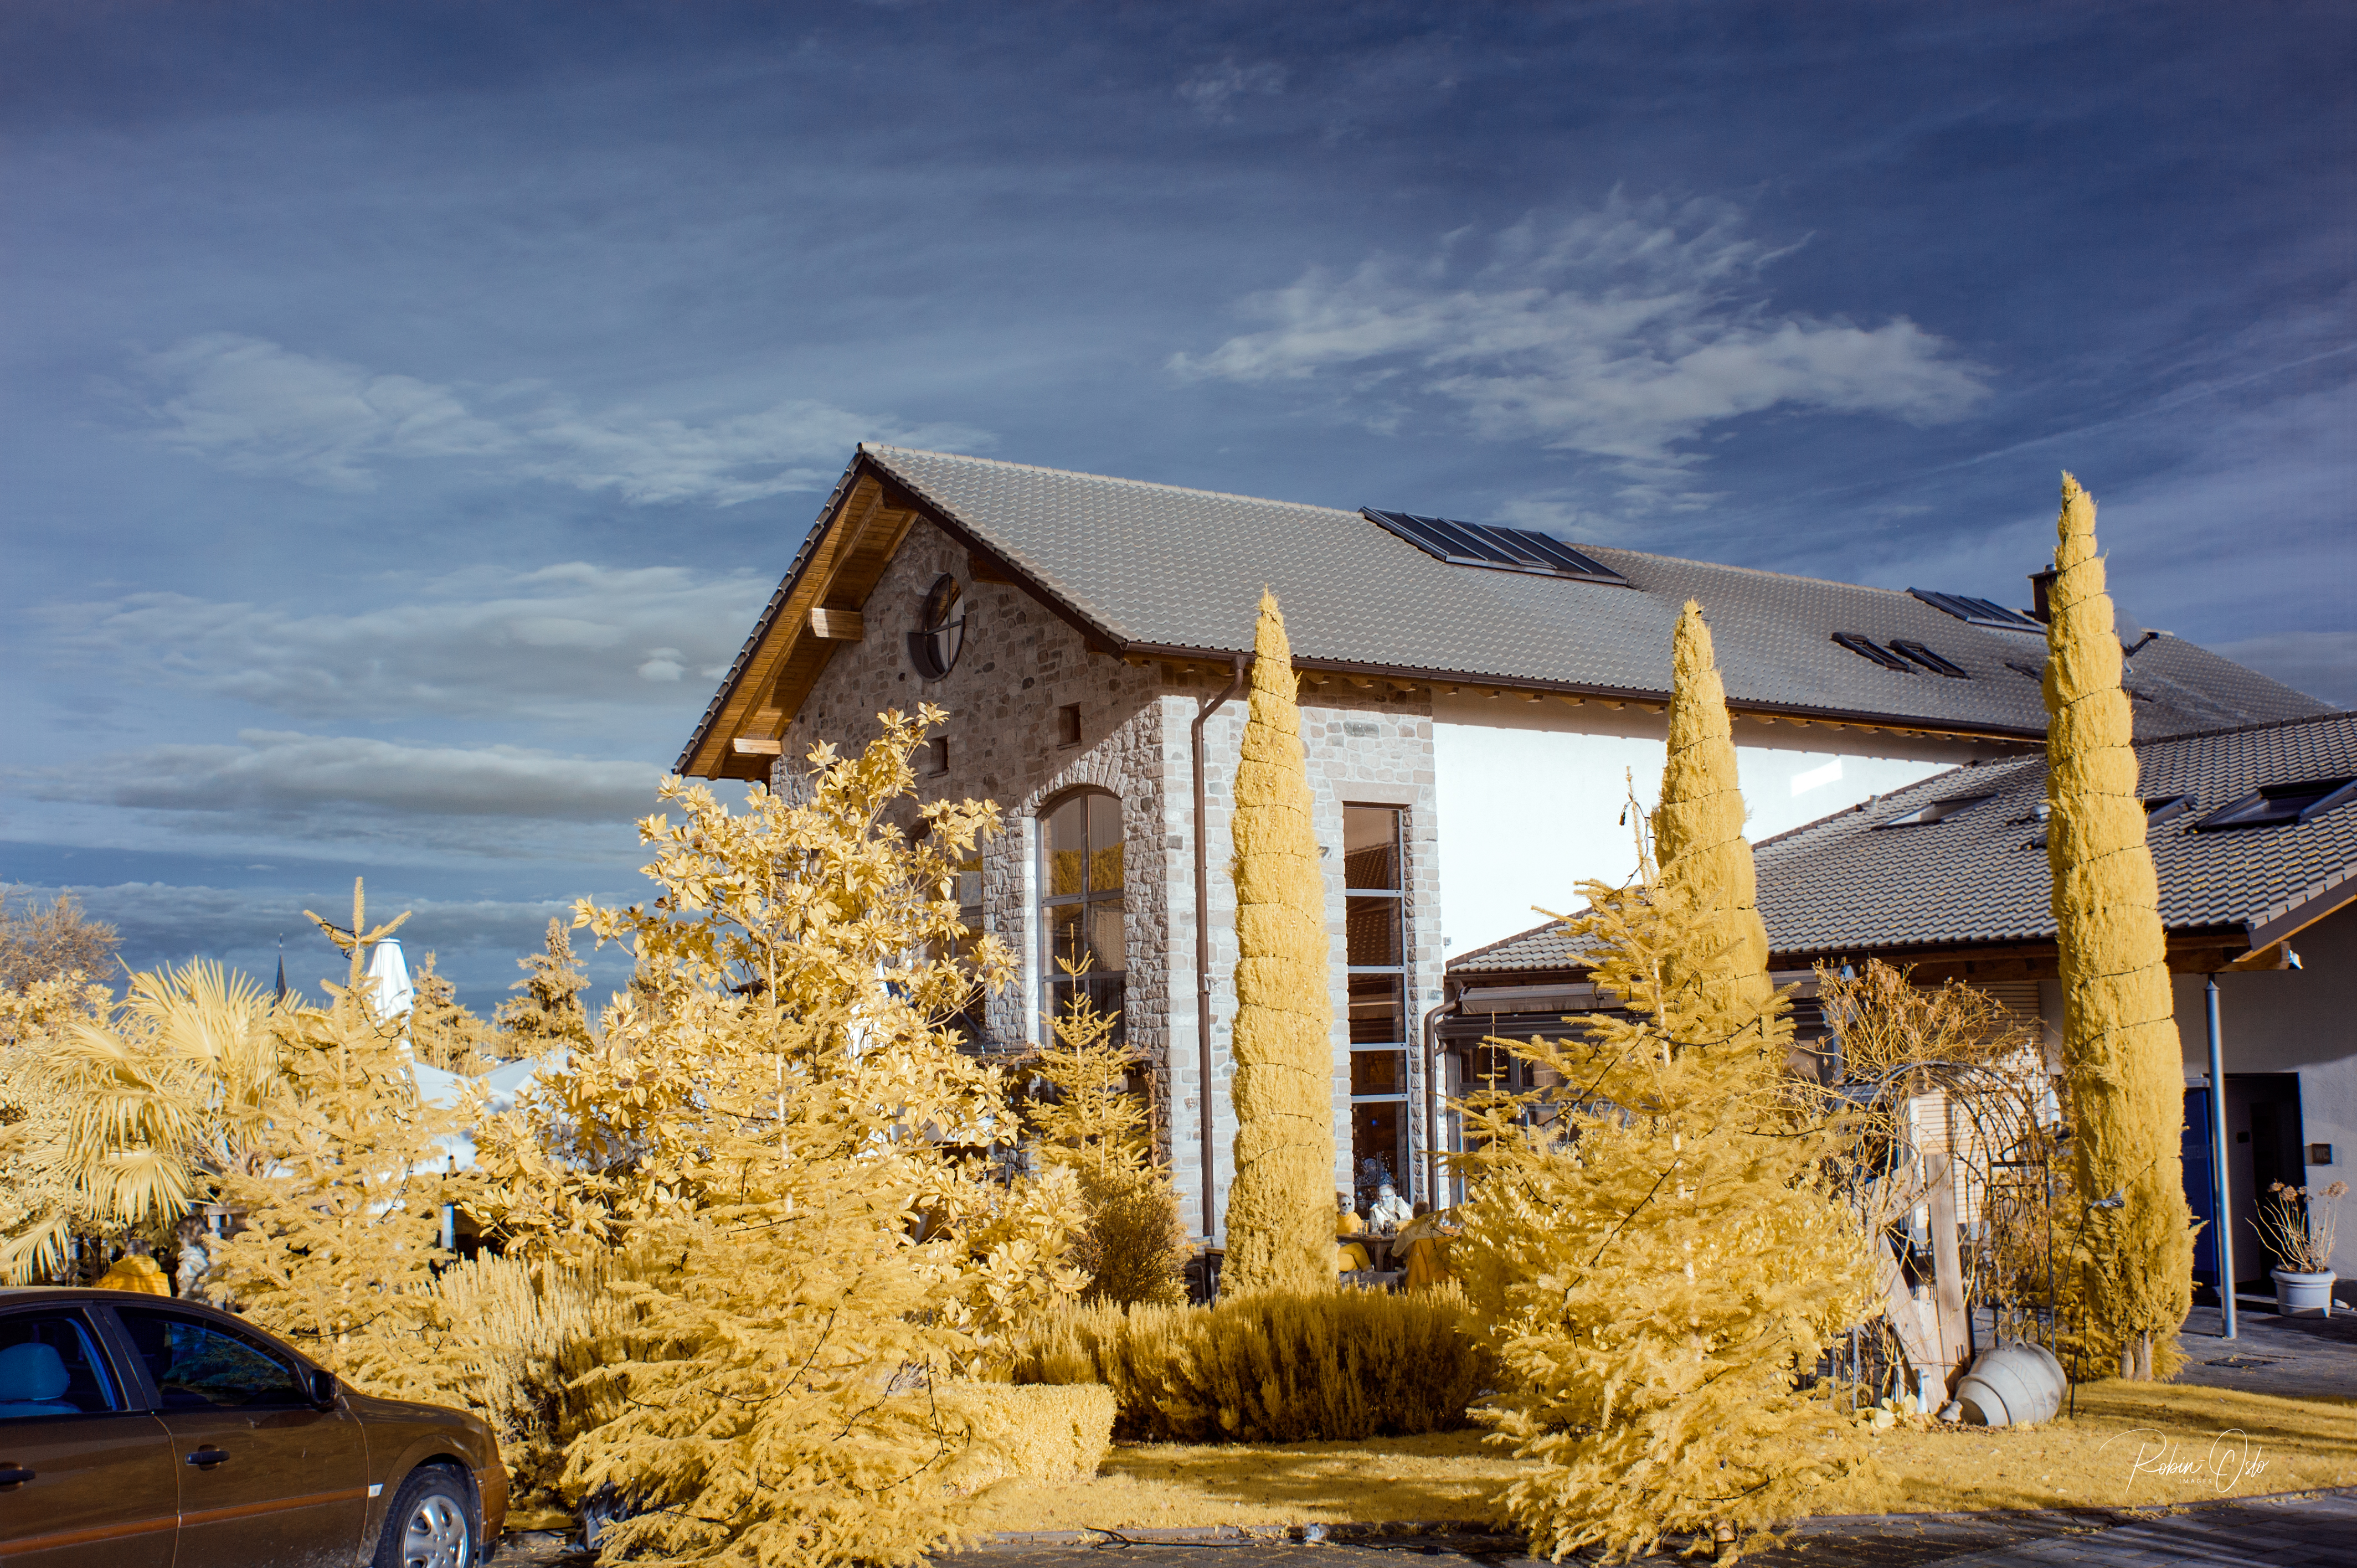
The sun should be at your back to achieve the maximum result. There will be a difference in colours, depending on the angle of the sun. A lower angle results in a more orange hue. The higher the angle, the more yellowish the leaves will appear.
My tests with about 90° to 0° angle to the sun produced violent flares. The cause is probably the removed blocking filter, which would reduce the errors of lenses.
Logically, however, you can photograph almost anything with a converted camera.
I tried fireworks, among other things, only to find that they had no effect except for big flares. The cause was the moon in the upper right of the picture.
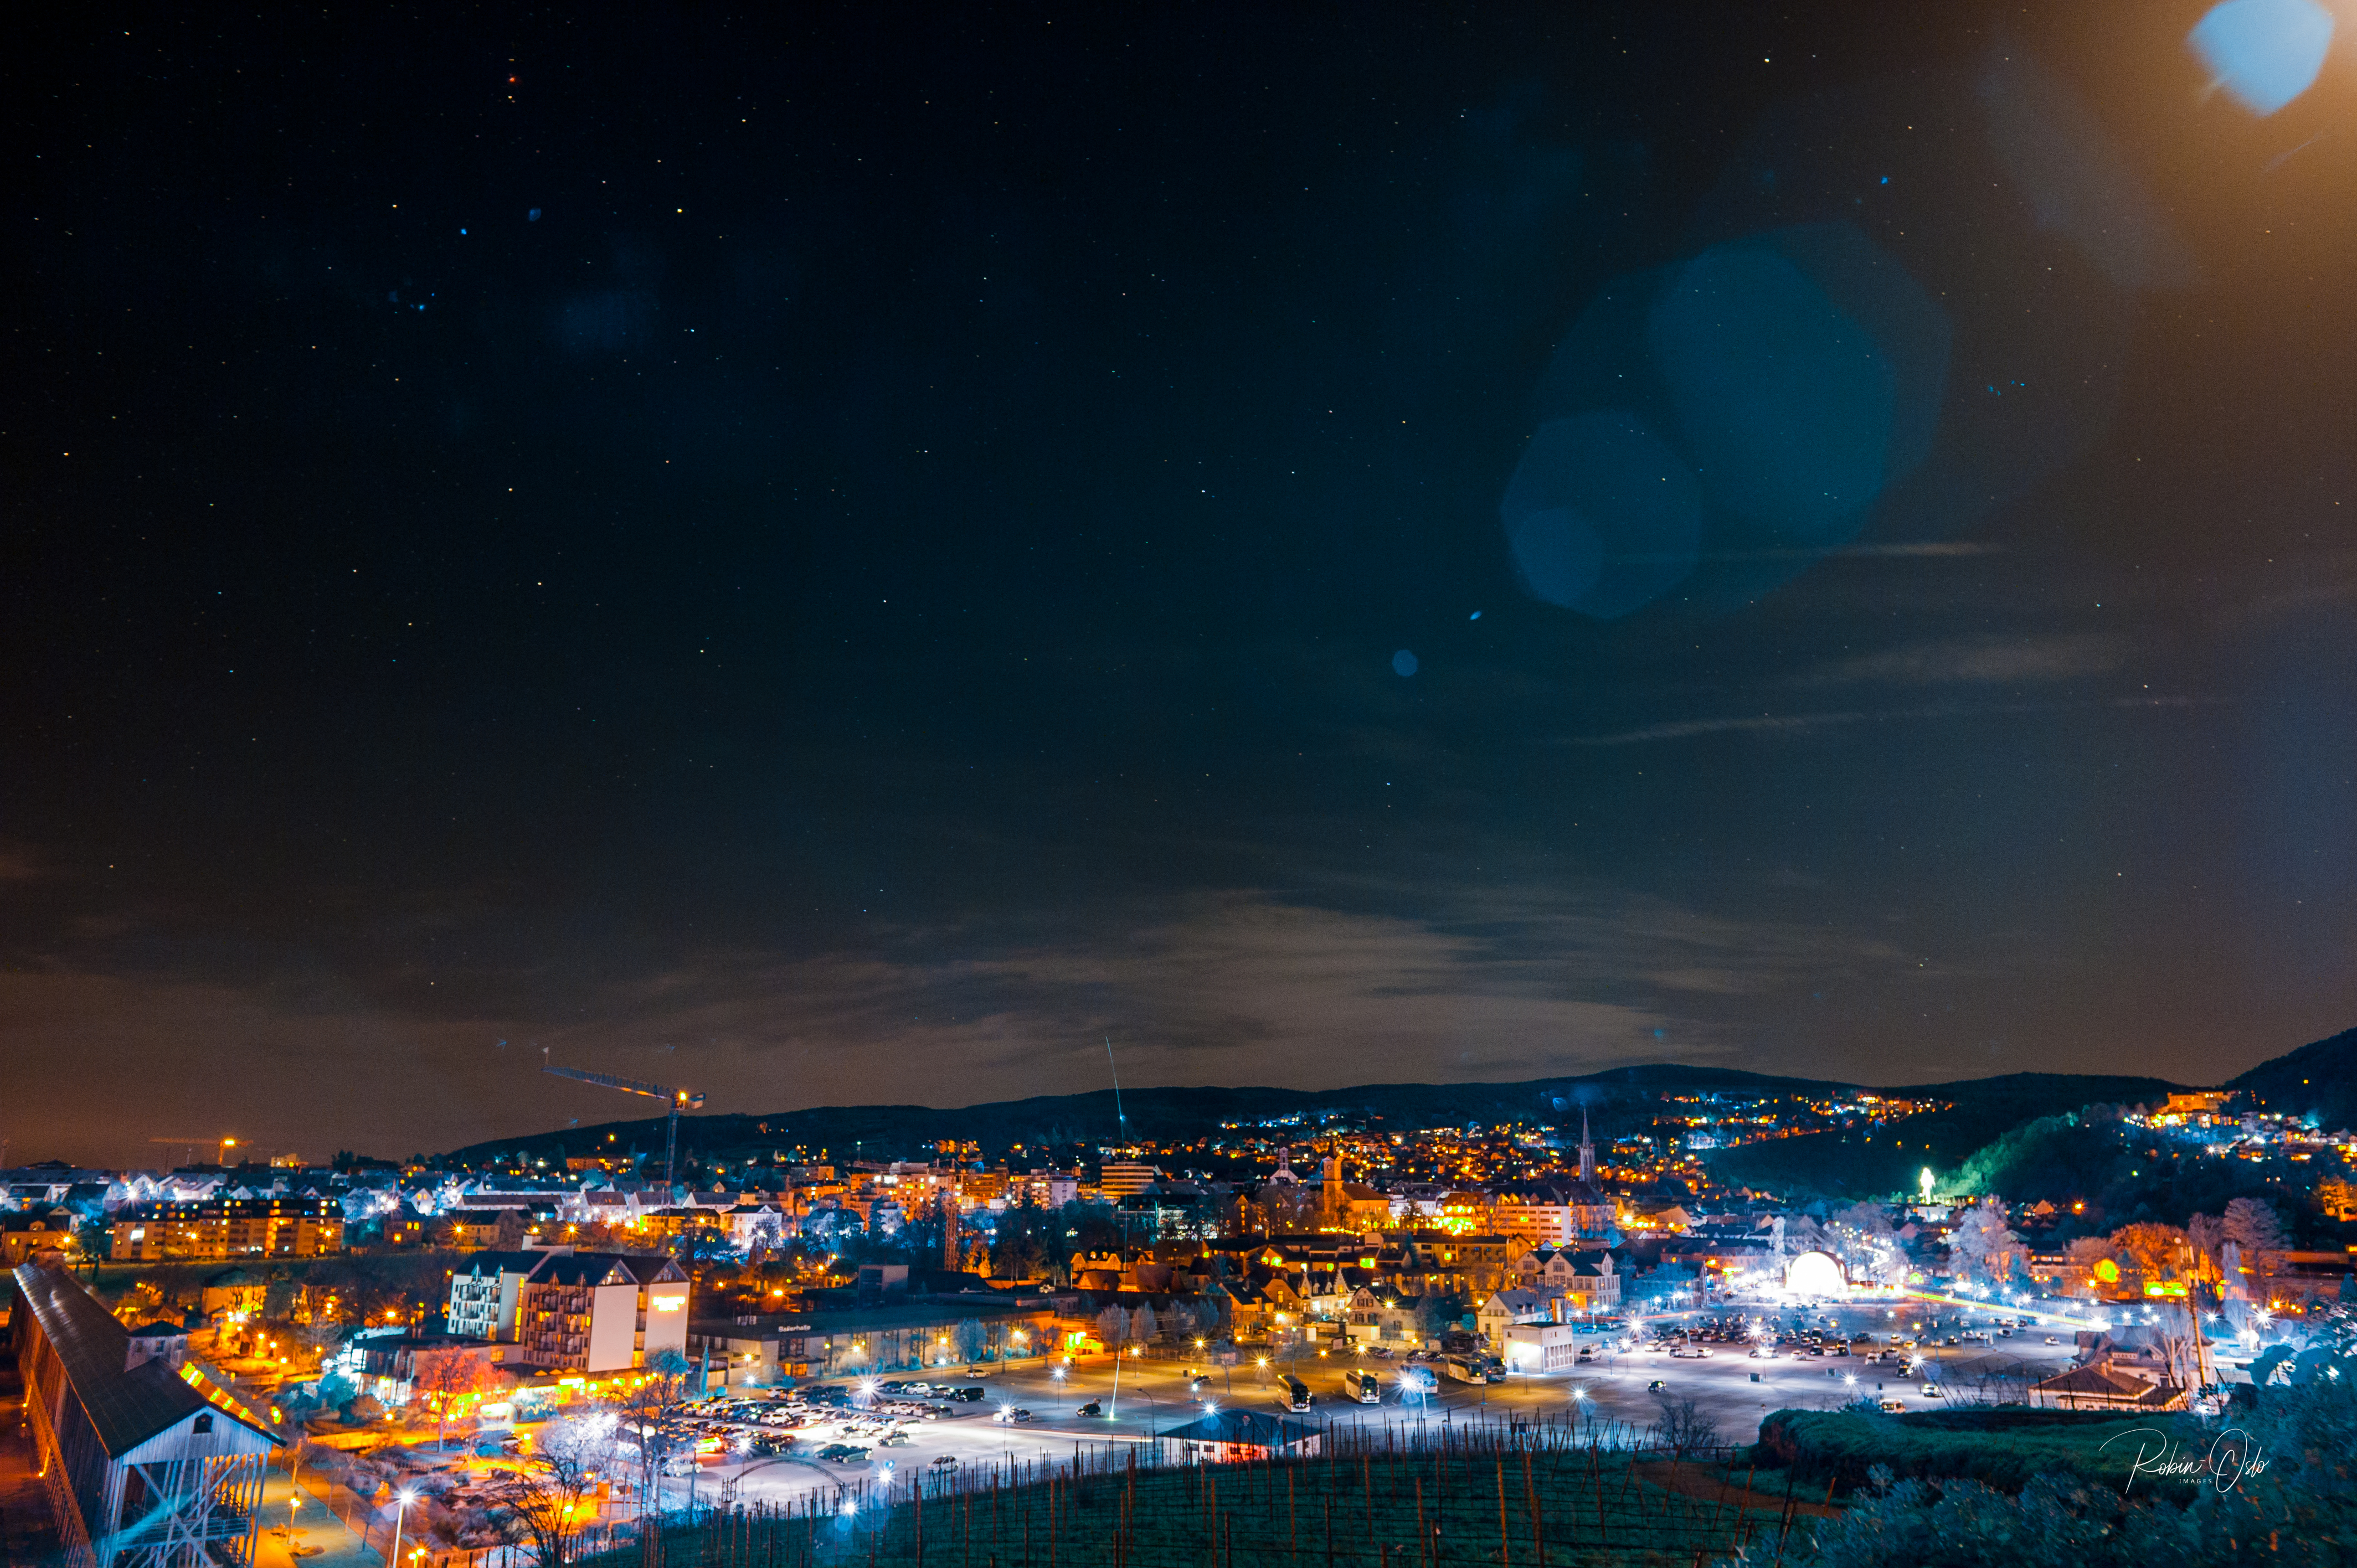
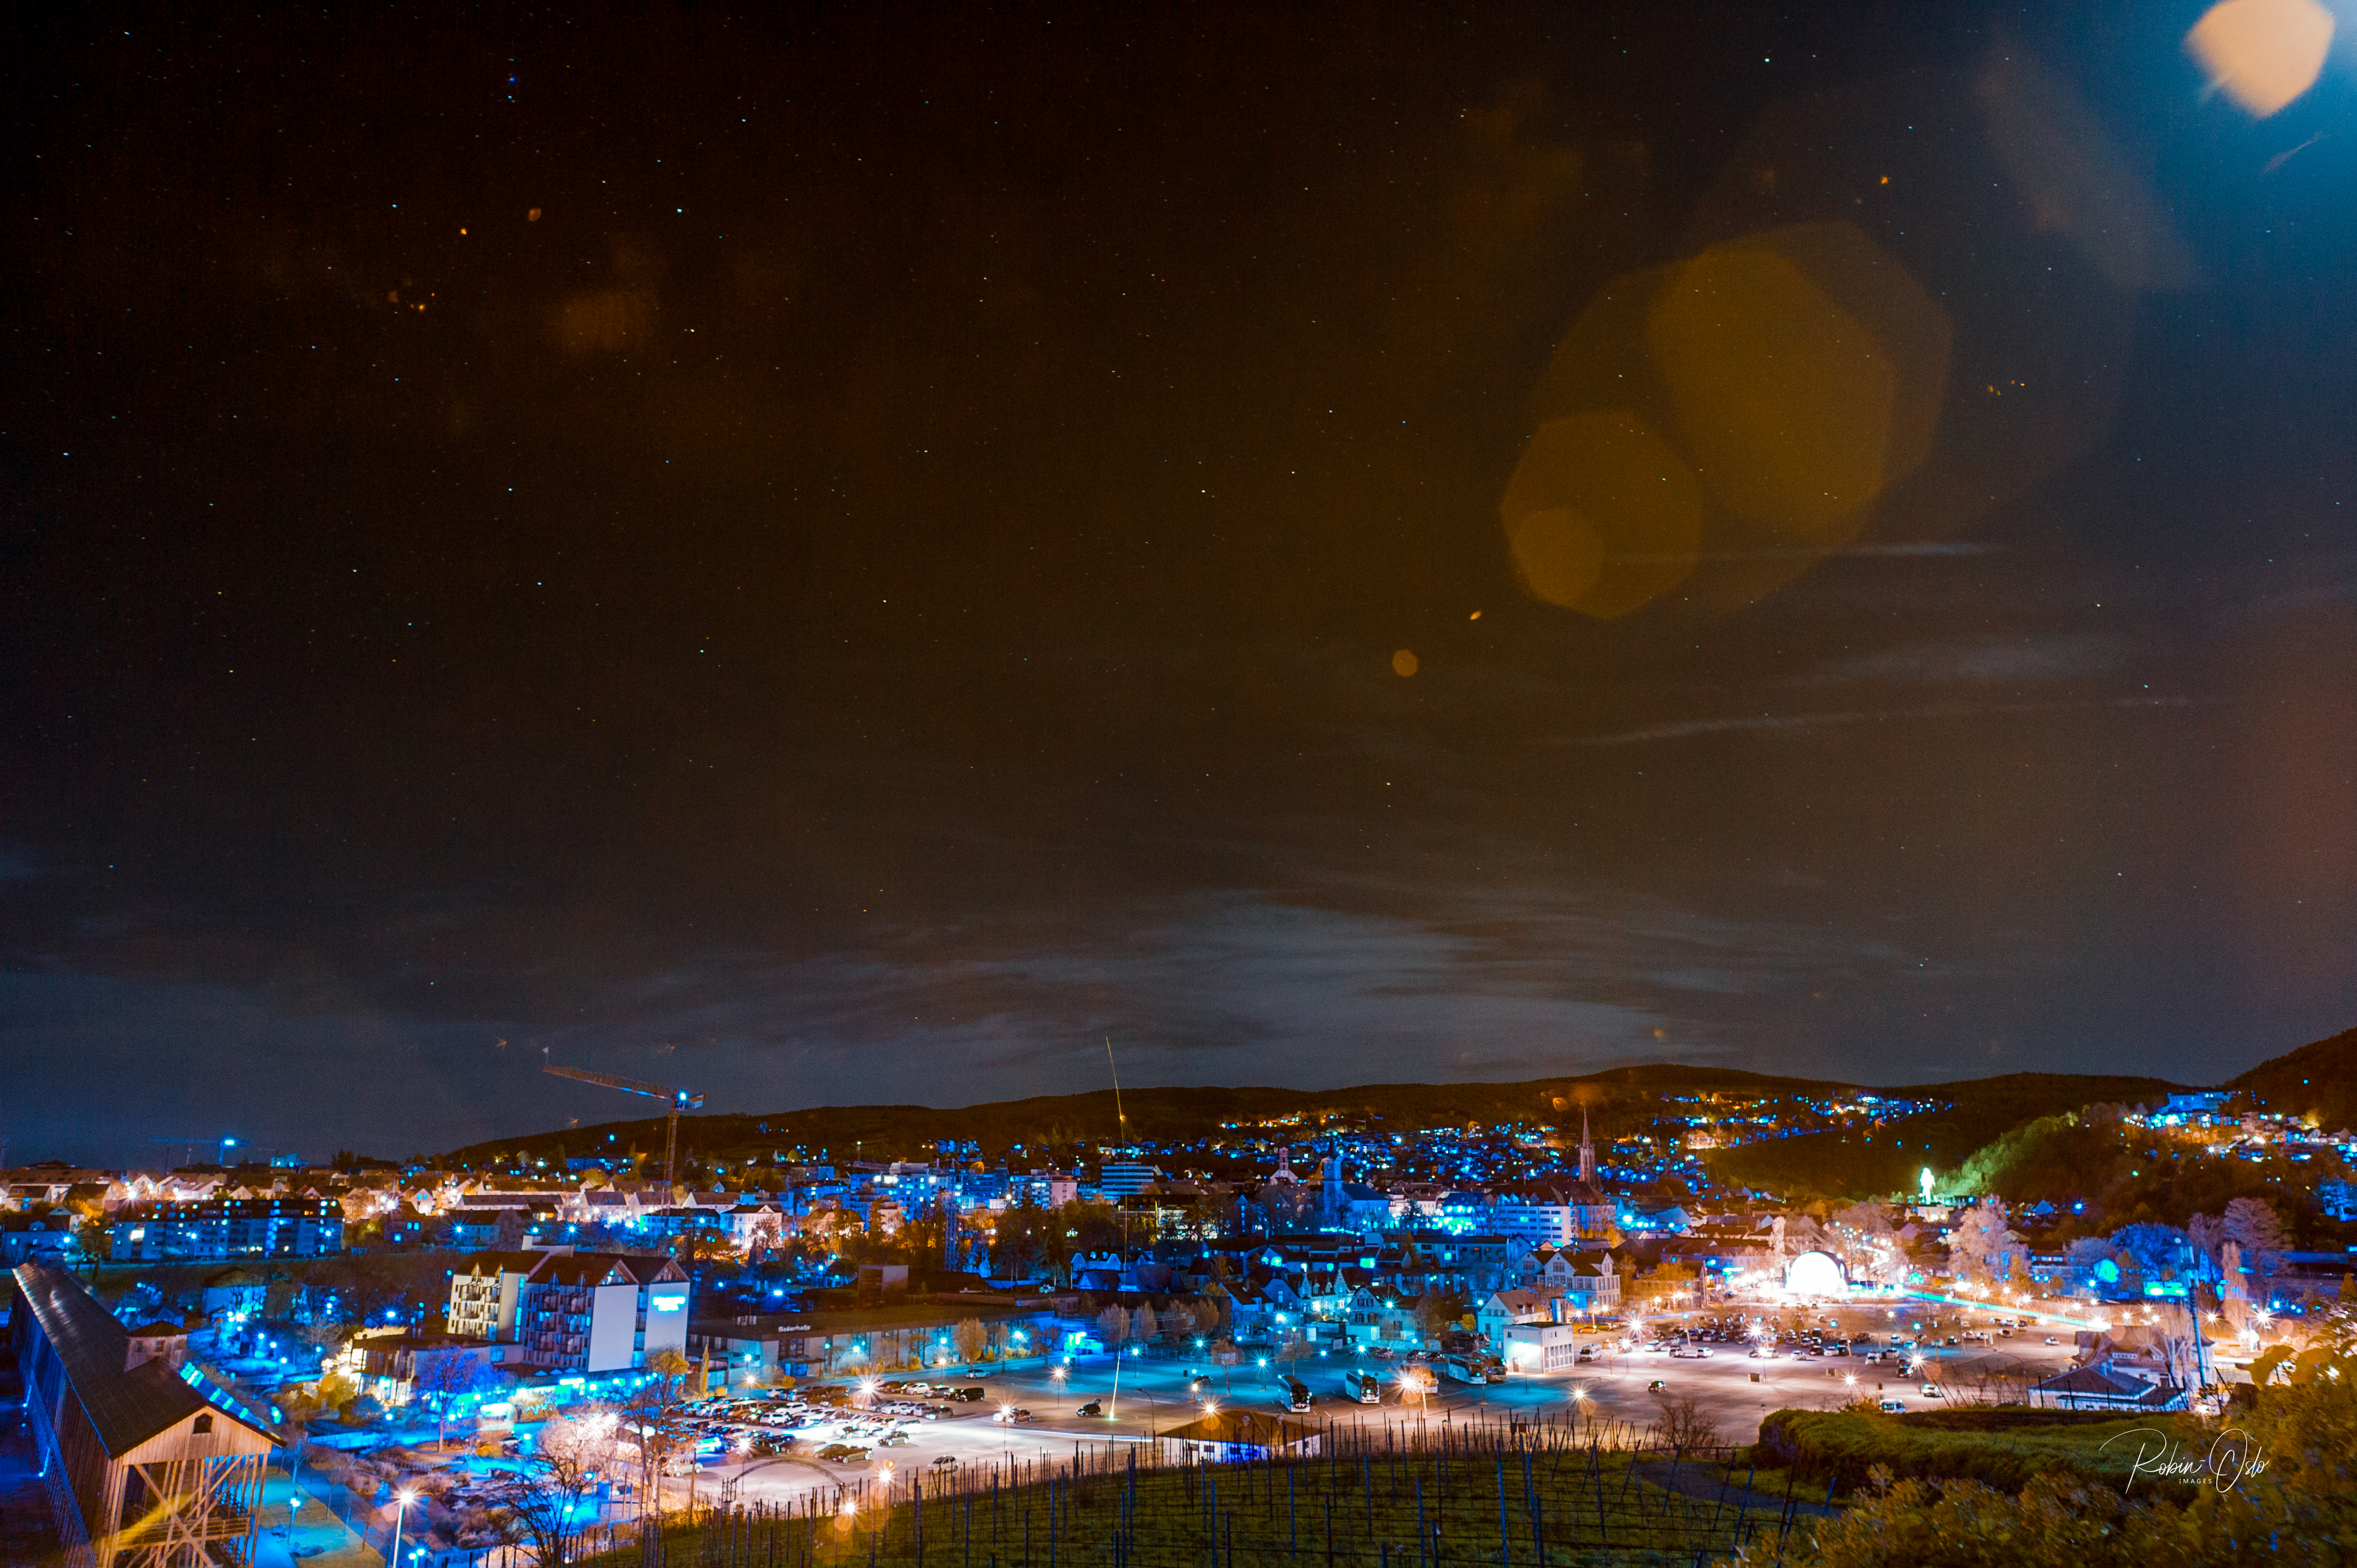
Night shot
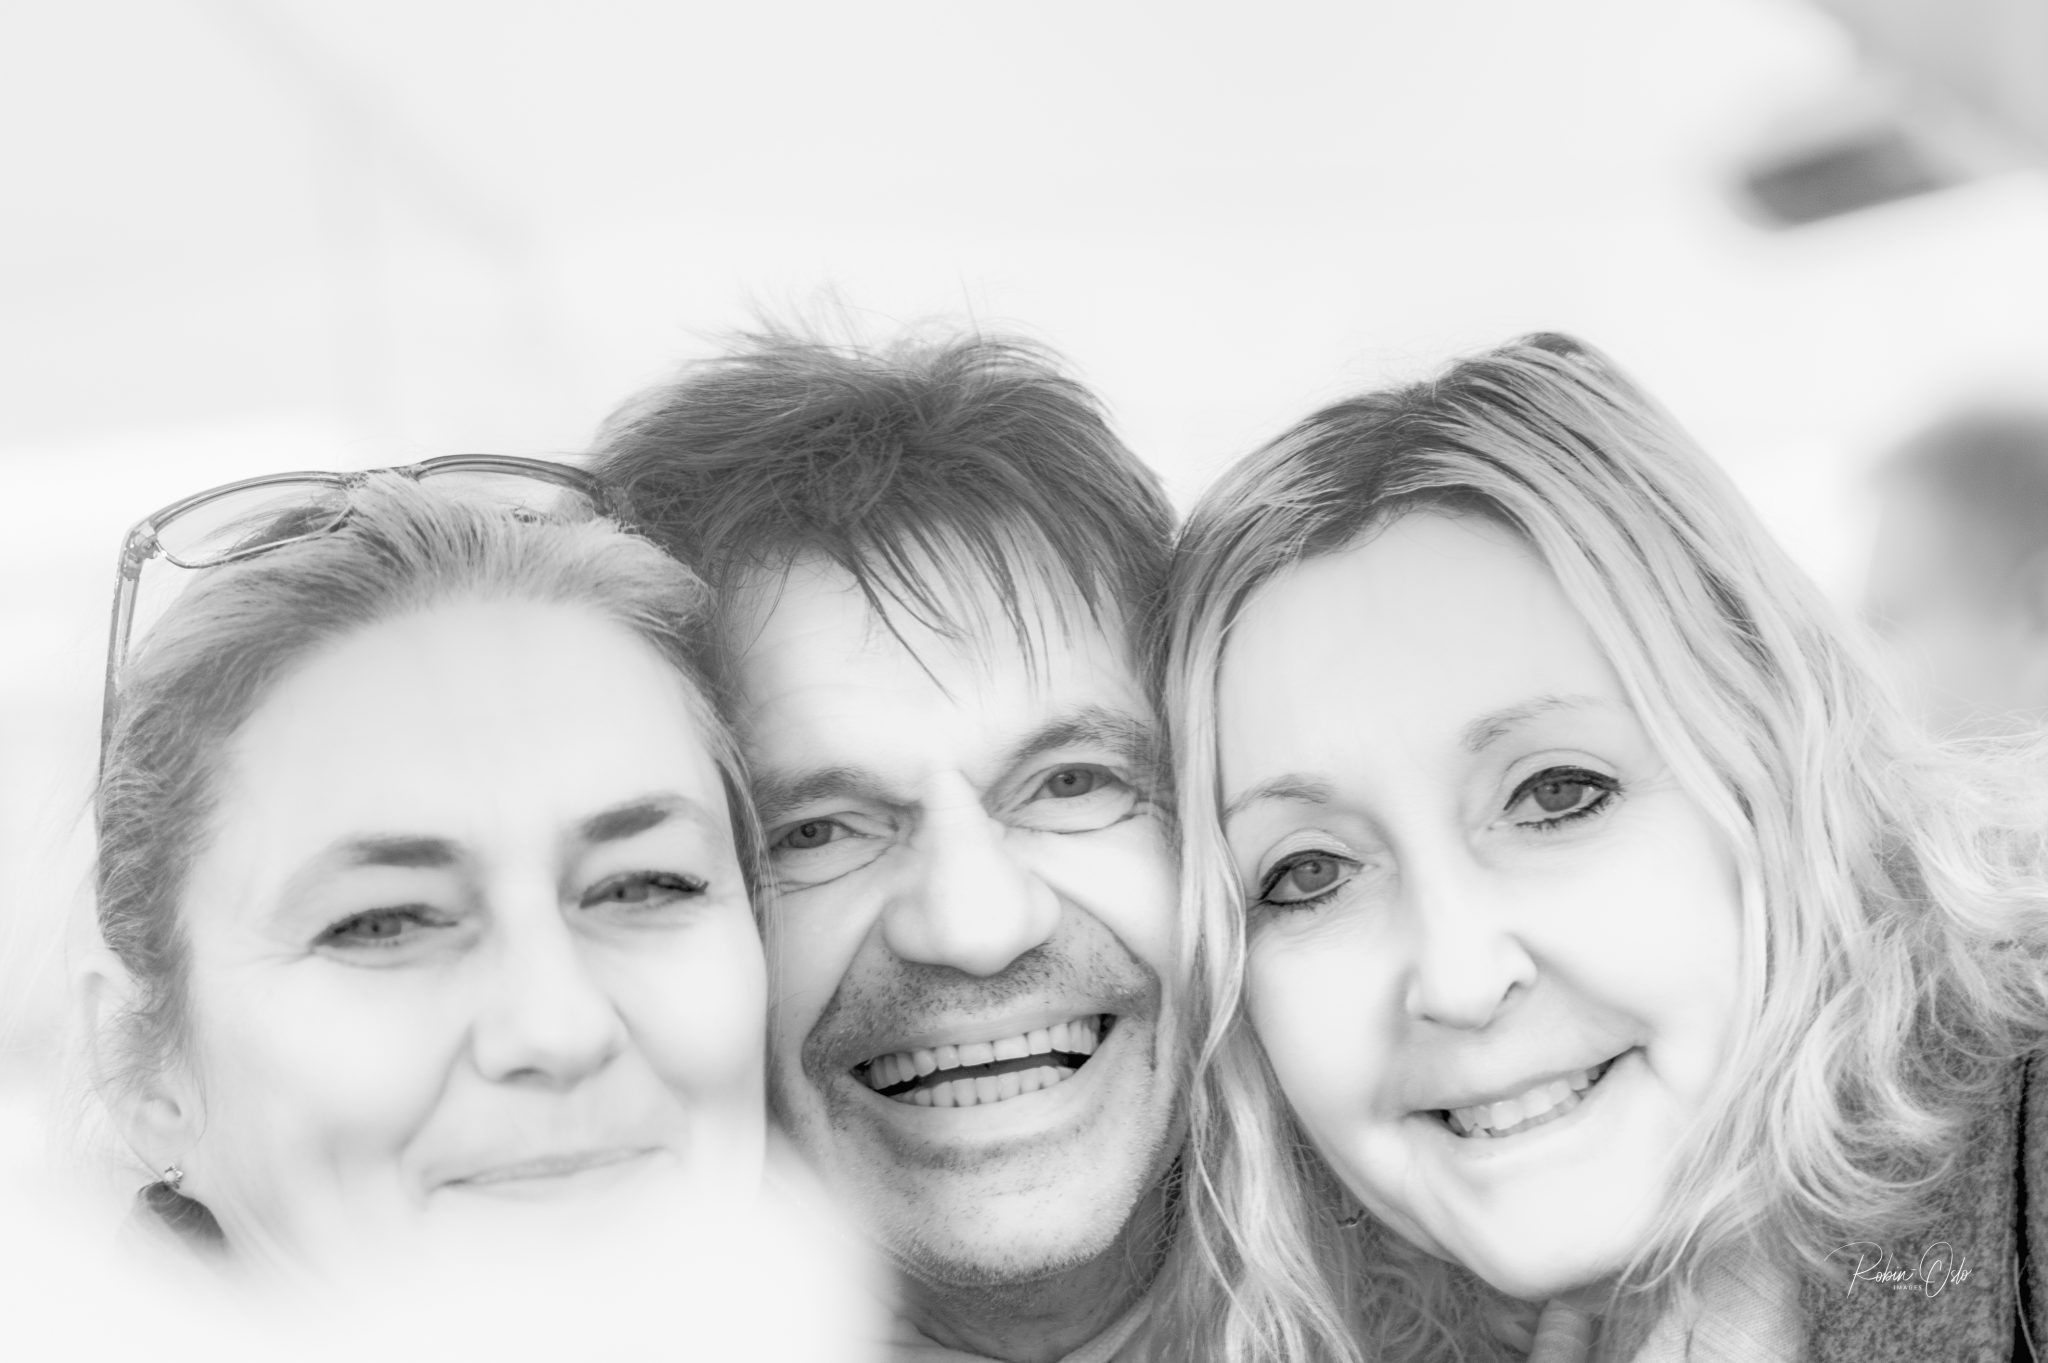
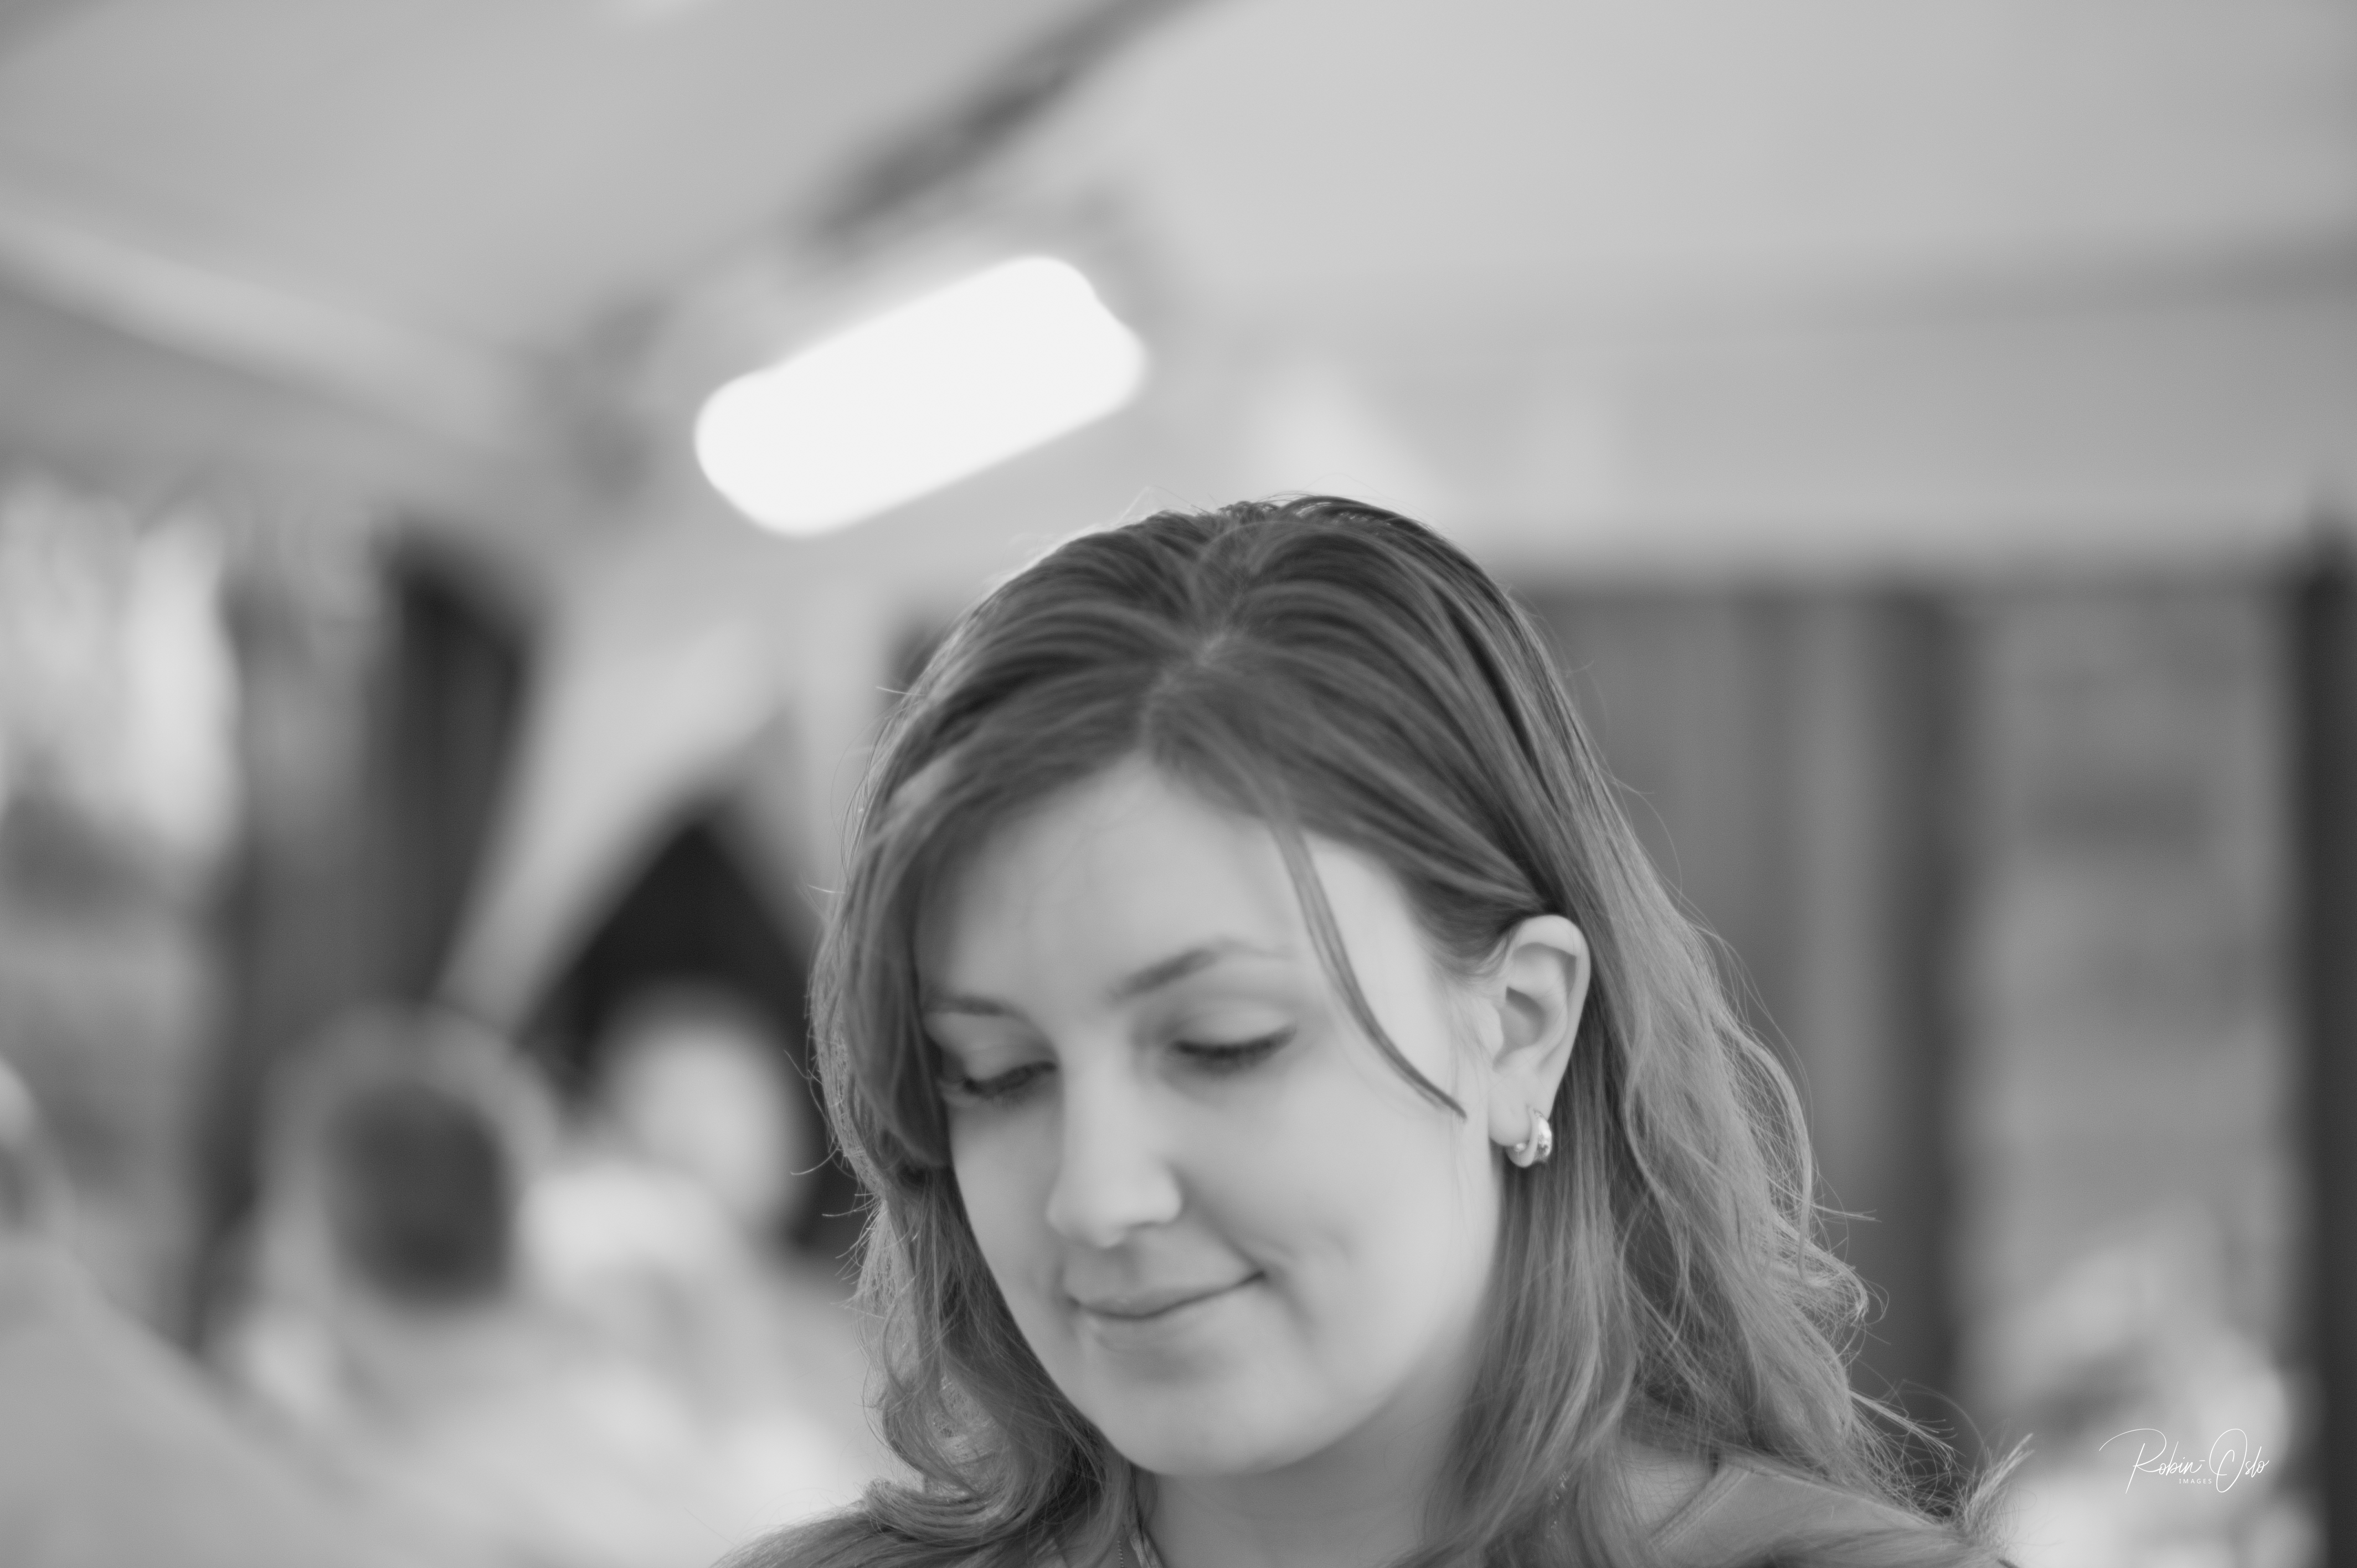
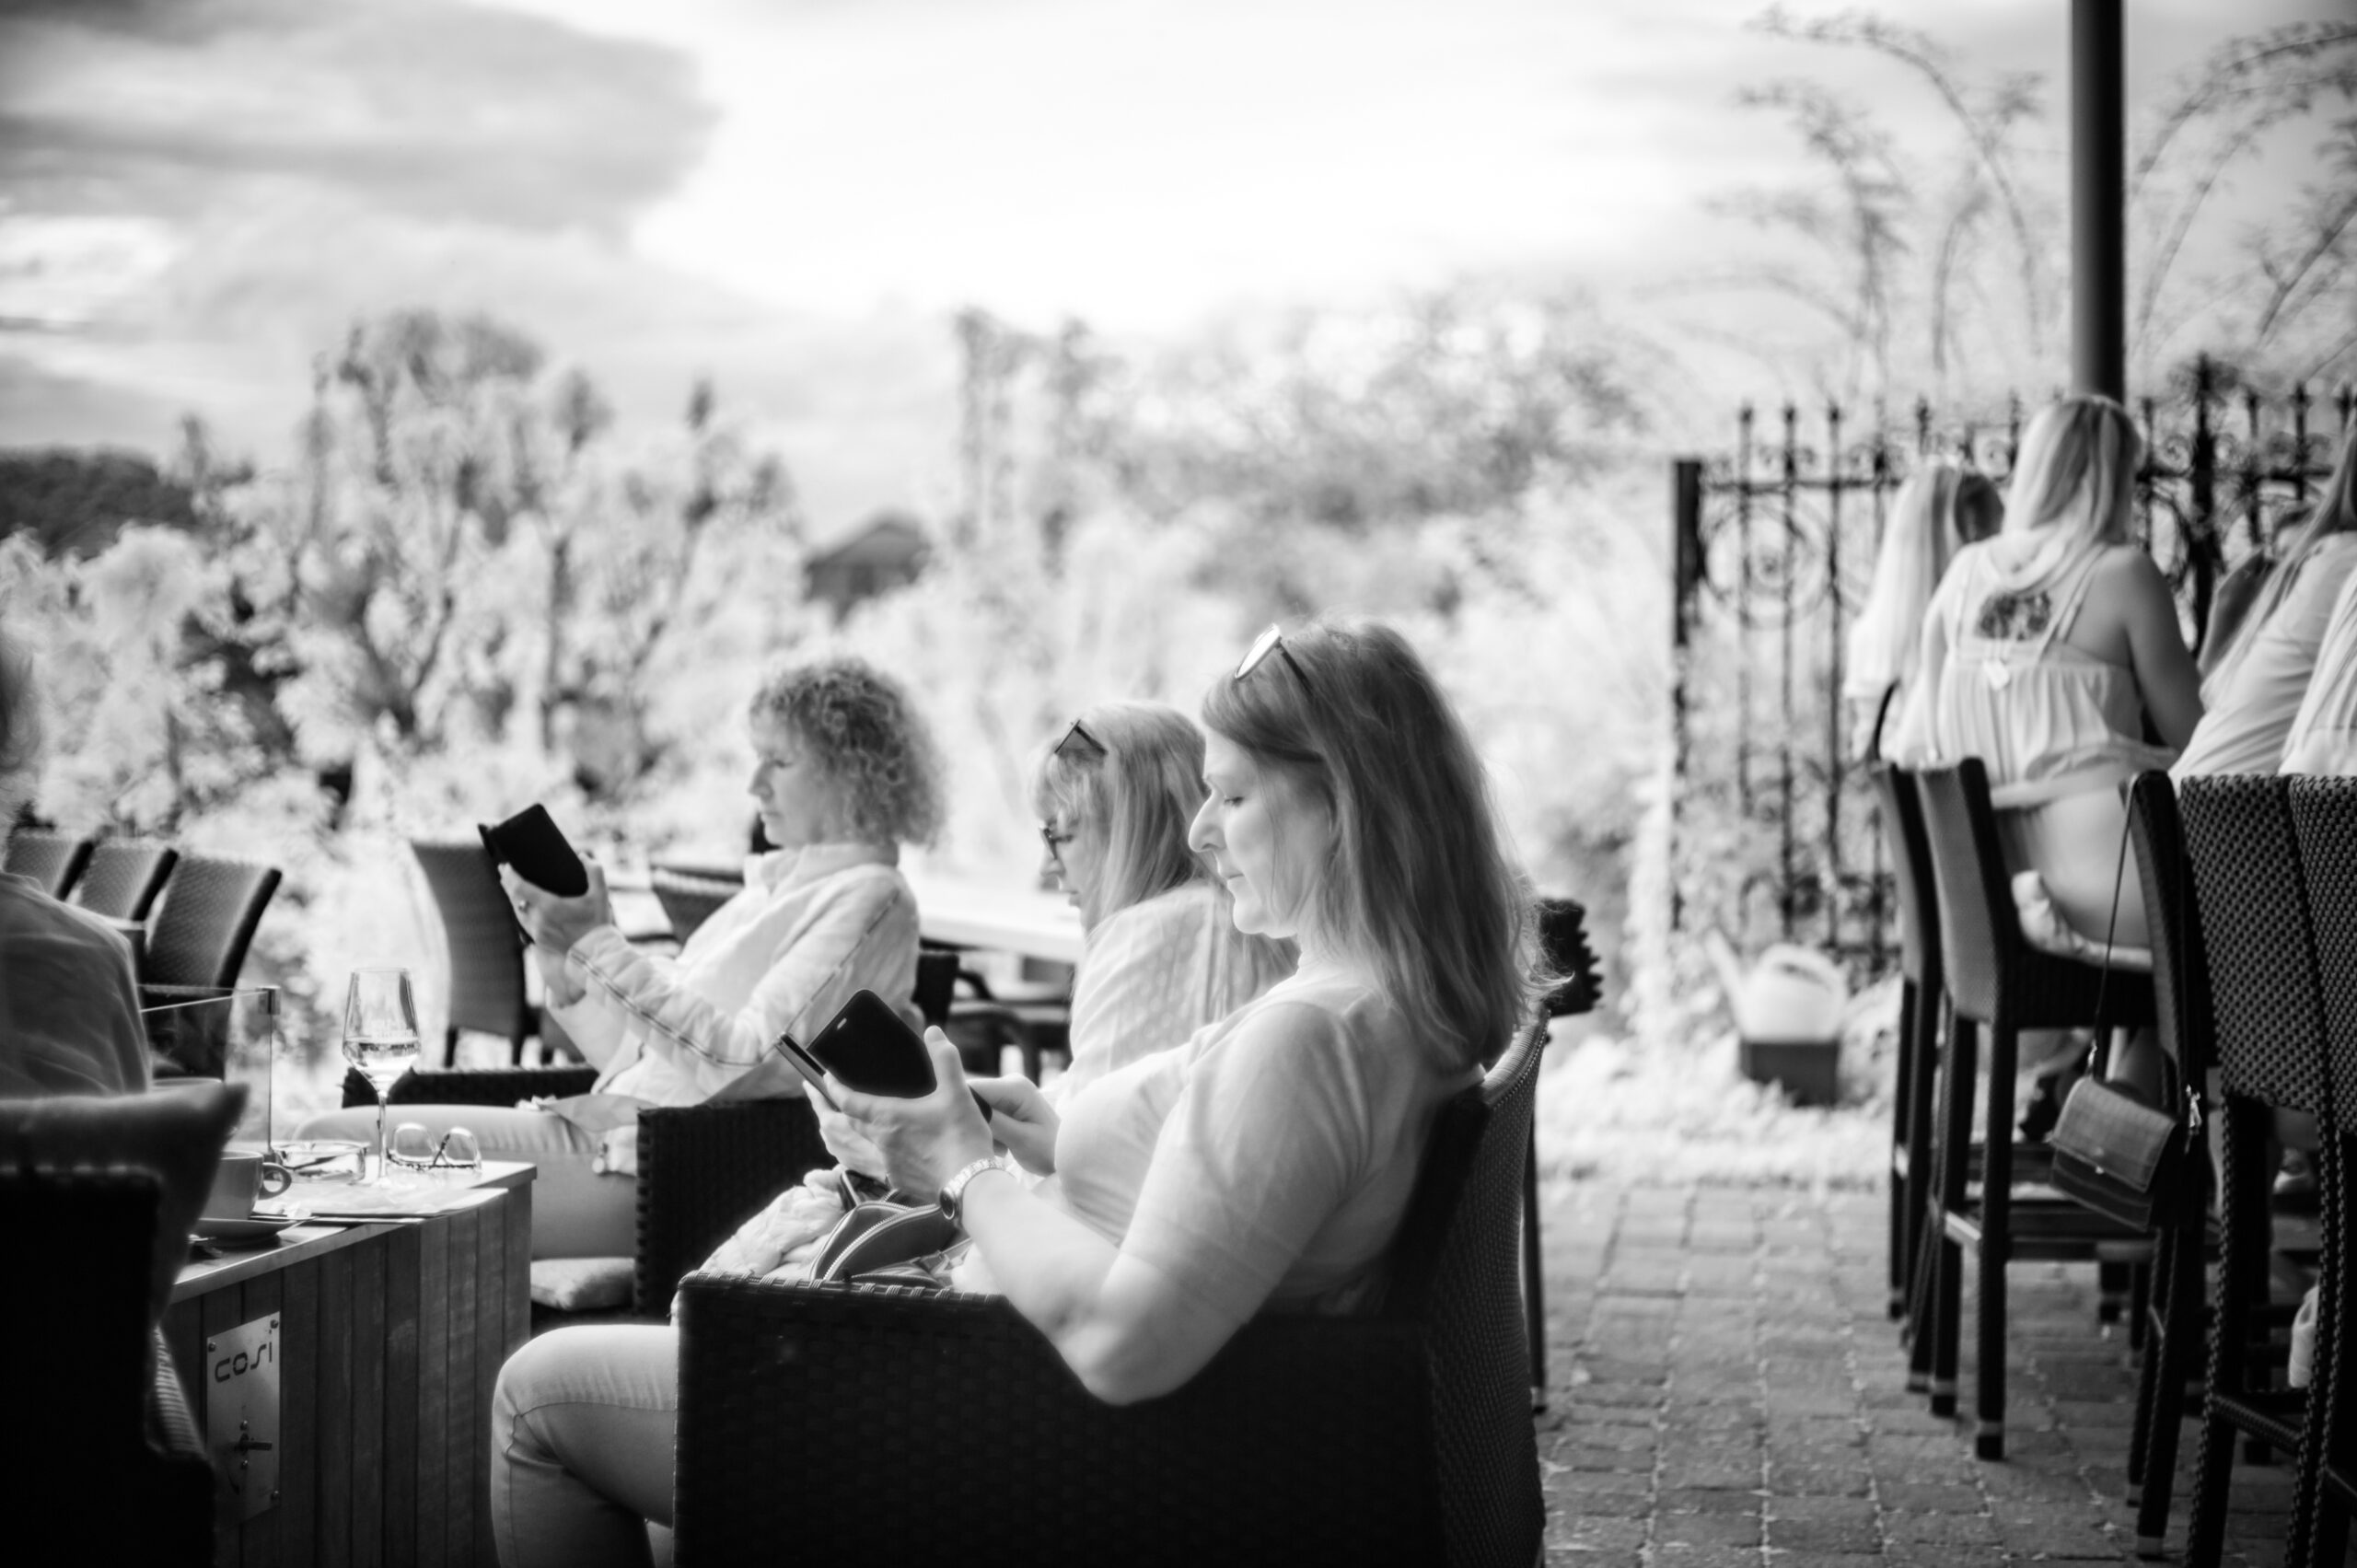
Portraits get a completely different character. Our skin reflects quite well in the infrared range. Thus, after conversion to black and white, we can see fine, soft skin tones that are sure to please any model. On a lighthearted note, no need to go in for extensive makeup before sitting for the photographer — just suggest using an infrared camera and then converting the images to black and white!
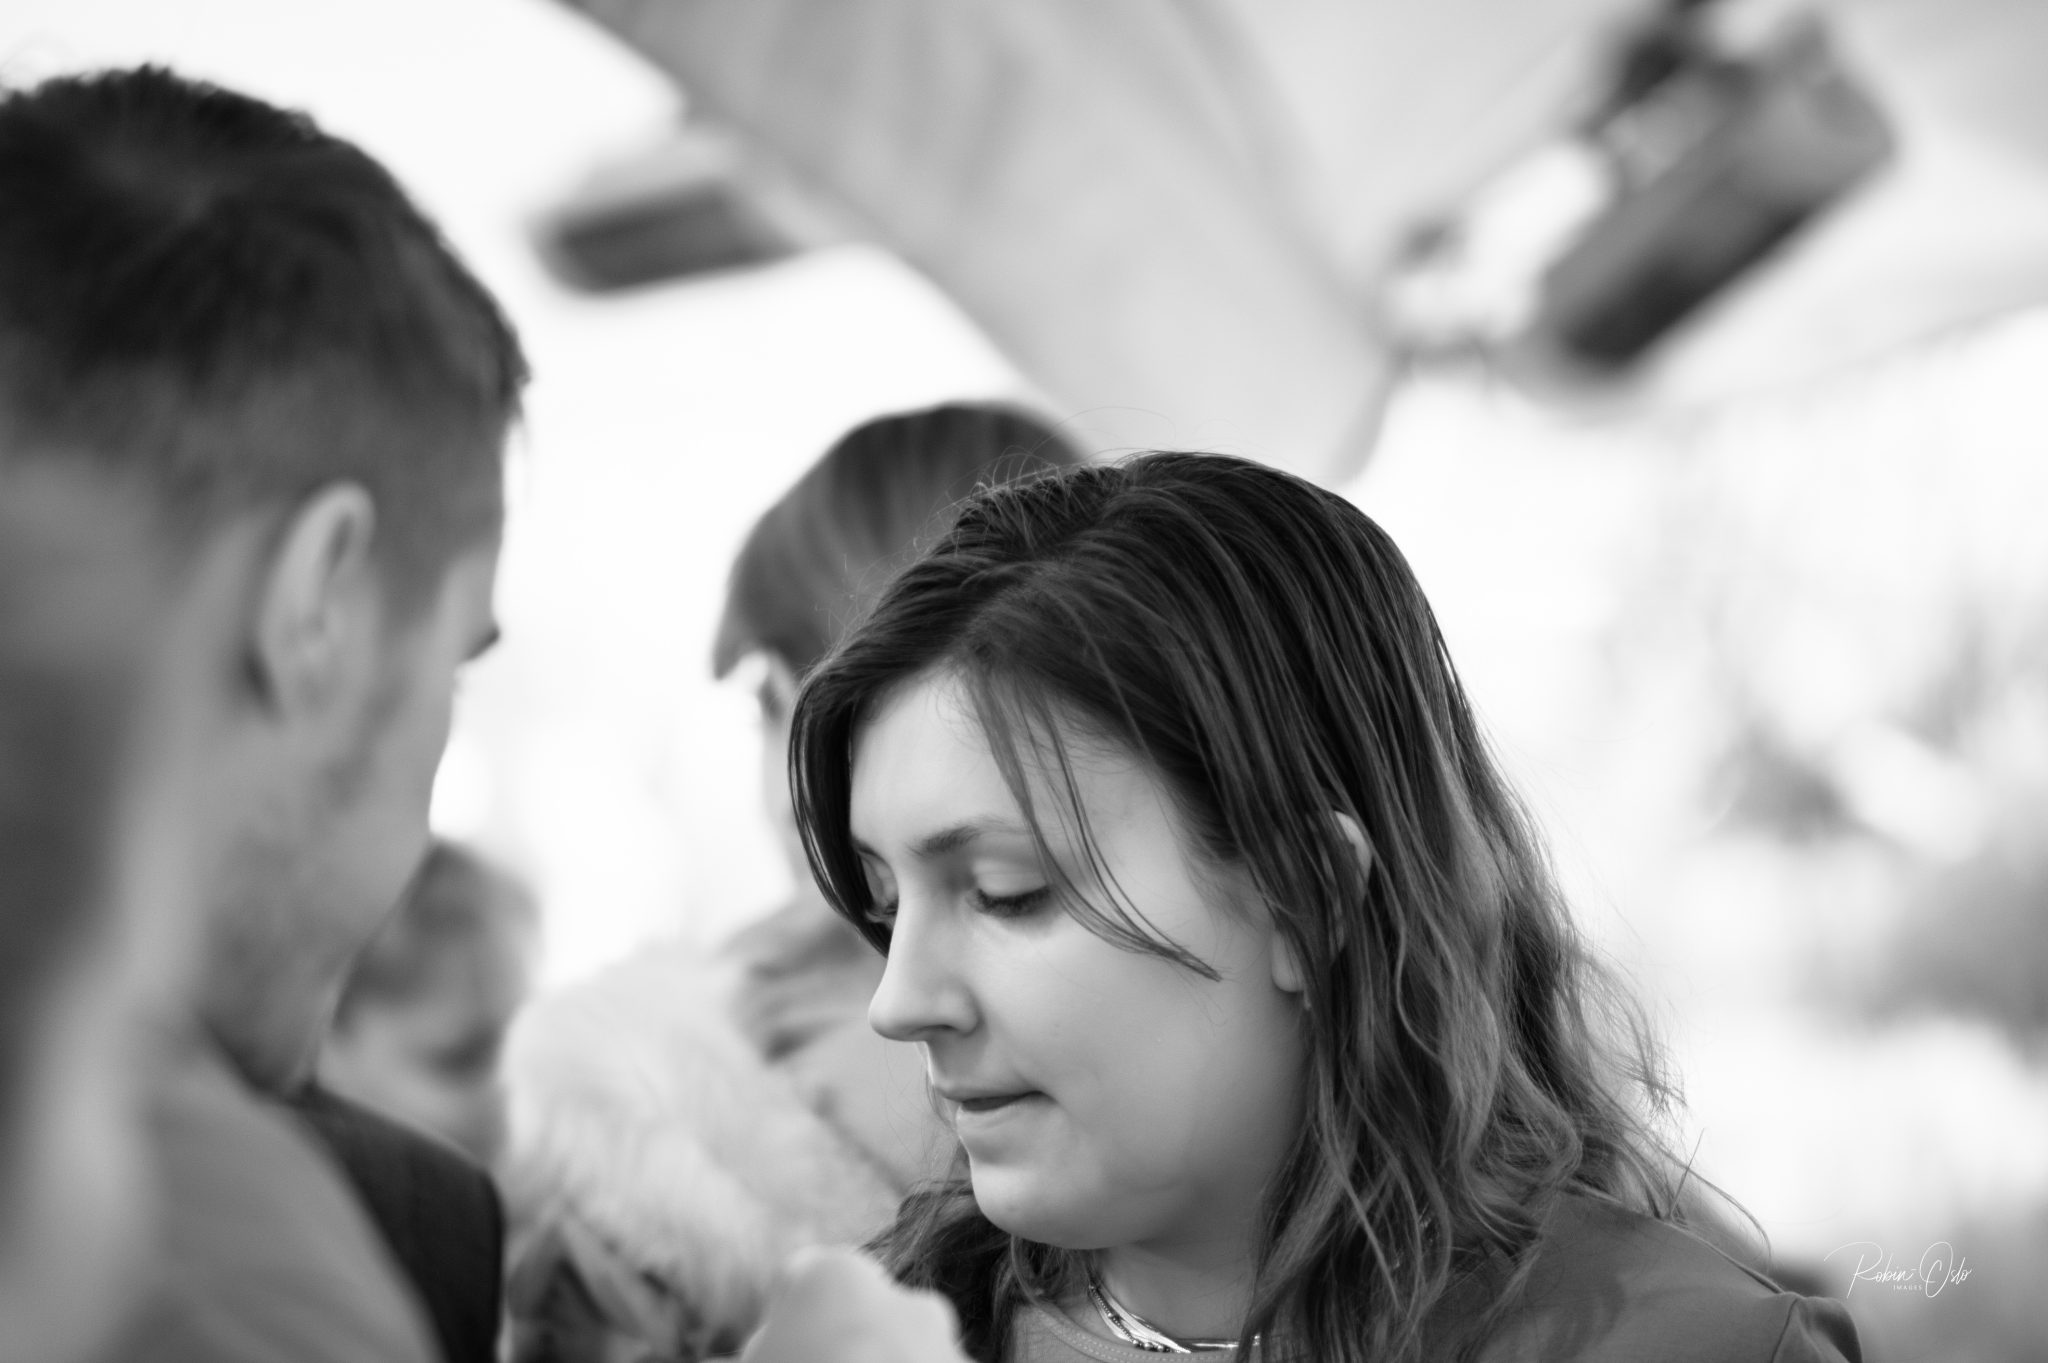
The subject would find less pleasure in a frontal portrait up close if they looked into the camera while doing so. The eye area will be simply creepy.
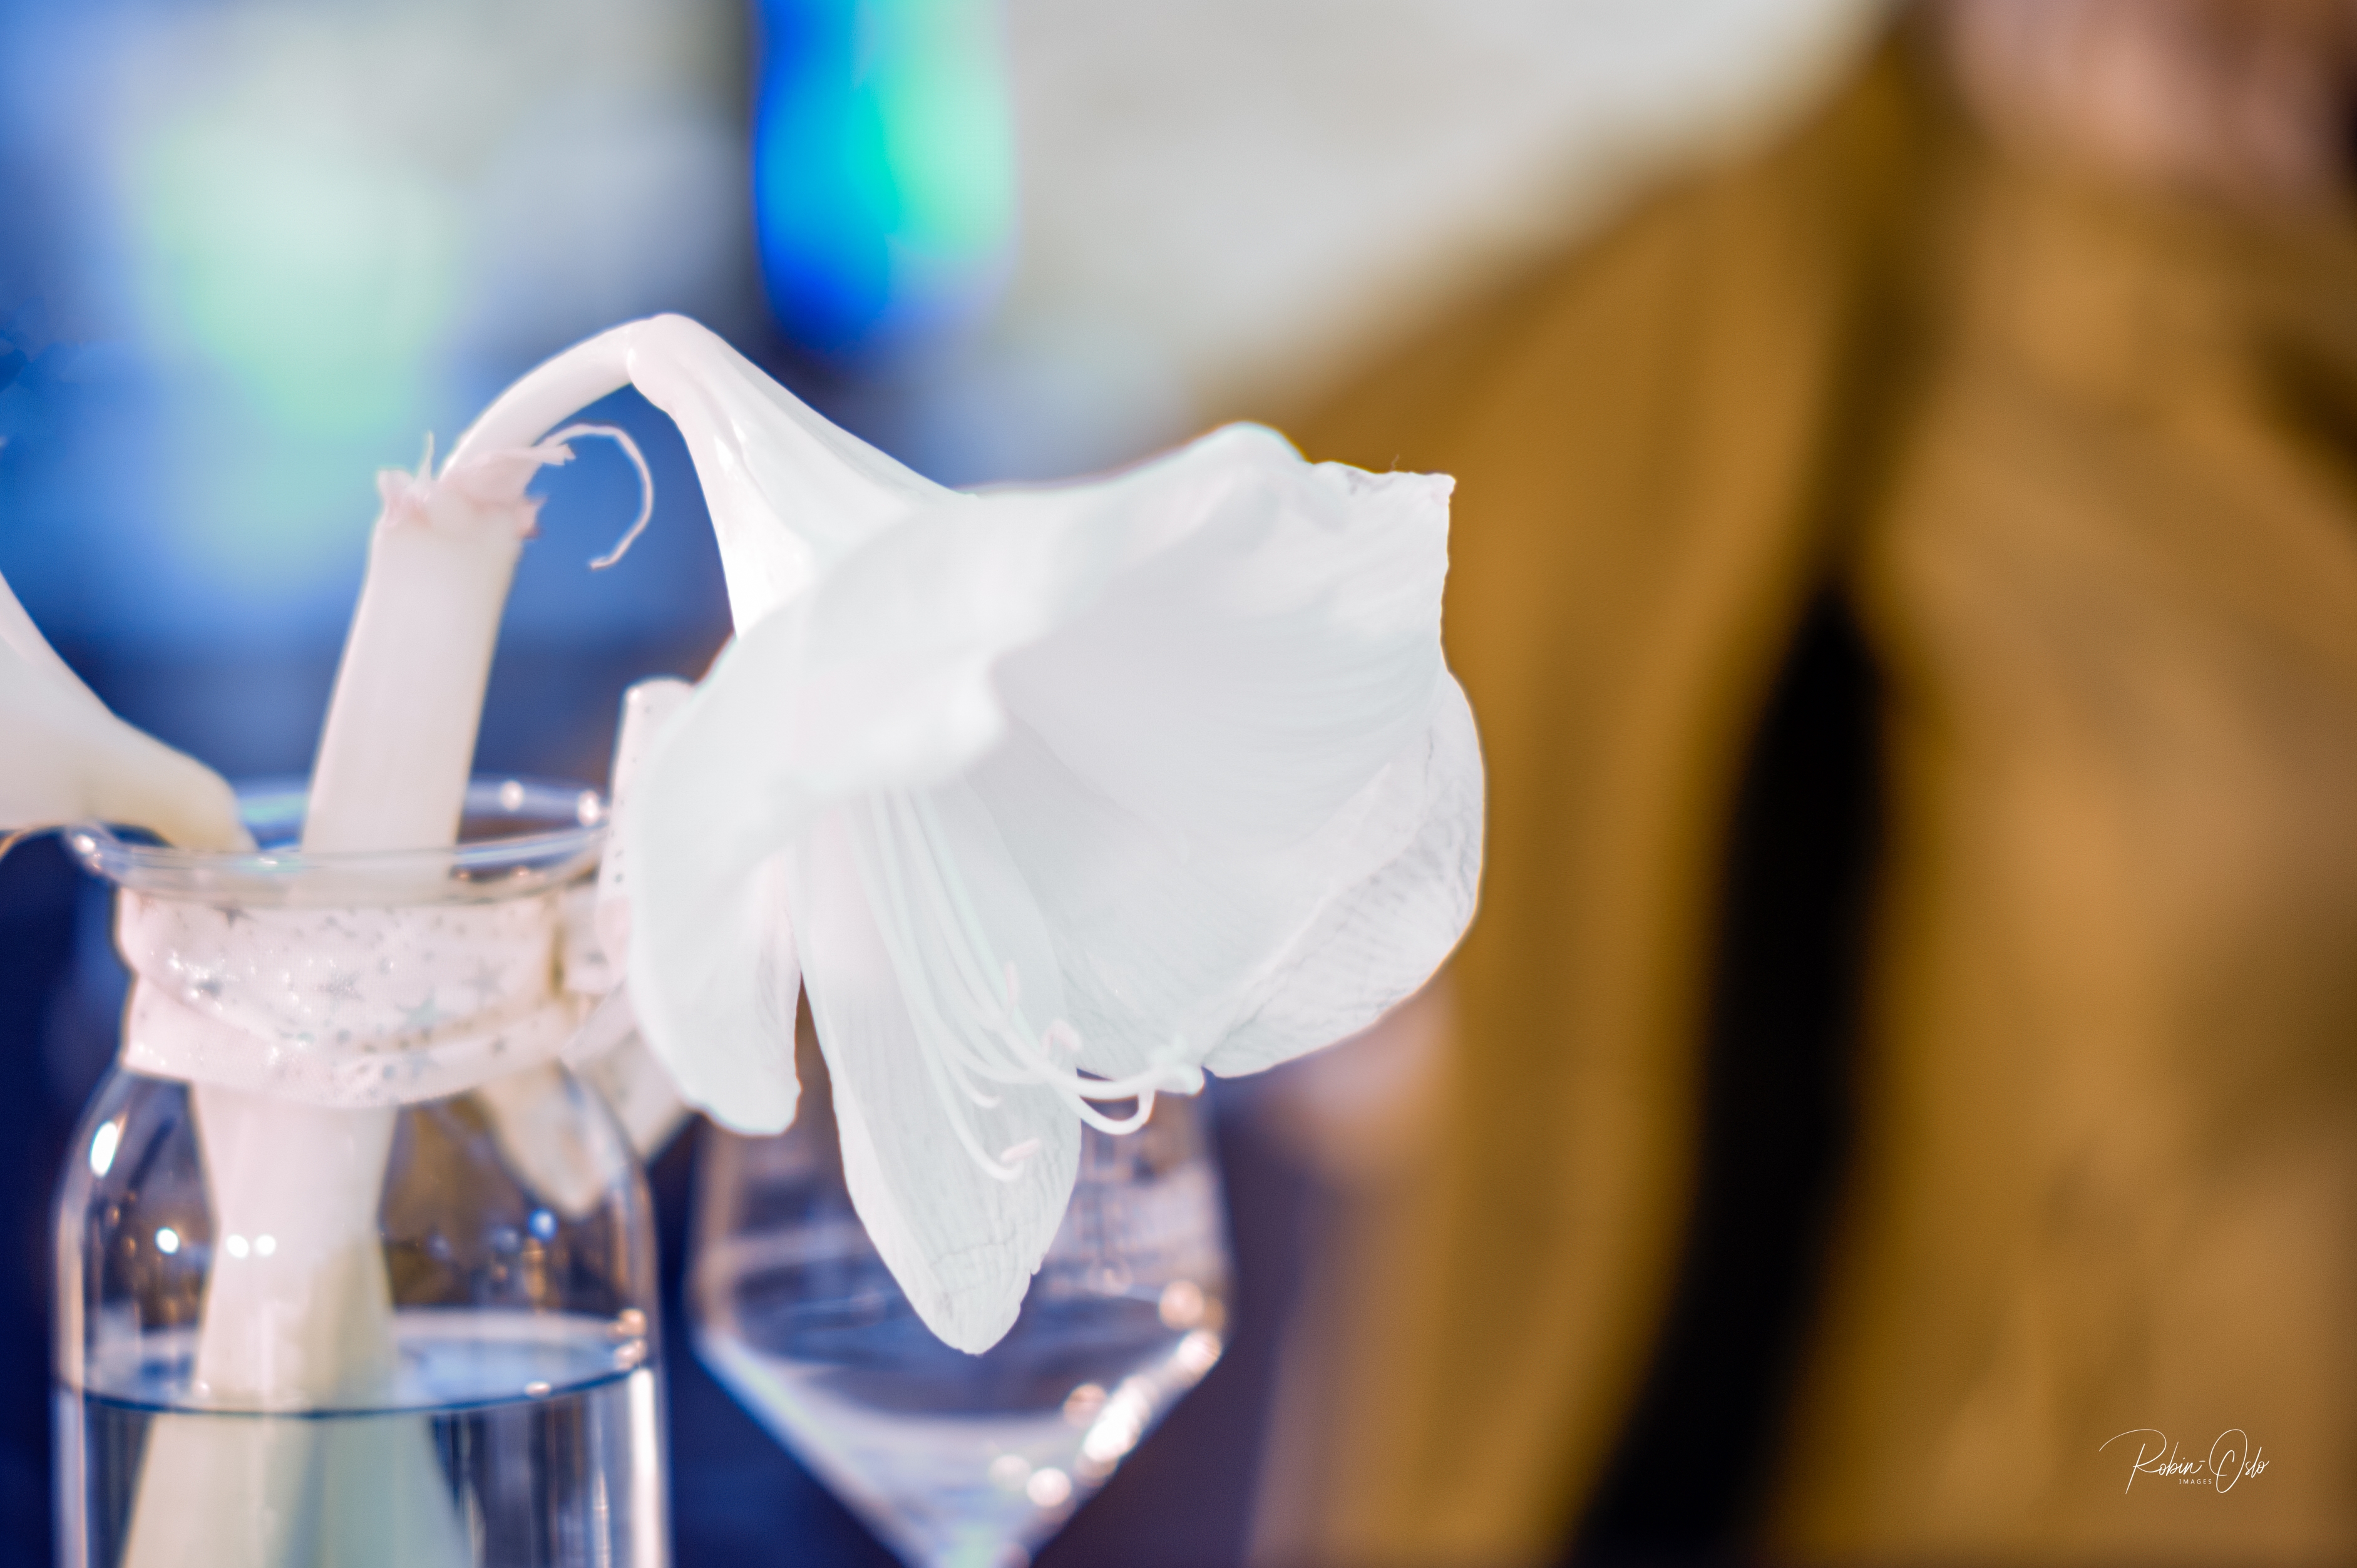
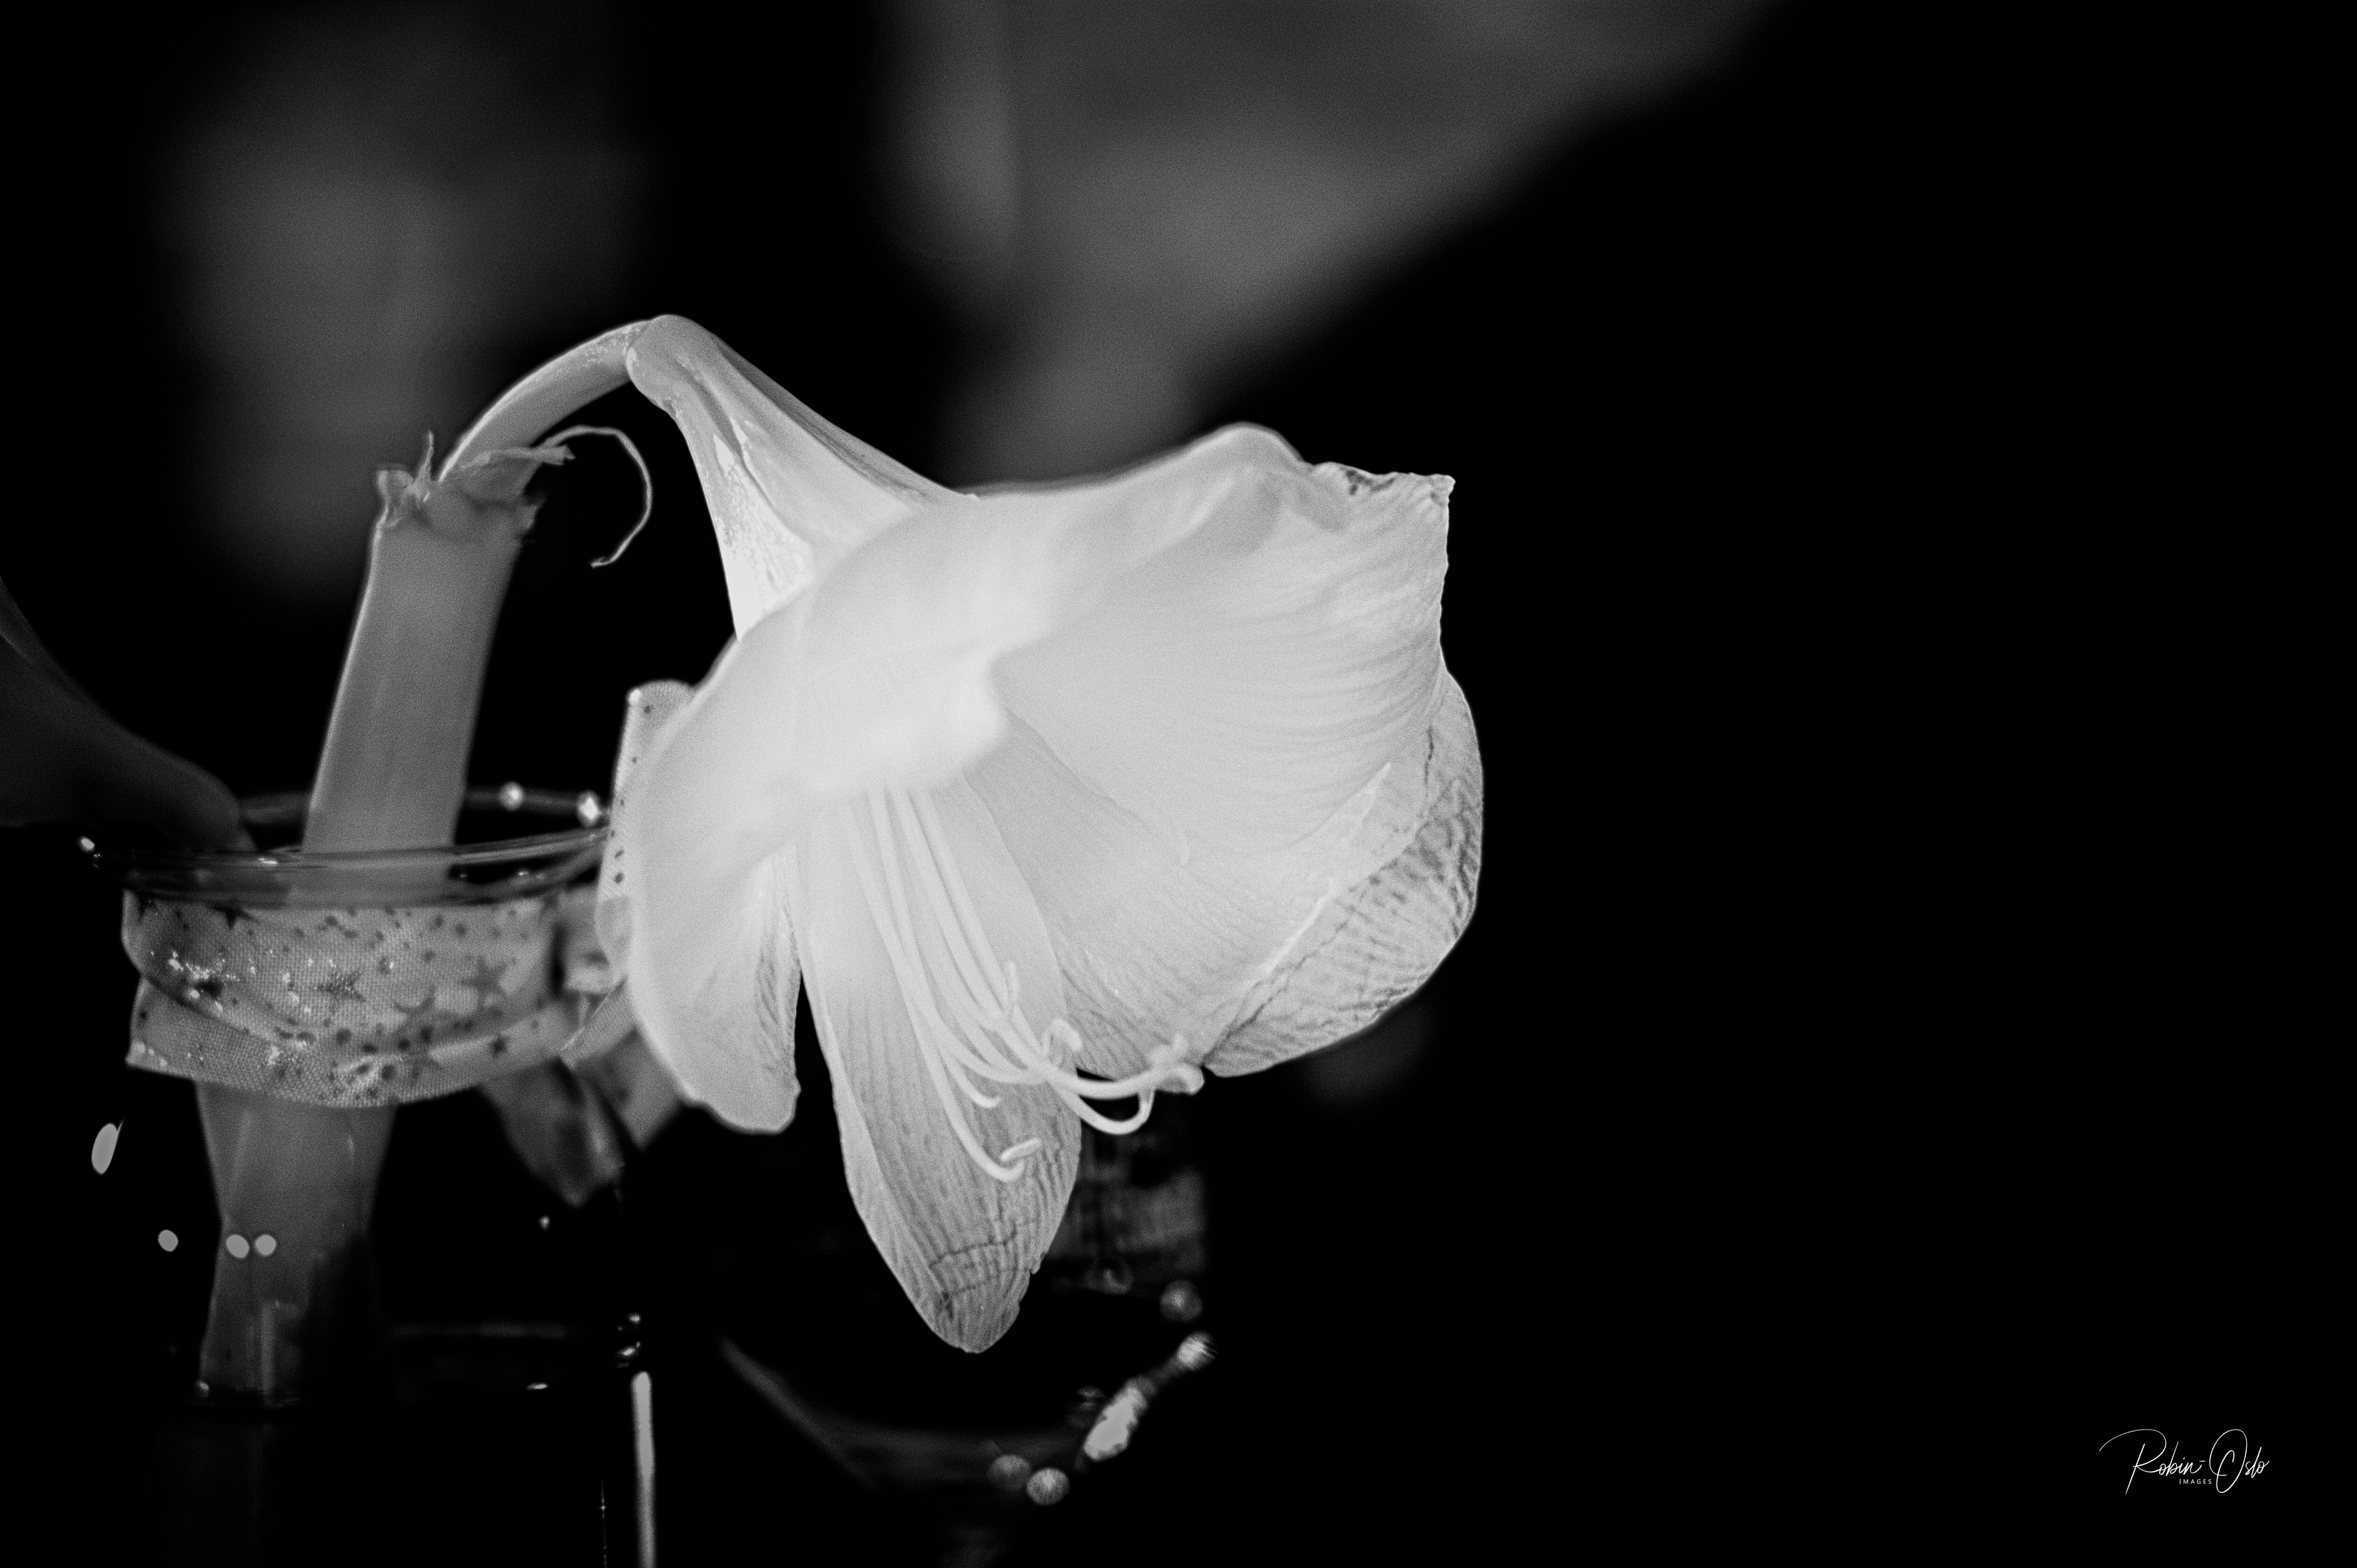
The flower was red!
I first put this article together in January because it occurred to me much too late that I could like to have a camera converted.
My thanks go to Sven Lamprecht from IRRECams.de at this point for the super work and the quick remedy to the problem with the memory card slot, including sending it back and forth again.
I am eagerly awaiting spring and summer and a whole new range of subjects.
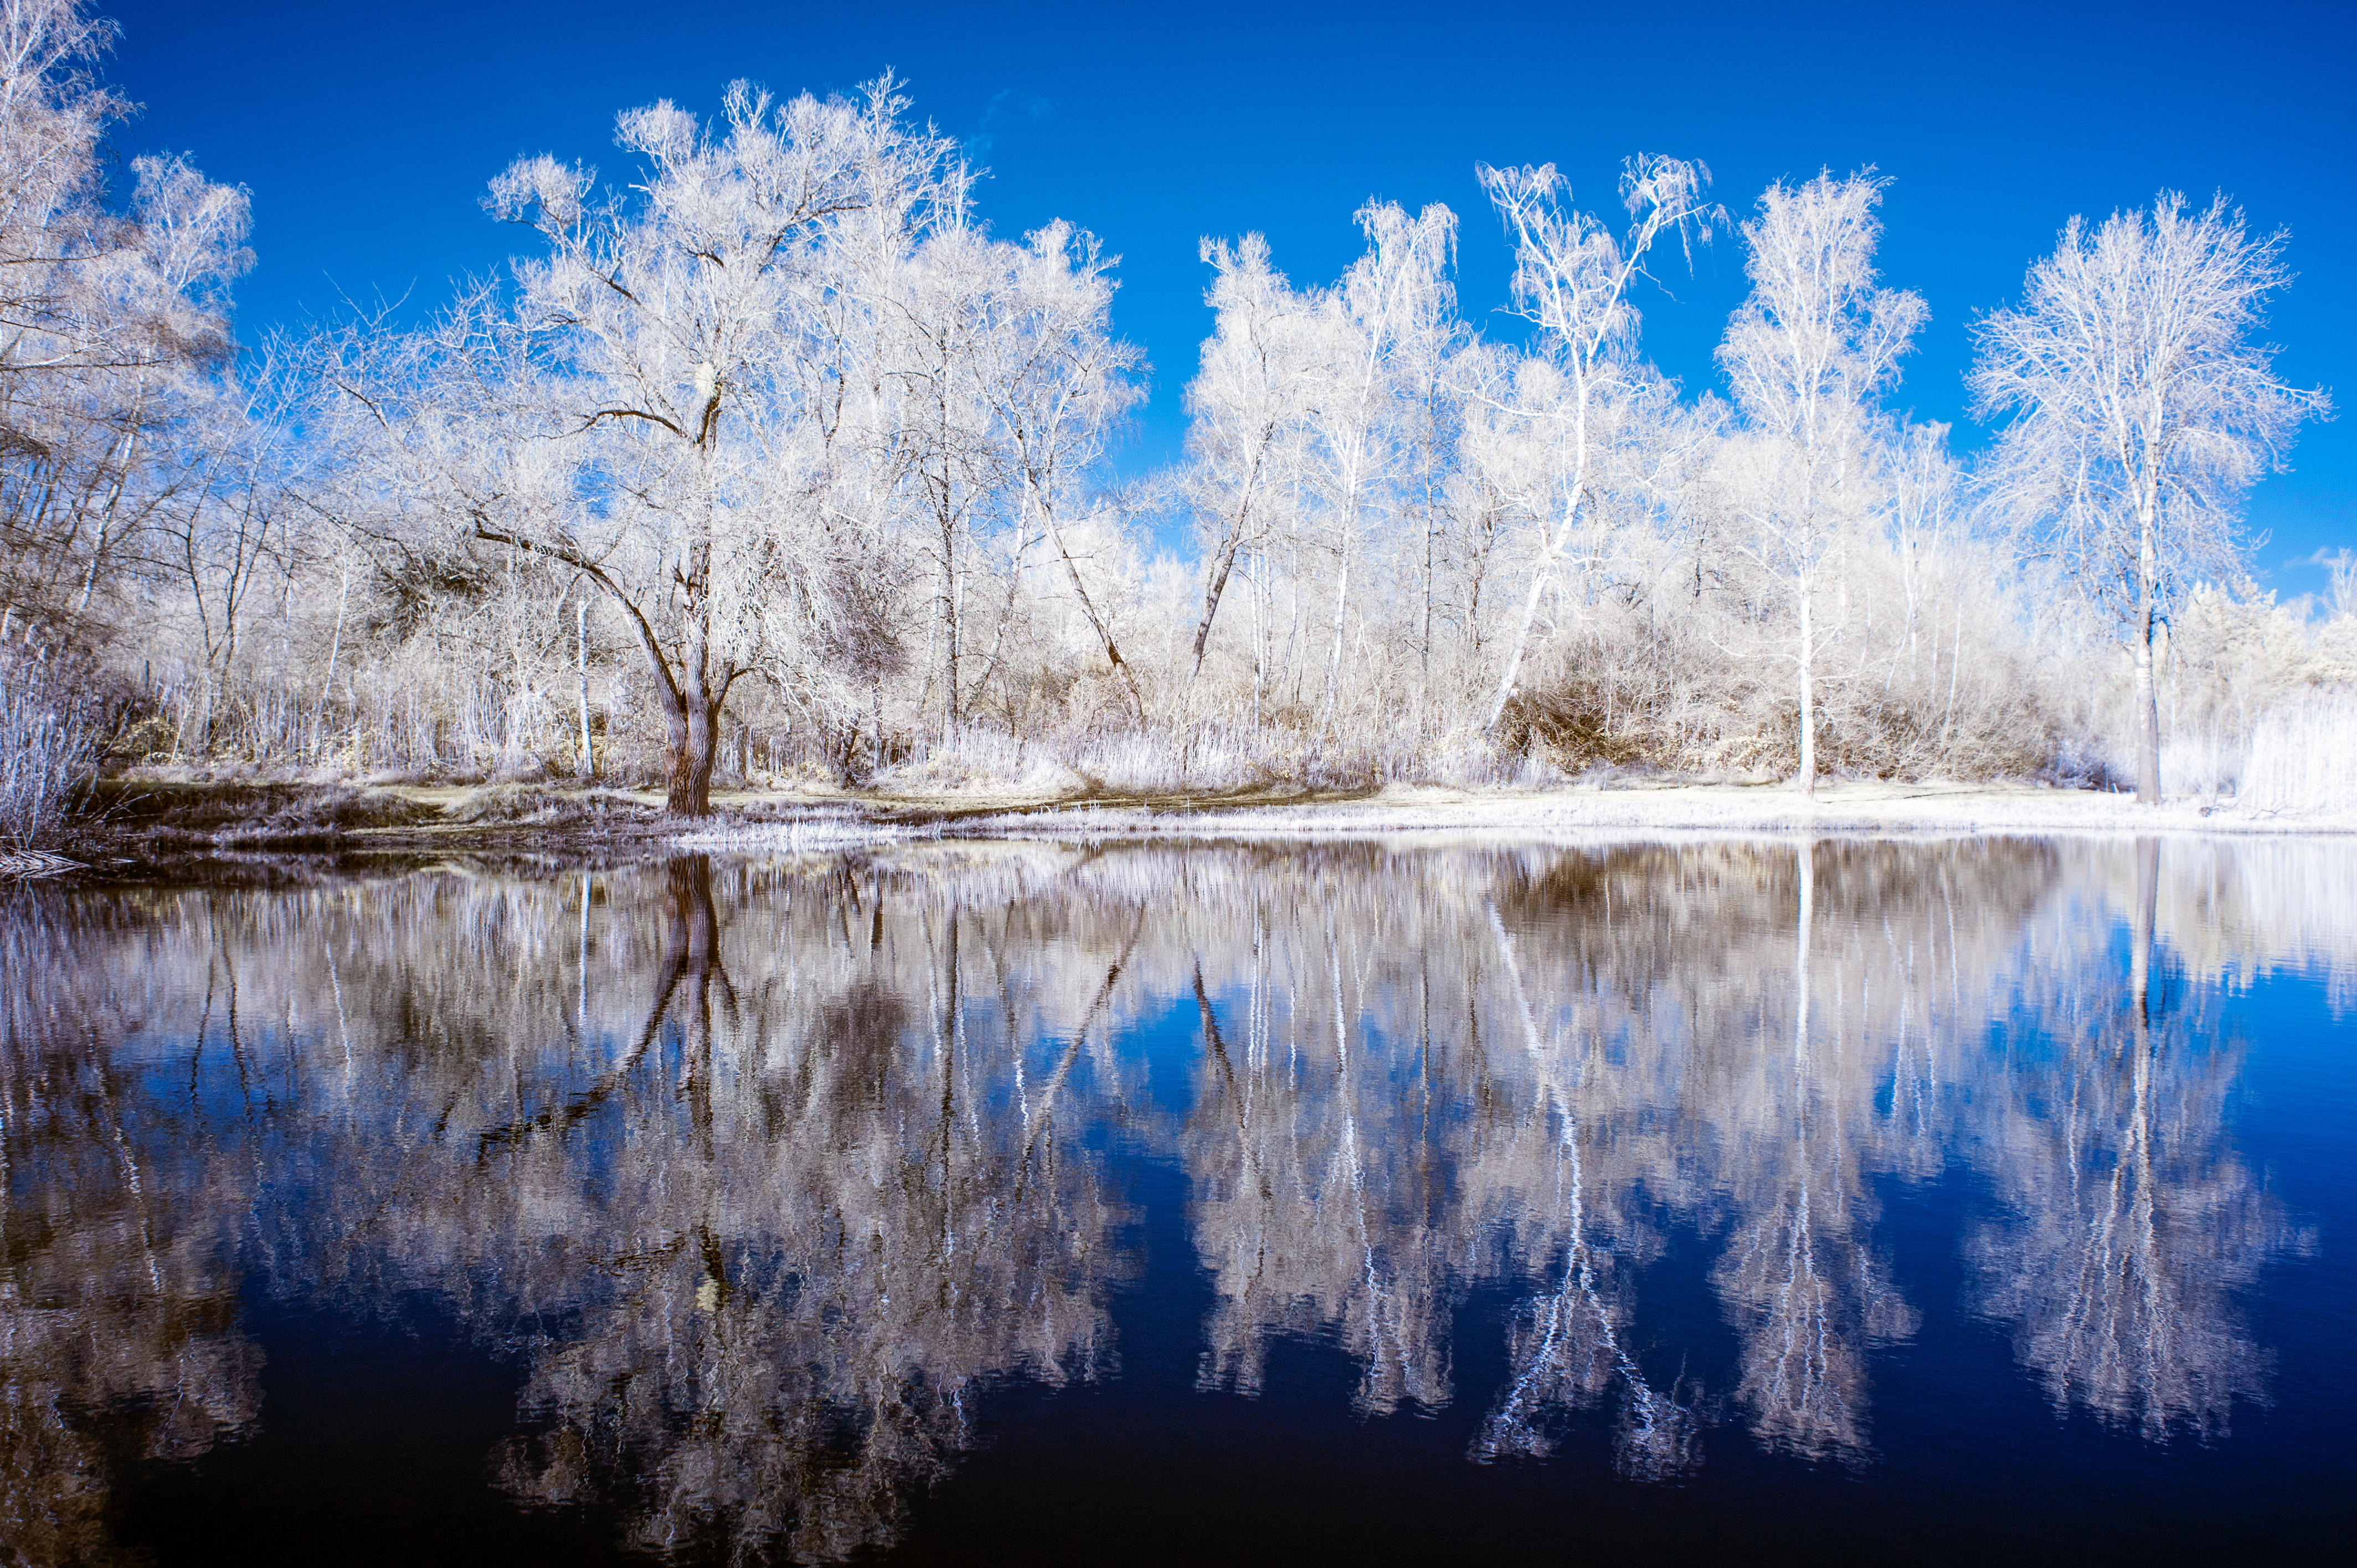

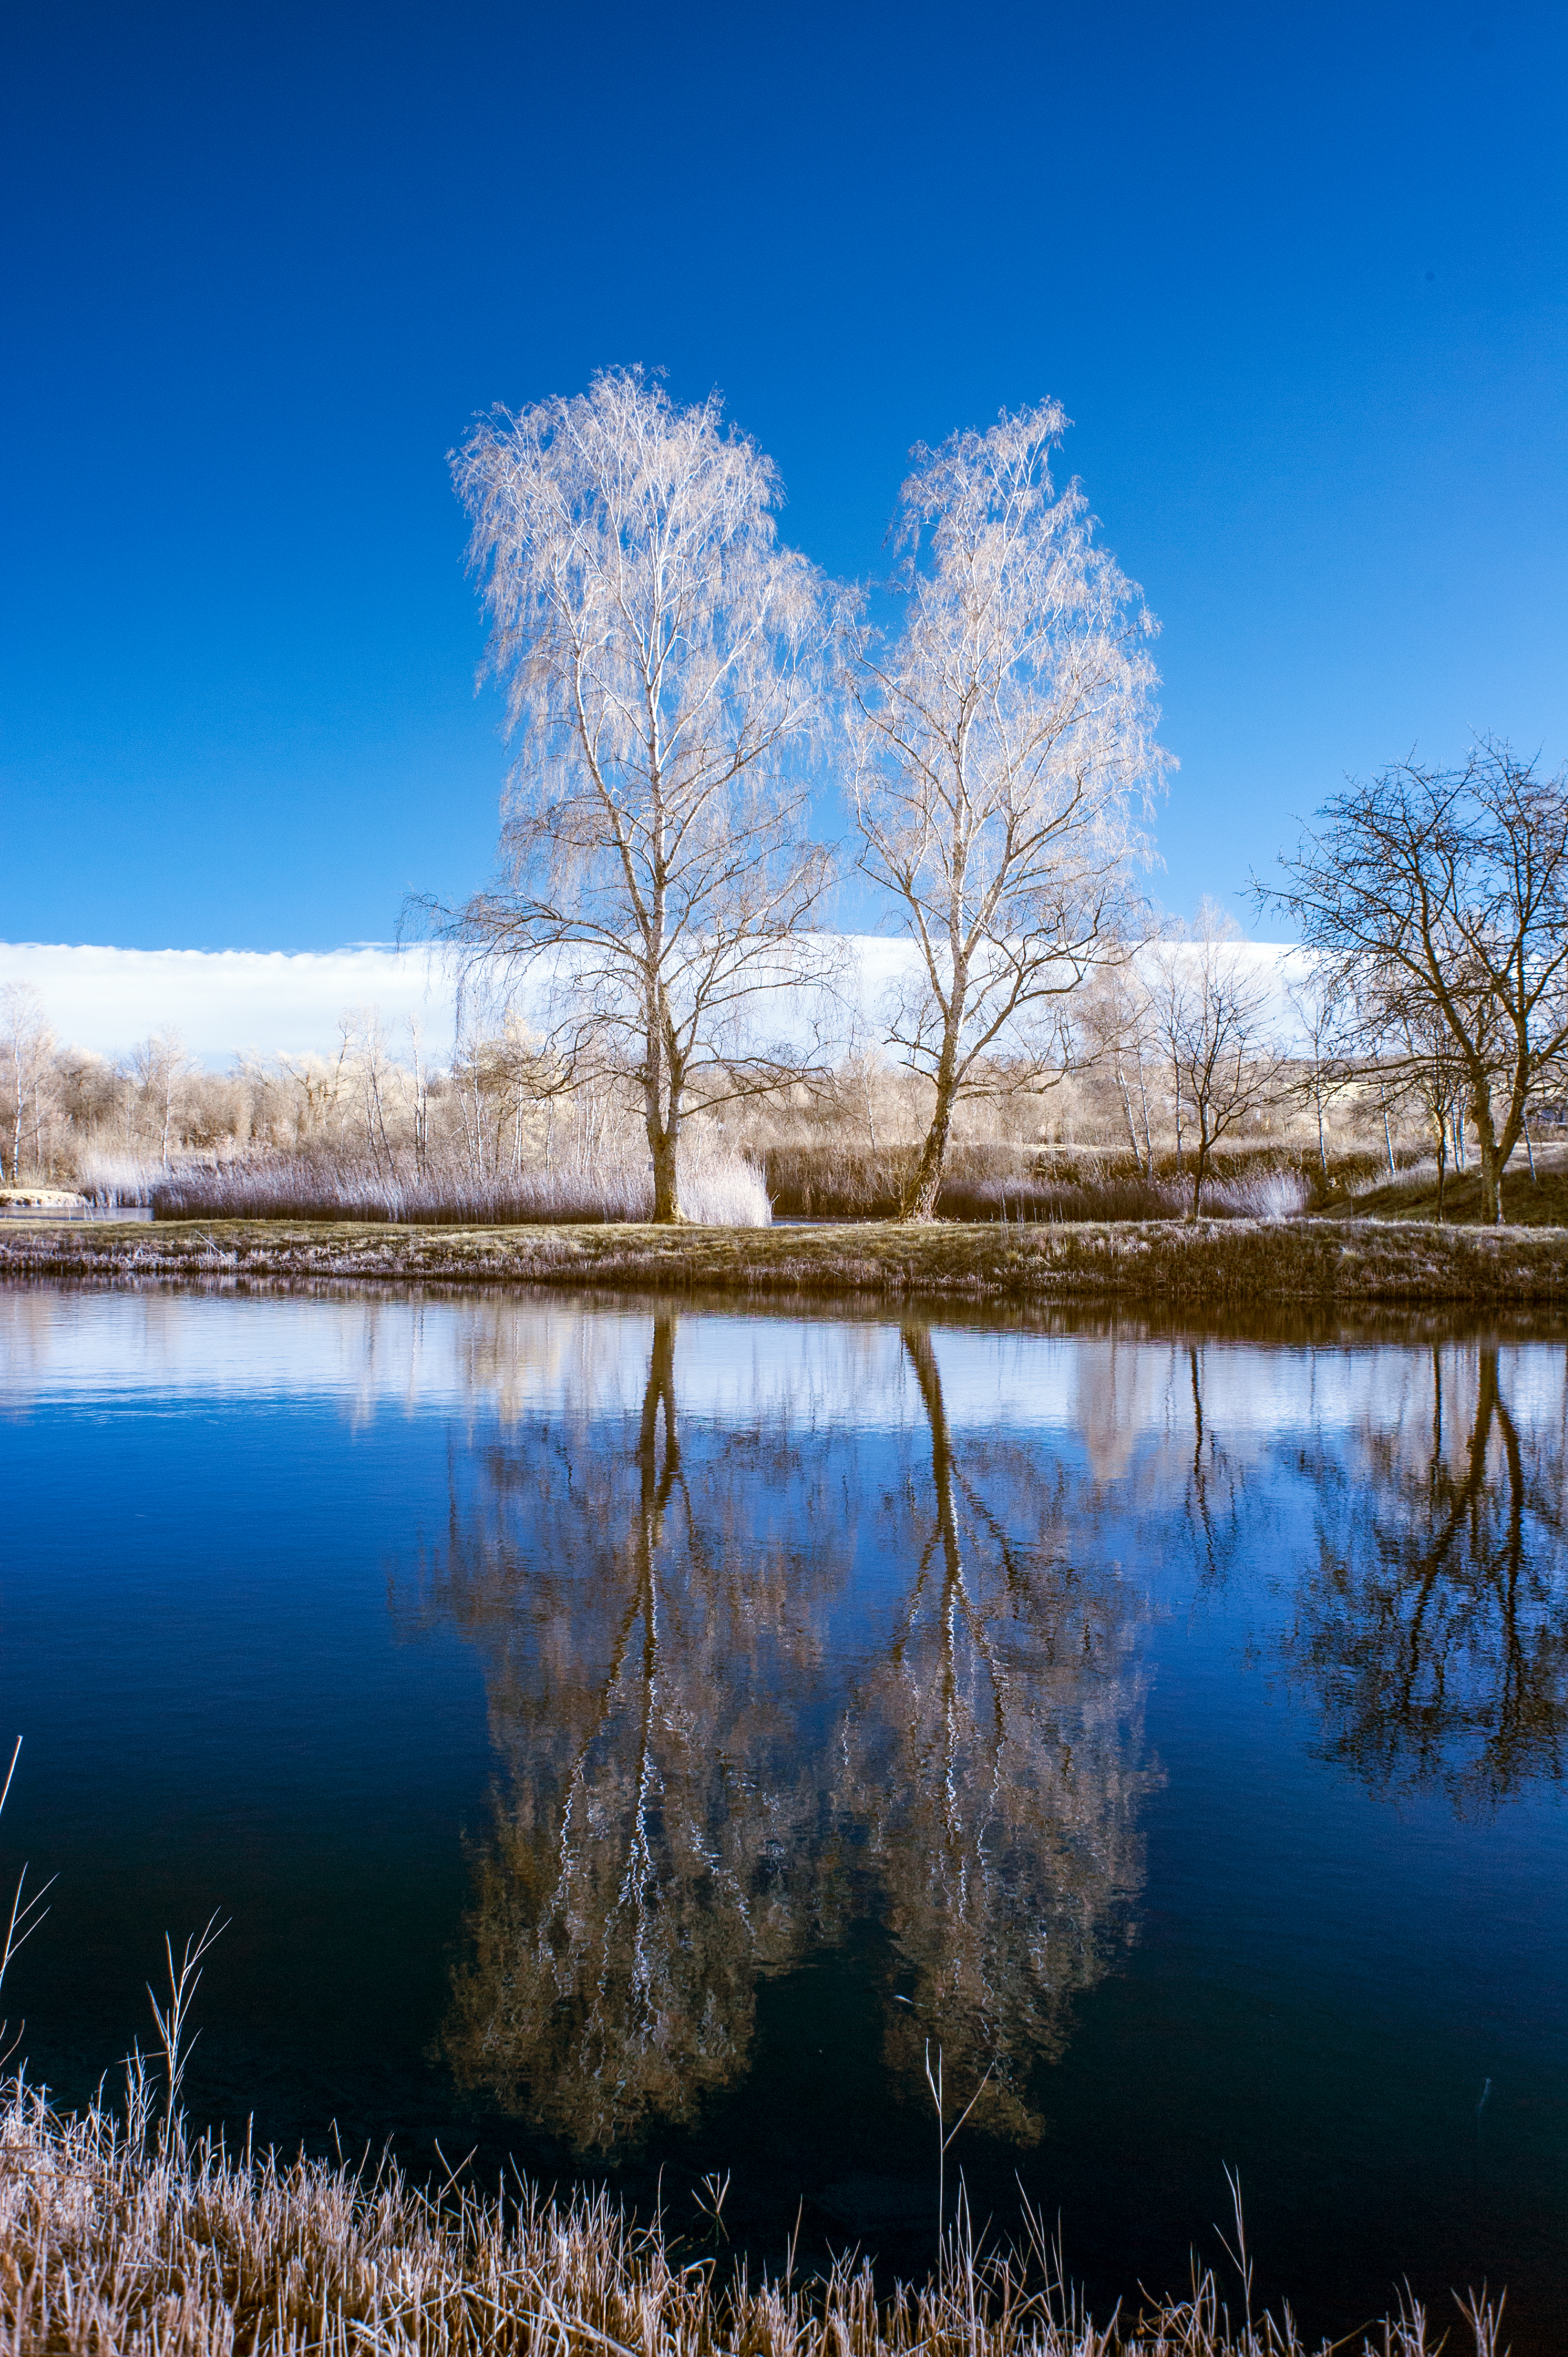

Nature reserve Erdekaut in January, each original and BW conversion
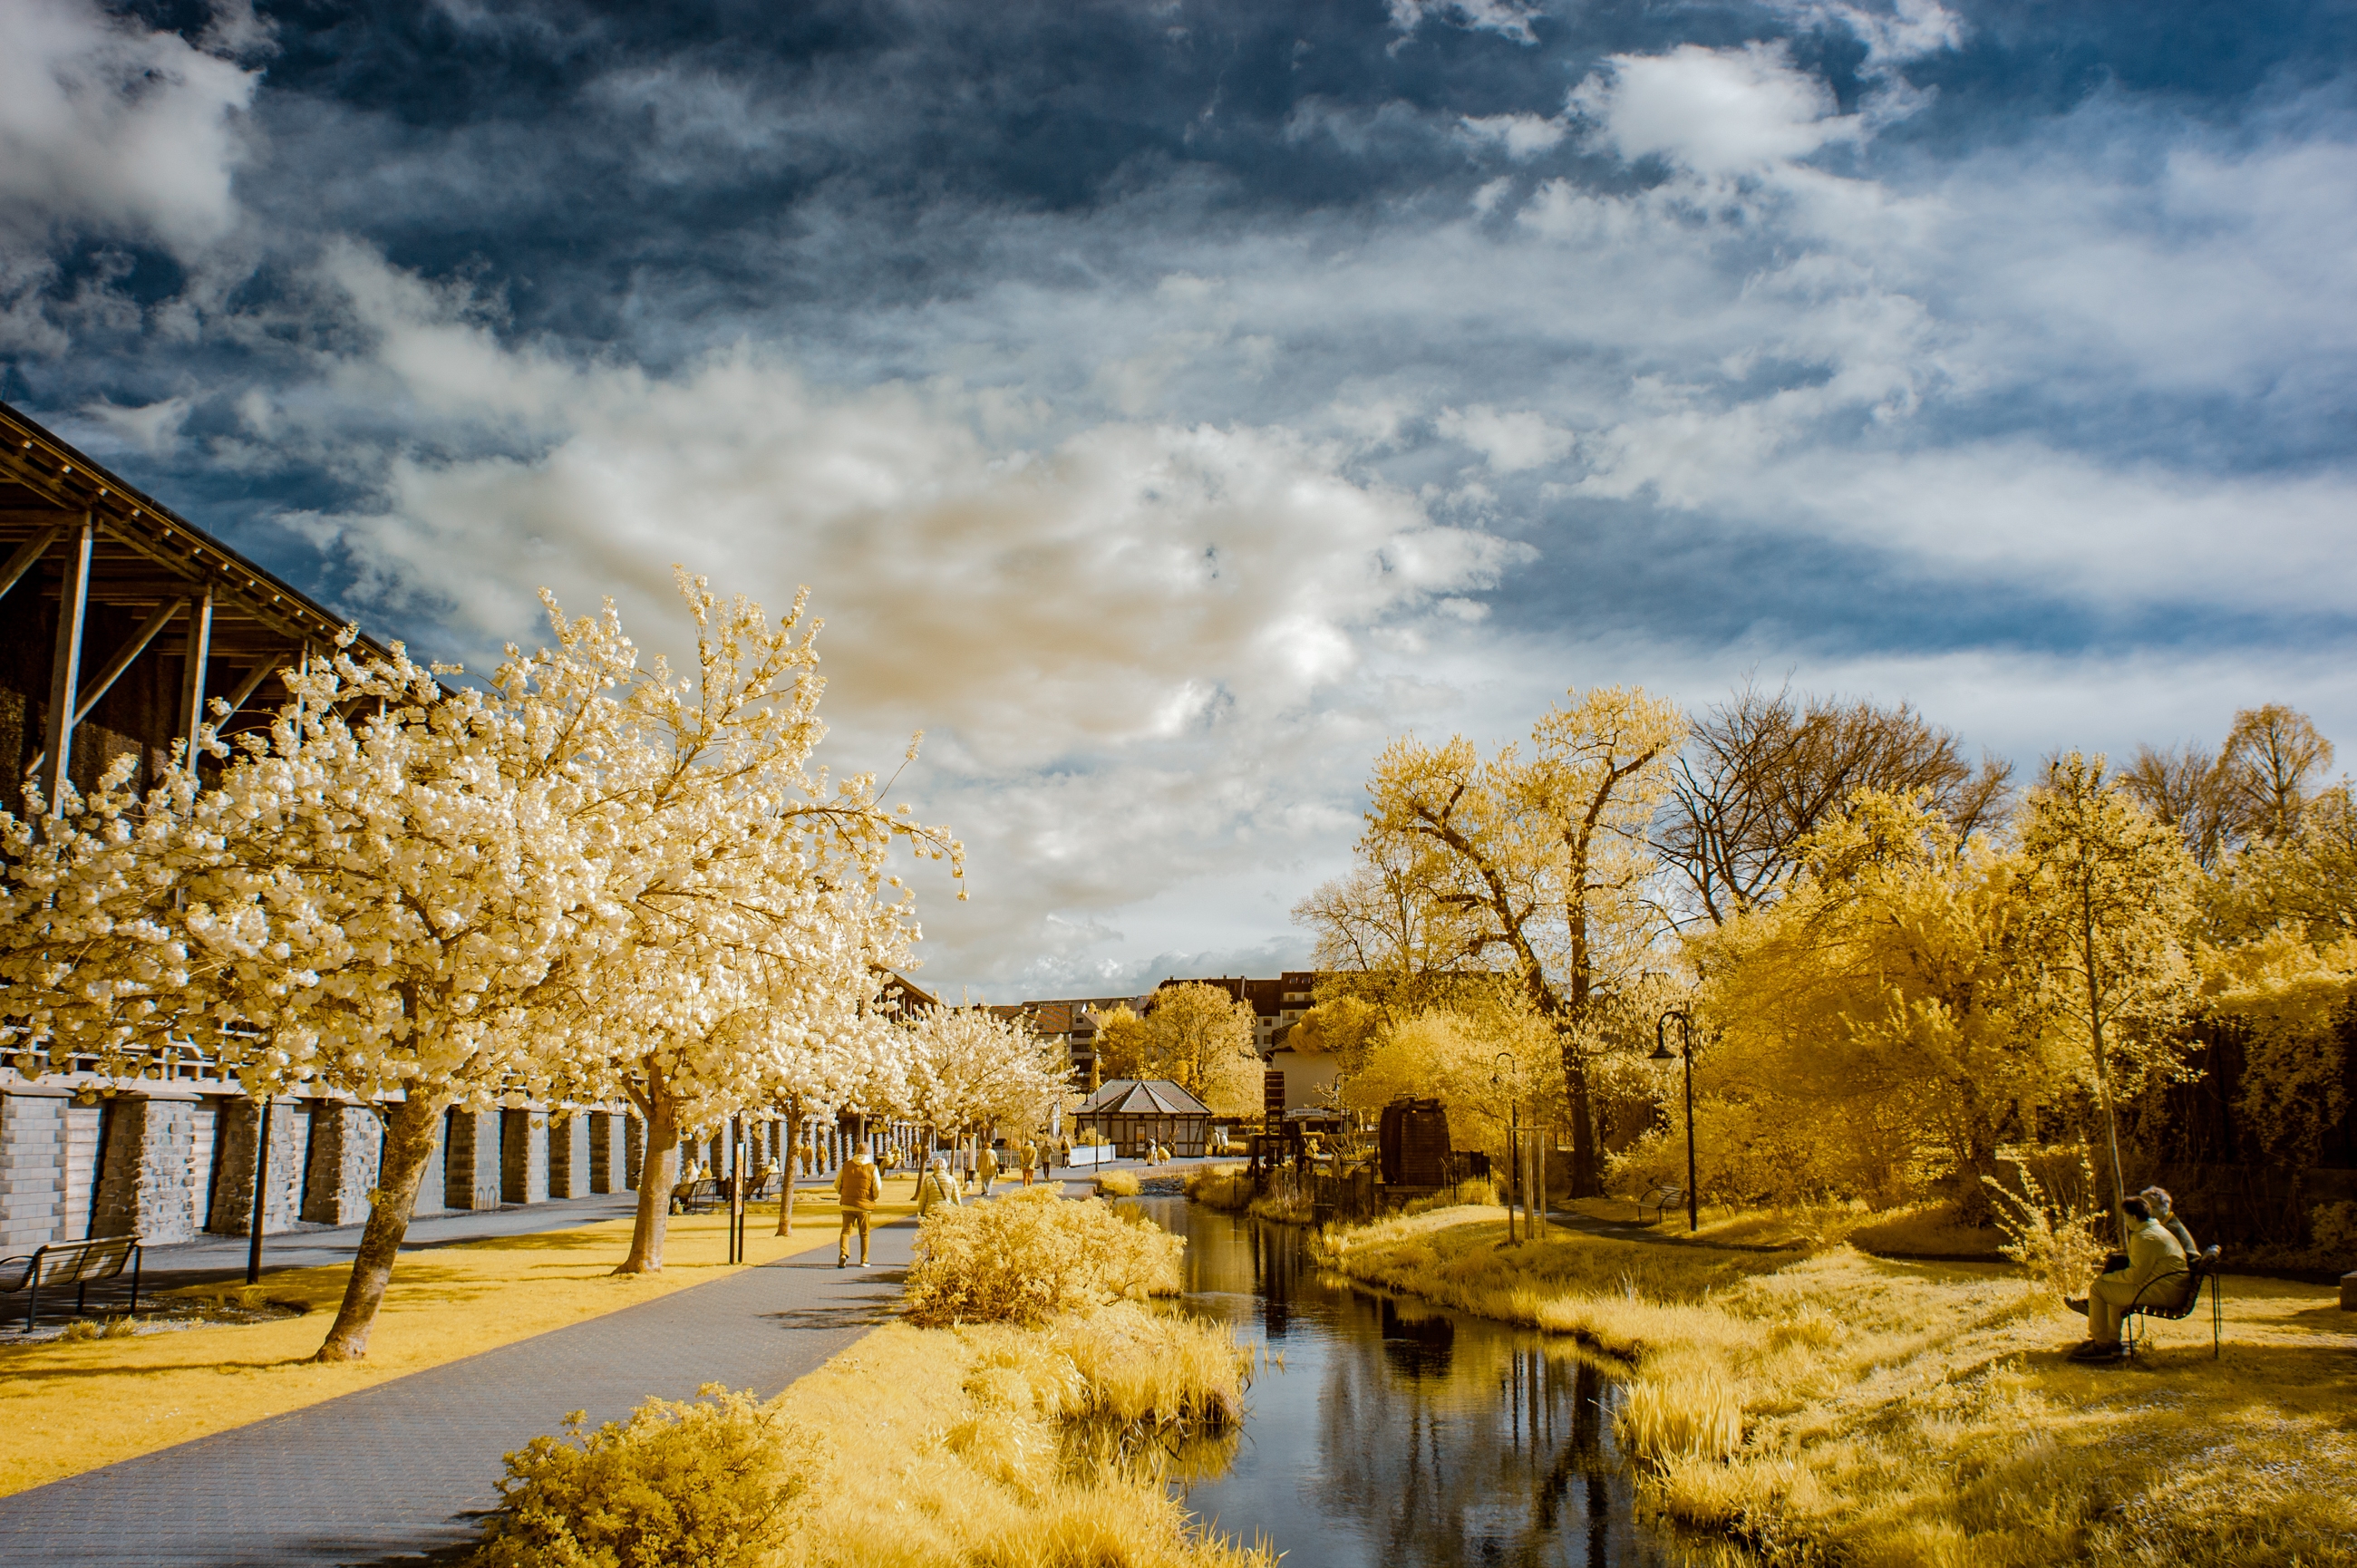
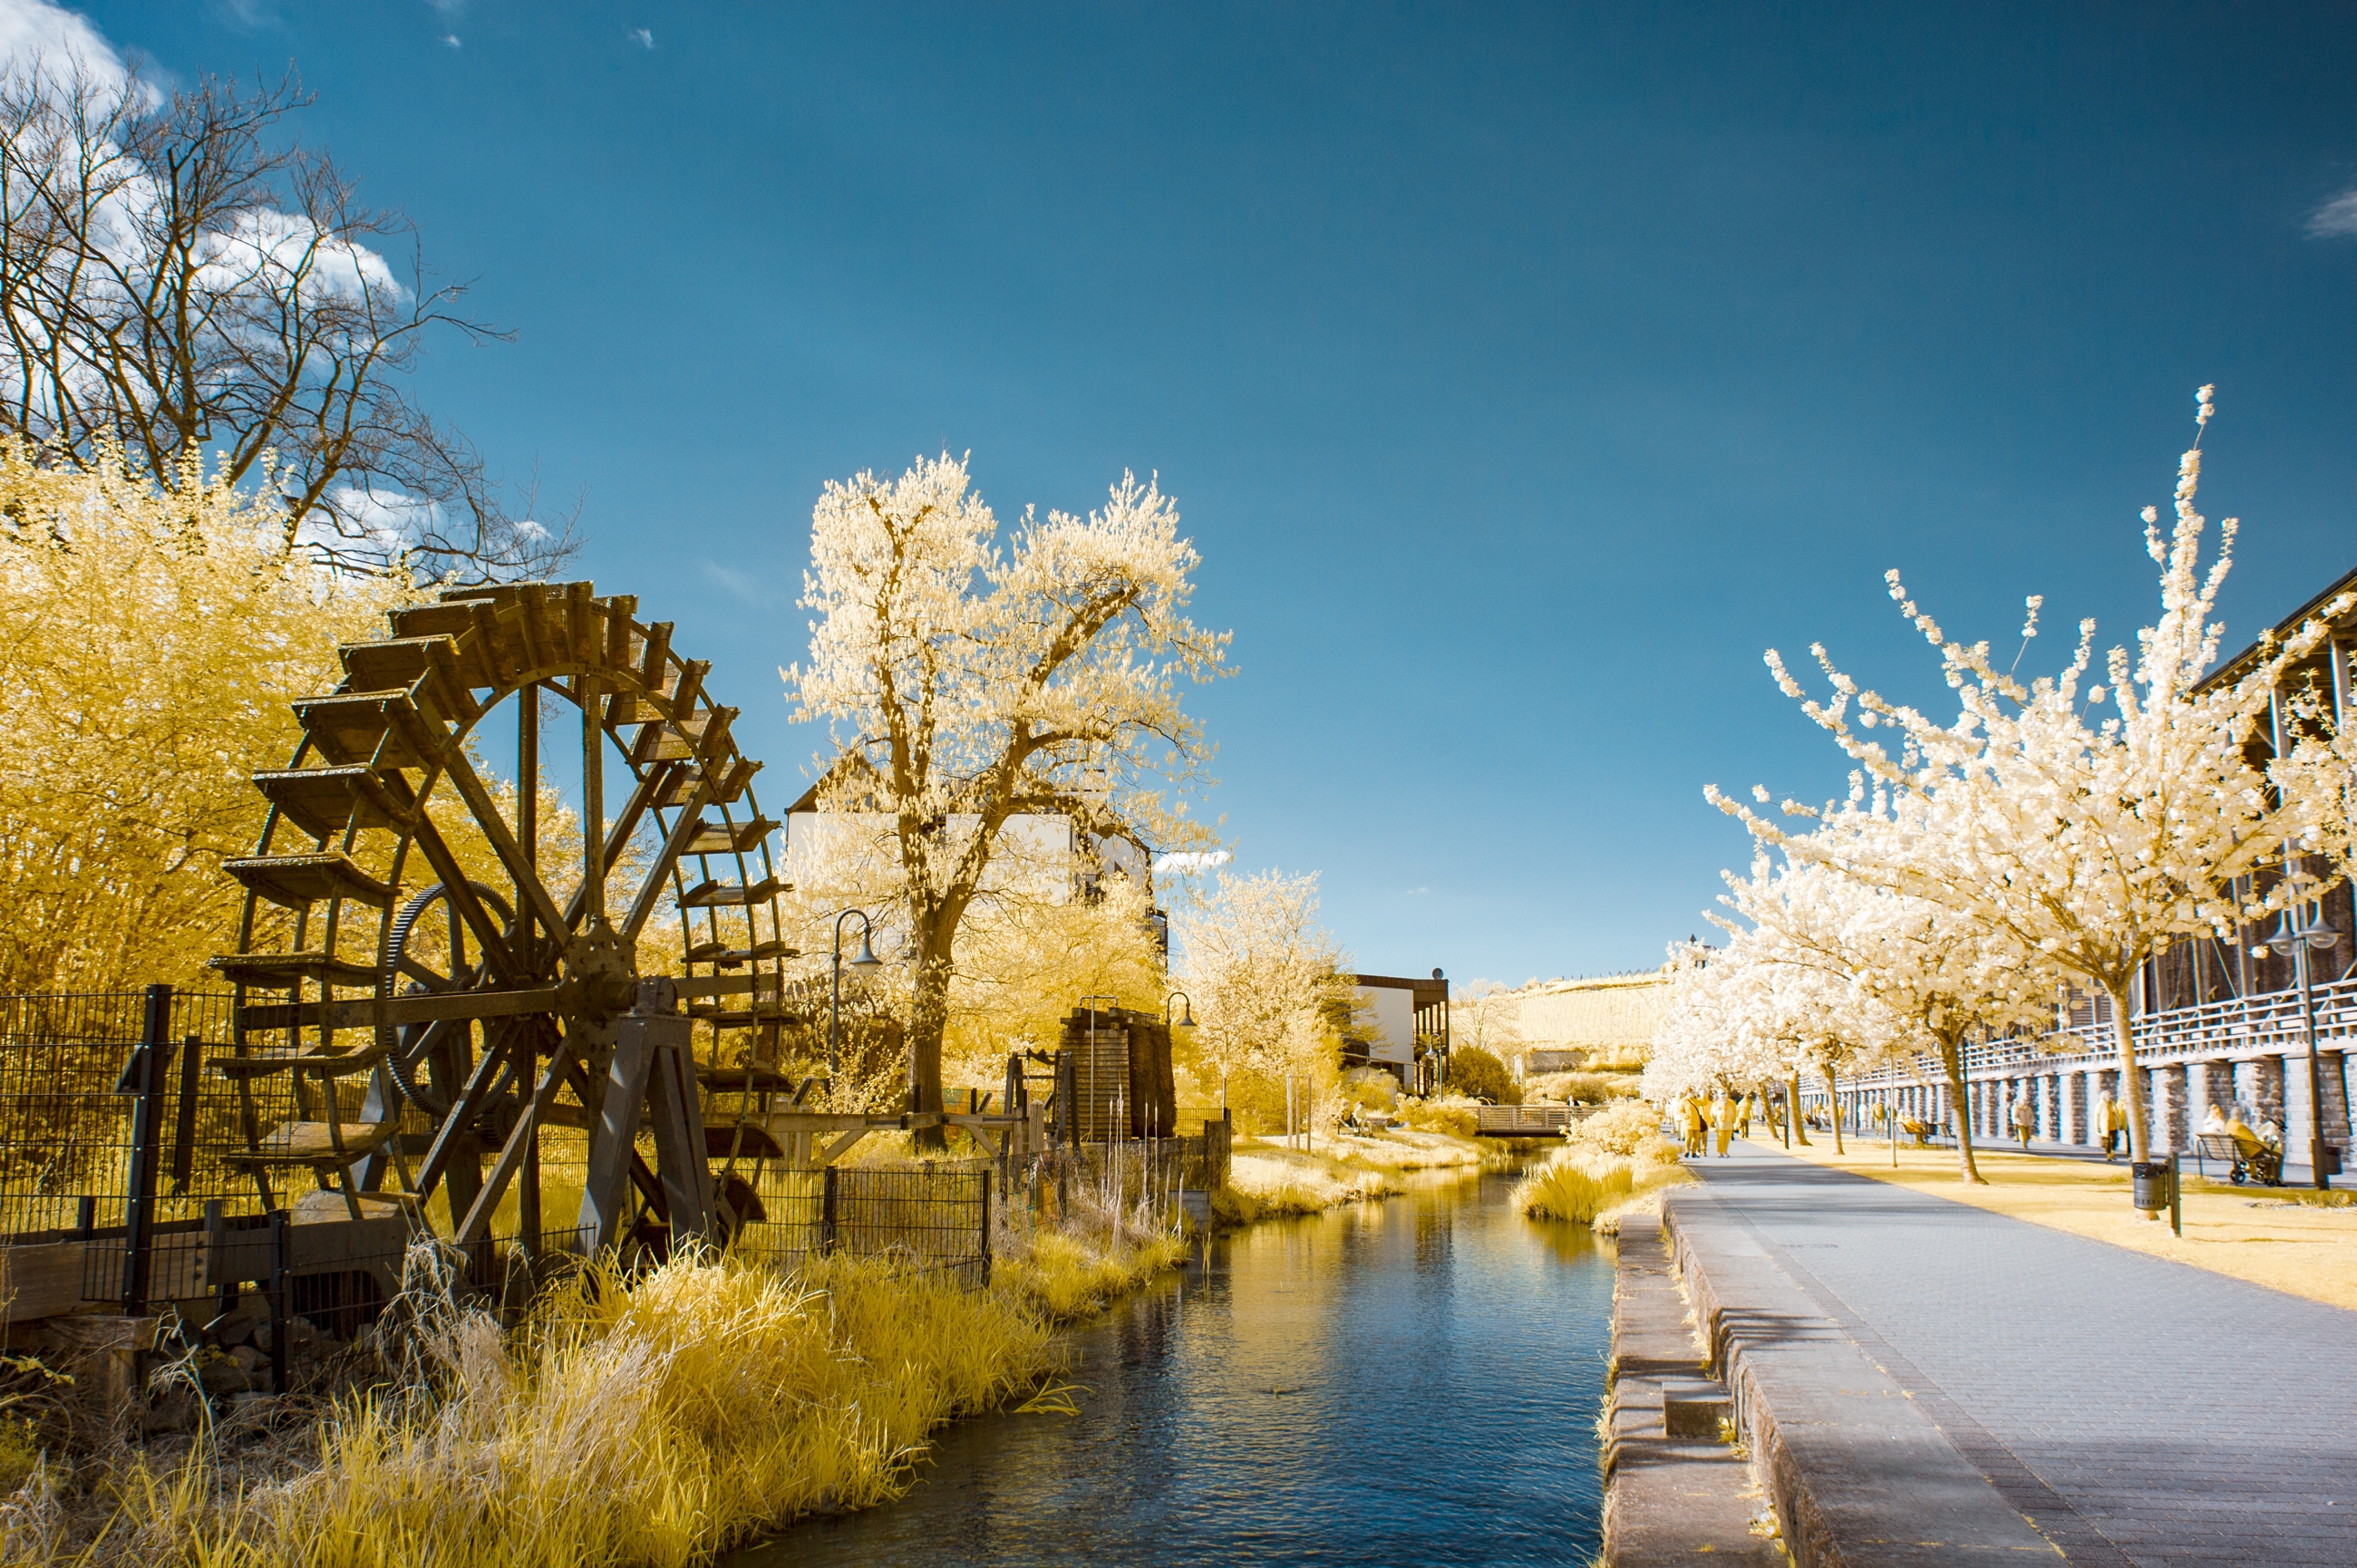
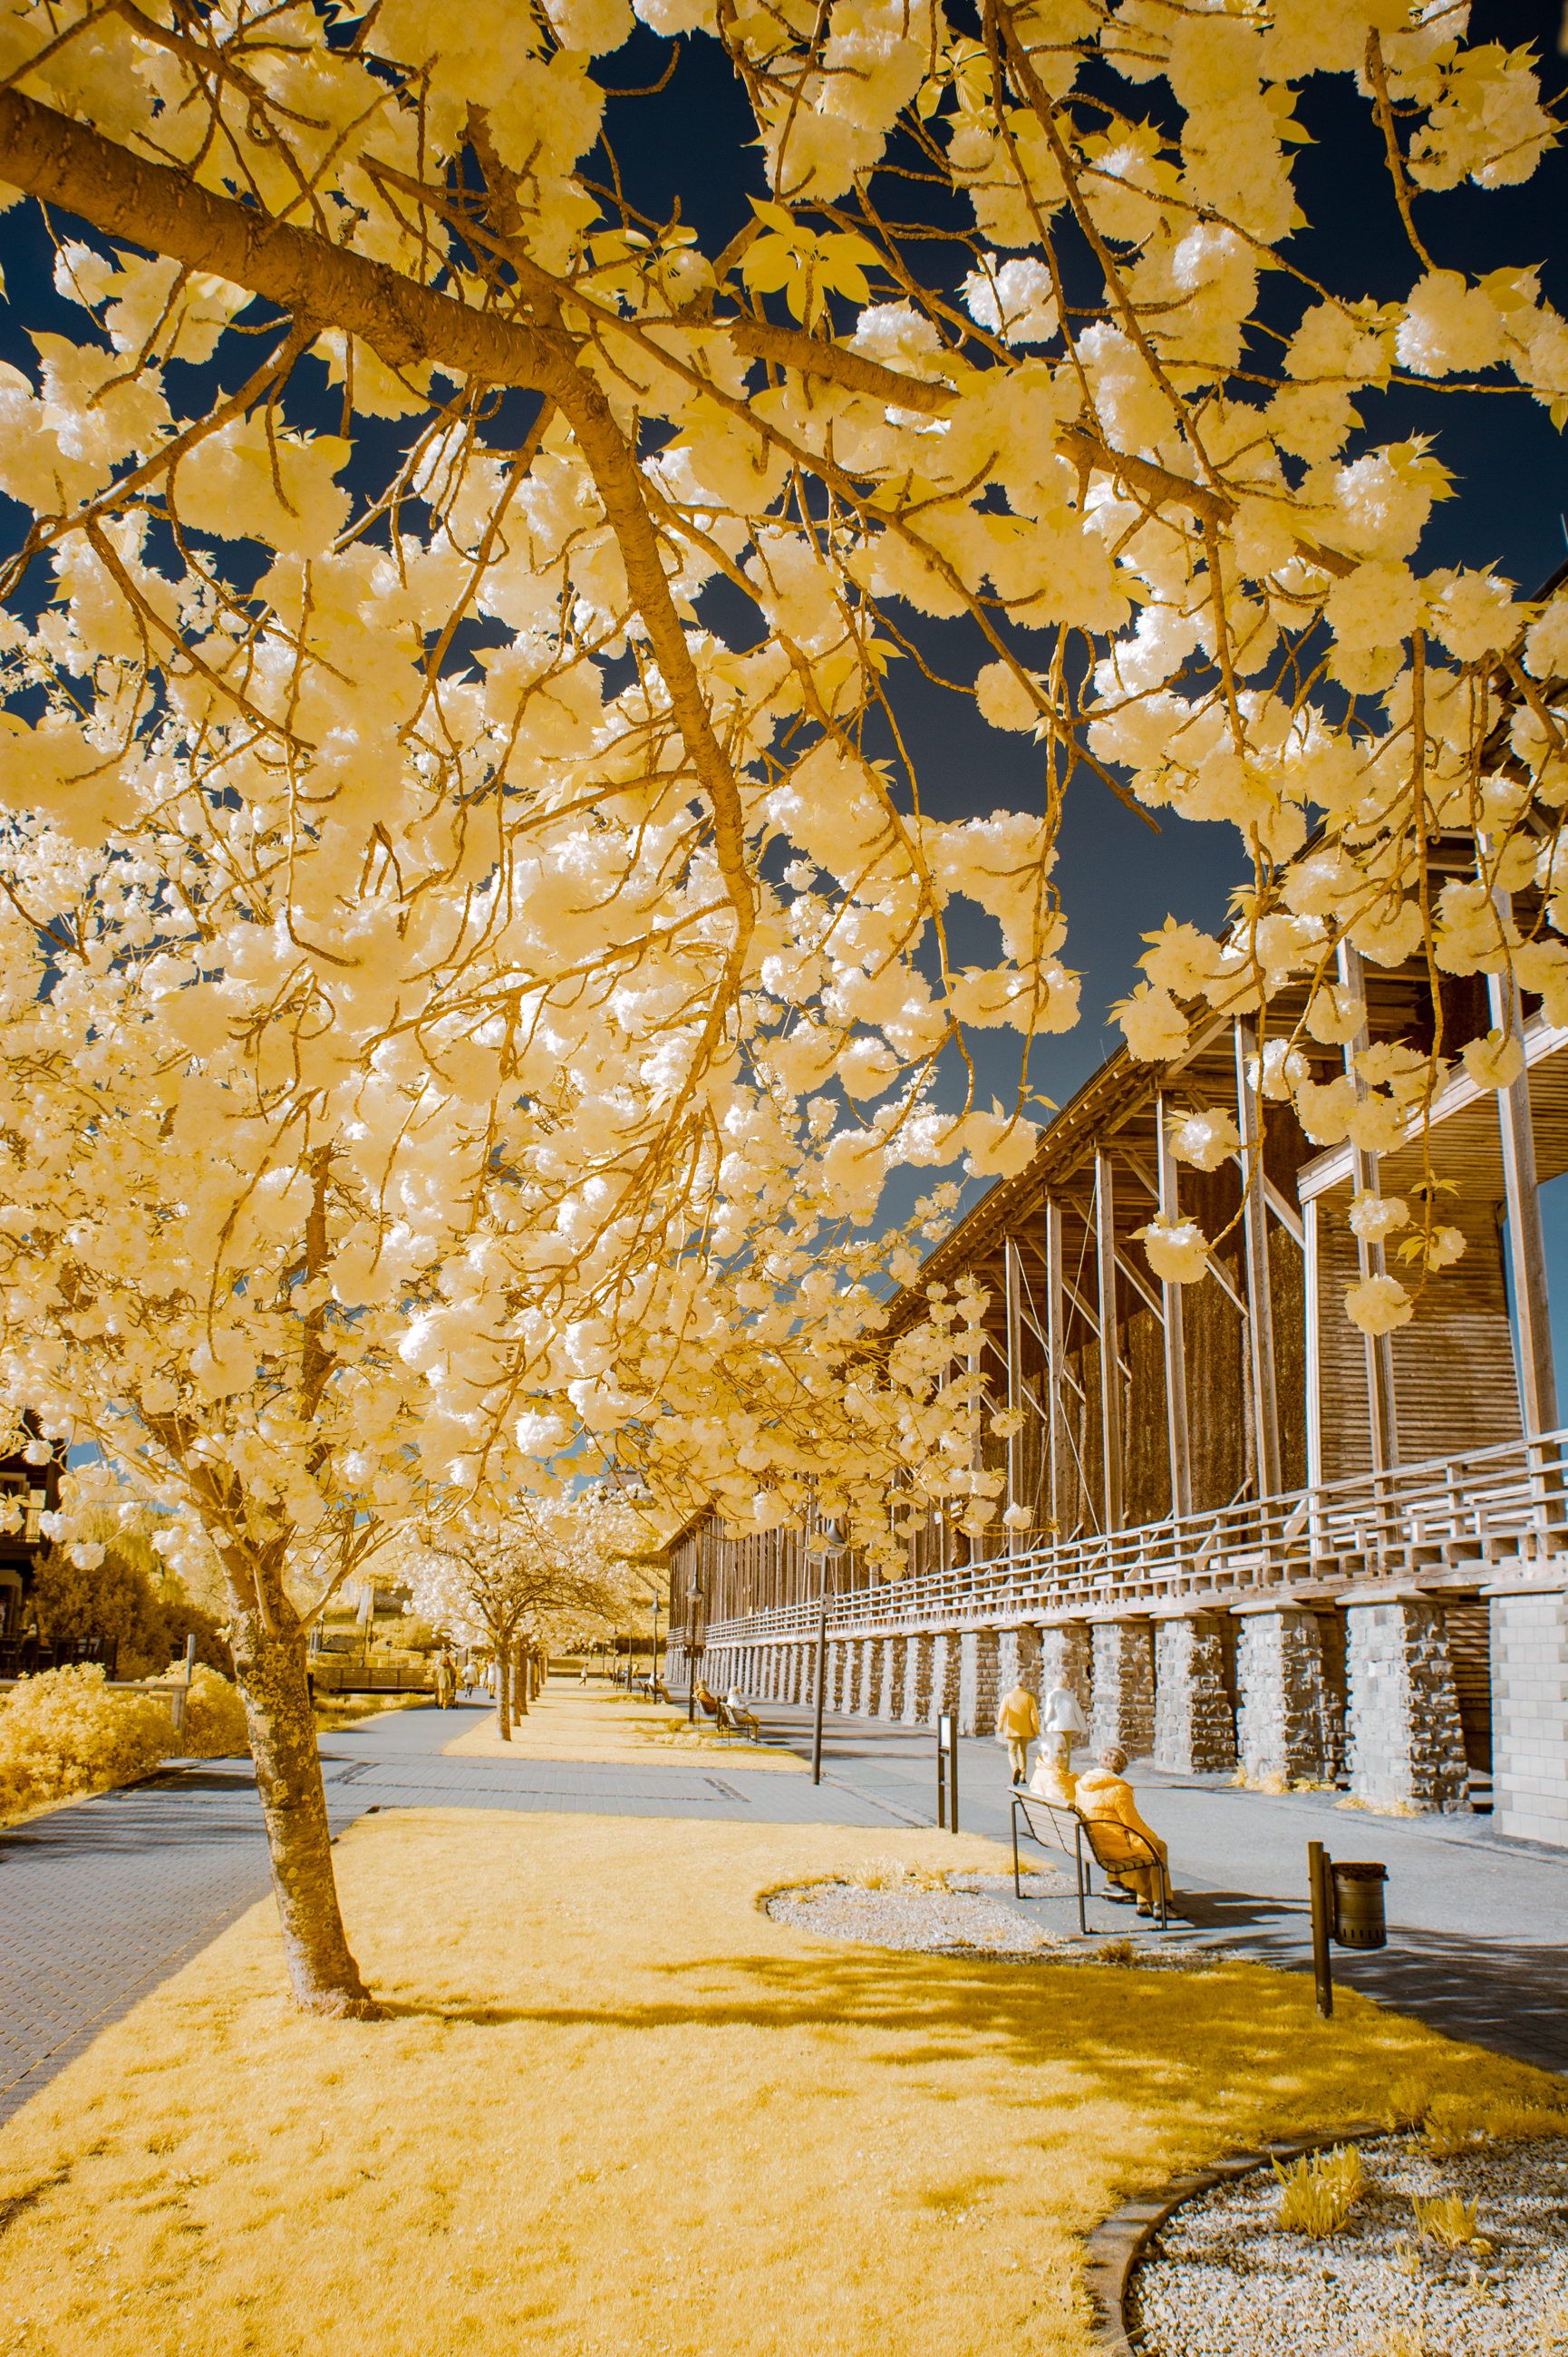
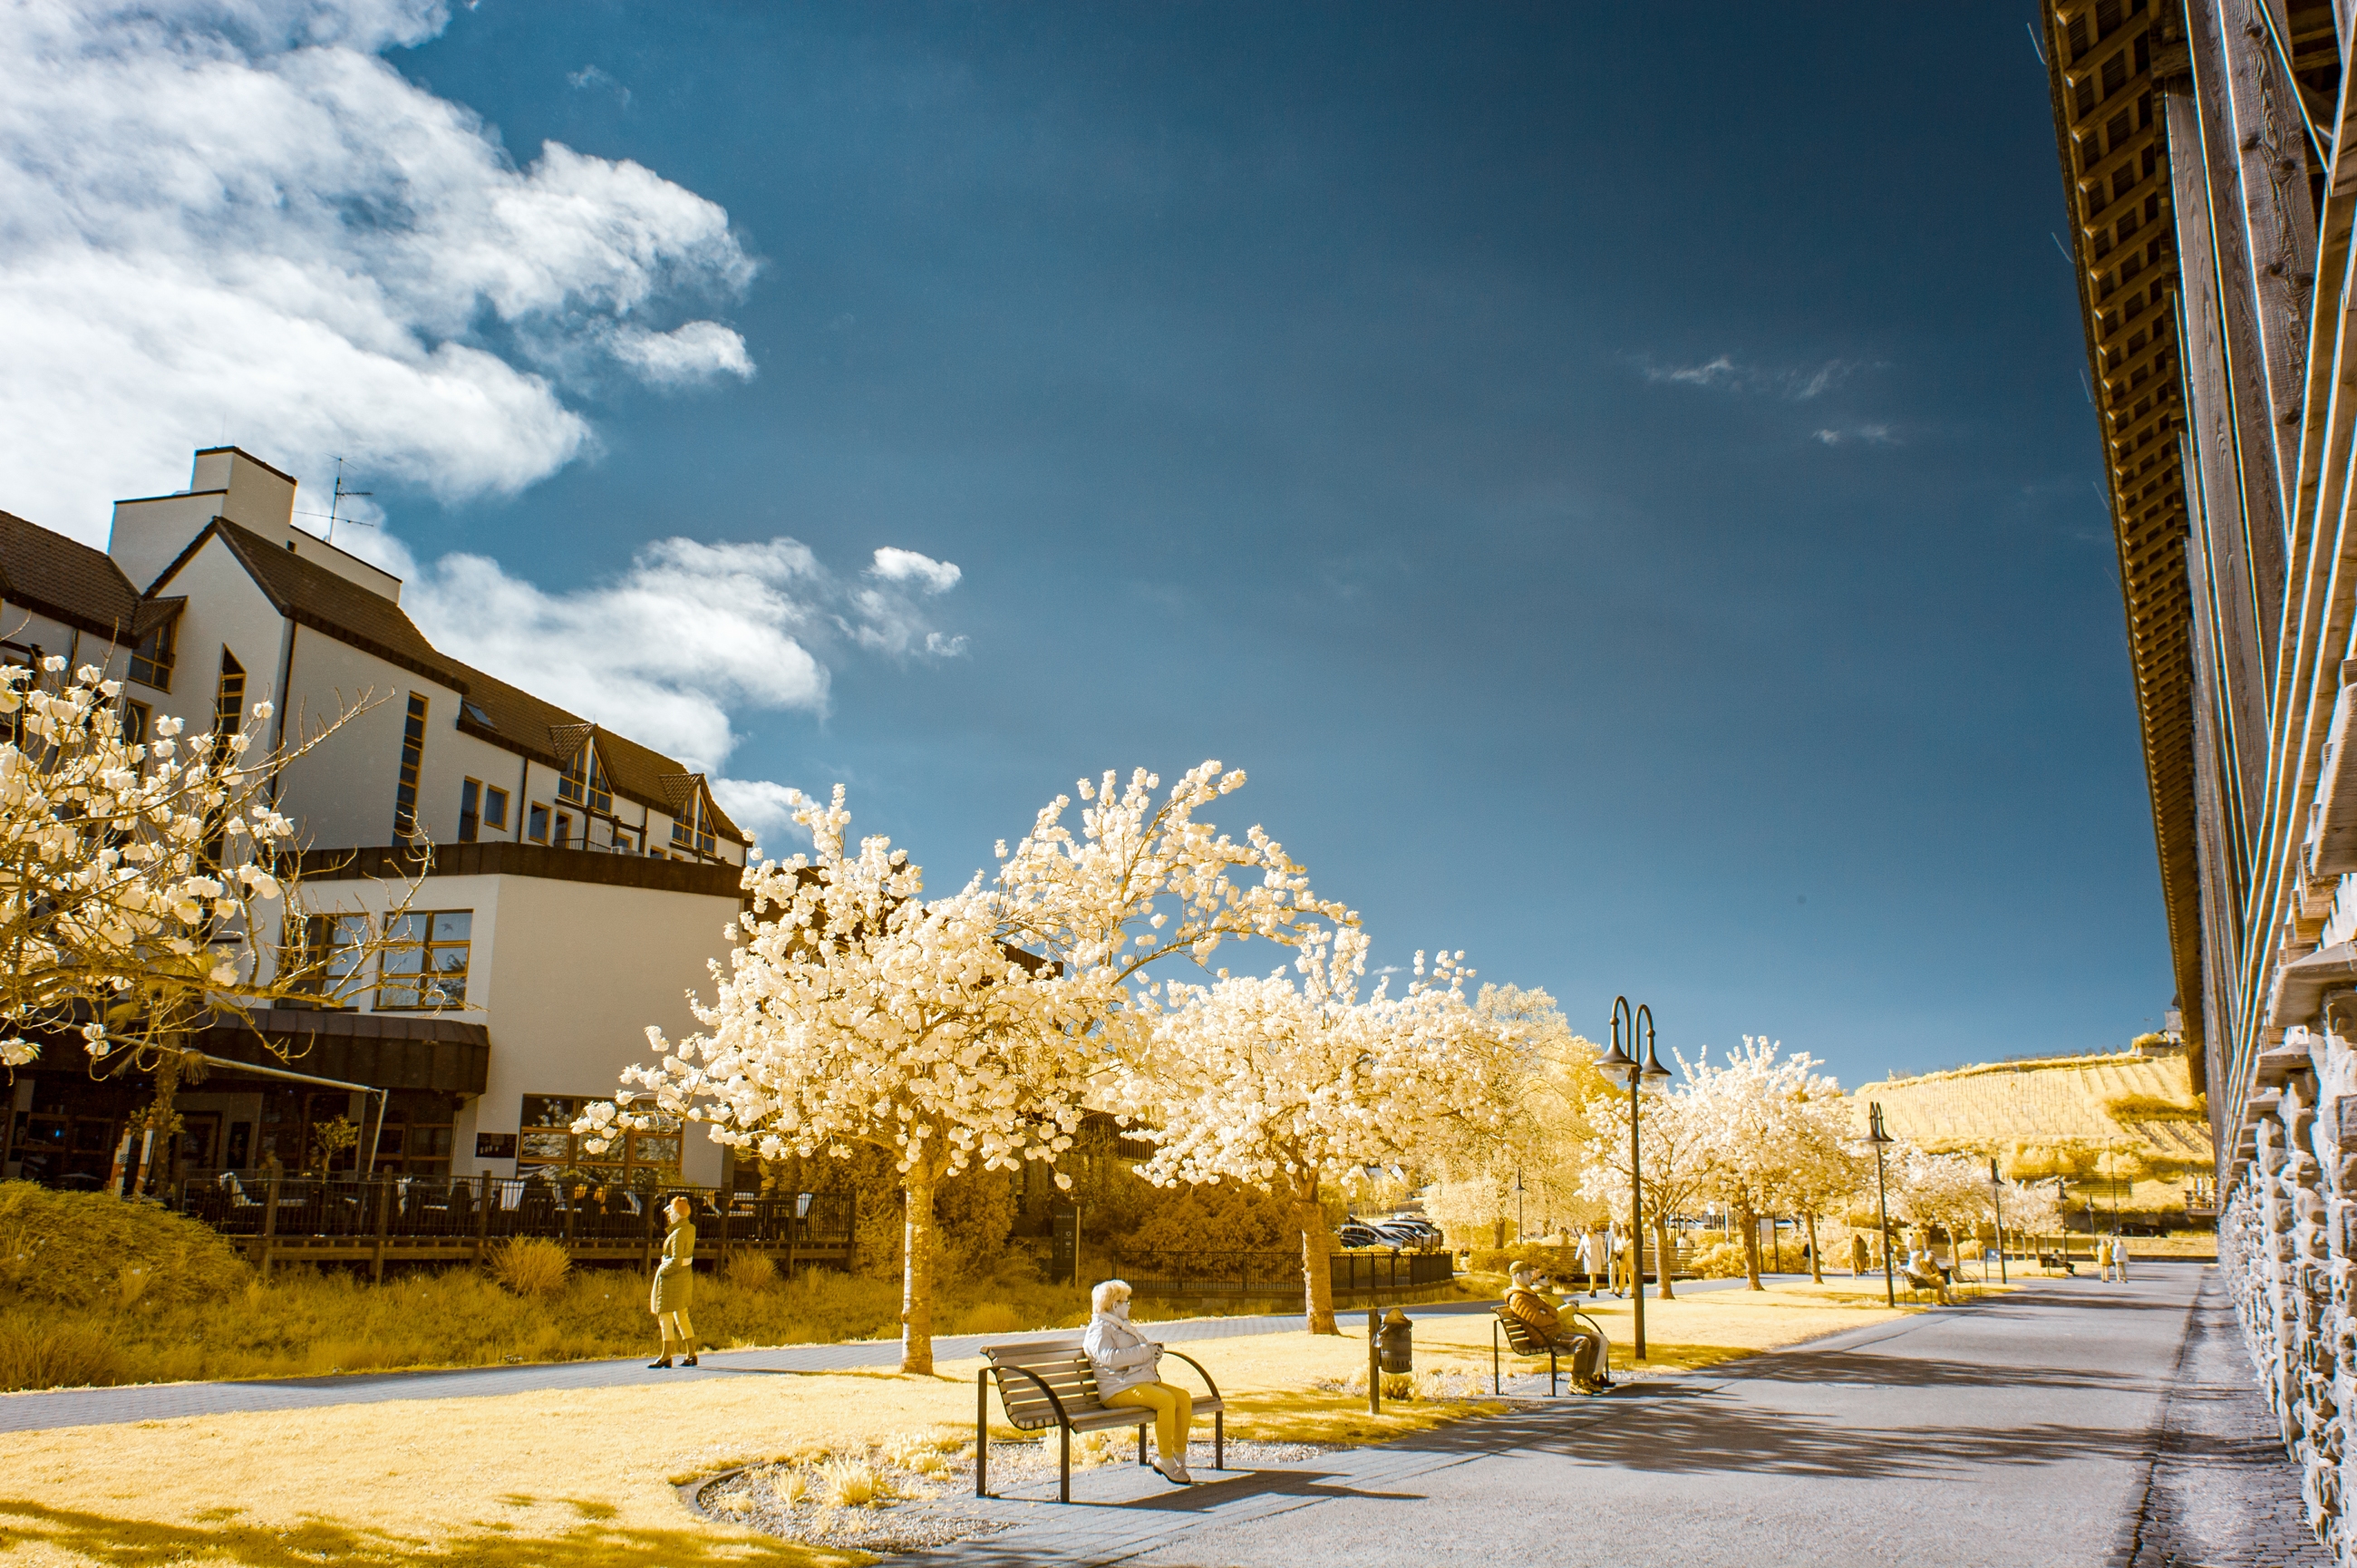
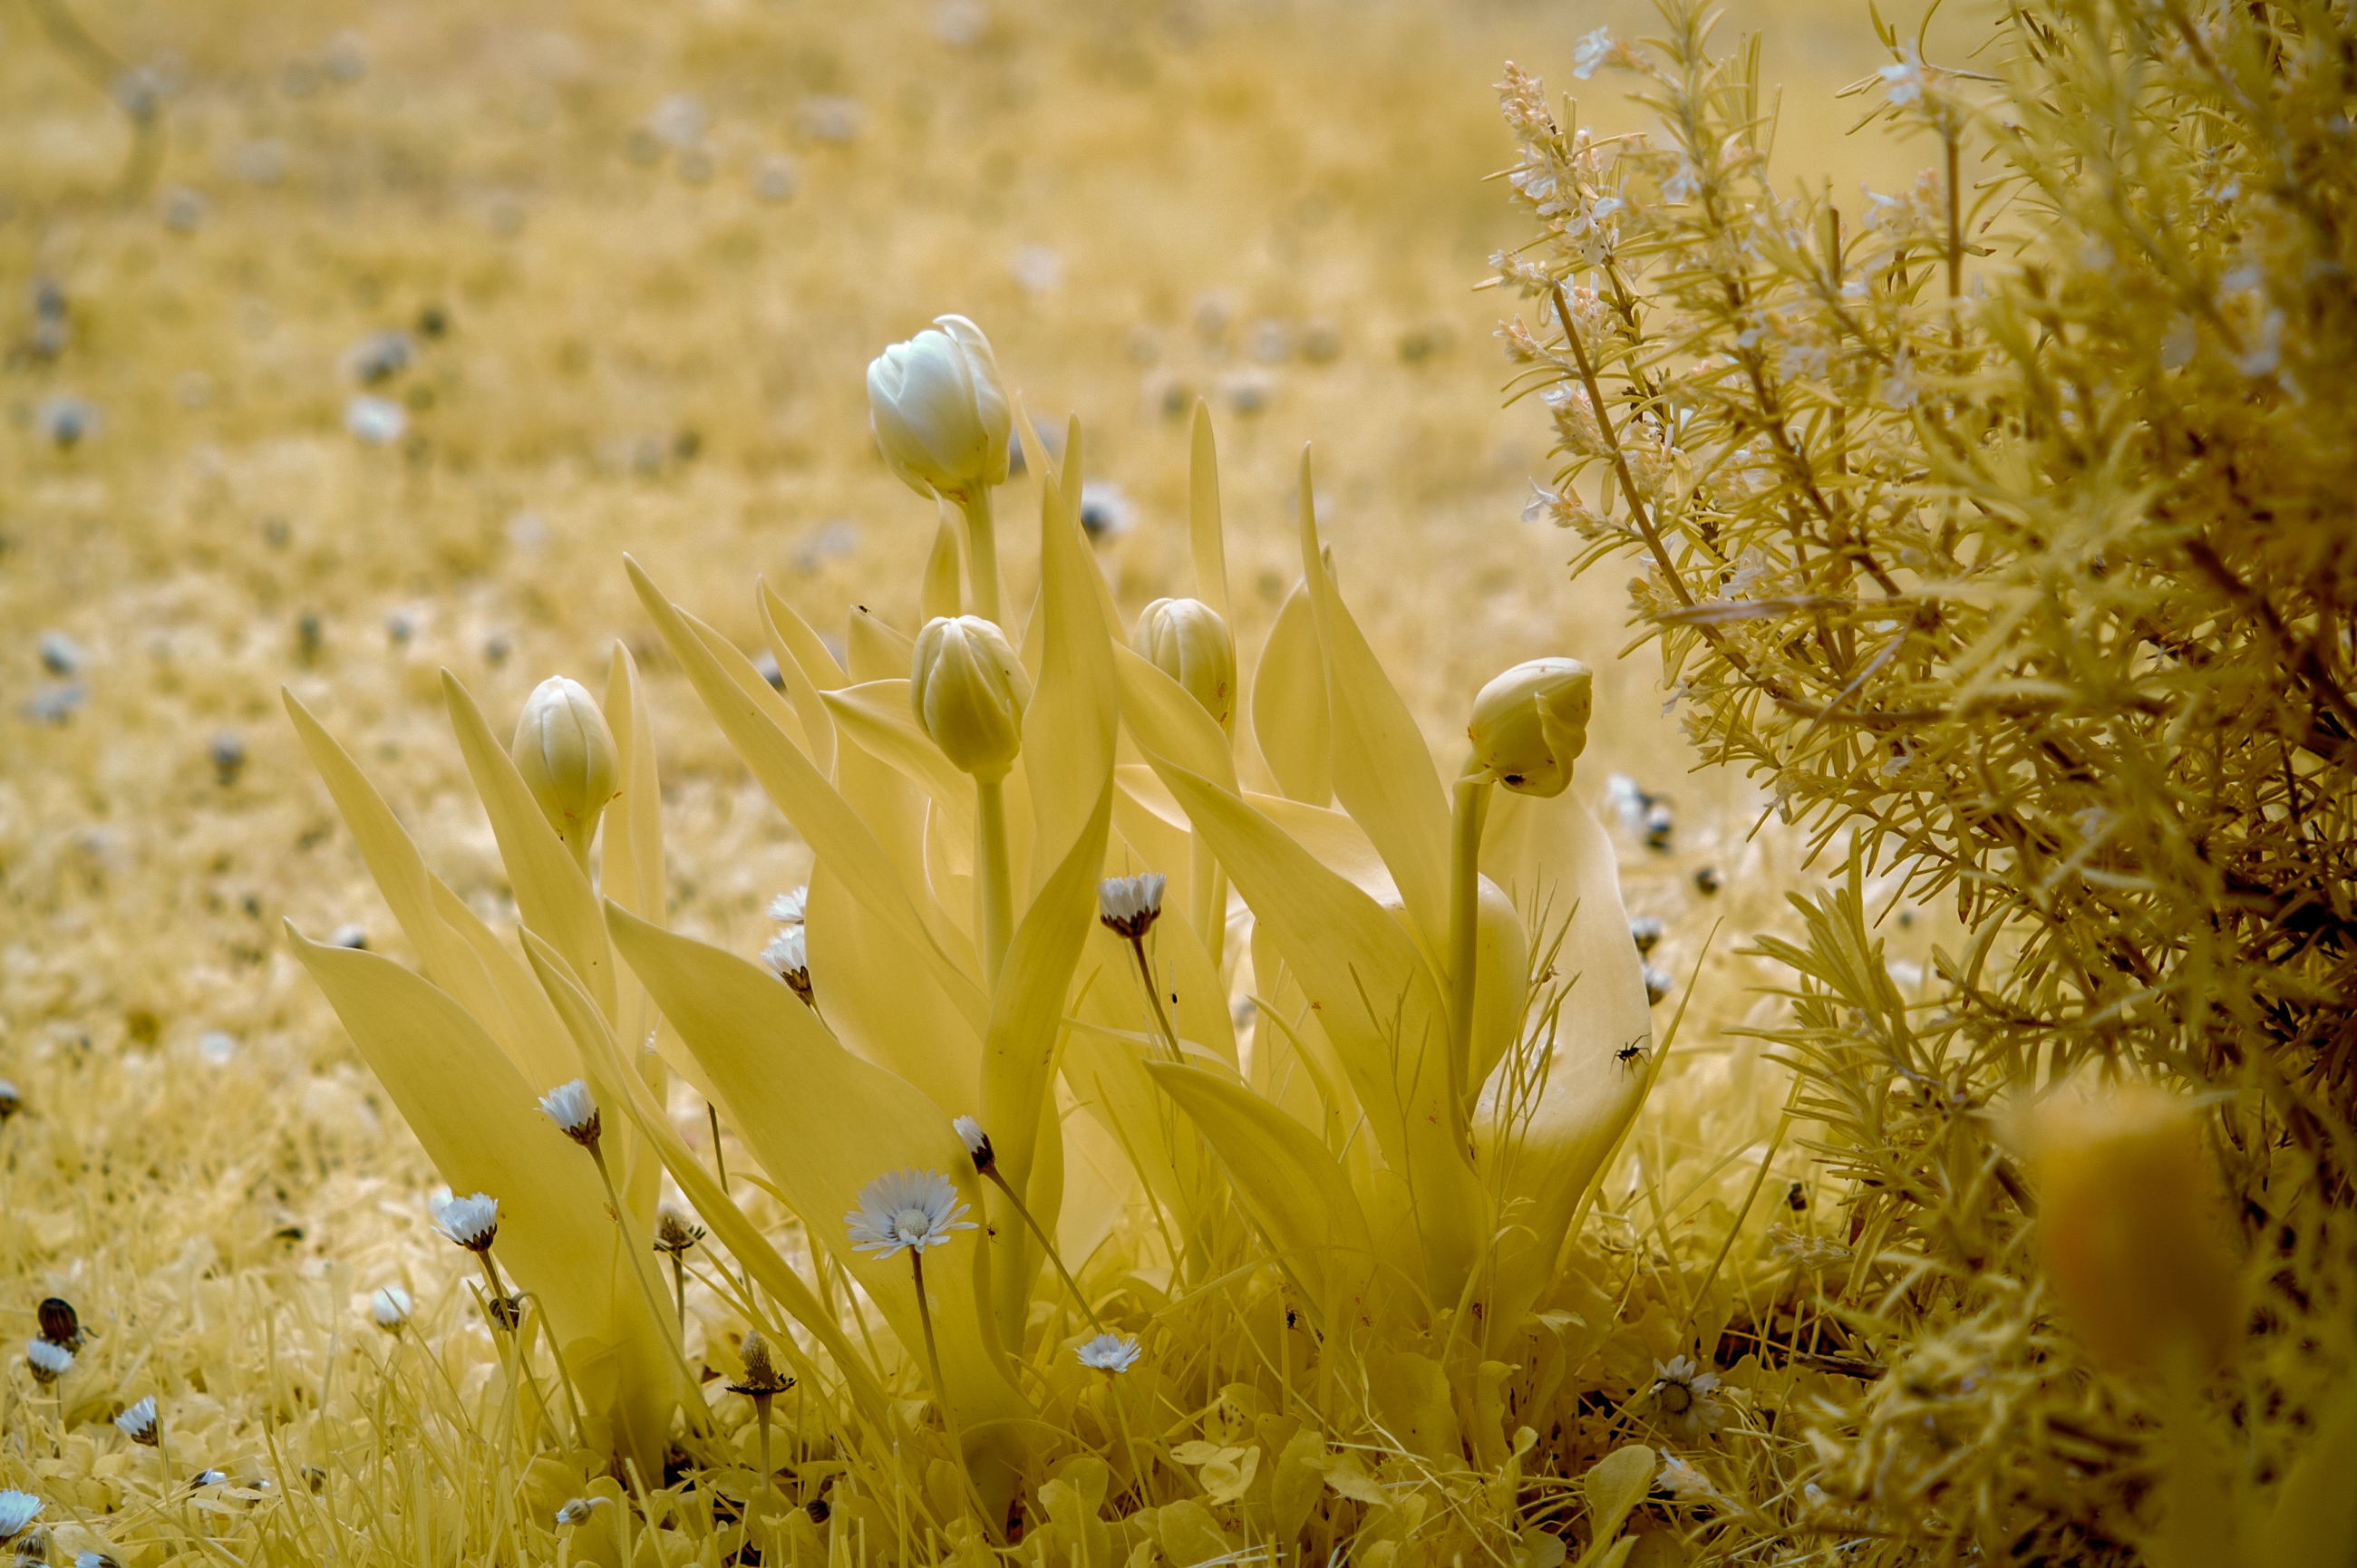
Cherry blossom at the salt works in Bad Dürkheim, tulips in the garden
Another lens I have tried meanwhile is the Sigma 20mm f/1.4 Art, Nikon F-mount. In contrast to the hopeless 35mm of the same company, I was pleasantly surprised.
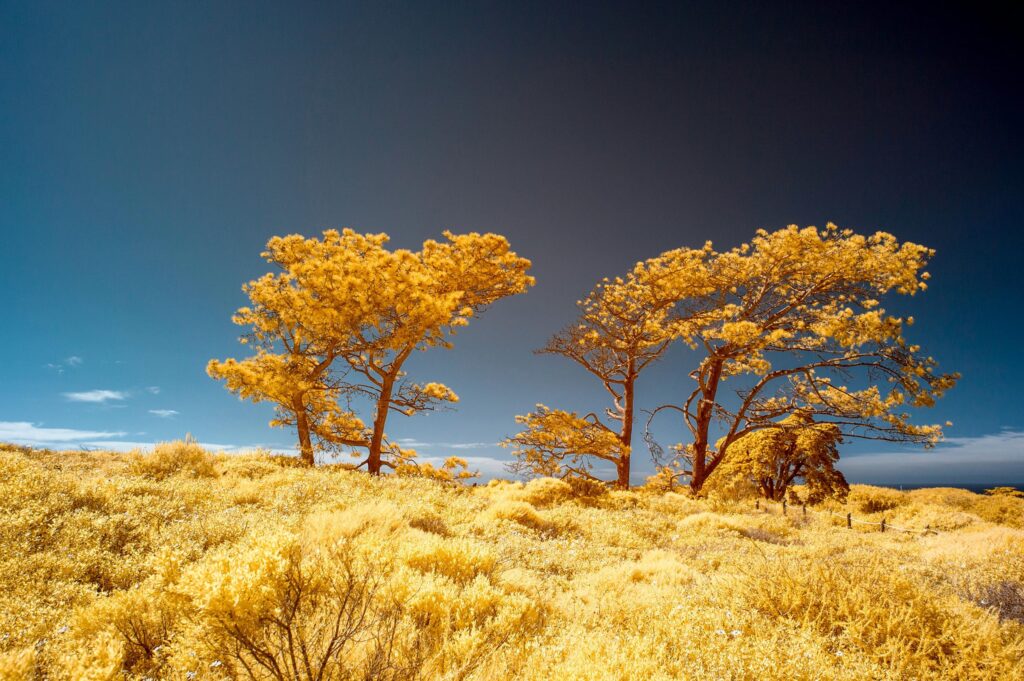
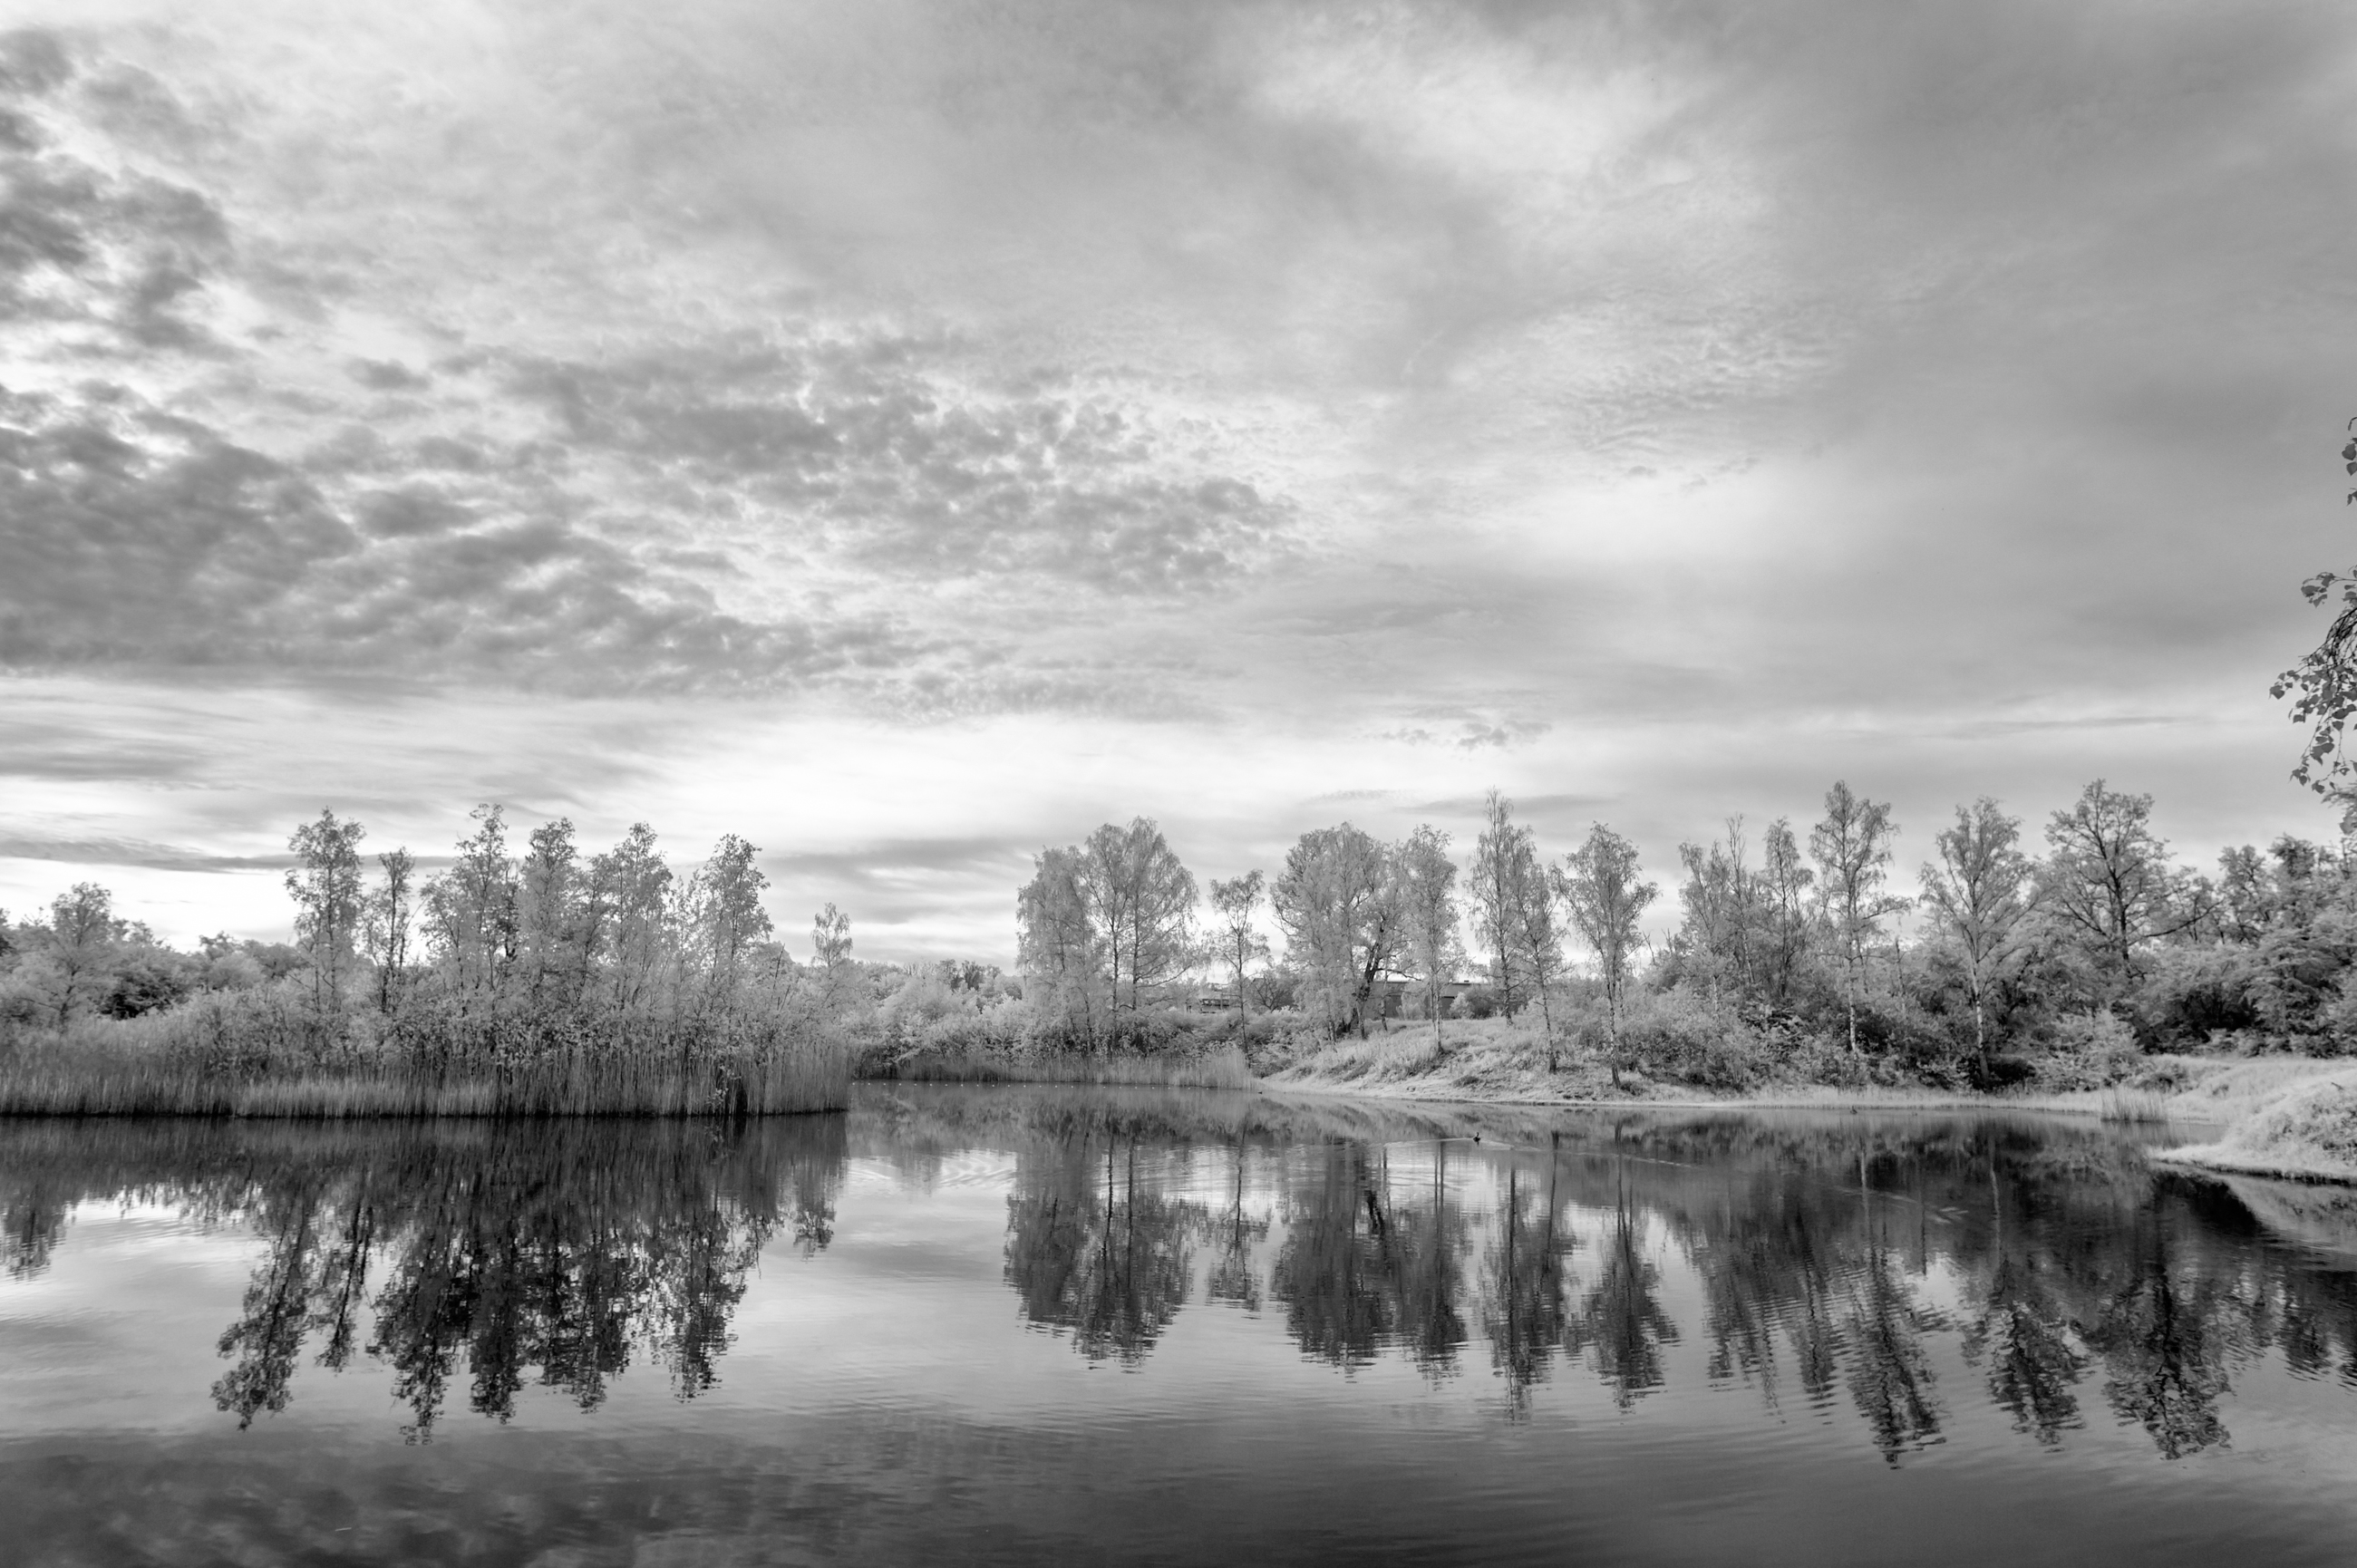
Working with invisible light: Infrared photography with the M10 Monochrom
More from Dirk Säger
Want to contribute an article to Macfilos? It’s easy. Just click the “Write for Us” button. We’ll help with the writing and guide you through the process.





Hi Dirk, thanks for this tour-de-force account of IR photography and the many steps involved in entering this arena. Not a challenge I plan to bite off, but the images you created are truly spectacular. Your article highlights the fact that we humans view the world through a relatively narrow range of the electromagnetic spectrum. Other species make use of frequencies or fields not available to us, such as the sonar of bats or the magnetic fields used in avian navigation. It is very cool that you are exploiting wavelengths beyond human perception to create beautiful images. Cheers, Keith
Dirk
Welcome to the IR Club. I am sure you will find the it is a very enjoyable experience. I do.
I suggest that you obtain screw in filters for 720nm and 830/850nm to try out. You can always use filters with a higher filter factor. Just get filters that are larger in diameter than the largest filter size you think you might like to have. Kolari recently developed a 780nm filter that gives effects very similar to the 830/850nm with a little less contrast. just remember that with these high filter factors, Live View is your friend.
Concerning lenses, as you have found, modern fast lenses can be temperamental in the IR range. These modern lenses can jump to hot spots when stopped down one or two stops. So I am not that surprised by your experience. The key is to experiment. I generally have better results with older lenses, since the vintage coatings allow more IR light to pass through the lens with the visible light; some modern coatings, such as on Canon RF lenses, can block the transmission of IR light. I have a couple of fast (f1.2 and f1.8) Olympus lenses that have harsh hotspots beginning at f2.8, but give really interesting results wide open and at f2.
For the others reading this, I am using a Lumix G9 camera body that was converted by Kolari in the US. I am enjoying using it, and I have heard that they have the ability to restore a camera to normal visible light operation if desired.
For anyone interested in referring the Kolari lens database, be sure to read through the comments. The comments contain a wealth of information. Just keep in mind that comments may have differing opinions of certain lenses, because everyone has differing expectations.
Have fun!
PaulB
Hi Paul,
thank you for the filter suggestion. Since all old Nikkor lenses have a 52mm thread it’s a simple task to get the filters.
Greets Dirk
Leica M folx lemons to lemonade the overly IR sensitive M8 and M8.2 with 720NM cut filters are idea ir cameras The 7 Artisans 35 f1.4 WEN m lens is a superb IR optic instagram kronquistm
Thank you Dirk. My now ancient Leica T was ‘full spectrum’ converted last year enabling use of any type of IR or UV transmitting filter on the camera lens. So far I’ve only used an URTH 720nm IR filter. IR results are excellent but I do not use channel swapping. Being colour blind it’s much easier for me to convert the IR DNG images to B&W IR at the DNG conversion stage. And no problems with ‘hot spots’ when using the TL 11-23mm.
“..black outfits often turning out white..”
Like the daft Leica M8 ..with black outfits – or anything else black – indoors, under artificial light, often turning out purple unless you added an extra blocking filter to each of the lenses you were using! Crazy!
Information for those of you in the UK – I had a Panasonic GF1 converted to 760nm by Advanced Camera Services (advancedcameraservices.co.uk) a few years ago. I was (and still am) very pleased with the results. I was amazed at the shutter speeds that could be used and have used the camera with a Panasonic 45-175mm lens to capture action at a motor-racing event – not sure the images could be used for commercial purposes as the ‘colours’ of the car’s livery may not match the wishes of the advertisers. I also used the camera (this time with the Panasonic 35-100mm lens) at a London Fashion Week catwalk show; once again the results were ‘interesting’ with black outfits often turning out white.
Sorry should read M3 carbine
Here in the states, there is a company located Alpine Utah, called Spencer’s photography. They infared specialists, deal with NASA, for astro photography, they offer complete infared Camera kits. I think it fascinating and you really seem to enjoy and have fun, thanks for sharing. Just fyi usarmy first converted to !3 carbine sniper scopes infared during Korea war.
Oops “(DIRK YOU ADDED WHAT LOOKS LIKE A LINK BUT I COULDN’T ACCESS IT)” needs to go.
Farhiz, I have substituted one incorrect link. It should work now. Moreover, just noticed the point of your comment… the note to Dirk. I’ve deleted that, and thanks for the warning. This is one of the perils of advanced scheduling. I set auto-publish and forgot to give it the final check.