For many of us, a considerable part of our photographic career falls into the analogue age when there was a sometimes difficult choice to be made between exposing negatives, either monochrome or colour, and colour slides. Many committed amateurs often chose slide film. Others inherited vast collections of slides that were taken by deceased family members.
To keep or not to keep? Is there a workflow to preserve such memories at a reasonable effort? Here comes my solution to the problem.
Family documentary
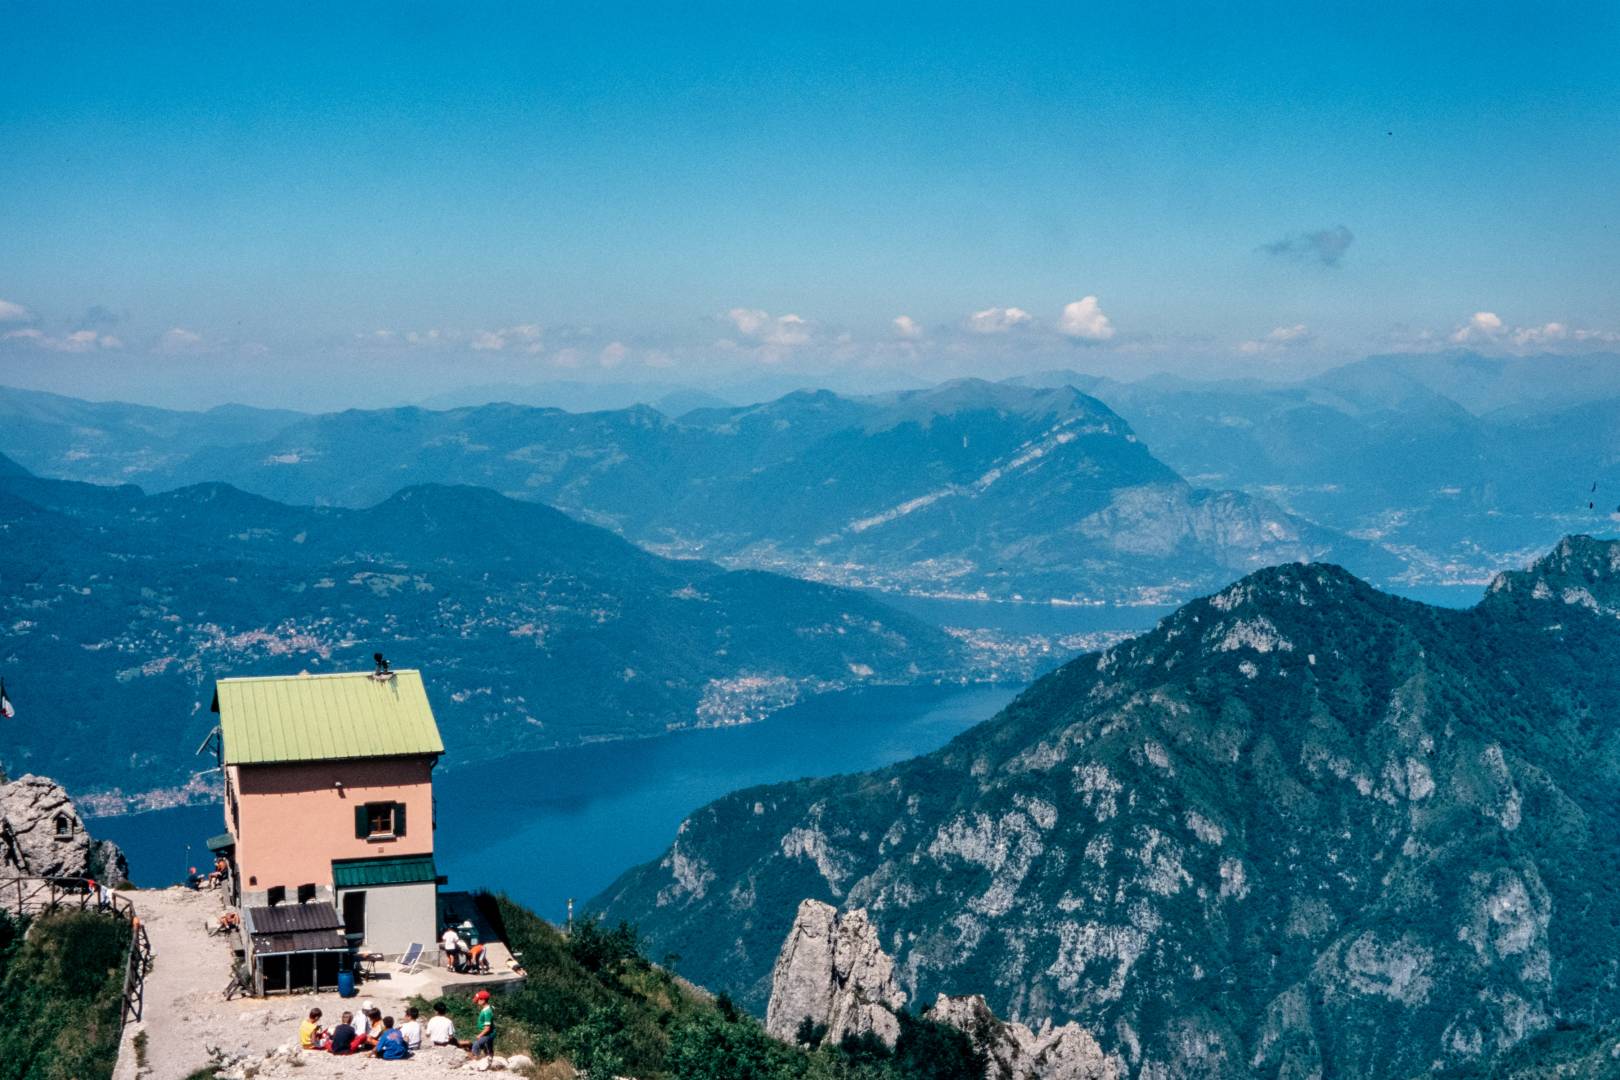
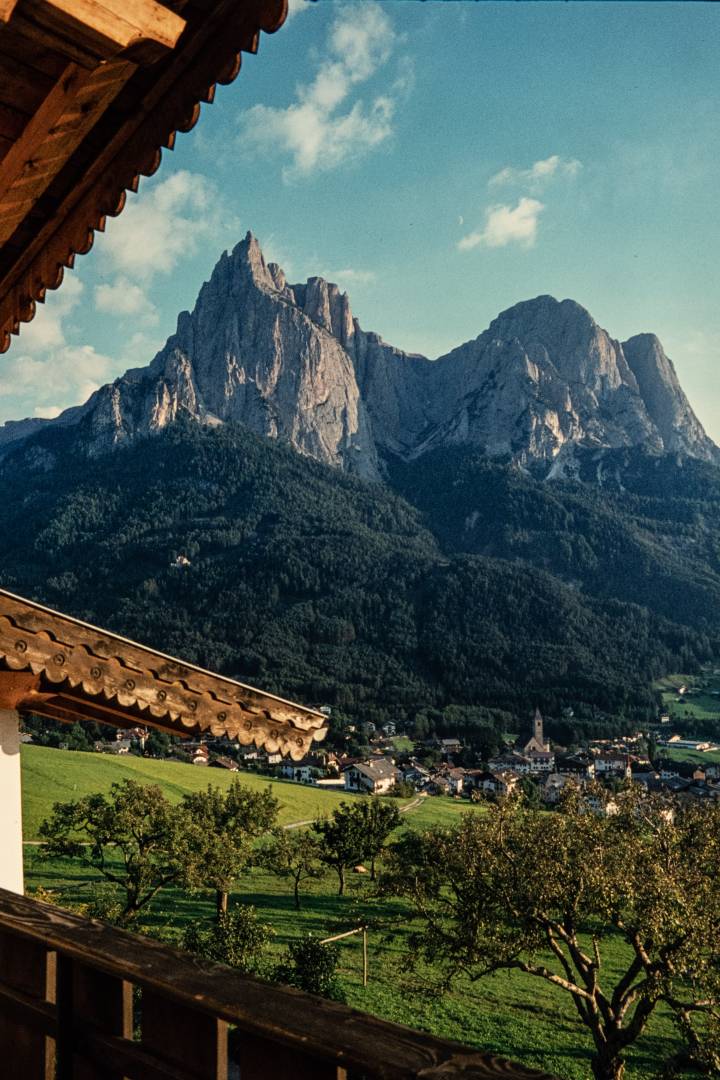
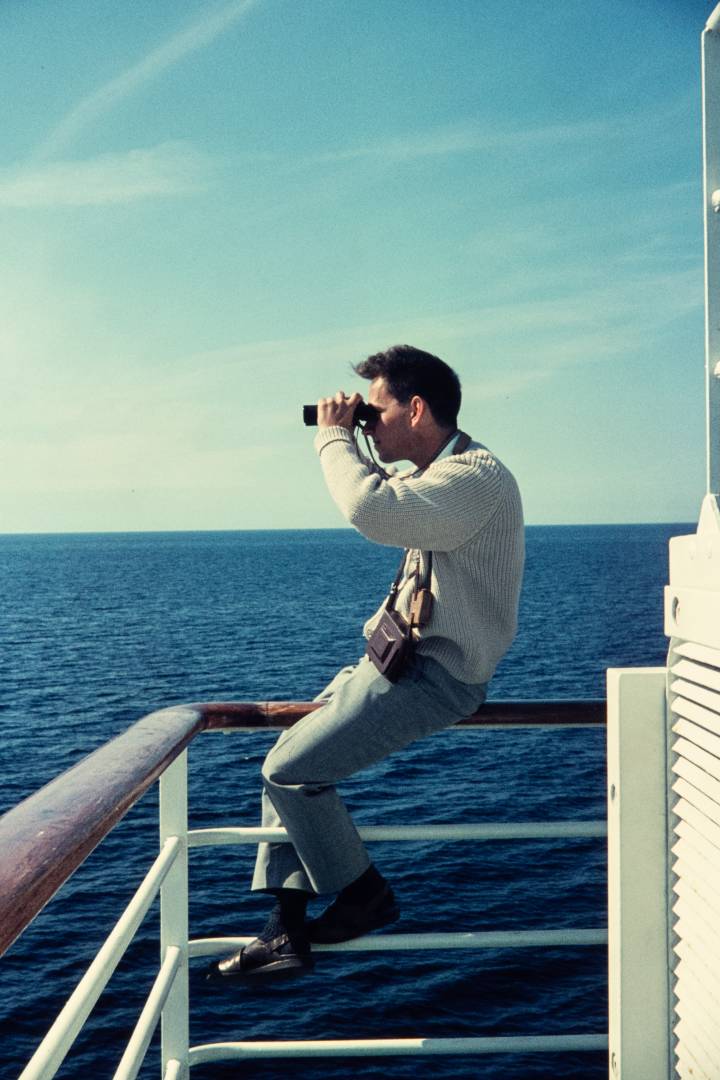
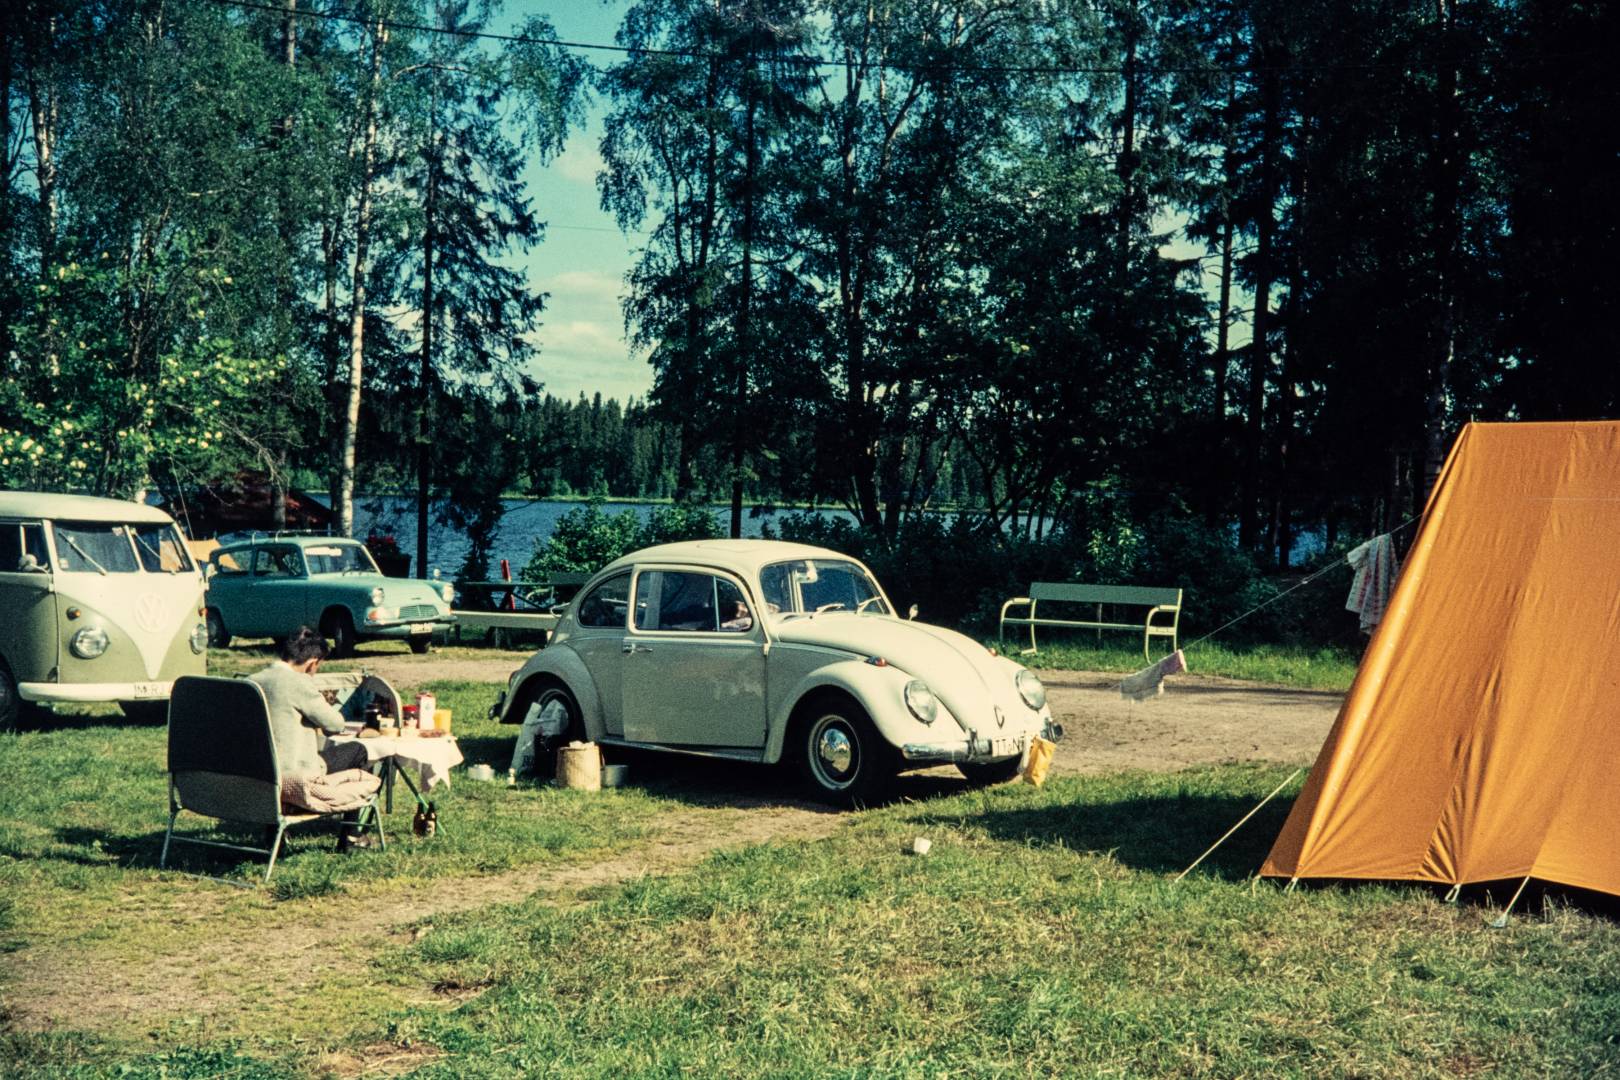
I was faced with upwards of 20,000 colour slides. Beginning with my parents’ honeymoon trip back in 1970, continuing with documents of all our family events, tons of landscape shots, mainly in the immediate area and ending with memory shots of the decorated graves of some of my father’s friends who preceded him. Almost 50 years in photos that occupied many cupboards. And now, after the death of my father, Fritz-Peter, the question arose: Where to put them? What remains of this life-long passion, documented in the colour slides?
My mother, my sisters and I knew that we could not and would not keep the boxes of slides in original form. But the thought of having to throw away all these memories was simply too painful.
The logical answer was digitisation. However, at a price of up to 50 cents per slide, it was no option to use a commercial processor. The classical scanning method was not an option for me either, as efficient slide scanners have de facto disappeared from the market and moreover, the process is much too slow. So I chose a DIY solution which I would like to describe here in the hope that it gets your creative juices running.
A digital fix
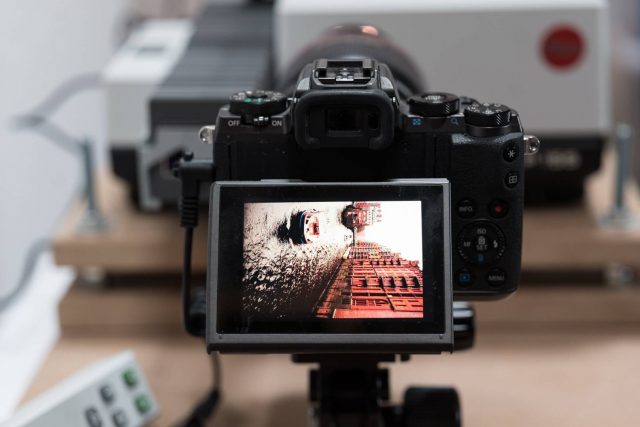
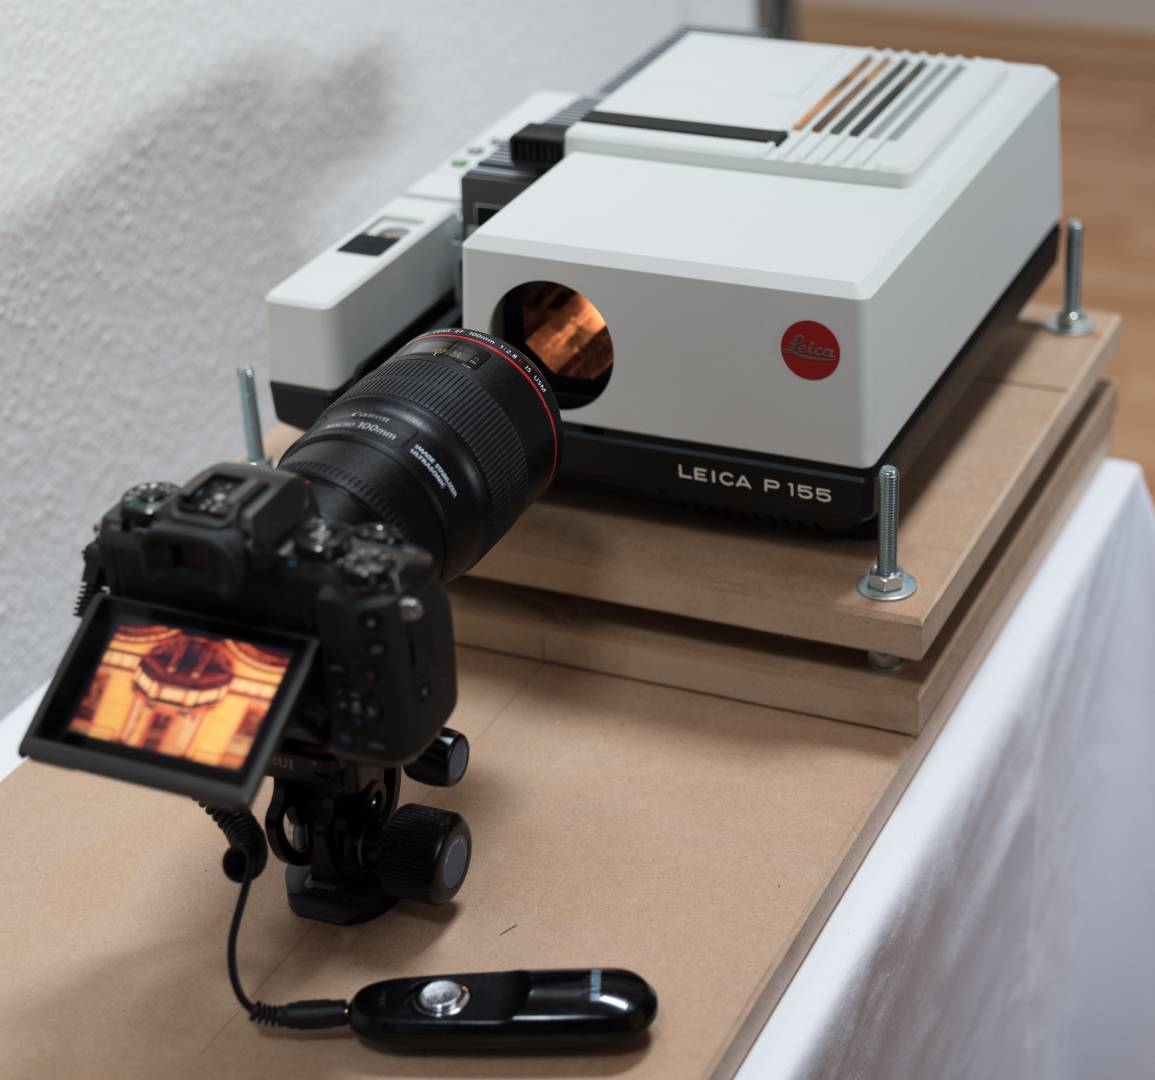
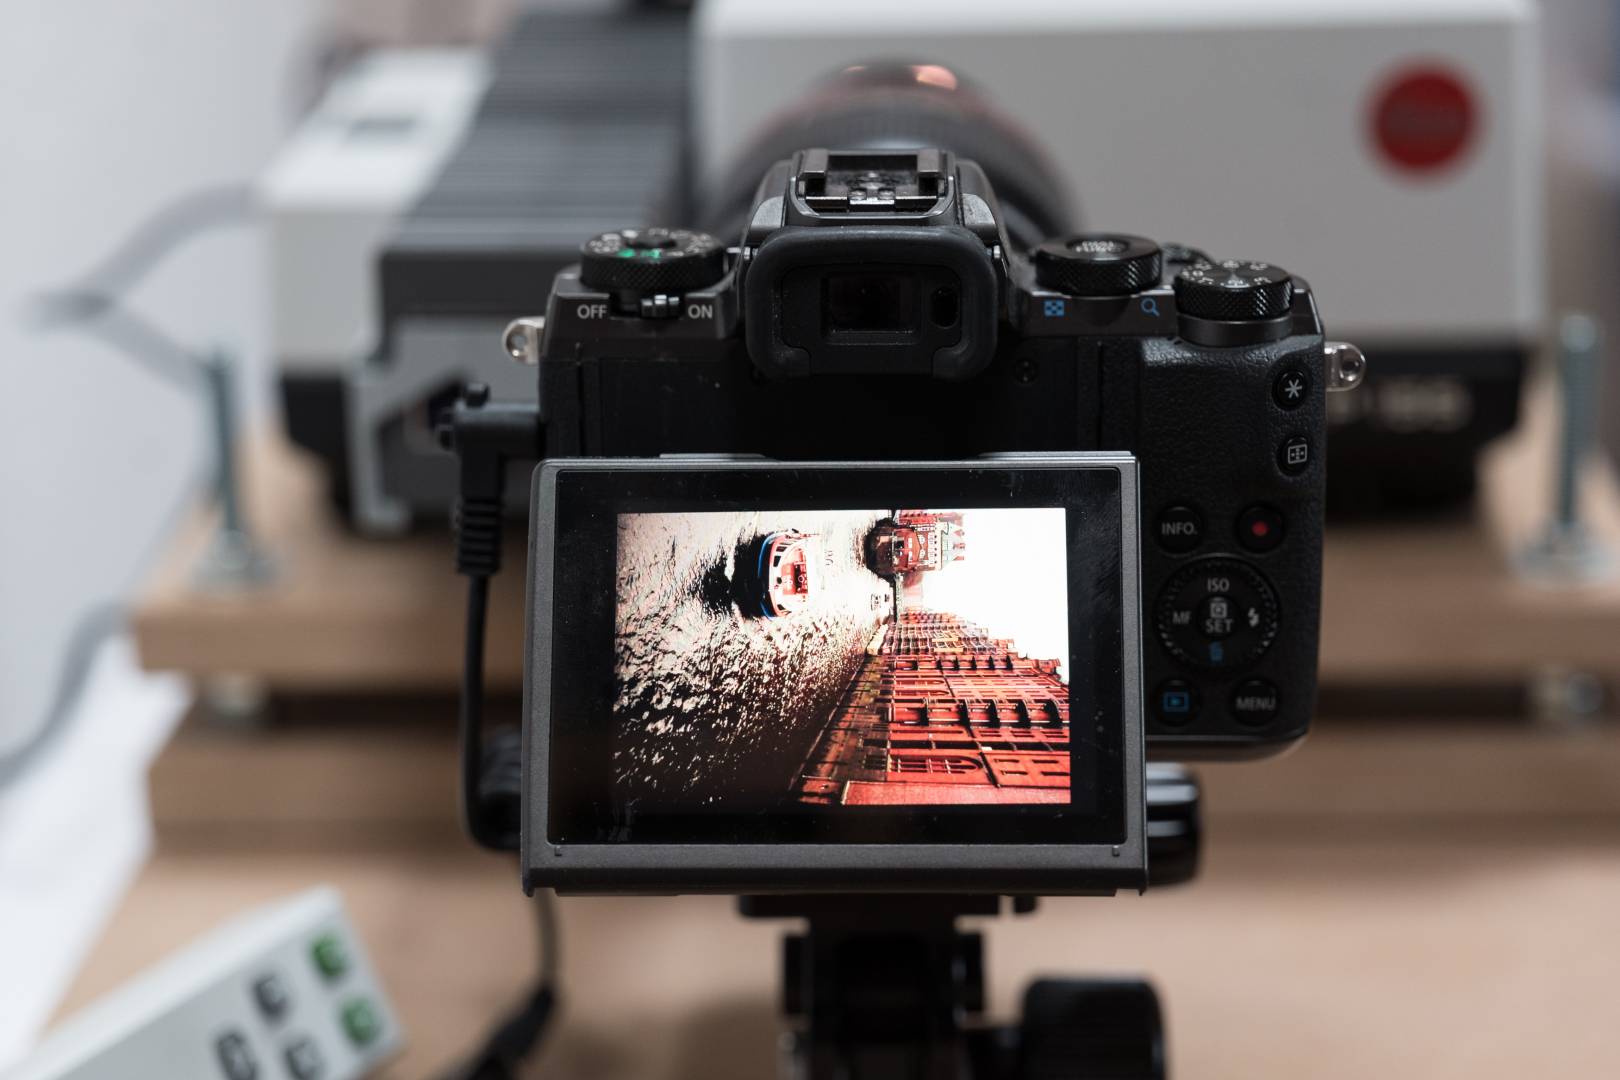
An internet search made me aware of a product called Diadigifix. A German inventor provides a kit with which you can modify almost any slide projector and turn it into a unit for photographing the images instead. Basically, you remove the lens, you modify the lens/condenser system and add some high-quality white matte plastic plates. As a result, you see the slide projected inside the projector. With a suitable camera and a good macro lens, you then take an image, advance the slide tray and carry on. You can find all the details here. Sorry, the site is in German only but these days you can get the gist by using machine translation.
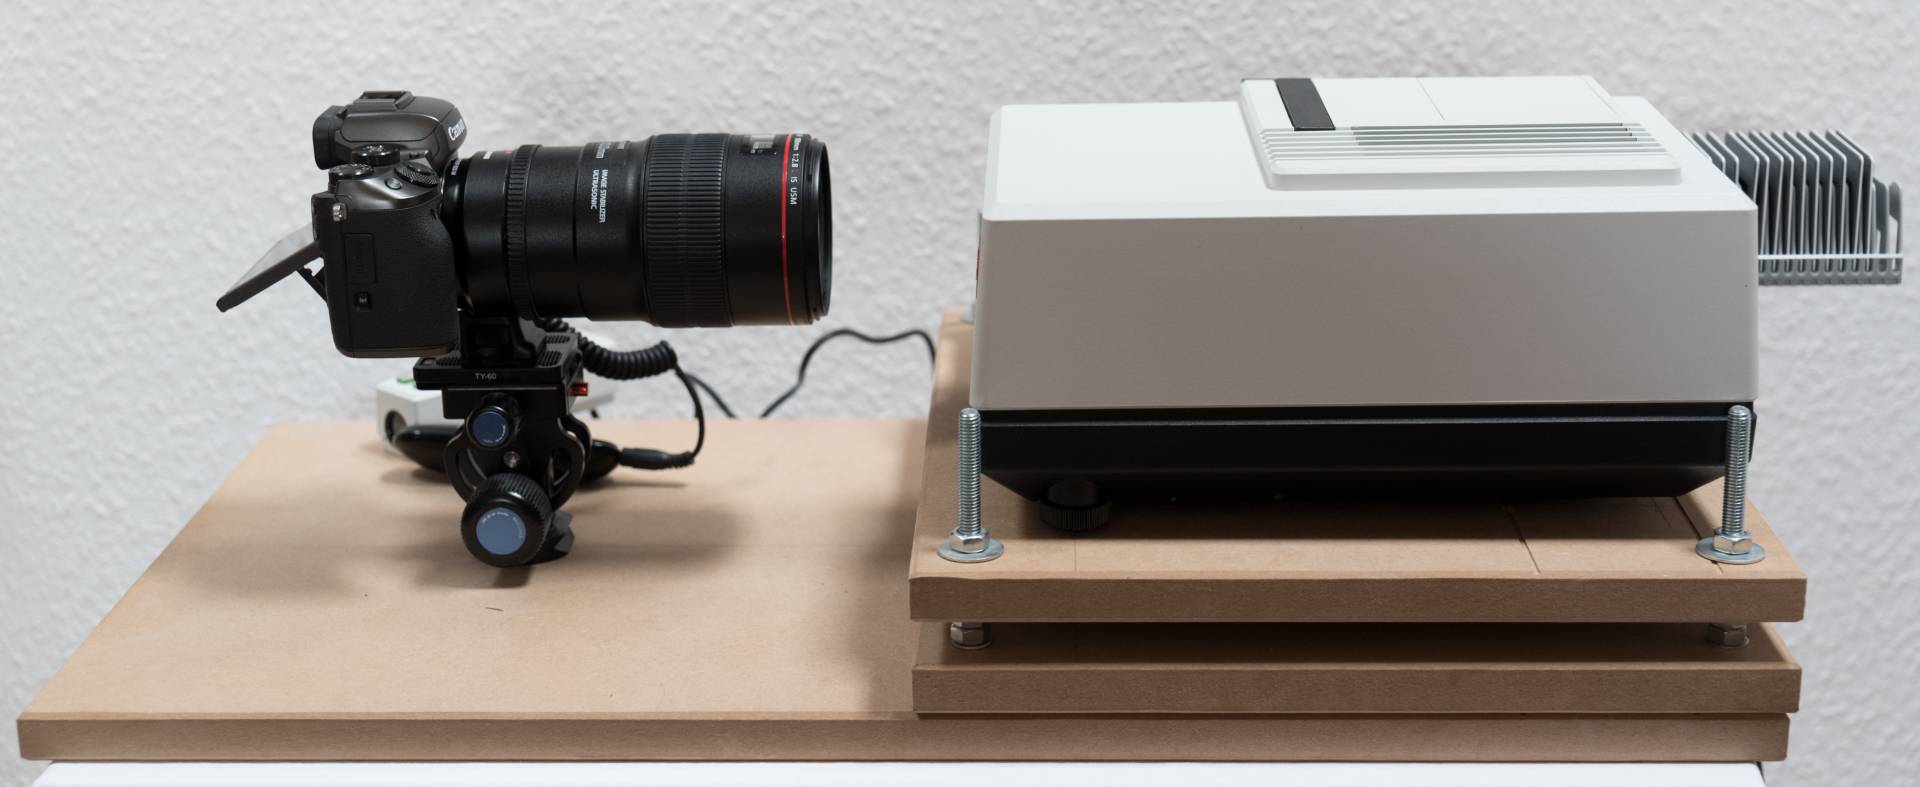
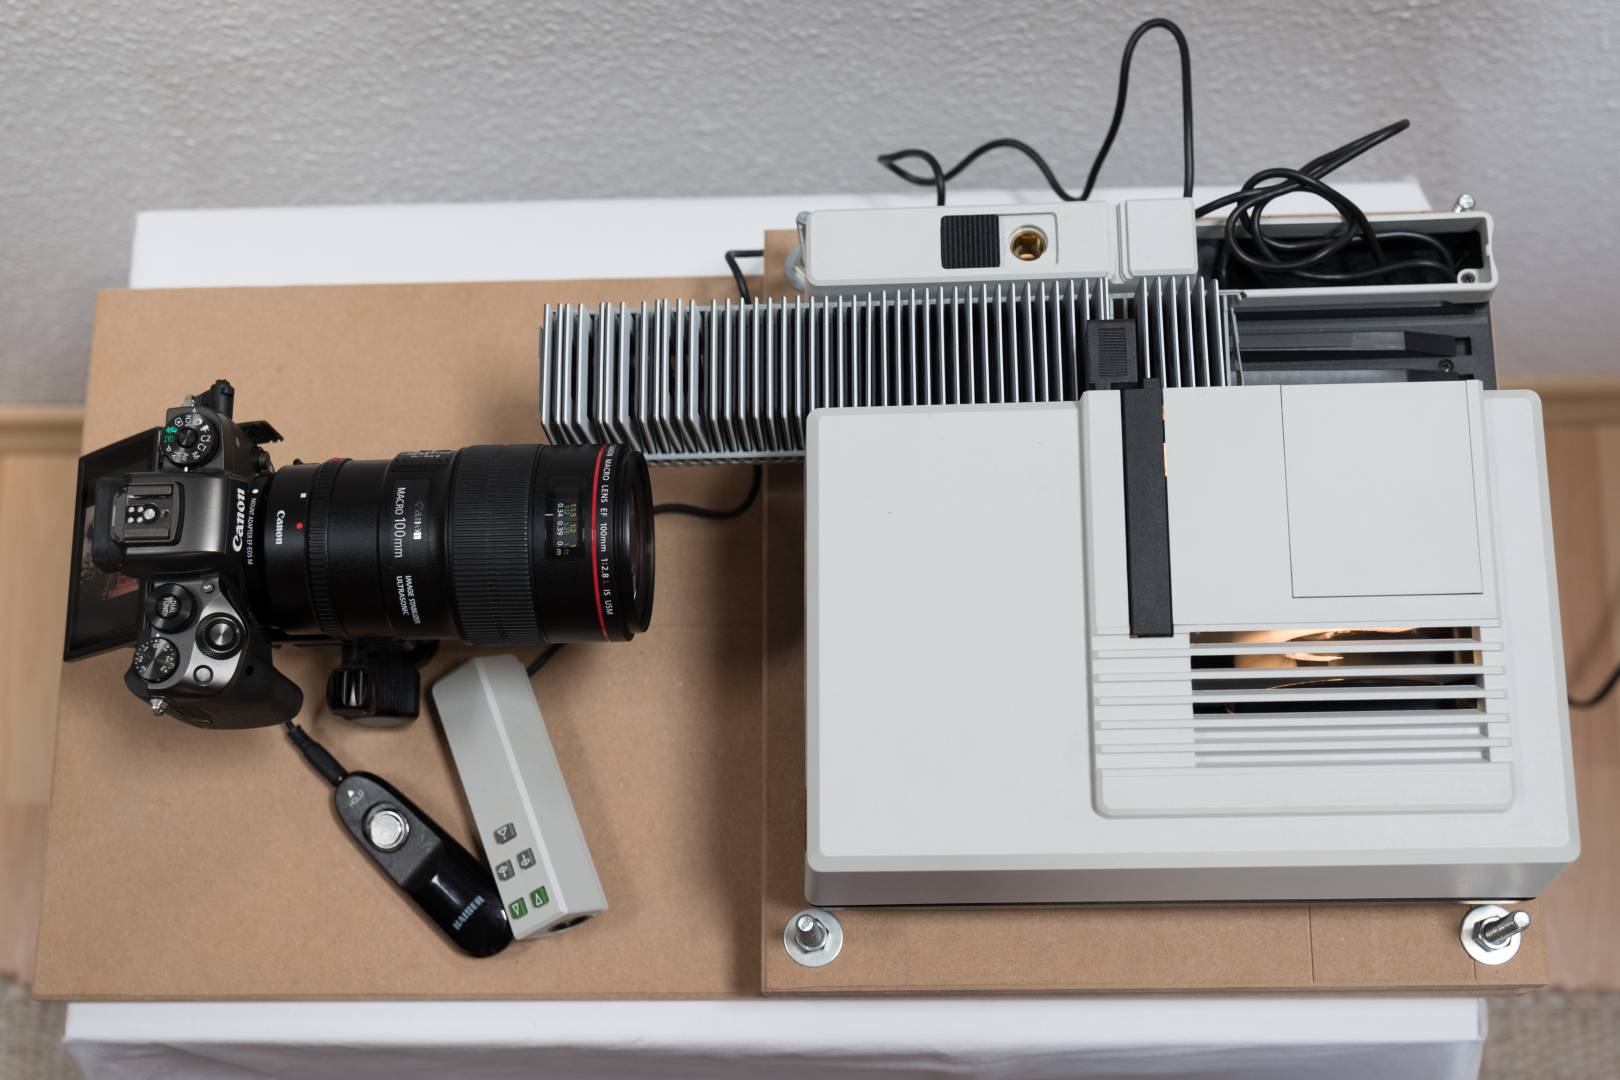
I soon discovered a major snag, however. All my efforts to align projector and camera accurately by using a normal table, tripod or so are pointless. After designing a solution with a purpose-made wooden base, I found out that others had had pretty much the same idea before me. I more or less used the construction that Volker Gottwald generously shared. I was immediately happy and have now proved its effectiveness over many slide copies.
Choosing the gear
The important point is to choose a camera/lens combination that allows enough space in front of the slide projector. If the camera sits too close to the projector, the magazine will not advance right until the last slide (especially if you use the most common 50-slide versions or the 80-slide LKM version).
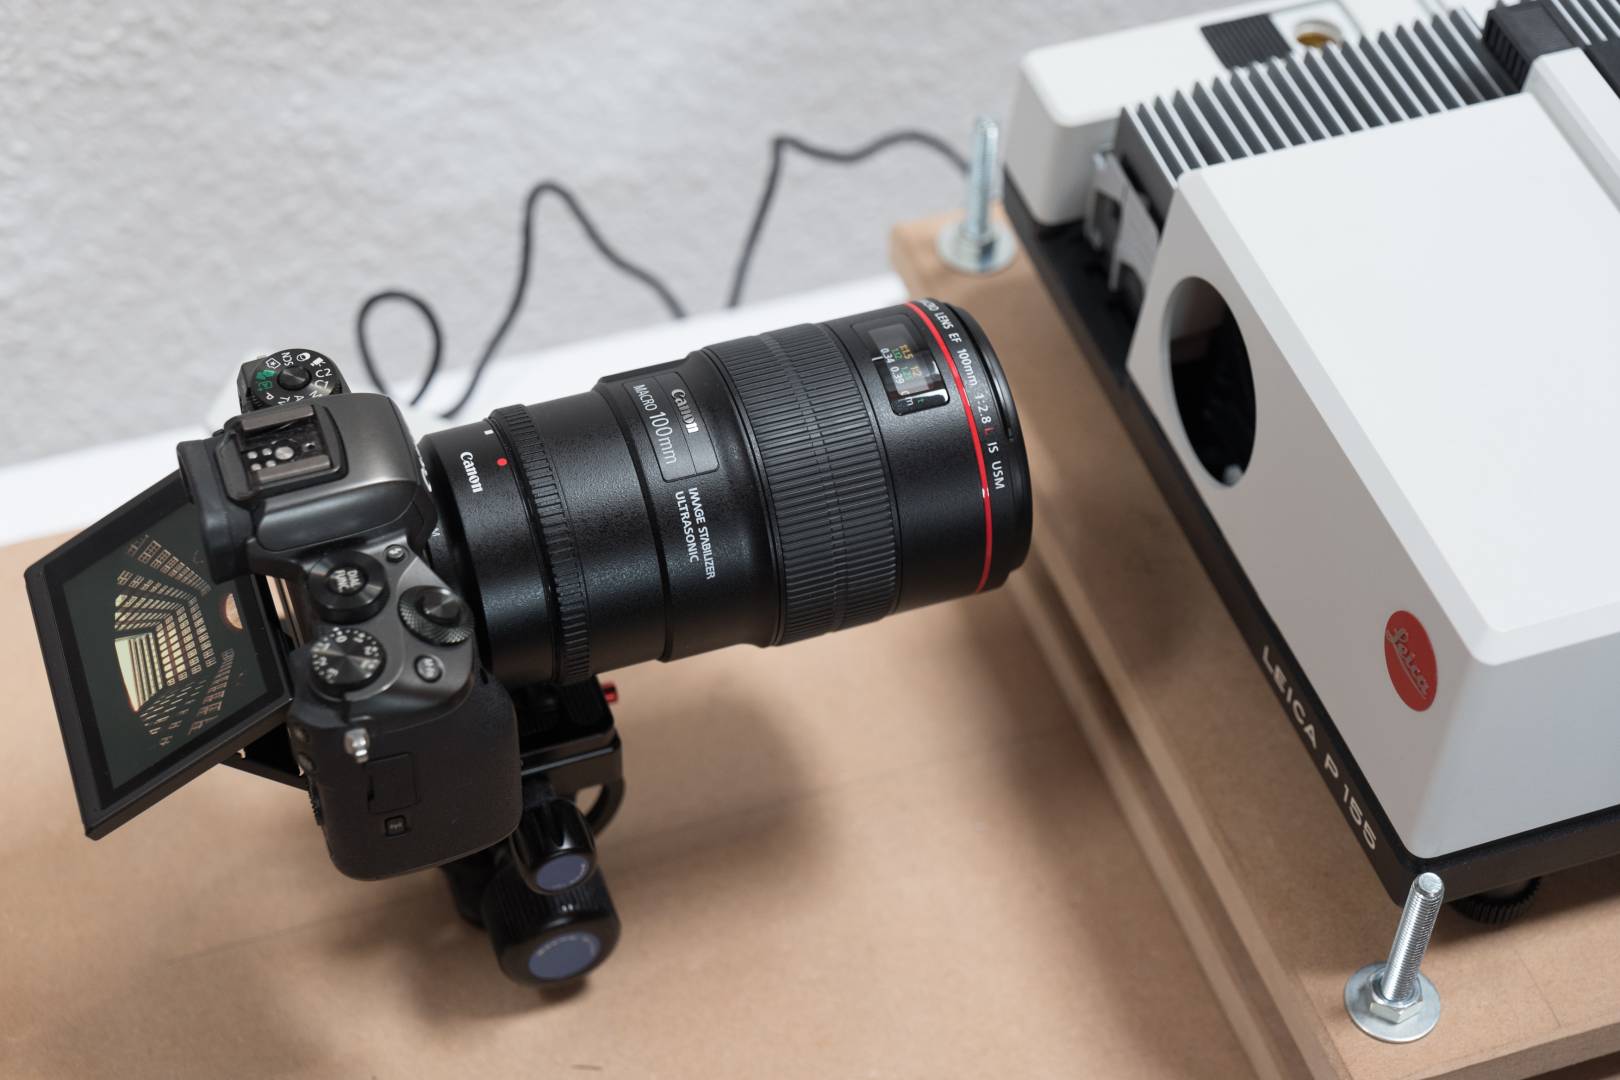
I finally opted for a secondhand Canon EOS M5 and a Canon 100 EF-L Macro lens, second version. The appropriate EF- to EOS-M mount adaptor came with the camera. The lens turns into a 150mm focal length on the APS-C body and allows the use of (almost) the full 24 Megapixels of the sensor for capturing the 24x36mm slide (in fact, it is exactly 23x35mm due to the frame).
This choice turned out to be excellent at a very reasonable price. The camera did the roughly 20,000 shutter actuations bravely. It was only the genuine Canon cable release broke down halfway through the exercise. A cheap third-party replacement filled the gap flawlessly.
Three memory cards and three batteries were used. Every 1,000 pictures or so, I had to change the battery, so I took the opportunity to swap the SD card at the same time. While the battery charger did its duty, the files were imported into Lightroom, and I was able to proceed with another batch of 1,000 or so slides. Interesting – if you shoot at this rate, the battery reach is far higher than specified. This confirmed my suspicion that the relatively high battery consumption of mirrorless cameras is determined by the minutes of use and not by the actual number of shutter releases.
It would have been a further improvement to use an external camera power supply and to opt for tethered shooting, thus transferring the images directly onto the computer. But by the time I had found an external power adapter for the little EOS, the task was almost finished. However, it would have been a good idea to use cables for both power and data because you always have to do some slight adjustments when you return the camera to its working position.
Rainy weekend job
Long story short, I put my small digitising unit into the car, drove to my mother’s home and did the whole job within two rainy weekends. That includes:
- taking the photos
- processing the RAW files (I would recommend this option because it helps with the enormous dynamic range of the slides)
- running batch processes to mirror the images and to cut away the small safety margin I opted for
- manually turning upright the photos taken in portrait mode
- setting up a system of file names and file organisation
- developing Jpegs and importing them in a well-structured manner into the photo library of my mother’s iMac
It might have been even smarter to buy her an iPad right away so she could more easily access all these lovely memories.
Technicalities
Some technical points: 24 Megapixels are, from my experience, indeed the sweet spot for this task. In this setting, the sensor resolution is slightly higher than the definition of even the latest 35mm slide film. You see the grain in the digital photos, and this tells you that you will not get an improvement with a 36 MP sensor or denser.
The lens focus must be set manually focus of course, and the camera’s display or electronic viewfinder have to be set on correctly for magnification and sharpness. ISO 200 offers the best quality in the RAW files, and f/8 aperture gives some depth of field to correct tolerances within the slide projector without showing diffraction problems due to small diaphragm opening. All this resulted in a very convenient exposure time of 1/250s.
The projector I used was a newly serviced, second-hand Leica Pradovit P 155 without lens that I found on eBay. It twice needed lubricating for the transport mechanism but otherwise it mastered this extremely heavy use very well. The Diadigifix kit comes with a special lamp you put into the projector. It is far less powerful than the normal 150-Watt bulb. This is to prevent heat and to have reasonable conditions for photography.
All alterations to the projector are reversible, but I will not need this because I already own one of the last Pradovit-PC projectors, bought new at a time when no one was interested in such gear. It was almost embarrassing how cheap it was, although the Colorplan lens adjusted this somehow. But of course, I would never use this beautiful piece for a DIY project.
Hints and tips
Some other minor points might be useful if you are tempted to set up your own processing kit:
- All slides have to be ready in proper slide magazines. My father had stowed the earliest slides in small plastic boxes that consume less space. After the slides that were in magazines were processed, my mother used these magazines for the other slides. This was a surprisingly lengthy task, but worth it in the end.
- All slides that were originally taken in portrait mode have to be turned by 90 degrees before the digitising starts. If they are in a magazine, run through it and adjust as necessary.
- All corrections should be made within Lightroom. Do not play around with camera settings, including white balance. The results are uncontrollable.
- Work in a room with subdued lighting. Avoid direct light or reflections that could reach the projector/camera setup.
- Use a powerful computer. Handling thousands of RAW files within a short time is a heavy task. My 2017 16GB MacBook Pro with 16GB of RAM and fast, solid-state disk tackled the job with aplomb.
- Invent a proper system of file nomenclature that helps you to keep the structure in your Lightroom catalogue. This is especially important when you want to maintain a chronological order but are not digitising in this order.
- Think of regular backups. You will need a fast SSD for this. I ended up with almost 1 TB of data.
- Most important: Do not even think of starting this job if the slides are not organised and archived in some manner. My father numbered them, starting with the year, and kept a list that connected his numbers with events. Without basic information (year, place, event) the images will tell you next to nothing, I am afraid.
Difficult choices
Finally, I want to raise some questions that I came across during the process.
The first and most important question is: Do you really want to keep all photos and, if yes, why? Consider a brutal culling before doing anything else. My initial strategy would have been to undertake a drastic culling of the library:
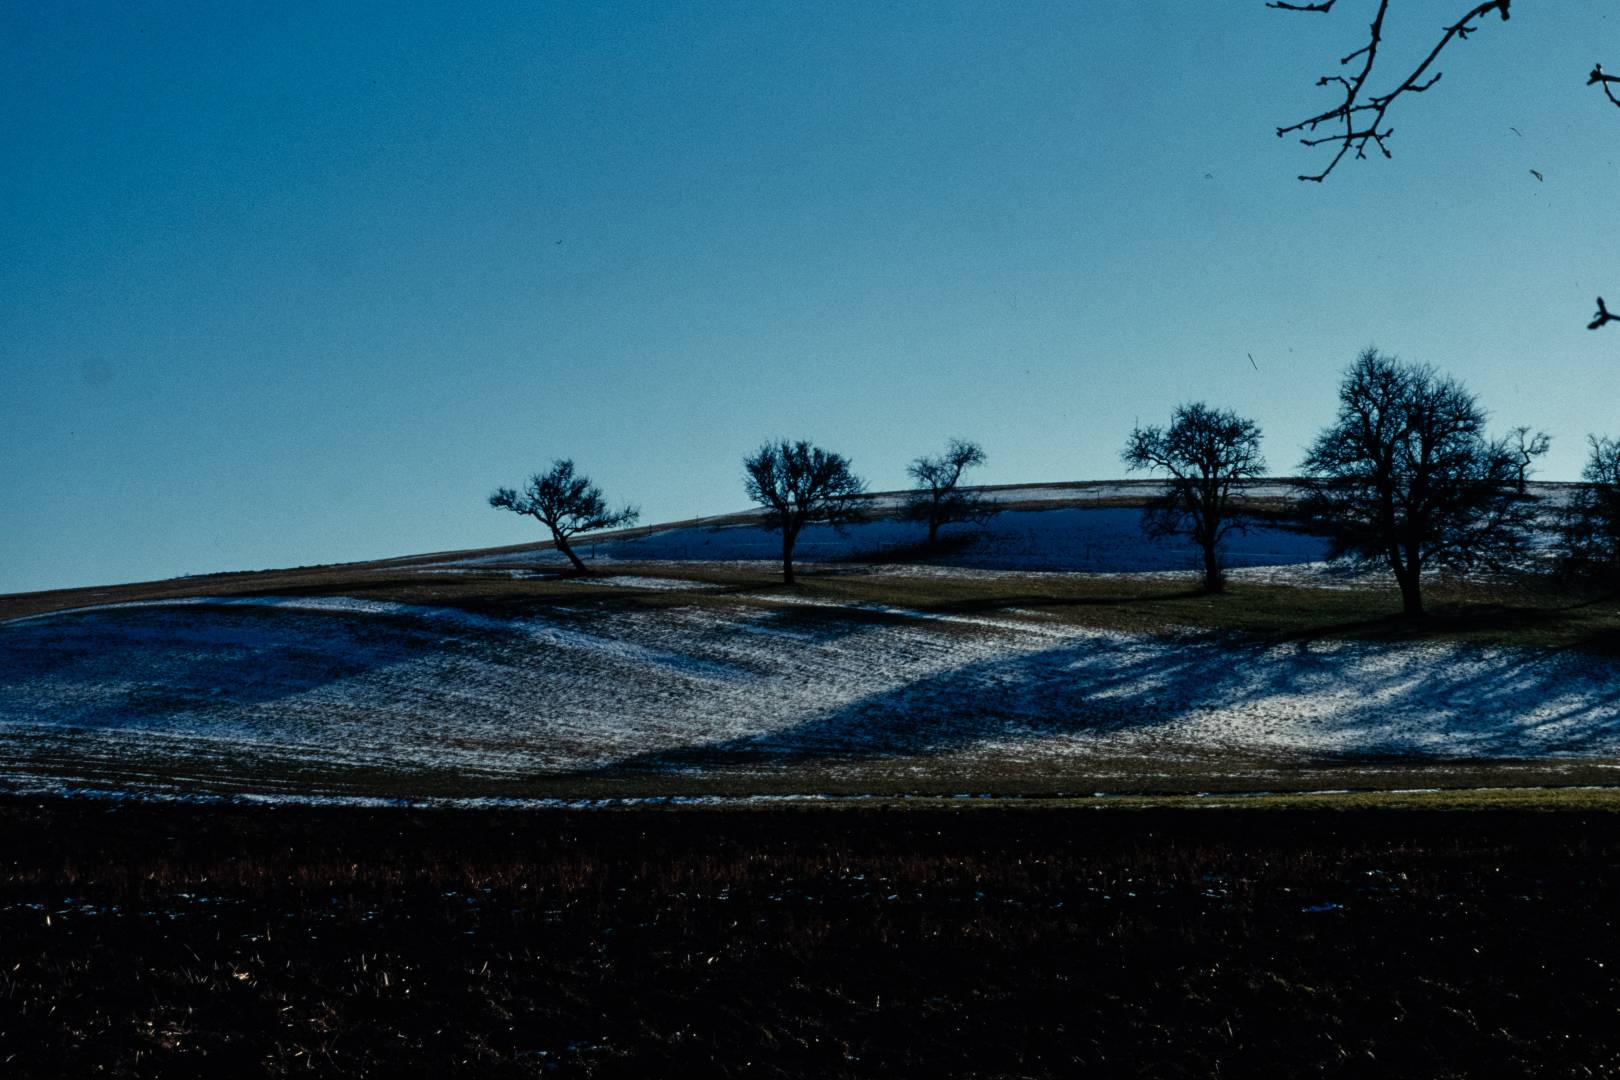
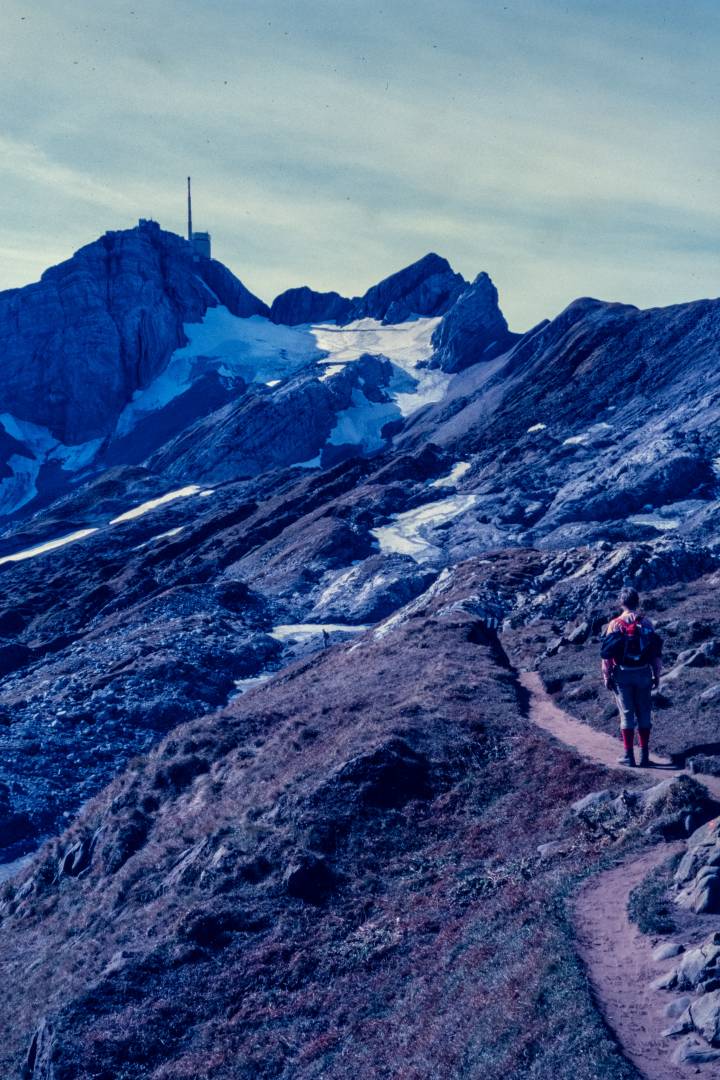
- As a first step, I would have thrown away all landscape and architecture shots without people and which are show no evidence of unrecoverable conditions (a valley before flooding, a personally important building before demolition, the first glacier you rammed your crampons into…)
- The second step would have been to dismiss all pictures of people that I, my sisters and my mother did not even know or remember. They are insignificant.
- In a third step, I would have chosen a maximum of ten or so photos that represent a certain event (this was not such an issue to me because my father had already selected only the slides he believed to be important).
In the end, it is all a question of what is worth keeping. Culling in the way described above was eventually ruled out. I wanted to preserve my father’s photographic legacy in its entirety and also because I wanted to remember him as the skilled nature photographer he was. With this quantity of pictures, the only way to do this was to digitise the pictures myself. If I could have reduced the number from 20,000 to, say, 2,000 images, I would have given them to a commercial scanning provider.
So if you have slides yourself, it’s a good idea to make a wise choice when it comes to the question of keeping or discarding – and, depending on your age, also with a view to the next generation. With my own 10,000 or so slides and my young-ish age, I still think about how I want to handle them. This is especially so since there are a few more to come: I shoot a few rolls of slide film every year even to this day.
And: Out of my father’s original slides, I didn’t have the heart to brutally throw away some of the original images of me and my sisters as children and of our beloved parents. Of course, I have the digitised pictures now. But something in me says that in another 40 years’ time we might be able to do more with a slide than with a heap of data (if both survive at all by then; although I have more confidence in the slide when it comes to this).
So, it’s all about memories and the way to preserve them. My final advice is: When you have to find your own way to cope with this task, don’t ignore emotion. I knew that the work with my father’s photographic heritage would bring me close to him once more. It worked. So listen to your heart.




I’ve just come across the article now and really enjoyed it. Thanks! I loved the images and ideas and the story behind them.
I have two projects to do:
1. The easier one ought to be to buy a new slide projector – for howver much I want and need to digitise my slides, I also still enjoy projecting them. I intend to get a Leica as I have standard and CS magazines. However, the market is full of Pradovit 150s and older models. I am actually holding out for a Pradovit 600 or 600 IR, or better still a Pradovit PC or IR. Finding one is tough – unless I order from Germany, pay the higher prices and import taxes etc.
My present projector is Reflecta Diamator AF, for which I Have two lenses – however, it’s not the best, has a 150W bulb and now sticks and jams a lot. It always did a bit anyway. I don’t know if the Leica Round mags of 120 are any good, but I may try that too. There may be a better bet than Ebay for finding one, but as yet, I have not found it.
2. To digitise some of my 6k slides. Many of these are of friends from the 80s or family. Many more are travel ones. I am not intending to do them all. At the moment, I am thinking about a Plustek 135i, which is not yet out in the UK. I’d use Vuescan and then DXO. It has dust and spot removal. I don’t think I would have the patience to have a scanner that did one at a time and you had to push it. I’d rather lose a fraction of quality and gain time and ease of use.
I’ve also thoughts about using various slide and neg holders (I have negs too) on a light box. However, my camera is presently a Oly Em-1 Mk1. I love it but perhaps using the method with a converted slide projector maybe trickier on M43…dunno. I don’t, as yet, have a macro lens, so buying one would be roughly about the same cost as buying the above scanner. In terms of which of these methods would make the best image, I can’t say. I’d guess there would be little in it.
You were blessed to have a talented father taking pictures that provide provide treasured memories.
i was the photographer in our family and I did an annual portrait of our daughter starting at 0 years. I plan to create photo books.
You provided a very well thought out article with valuable advice on preparation and onwards. I am going to do heavy culling and need to process slides and colour/B&W negatives ranging from 35mm to 6x7cm. When I researched the web I did not run across your method. However, I am going to processing a lot less images and am going to be using a Leica R 100/2.8 APO macro with a Leica 1:1 adapter. I have purchased a LED light with high CRI specifically designed for this purpose. However, if I was doing thousands of images I would be using your system! Thanks for sharing.
I retired last June and immediately embarked on a project of digitizing about 1200 40-year-old slides of my own, along with about 100 slides (out of 800?) taken by my father during trips to Europe in the late ’50s and early 60’s. My Kodachromes, almost exclusively ASA 64, remained wonderfully stable, as opposed to Ektachromes, which showed massive color shifting and fading, and varying amounts of pitting despite being stored in the same conditions. I did extensive online research of companies that offer scanning services, and then I selected the “best” five to test. I prepared sample batches of 10 slides each and shipped them off to the various companies, paying them to scan the slides at the highest resolution with the most “personalized” service they offered. The results were clear to me, and I’ve been willing to pay (about $1 per image) for their prompt, attentive service for the mass of slides. Because many of the images will be needed for publication online and in print, some of the costs may be deductible. For me, the cost was more than worth it, but if the quantity were more than 2000, it would feel prohibitive.
I agree that ruthless culling is valuable, and I’d suggest considering this question: Which images will have meaning to your children or grandchildren? This is sort of a humane way of sparing them the indecision of going through what you yourself are facing, and it will allow you to edit with conviction.
I made a similar set up 5 years ago with a kodak carousel projector. I removed the lens and condensers and put in a diffusing screen, and a cardboard tube lined with black flock paper in the lens cavity. The camera was a Panasonic tz 40 with a close-up lens rigged in front of it. It was a quick job to copy 20 odd magazines (1,600 slides), but I want to redo them now with a more suitable lens and body. I just have to calculate the appropriate focal length to use.
This is very helpful both as a guide and a motivator.
My father was an avid photographer and as a consequence when he passed away I got to be the keeper of thousands transparencies and reels of 8mm and Super 8mm film that go back to the early 1950’s in West Africa. It’s frankly overwhelming, so I look at the large box these images all live in, look at it again, sigh and put it back into storage.
I have seen Kodak offering to batch scan and digitize people’s histories and I have to say it’s tempting just to put it in a box, close one eye and send it all to them and hope it won’t cost a fortune. Has anyone done this rather than take the time and effort to DIY? I would love to know.
Dear all, thank you very much for your kind feedback.
I found it particularly interesting to read which other technologies and workflows are being used.
I made some experiments with a slide copying adapter for my old Olympus OM camera and tried to adapt it to a Leica SL. The results were promising, but the process was far too slow for what I wanted to achieve.
The idea with a repro stand and backlighting by ways of a tablet sounds interesting indeed. I never came across Hamish Gill’s project. With some modification it should be possible to create a setup with high repeat accuracy – I found out that this is the crucial point when you have large amounts.
At the end of the day, everyone must find their own setups and workflows. Which way you ever chose: Do invest some time in your old pictures. You will be rewarded and be it only by the acknowledgement that you were a decent photographer already in pre-digital times.
All the best for you!
I can possibly say you have more resilience than me getting that done. What an archive and batch of amazing memories afterwards though.
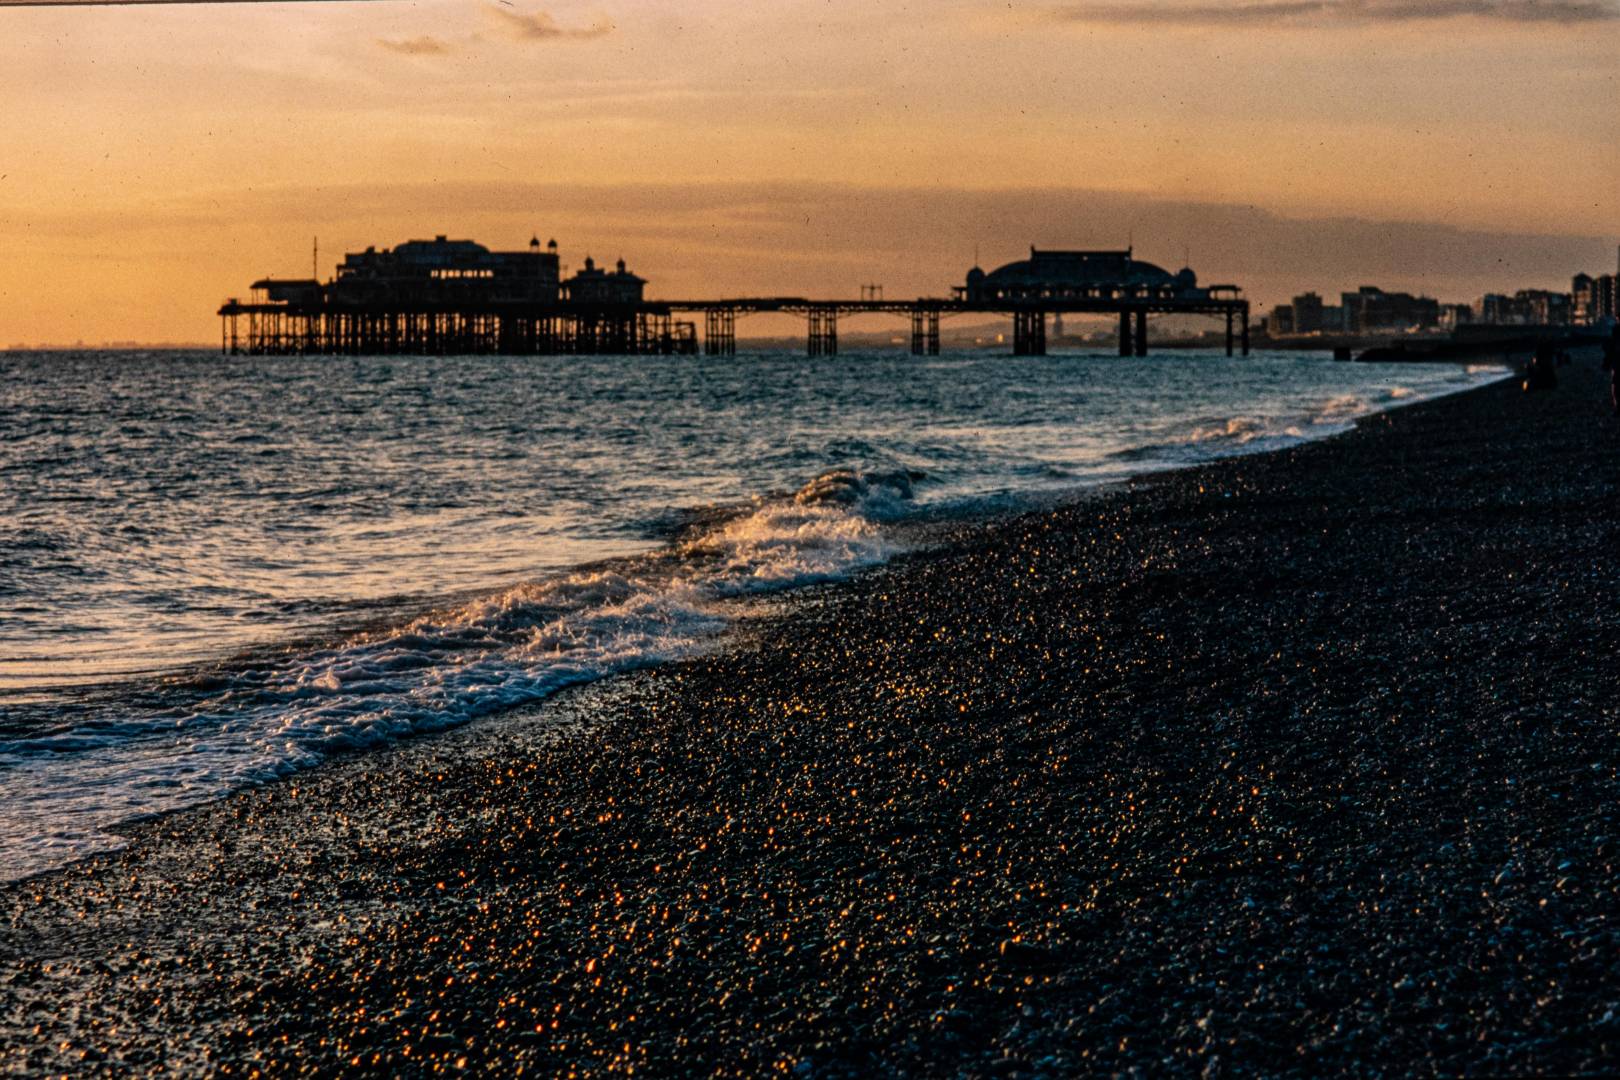
I love the shot of Brighton Pier, I am hankering to get a decent visit down there at the moment after three months of covid isolation. So perhaps in the next few months it will become a reality.
Thank you for sharing your images and the technical solution you came up with to make it all happen.
Enjoy the weekend, and keep safe.
Lovely slides, Joerg-Peter. I have a large number of slides taken between 30 and 40 years ago. I even won some medals for them many years ago. I have them in my house, including the attic. I also have some taken by my father between 50 and 60 years ago, one (of myself) of which has actually appeared in a Macfilos article about my father’s camera. I have a Nikon set up for slide copying which has an extension tube which can be extended for focus purposes and the slide is held in a neat holder at the end of the extension tube via adapters. Nikon also has lovely wireless flash set ups which can be used to light the slide from behind. Leica I am afraid has none of these things these days. The Nikon items go back to the film era, when they offered a ‘complete system’.
My set up works perfectly. Now all I have to find is the time to use this system. A friend also has about 3,000 slides from Yemen from 40 to 50 years ago which he wants me to copy.
Your system using the projector is novel indeed, but my one would suit me better. I have a pair of Leica projectors from the 1950s and 1970s which have very good lenses, but they would not be suitable for copying duties without serious adaptation such as you have done. My system seems much easier to use. I figured out my one by watching a video on You Tube.
There is nothing to compare with seeing the world and the people in it as they were many years ago, particularly when the people in it are close family members.
William
Your dad had a good eye for a scene. It’d be really nice to see a selection of these slides after you’ve finished digitising them, assuming you don’t mind.
WOW!! WHAY ARENT YOU IN VEGAS AS A MAGICIAN? Seriously what great work. You would make your father proud. Thanks for sharing your family.
Thank you Joerg-Peter. An excellent description of an approach which produced very acceptable output.
If you had written this six months ago I would have certainly tried it. However, absent your article at that time I took an even simpler approach
– A moderately large format white artist’s canvas bought from a discount store was set up as a screen (my slide screen had deteriorated too much to use).
– Then, about 2 metres from the screen I set up John Shingleton’s Leica projector (with its very strong light output).
– And right next to it I set up a Fuji XE2S on a sturdy tripod (It is only 16mp compared with your 24mp, but I chose to use it for the larger pixel size and capture), and used a lens aperture of f2 to pull in the light, along with an appropriate ISO setting.
– Finally, I sat back next to the rig and enjoyed revisiting all those slide images, capturing each of them with the camera next to me.
– Next step is to move the digital images on to a photo book.
I didn’t have anywhere near as many slides, but you are quite right Joerg-Peter, that these simple approaches provide quite acceptable results. And the nostalgic journey is good fun, to both revisit the special images as well as to realize how many slide shots need never have been taken 🙂.
Thanks very much for the article. I’m another person who’s always been intending to digitize my remarkable collection of Middle Eastern slides from 1961-2. Luckily that’s all I have on slldes, so the task should be more doable than what confronted you! I have a Leitz Prado projector and I will store you article until I can set up my own system.
Thanks for the article as I plan to digitise my slides when I retire next year. I’ve already started with the Epson v600 photo but am unhappy with the grain which is terrible and I guess that will take me a long time to get that right. Do you think the method you use could be transferred to an old Voigtlander slide projector? have a nice WE and stay safe
Thanks for a really interesting read and well thought through process for such a mammoth task.
I have recently sold my scanner, which would have been capable of scanning your slides, but it would have taken the rest of your life to complete, regardless of how old you are!
My unfolding plan for digitising my ongoing film use and home development, has nearly come to fruition.
A few years back, I bought an old LPL enlarger, I have removed the head and butchered the bracket that held it, so that I can mount a tripod head on it. I can then use a digital camera in manual mode to photograph each negative as I pass it through Hamish Gill’s Pixl-atr, which I have just been advised is currently on its way to my door.
My chosen camera is the Sigma DP3, it has a 75mm effective focal length and focuses very close to the film and is very sharp. It is known for its filmic output due to the foveon sensor.
It is not known for its flexibility out in the field, but with the strange EVF attachment that enlarges the display by 2.5x I can get good focus on my negatives. I also have the proprietry remote cable for shake free exposure.
Of course, if I want to lug it around outside or use it as a handy portrait camera it can do that with some pretty nice output too, but I think I will probably stick to my Leicas, they are so much lighter and easier to handle.
I am pleased to read that DIY is a practical methodology, but I am still a bit nervous about what lies ahead. You have given me a pschological boost, thanks Joerg-Peter!
A great tribute to your father’s images, to your family and to you! A real labour of love which warms the heart. Some fine pictures too of the children and landscapes. Thank you, Joerg-Peter for your article which I much enjoyed.
This article appeared at an opportune time as I’m planning on starting to digitise my negatives and slides. I noted your comments about culling and I will bear in mind ditching those repetitive landscape or otherwise meaningless pictures. But those of people I knew, my memories, I’ll keep. Thanks for this, most helpful.