Gary Schwartzwald is an experienced amateur wildlife photographer based in San Diego. Here he shares his tip for capturing birds in all their splendour.
Wildlife photography is a genre that has attracted me more and more over the past several years. As a confirmed amateur based in Southern California, I am surrounded by wildlife in general and birds in particular, so it was a natural choice. San Diego, where I live, specialises in birds, and this perhaps explains why I have a penchant for grabbing bird-in-flight shots at every opportunity.


Indeed, there are several advantages to photographing birds in San Diego. We have a wide variety of bird life, we have a lot of sunshine, and a lot of sunshine means a lot of light. Speaking of light…
A light in the eye
I’ve learned over time to make sure the bird’s eye is shown in detail, or there is a light reflecting in the eye. If the bird is hovering, such as a Hummingbird feeding at a plant, you can patiently wait for the light in its eye to show.
A word of caution, neutral density filters can be helpful in bright sunshine, but they also tend to make a bird’s eye look like a black dot or a hole in its head. If the bird is in flight, you do the best you can. Speaking of birds in flight and doing the best you can….
Backgrounds
To state the obvious, birds tend to fly over our heads, usually leaving us with the sky as the background. If you get a blue sky with beautiful white clouds, that can look terrific. However, I usually get a bright blue cloudless sky or flat grey sky.
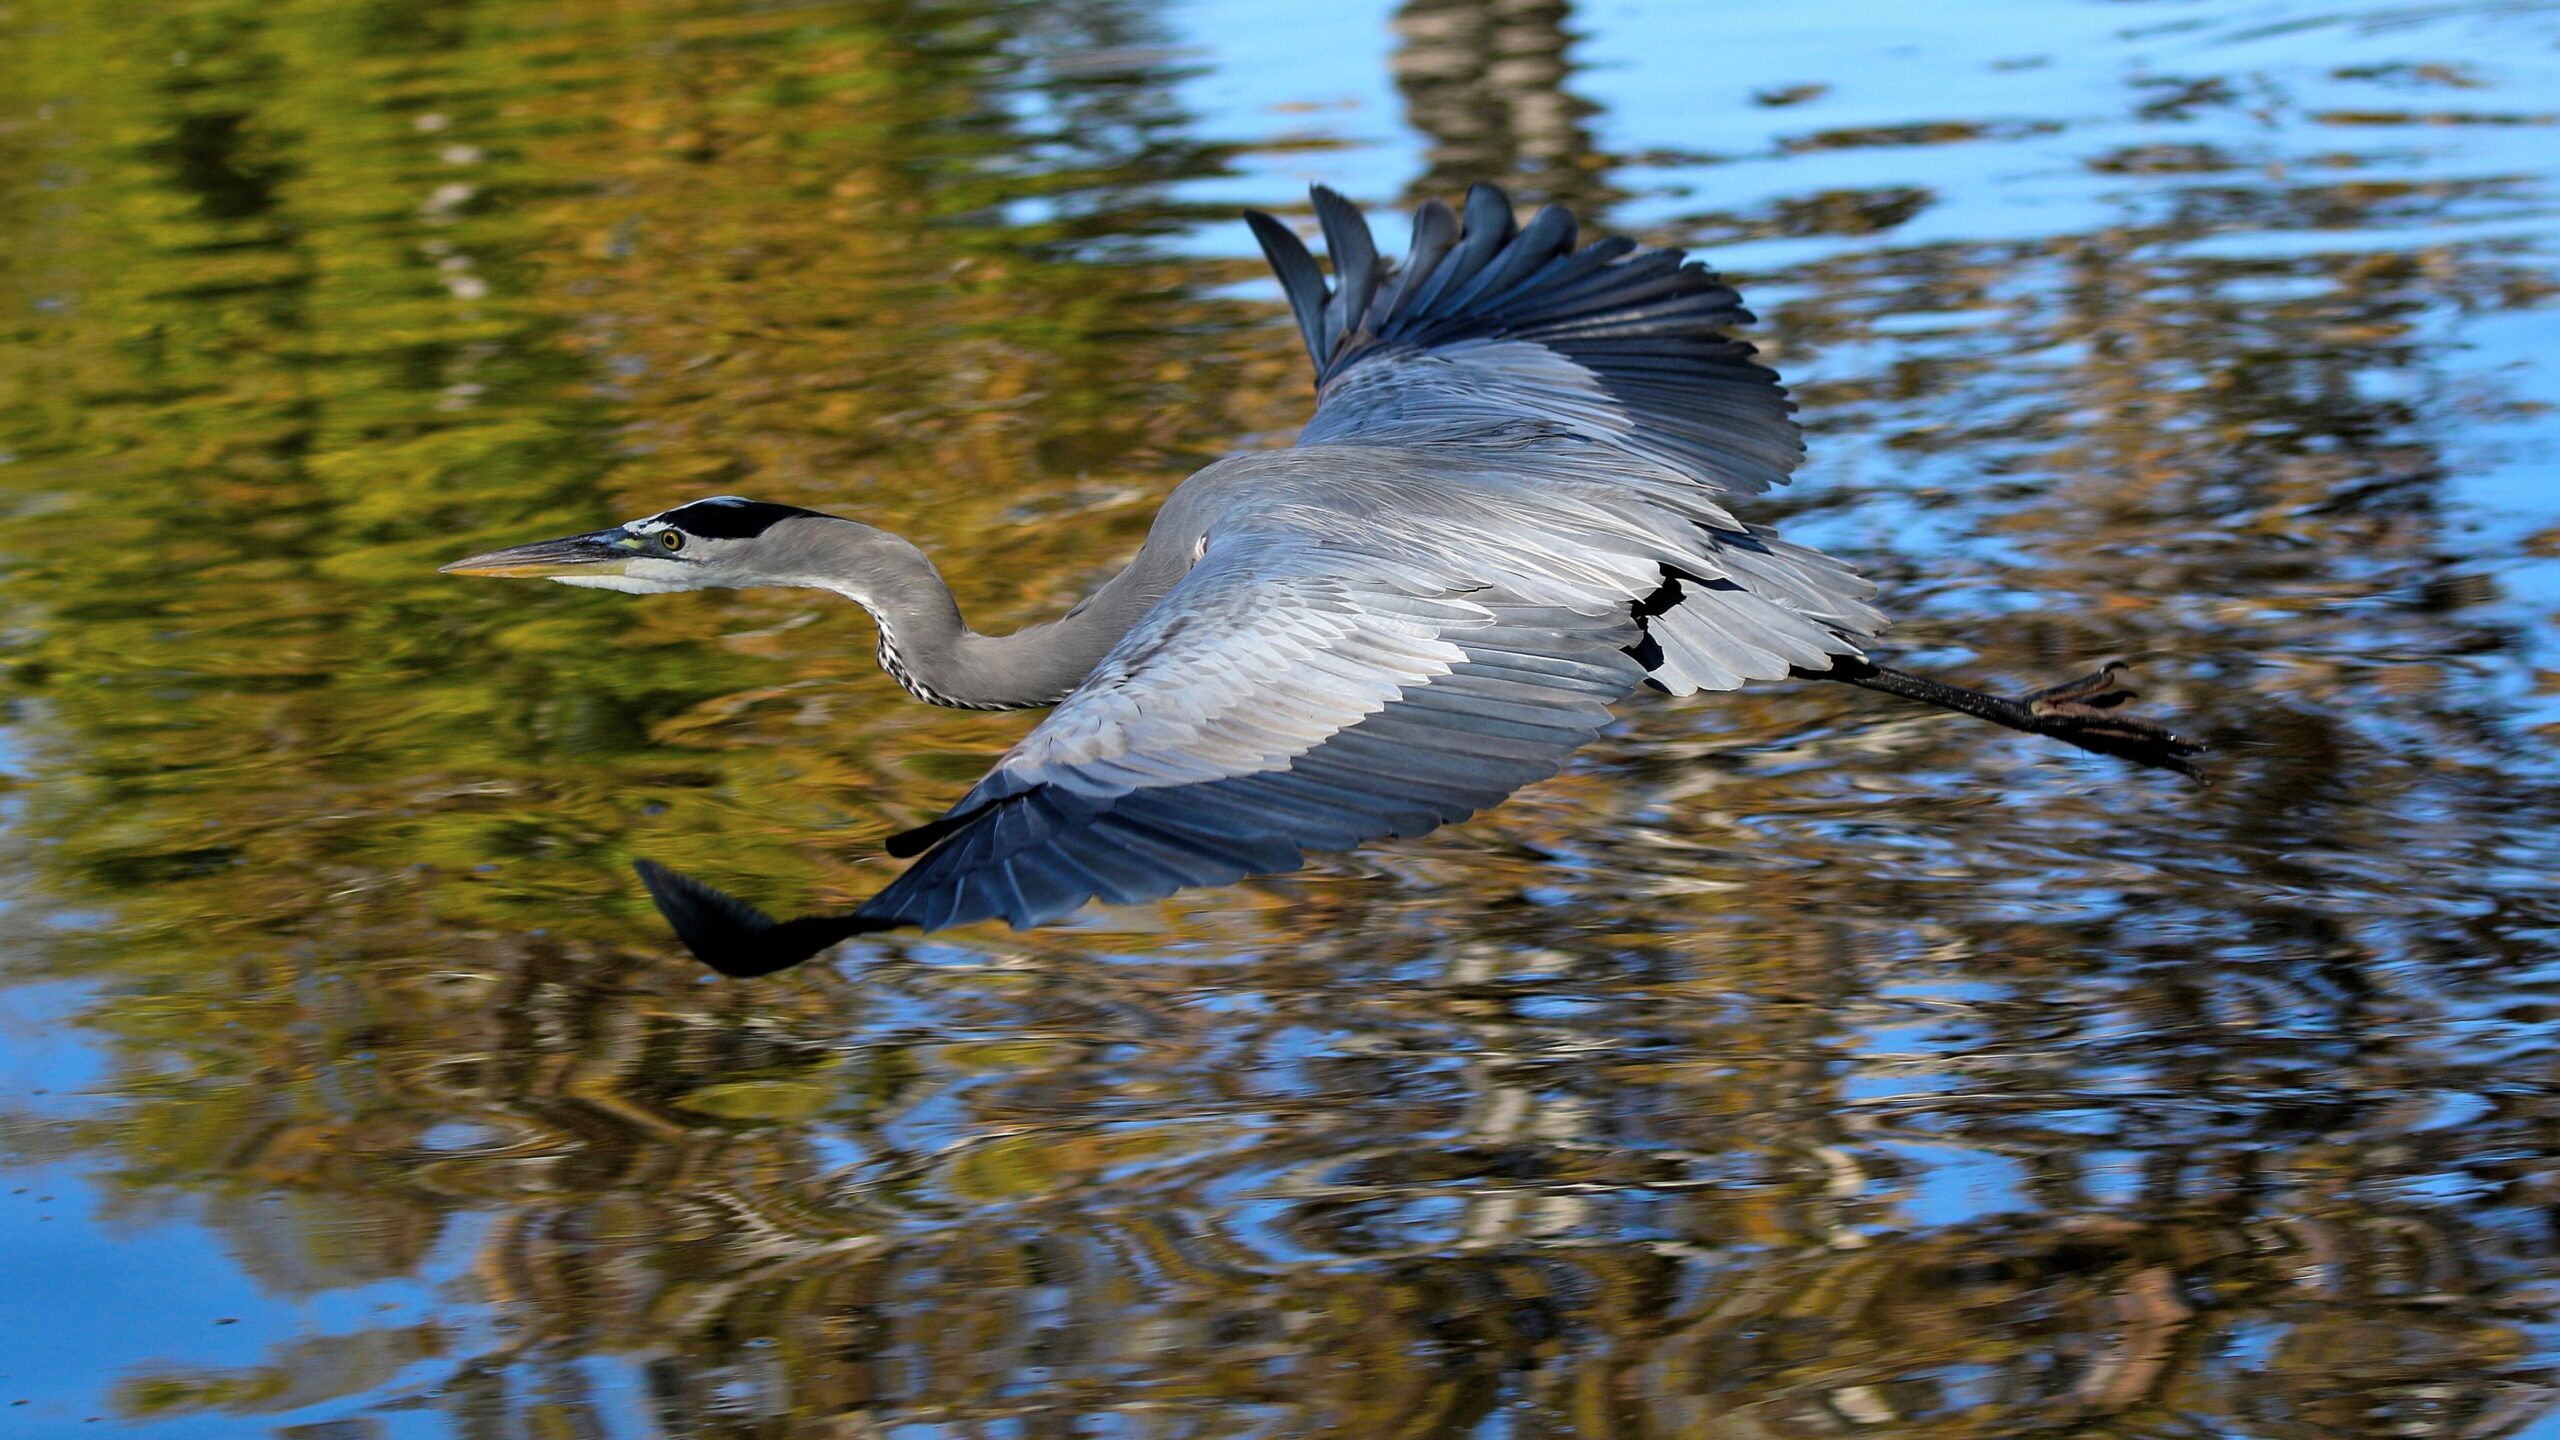
Even if you get a nice, clear, in-flight shot of an interesting bird, such as an Osprey or a Peregrine Falcon, the plain blue sky makes the photo less interesting than you would hope for. If you can hold out until they are flying closer to eye level or below eye level, you’ll get a background that will enhance your photo. Water usually makes an interesting background. Birds typically fly lower when picking up food, as well as for take-offs and landings. Speaking of take-offs and landings….

Take off and landing
One of the difficult aspects of wildlife photography is waiting for the shot you want. Birds such as hawks, osprey, eagles, and kingfishers tend to stay perched up high for long periods. They also prefer to stay in the same area for extended periods, unless, of course, they are being pestered by photographers.


If you are able to go back to the same location repeatedly, you will learn some of their predictable locations and behaviours. They don’t follow a rigid time schedule, but you can get a good handle on when they typically hunt or fish. This can help with photos that are closer to eye level. Look for repeated behaviours.
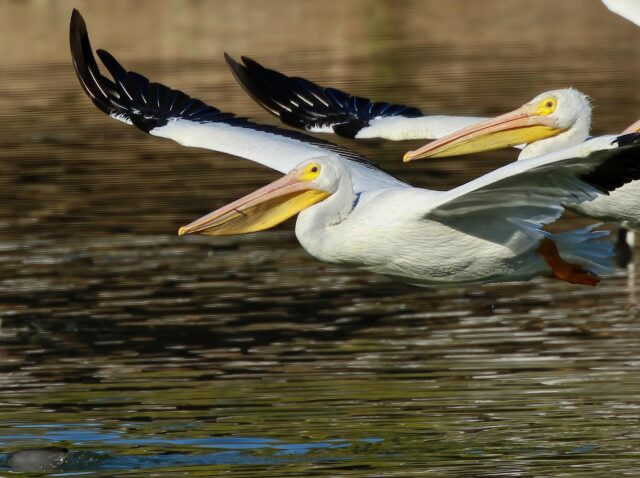
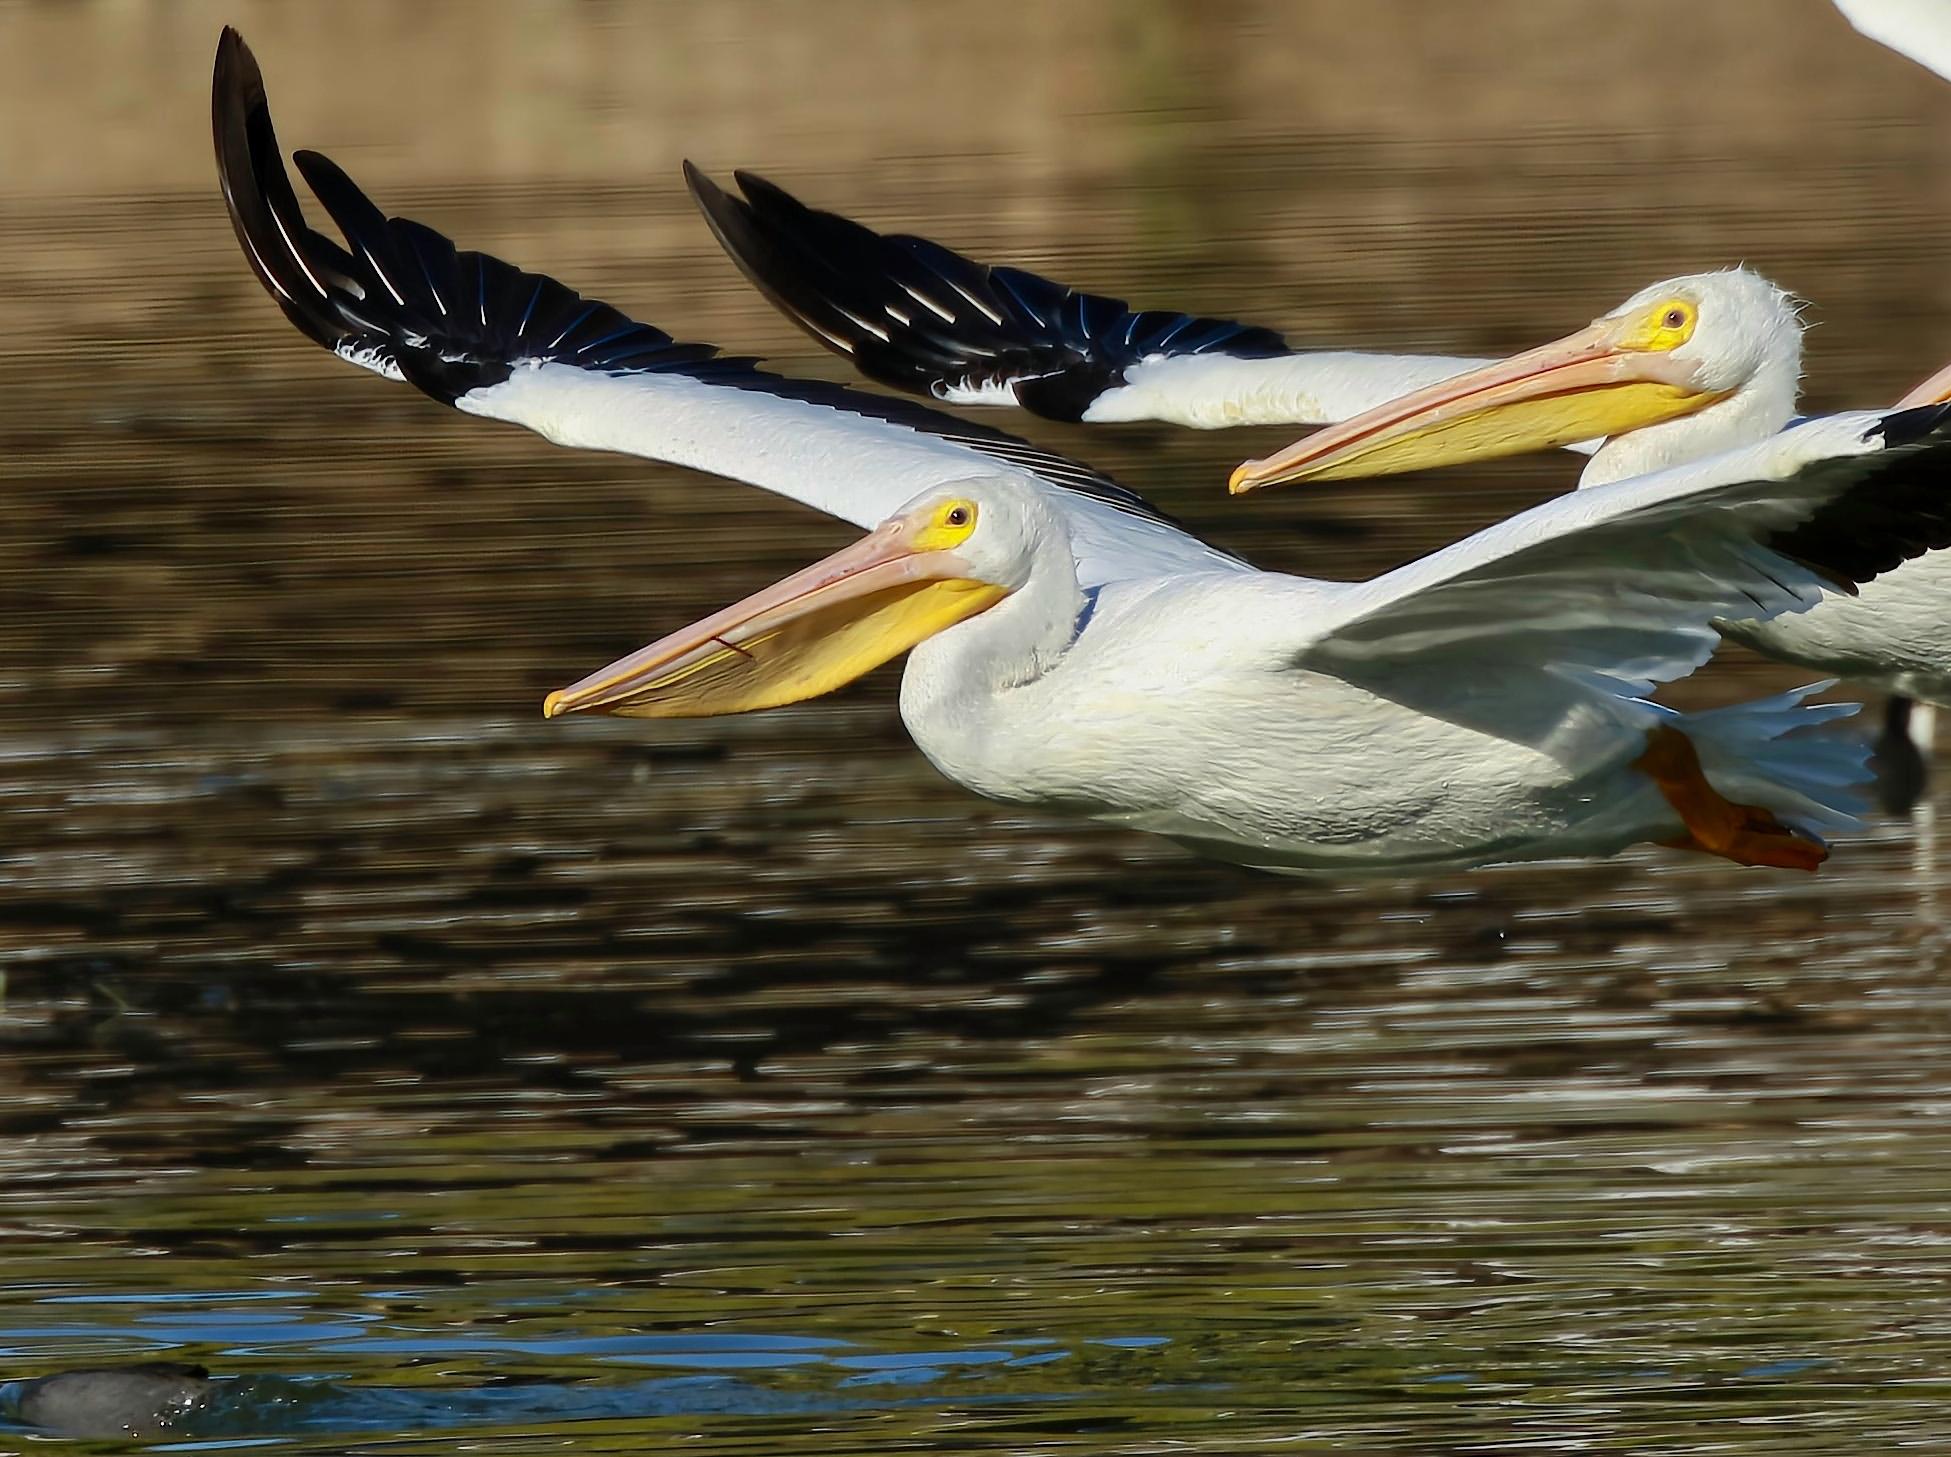
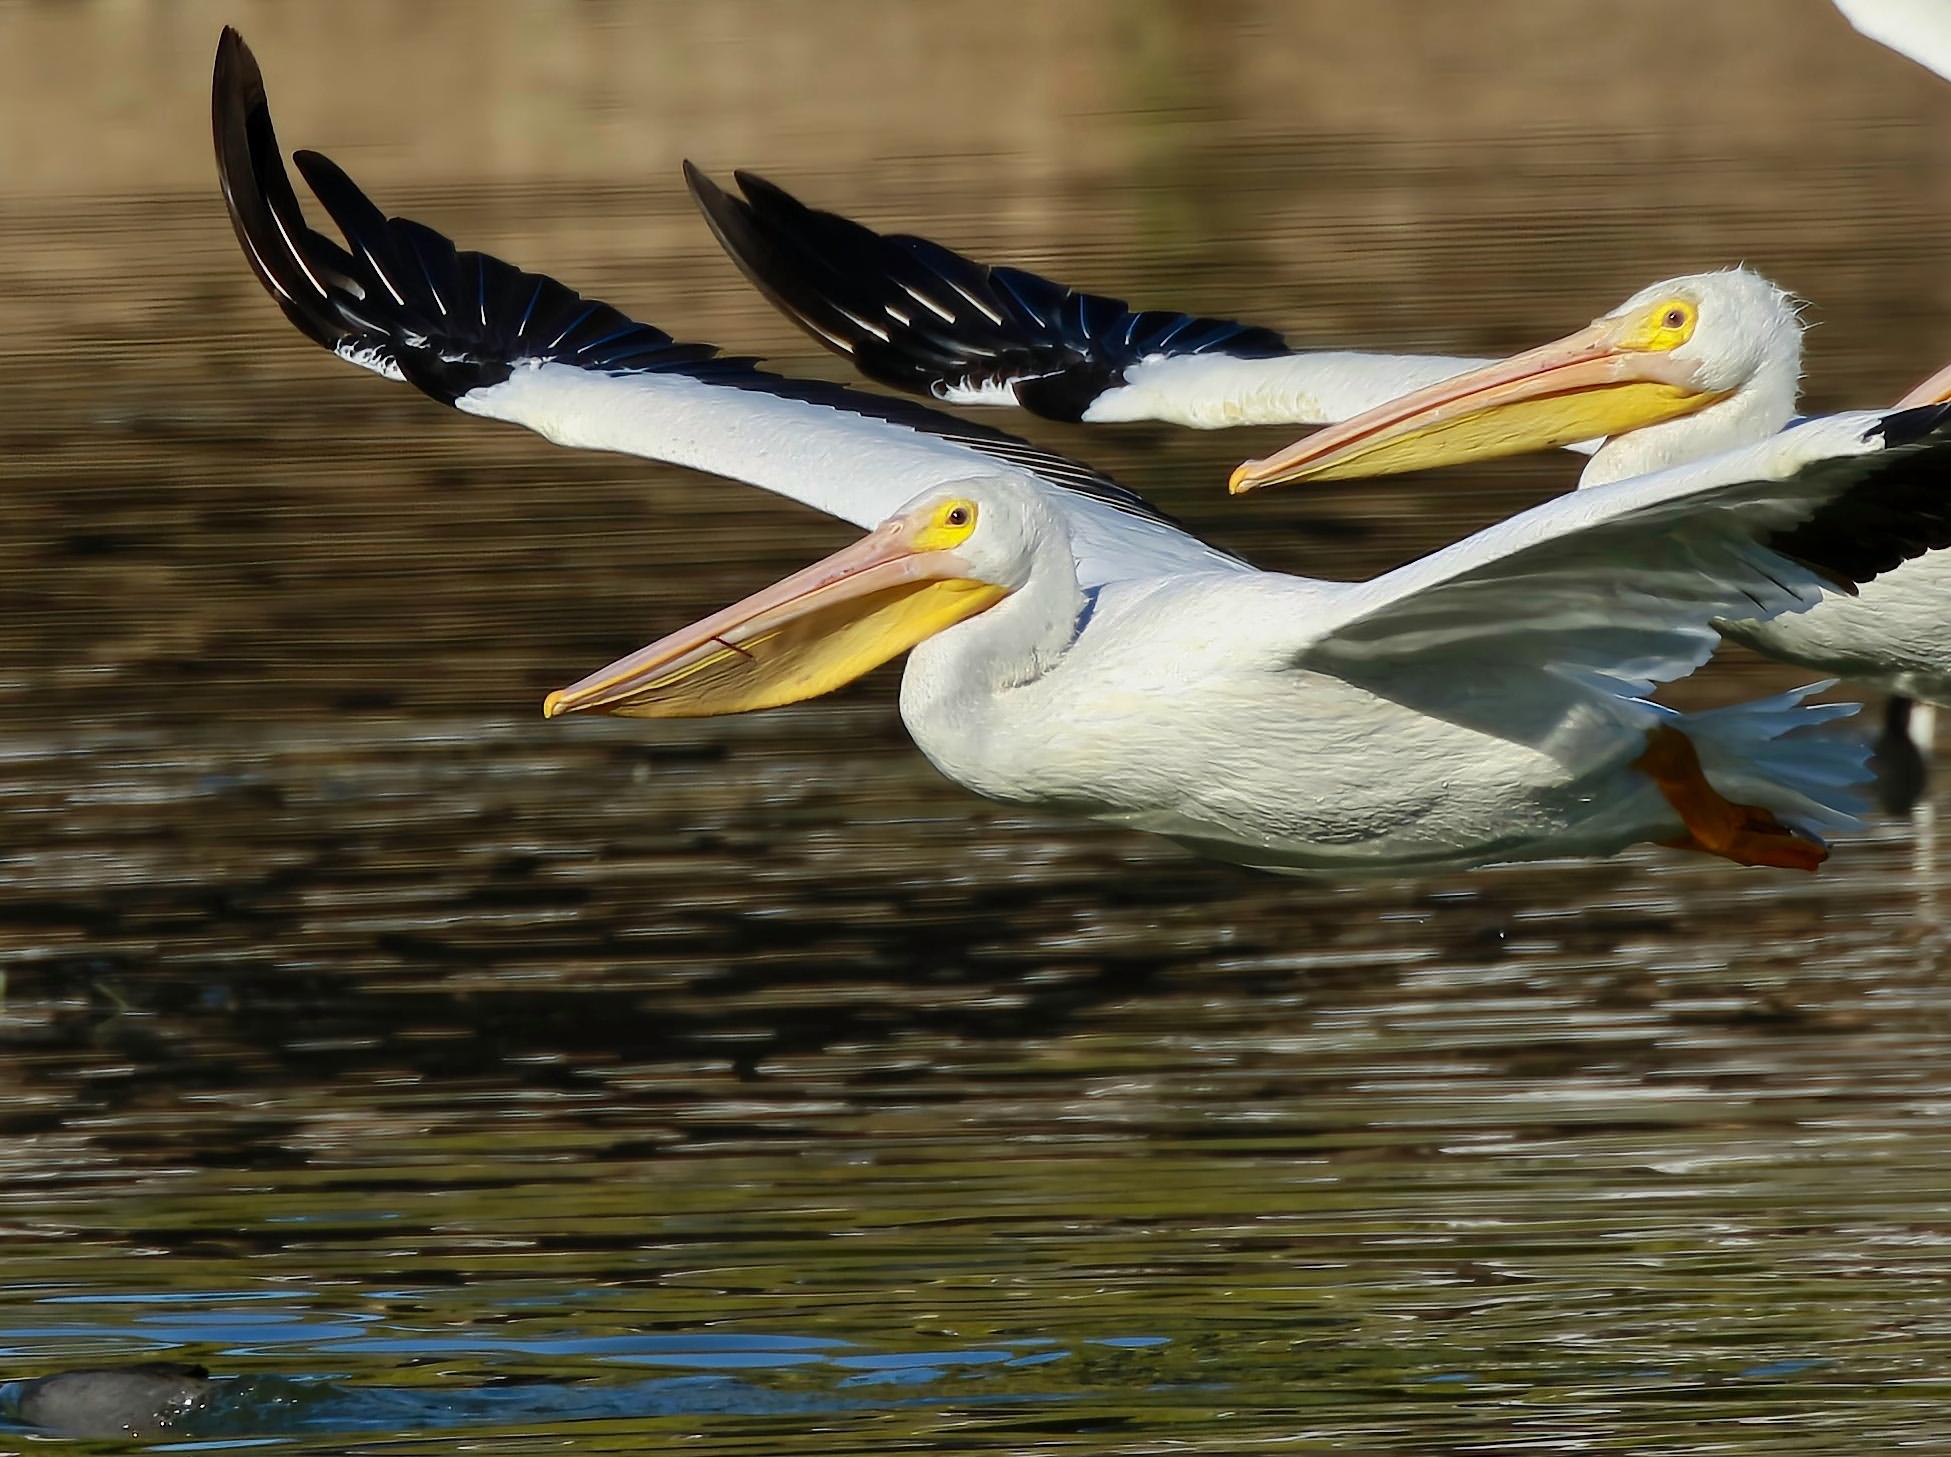
For example, I’ve learned that if a flock of American white pelicans are hanging out in a lake, and one takes off, then another takes off, this is the signal for all of them to take off. That means I am going to have a chance of capturing them flying at or below eye level and also have a chance of having more than one bird in the photo.
The birds are usually in more interesting positions as they take off and land. If they are landing in or taking off from water, you can get not only the body of water in the background but maybe a nice splash or two.
Near or far, and maybe some black and white?
Most bird photographers want and have “big” lenses. Even in the amateur ranks, the lenses zoom to at least 400mm, often to 500mm or 600mm. Wildlife photos often bring the viewer as close as possible to the subject. I think it’s worth keeping in mind that sometimes having a smaller subject and showing more of the surroundings can really work.
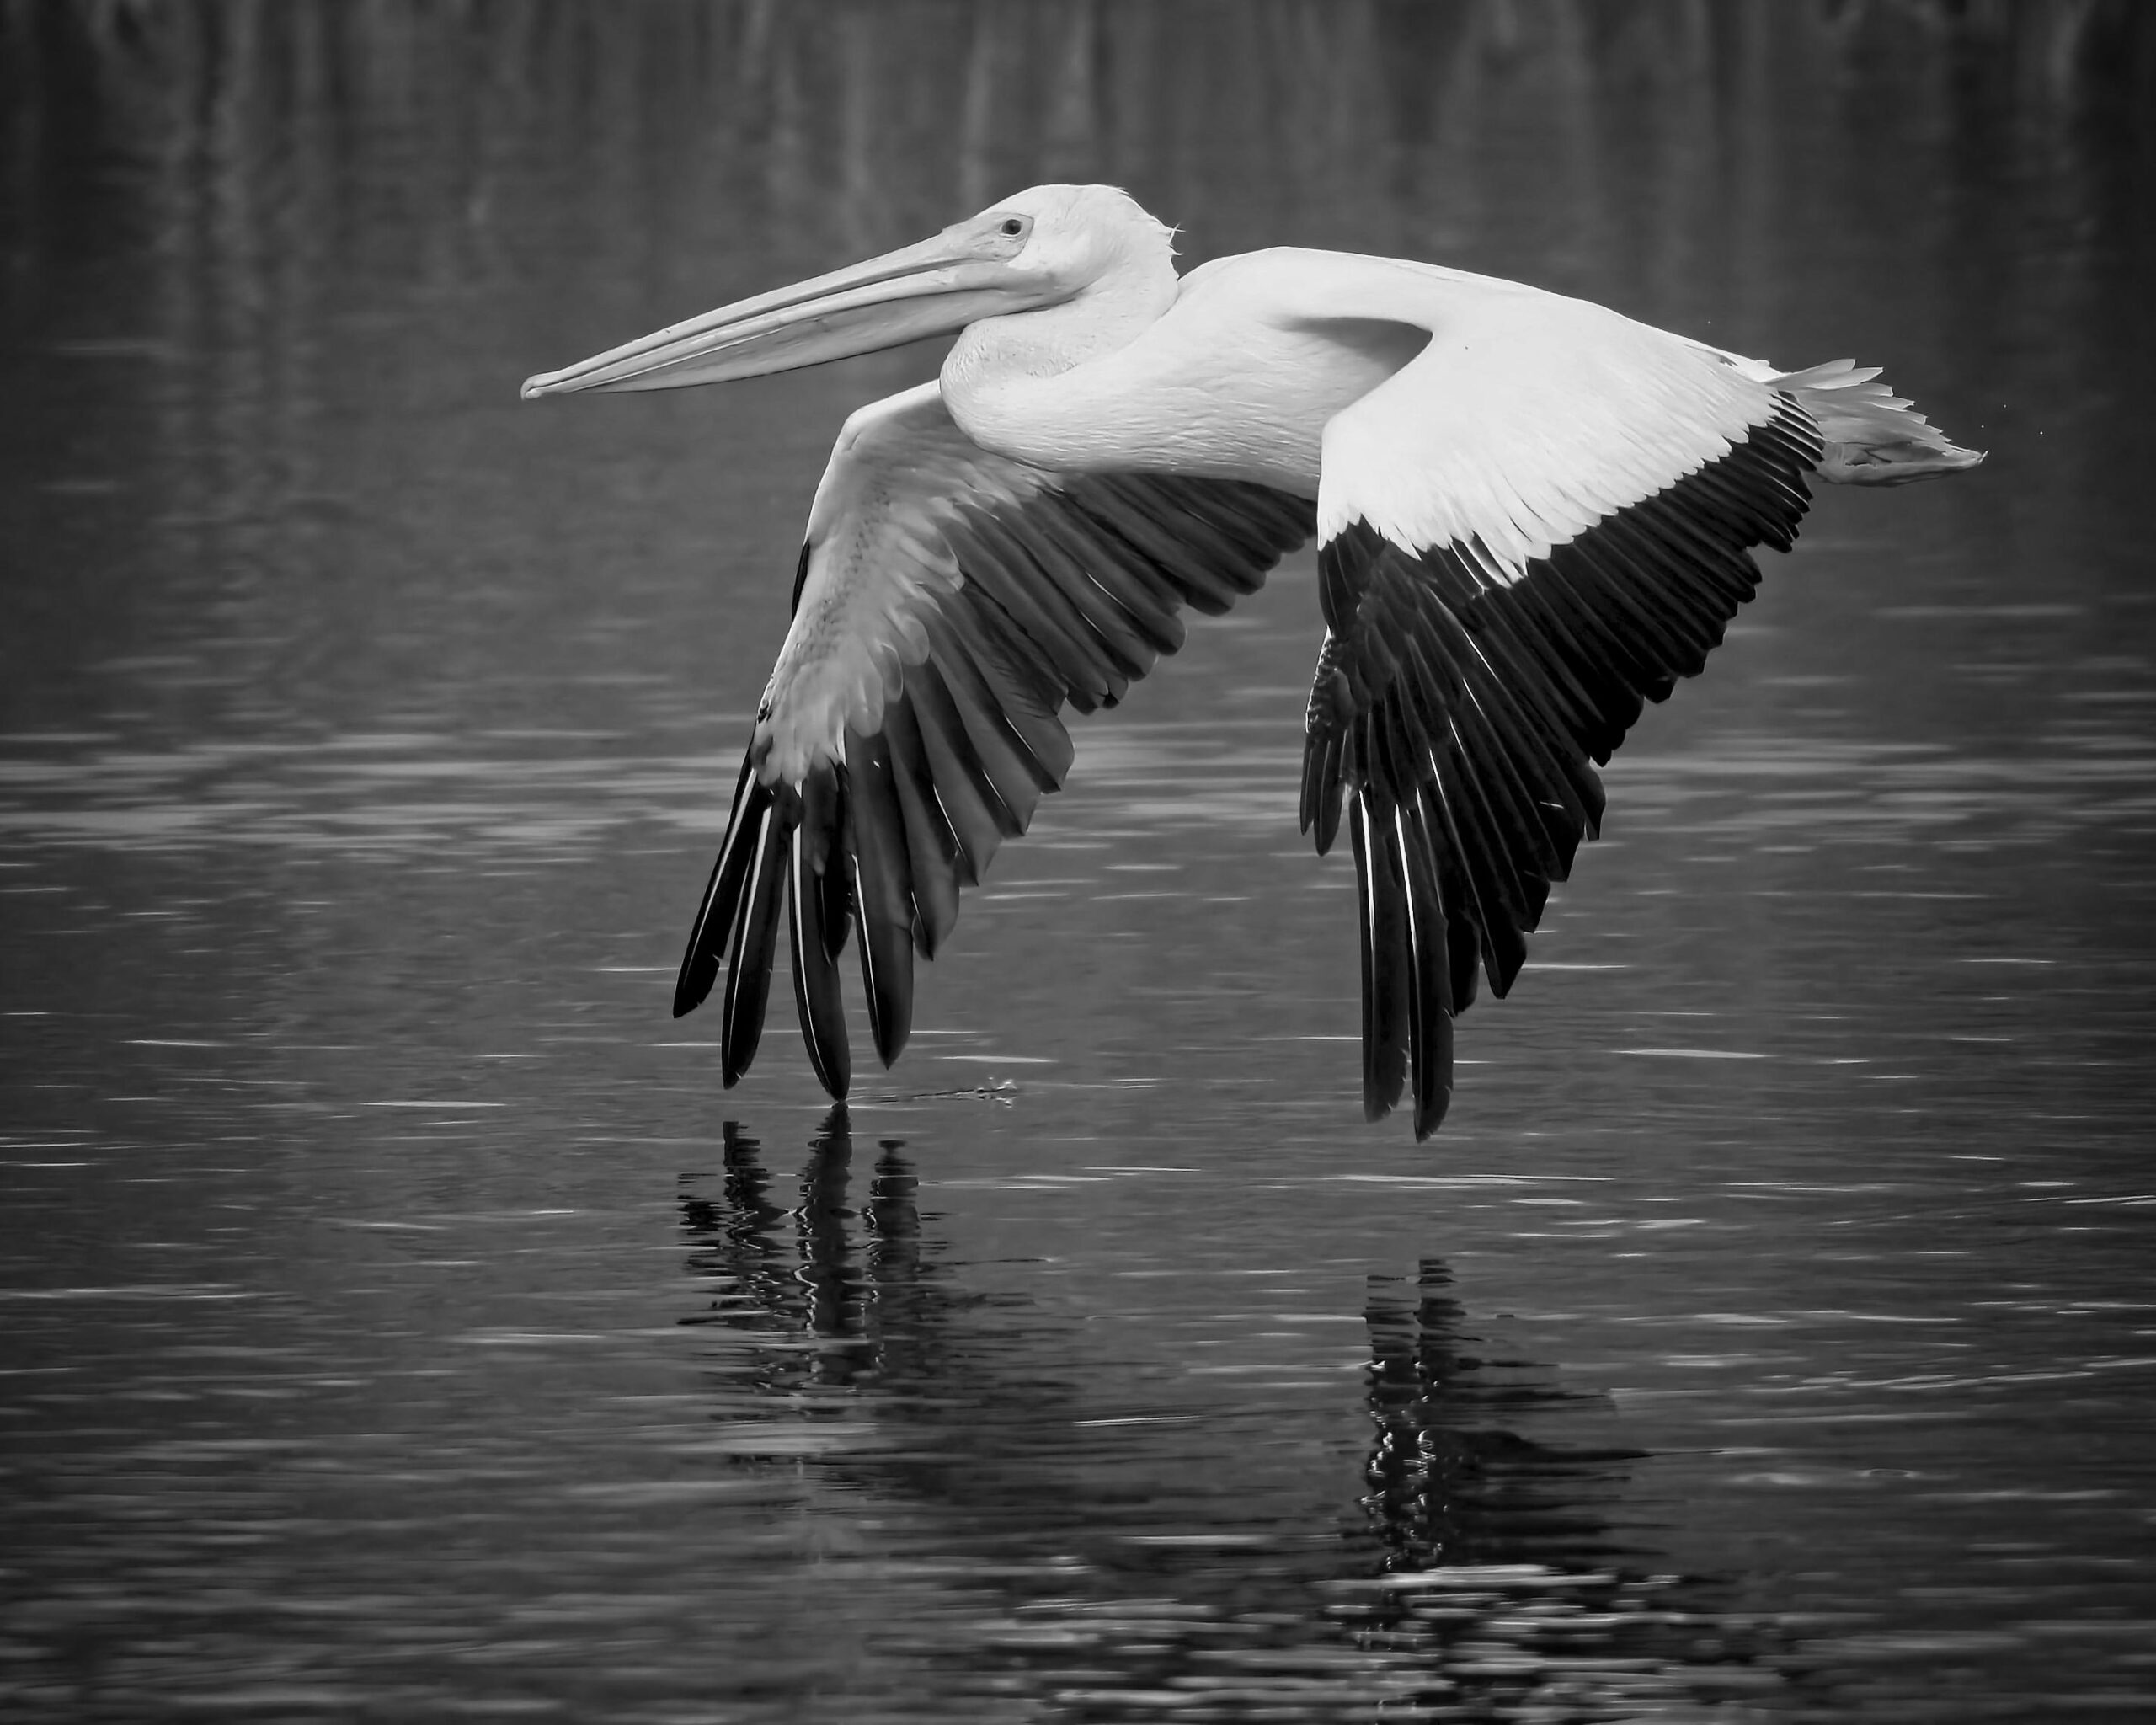
I rarely see black and white photos of birds in the wild. There are good reasons for this as the birds are often colourful and the surrounding backgrounds tend to add some colour. If the sun is not out and the conditions are not great for colour, black and white can work for some bird photography. It’s rare to see black and white bird photography, so if your shot works, you get a good photo and a unique one. You also avoid the frustration of taking a colour photo that has very little colour.

Tips and technical stuff
I did martial arts for about ten years and learned that when people exert or are stressed, they tend to hold their breath. So, the B word for Bird in Flight photography is Breathe! If you’re waiting for that bird to take off, land near you, or you see it circling above, remind yourself as you raise your camera, you’re going to take a deep breath and let it out slowly while you shoot. This will really help you have a steady hand, which translates into sharper focus.
I use a Canon 7D Mark II, which I consider a very good amateur camera. My favourite lens for bird work is the Canon EF 100-400mm, f/4.5-5.6 – IS II UMS which I think is very sharp and focuses quickly.
Turn it on whether your image stabilizer is in the body or the lens. On the Canon, the stabilizer is in the lens and has three modes. Mode 1 is for portraits, so I use mode 2 which helps stabilize as you move the camera to track the bird. Stabilizer mode 3 would also be fine.
I shoot shutter priority and almost always have a focal length of f/5.6 or f/6.3 and tend to shoot what I consider fast. I used to think that 1/1600 was fast. Now that is the slowest I am willing to employ, and I really try to avoid shooting that slowly. Most of my bird-in-flight photos are at 1/3200 or 1/4000. Slower speeds can work if you want to highlight something such as the blur of a hovering hummingbird’s wings.
Adjusting your exposure bias can really help get well-balanced photos. Step up your exposure if the bird is flying with the sky in the background. This will help keep the bottom of the bird from looking too dark. For birds at or below your eye level, I suggest stepping it down a partial stop or more, especially for birds with a lot of white on them. How much you adjust the exposure compensation will depend on the lighting and the bird, but I strongly suggest that you keep it in mind and adjust it as appropriate.
On the Canon, I use the AI Focus AF mode. This allows the camera to automatically switch focus modes depending on the subject’s movement. If I intend to shoot only moving subjects, I might select a different mode, but with bird photography, the subject can quickly shift me from taking a portrait to trying to capture a rapidly moving object.
I want to focus on a small area, so I set my camera for 9 AF Points, usually with centre focus that allows me to track the subject. An off-centred AF point can make for interesting photos and is worth a try. I also select the high-speed continuous drive function. I think there is a natural inclination to let go of the shutter button after a few frames, and that can work well as you can quickly refocus and grab a few more frames again. At times, try to keep shooting for more frames than in your comfort zone. You may be surprised what you get in those later frames.
Good luck capturing birds and other subjects in flight. These tips and techniques can also be helpful for fast-moving boats, planes, and dragonflies. I hope you will go out and experiment, and remember, photography is about adjustments.
Want to contribute an article to Macfilos? It’s easy. Just click the “Write for Us” button. We’ll help with the writing and guide you through the process.





Thank you so much. I am just starting to consider changing equipment and will take a close look at the R7.
Sorry for the delay in responding, I was away from home for a week.
Excellent pictures! The 7D Mk II seems like a very good fit for BIF photography (and sports). Any plans to get an R7?
Hi Gary, fantastic article! The photographs are superb. The shot of the Osprey clutching the fish in its talons is sensational – the wildlife shot of the year on Macfilos I think! Thank so such for the tips on camera configuration. I have a Sigma 100-400mm zoom which I thought was pretty impressive, but I am wondering if it could match the performance of your Canon. I am not sure I have your patience to wait for the ideal moment to take the shot, but you have inspired me to give it a go! Looking forward to your next article – perhaps on the Del Mar races? All the best, Keith
Hi Keith, thank you some much. I could not have and would not have done this article without your encouragement and guidance. Regarding lenses, I was very picky when I selected the Canon 100-400. At the time (and it’s been a while) I felt it was the sharpest long lens I tried out. I’m not patient by nature, but in nature, I am more patient and have had some very good luck. I am seriously thinking about A Summer at Del Mar Racetrack as my next article attempt! Take care, hope to see you soon.
Lovely photos Gary. I liked the moments you captured and the sharpness couldn’t be bettered.
Thank you, Kevin, I appreciate your kind words.I always try to get sharp photos.
Sorry for the delay in responding, I was away from home for a week.
Lot of dedication patience and skill there. Thanks
Yes, and lots of lucky timingn. Thank you.
Sorry for the delay in responding, I was away from home for a week.
Lucky timing….
Fascinating – thank you for sharing.
Thank you, I’m glad you enjoyed the article.
Sorry for the delay in responding, I was away from home for a week.