If you are like me, you might be squeamish about photographing people close up without asking permission. I enjoy photographing inanimate subjects, but the walking, talking, breathing kind: that’s a different story. However, thanks to some great advice, new skills, and nifty technology, I have turned a corner. Here’s how I overcame my street photography ‘range anxiety’.
Many of the world’s renowned photographers are or were leading exponents of street photography. Some people even view street photography as the highest form of photographic art. But what is it exactly?
I like the description I heard in a Thorsten Overgaard video. The sentiment goes something like this: ‘You go out on the street, you see something interesting, you photograph it.’
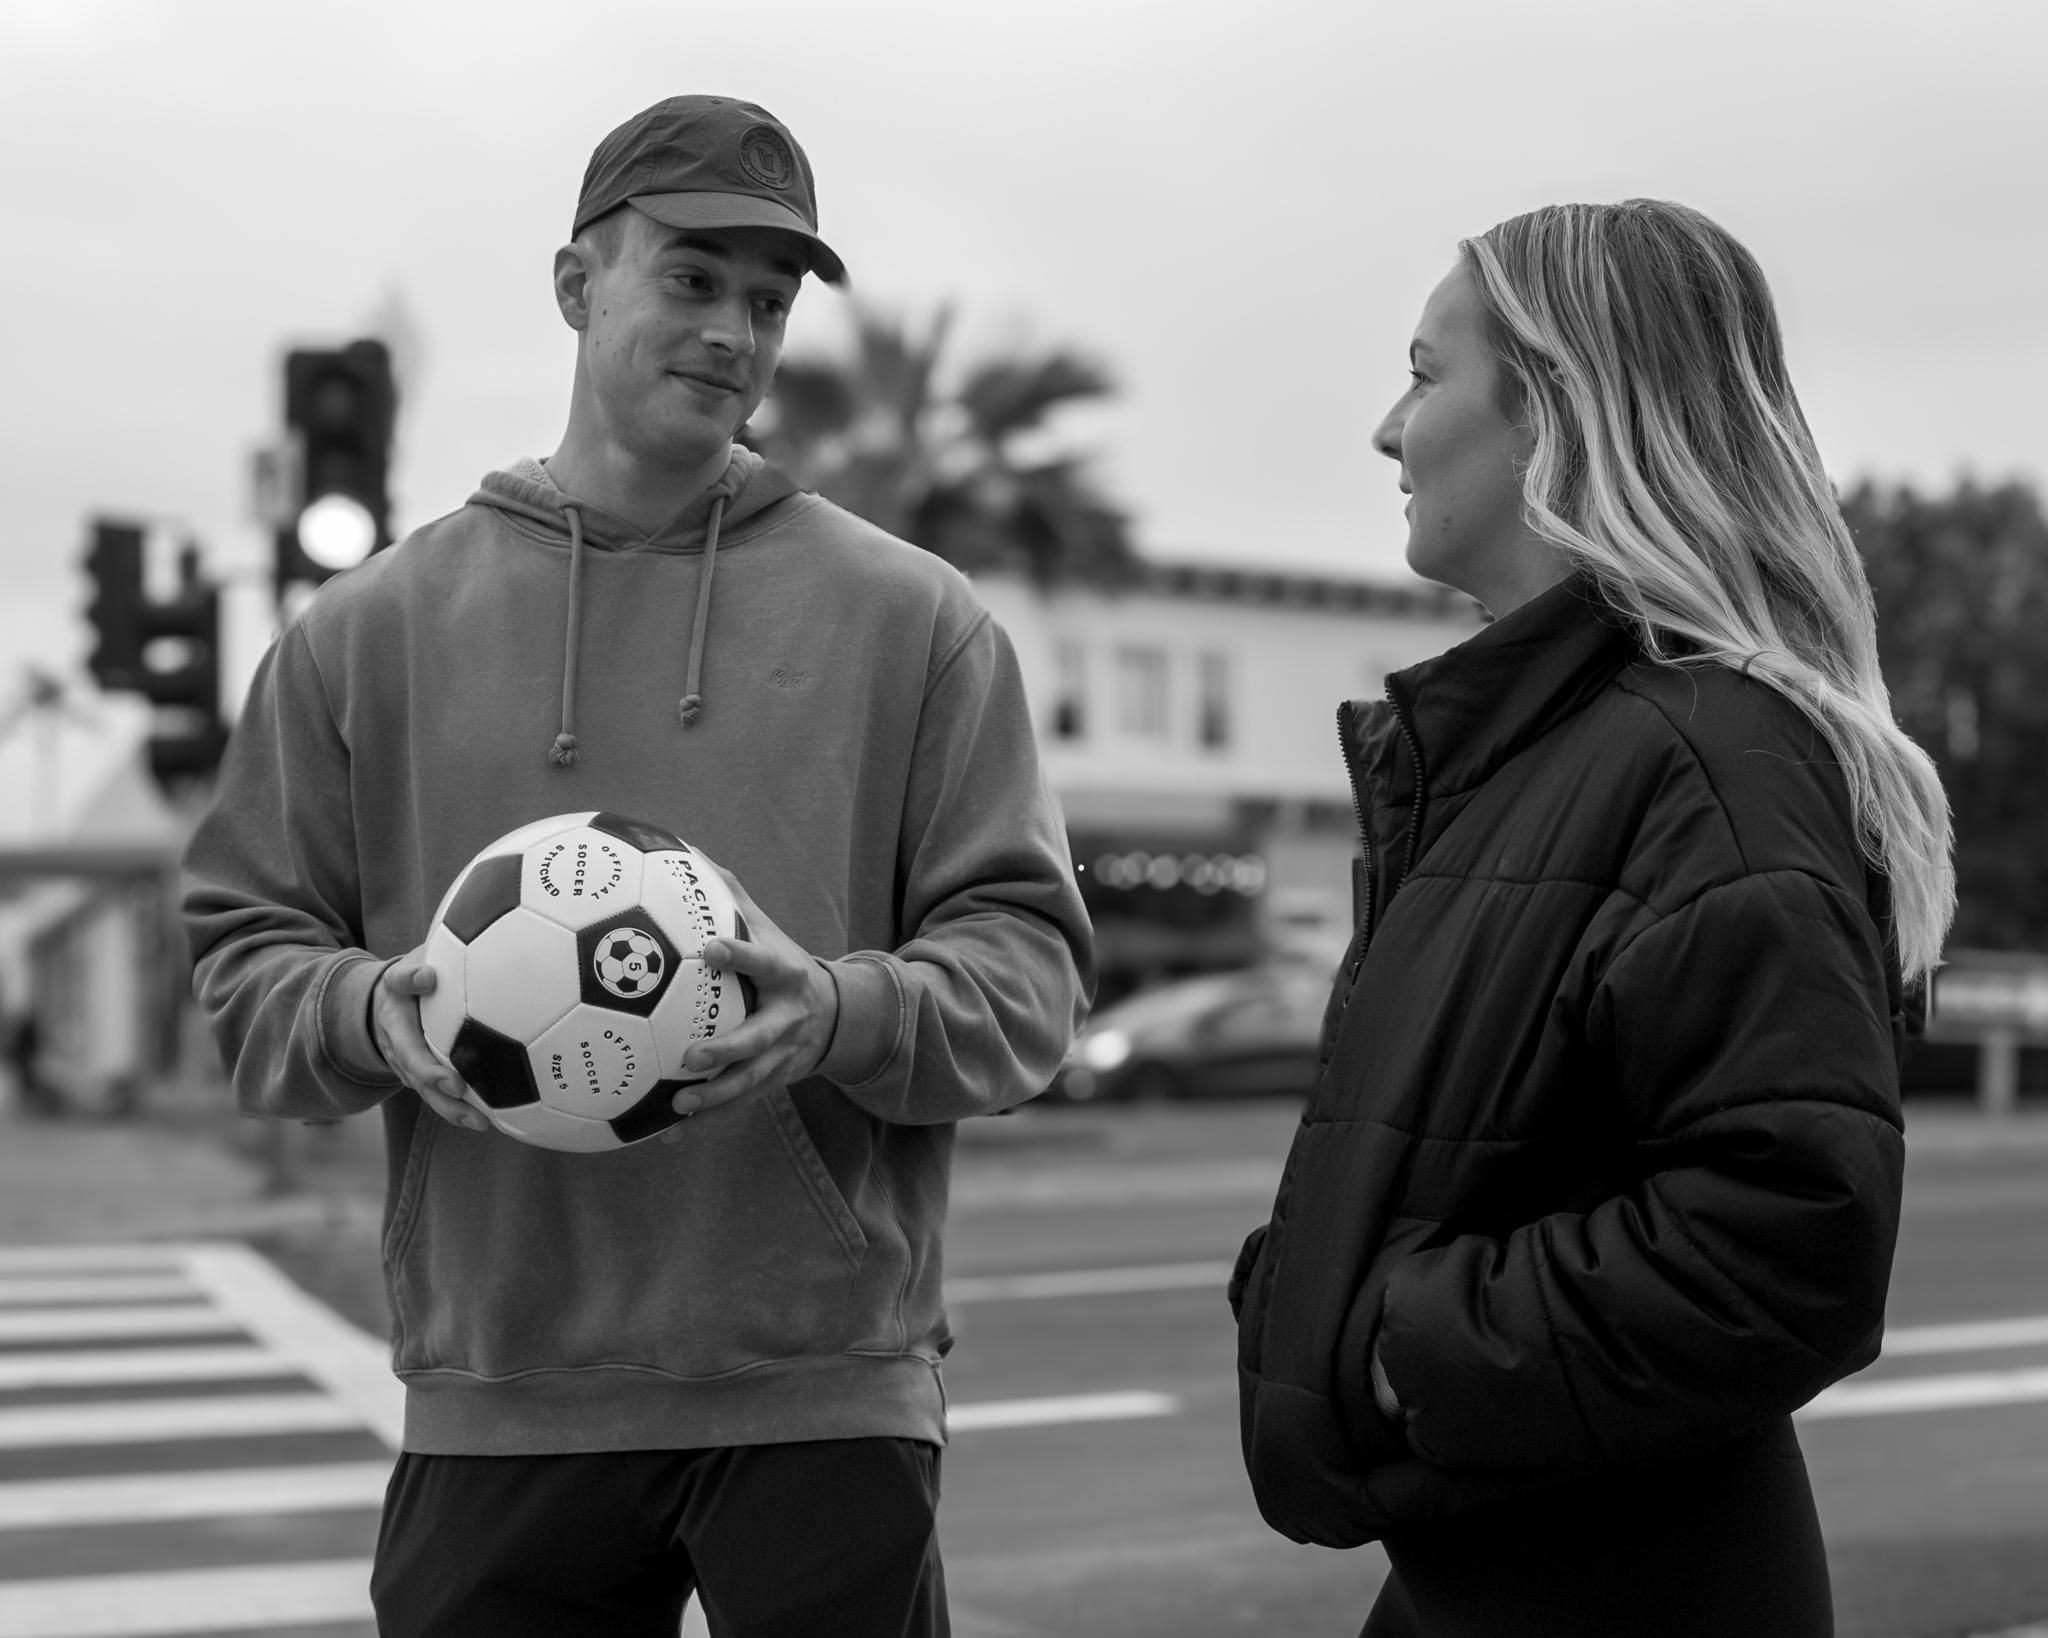
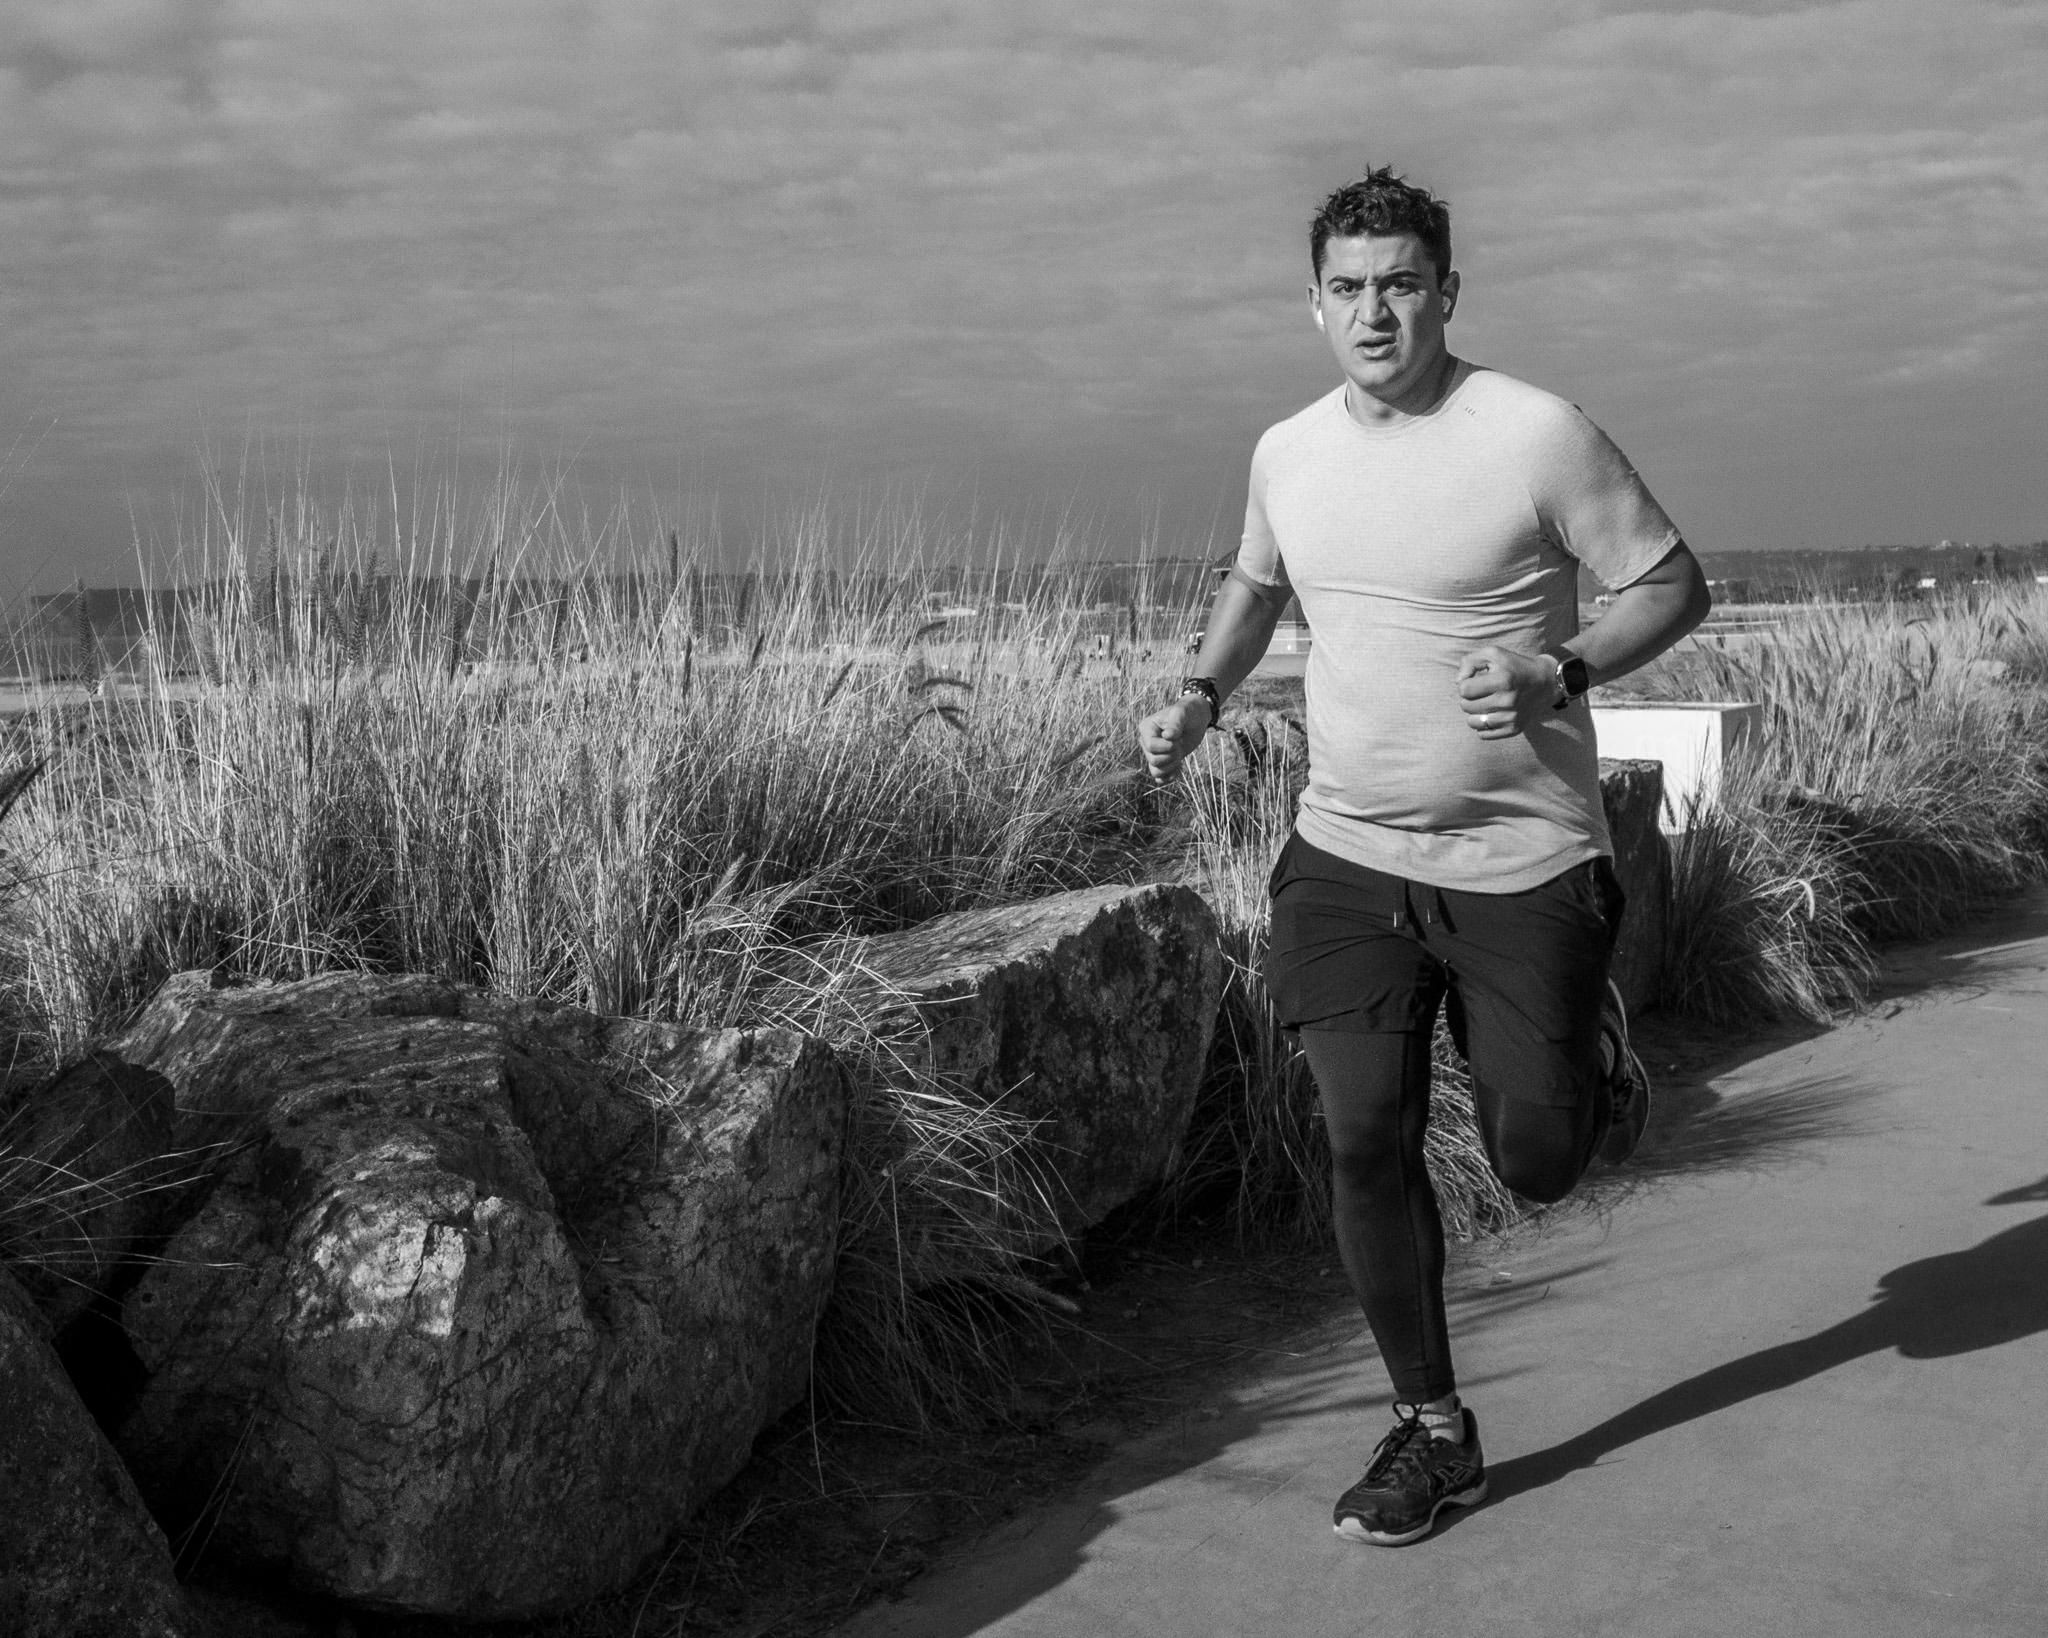
That might be a bit too general a definition for some. For one thing, it doesn’t explicitly mention people. Perhaps that’s not strictly necessary for a good street photo; the subject could be a dog. On the other hand, a large percentage of street photographs I have seen feature candid shots of people. They might be sitting, walking, or talking. But, there is something about them, in that instant, that makes for a good photo.
Street photography range anxiety
And here’s the problem. Although it’s perfectly legal to photograph someone in a public place, it has always seemed a bit too confrontational for me. It’s one thing to use a long lens and shoot a person looking in a different direction. Taking a photo of someone up close, especially walking towards me, is quite another. So, although I have dabbled a bit in photographing strangers, I have usually asked permission to take a portrait shot. Happily, most people oblige.
At the back of my mind, though, I have had this hankering to tackle ‘real’ street photography. The kind that photographers like Alan Schaller do so well. The kind that involves candid, close-up photos of strangers. Whilst popular, this approach is controversial. Not everyone agrees that taking someone’s photo without asking permission is acceptable. The differing perspectives on this subject will be considered in a future article.
Recently, I feel I have made a personal breakthrough in this area. It’s as if pieces of a puzzle, seemingly unrelated, fell nicely into place. All of a sudden, I can confidently photograph strangers. As I reflected on this expansion of my photographic comfort zone, I saw a series of steps I had followed. In fact, I had unknowingly followed a seven-step plan.
It worked for me; I am now enjoying candid street photography. If you are hesitant about photographing people on the street, perhaps it would work for you too.
The material shared below is probably obvious to many experienced Macfilos readers. Apologies for telling you something you already know.
But just in case you also suffer from street photography range anxiety, here are those steps I took.
Overcoming street photography range anxiety step 1: Embracing zone focus
I received a nudge in this direction from Editor Mike, in a conversation about focusing a rangefinder camera. He encouraged me to try pre-focusing the camera using the depth-of-field markings on the lens. This way, he said, without further fiddling, I could capture a sharp image as long as the subject was within my pre-defined zone of focus.
Months later, I thought about that exchange and decided to give it a try. My first efforts were with a Leica Q2. As an owner, I am very familiar with its 28mm angle-of-view. It had proved very useful for landscape and architectural shots.
I now began to see its usefulness in street photography, with its large depth-of-field (DoF) at narrow apertures. I followed Mike’s instructions and manually set the focus range using the information on its lens. Jackpot! When I set the aperture at f/8 and above, most of what I could see through my viewfinder was in focus.
My appreciation for the impressive DoF generated by wide-angle lenses was reinforced by another nudge.
I acquired a 21mm lens for my rangefinder after trying out one owned by another Macfilos shooter: Dirk Säger. I took a few shots using Dirk’s lens and was struck by two things. First, how much of the world was captured in the image. Second, it all seemed to be in focus. In fact, at f/11, its DoF runs from less than a meter to infinity. Wild!
My new 21mm lens was just the tool I needed to kick-start a new phase in my exploration of street photography. I set an aperture of f/8 or f/11, selected my DoF range, and off I went.
Step 2: Setting a high ISO, even while stopped down
When using aperture-priority mode, I usually set my ISO to AUTO and leave it to my camera to juggle shutter speed and ISO. However, this runs the risk of having a low shutter speed selected to keep ISO close to 100. I therefore set a minimum shutter speed in the AUTO ISO SETTINGS menu.
But with my aperture stopped down all the way to f/11, I decided to take matters into my own hands. I set an ISO level manually at 1600. This would guarantee good exposure at a shutter speed of 1/500s to 1/800s, even in shade. The risk of camera shake was therefore minimized.
If conditions were brighter, I would go with ISO 800 at f/8.
With these aperture and ISO settings, I was confident of having sharp, correctly exposed images. In some cases, I gently cropped an image to tighten up the frame and correct for pressing the shutter release a little early.
The risk with these approaches was having grainy photos, with no subject isolation. I will come to those issues below.
Step 3: Shooting from the hip, without using the viewfinder
While on the street, raising the camera to eye level to compose the image gave me the heebie-jeebies. It signalled unequivocally that I was in the process of taking someone’s photograph. This triggered my anxiety about being confronted by an irate stranger.
So, when I read about ‘shooting from the hip’, I was intrigued. Could I really capture a nicely framed, sharply focused, correctly exposed photo this way?
Well, I had already taken care of focus and exposure through Steps 1 & 2. So, the remaining issue was correct framing. Here is where my wide-angle lens was additionally helpful. I practised discreetly pointing the camera in the direction of a subject while judging their distance. When I was sure they were in the zone of focus, I pressed the shutter release.
My initial results were rather hit-and-miss. Two common problems were misjudging distance and not holding the camera level. These resulted in images where the person of interest was either too far away or was missing legs.
Hip-shooting hacks
To improve my hit rate, I used two hacks. The first was the articulated screen on my Lumix S5. Opened out, I could look down at the screen as the subject approached, framing the shot correctly. I held the camera at waist level, using my thumb to press the shutter release. Mike reminds me that if I had a Q3 instead of a Q2, I’d be able to perform the same trick of looking down on the screen.
As I developed a better sense of distance and timing, I began to look up just before taking the shot, gazing directly at the person. I think scarcely anyone would realise I was taking their photograph.
In addition to the Lumix S5, I also used my Leica SL2, with no articulating rear screen. The second hack ensured that when sat at my hip, this camera was also level.
I bought a pack of ‘mini-spirit levels’. Among the selection were two of the circular design, often used on tripods to indicate level in two dimensions. Using some double-sided adhesive tape, I attached the spirit level to the top of my camera. With a quick downward glance, I checked the camera level in both tilt and roll planes before taking the shot.
Over time, using these manoeuvres, I gained muscle memory, and no longer needed such aids. A quick downward glance was enough to confirm that the camera was reasonably level. The forgiving field-of-view of the 21mm lens took care of any remaining tilt and roll errors.
Here I was, on the street, photographing people to my heart’s content. However, with these chosen ISO settings, a number of my cropped photos were indeed grainy.
Step 4: Using the ‘Denoise’ feature in Lightroom to fix grainy shots
I have written previously about this denoise feature in Lightroom, introduced in early 2023. I had used it primarily for nighttime and indoor shots, where lack of light necessitated a high ISO setting. In effect, I was now recreating that light deficit with my stopped down/high ISO approach to street photography.
I therefore began using Lightroom’s AI-assisted denoising option on my noisy street photos. It works really well. I try to make all other post-processing adjustments first, such as raising shadows, dealing with highlights and tweaking saturation. I then apply the denoise algorithm, usually accepting the default 50% level on the effect slider.
This routine has been especially useful for photographs I took late in the afternoon when the sun was low. If all the action is on the shady side of the street, that’s where I take the photos.
This step is clearly not necessary for all street photography shots. But it compensates for my selection of small aperture/high ISO settings to get sharp images. You could view it as the final element of a three-way strategy for achieving sharp, correctly exposed images.
Step 5: Using the new Lens Blur feature in Lightroom to narrow DoF
The inevitable consequence of choosing a narrow aperture to achieve a large depth of field is that both subject and background are in focus. Wouldn’t it be even better if the subject was in focus but isolated from the background? After all, that’s why we buy expensive, fast lenses and use them in portrait photography.
Once again, a machine-learning-based Lightroom feature offers the possibility of having your cake and eating it. Introduced recently, this option seems algorithmically related to the ‘portrait mode’ option on iPhones. The difference here is that I can apply it retroactively and to a controllable degree.
I offered a more thorough assessment of the feature in a recent article. But in the right situation, it successfully transforms an f/11 image into one shot with a much faster lens. I have used it on several photographs in this article.
Step 6: Choosing a project theme on which to focus
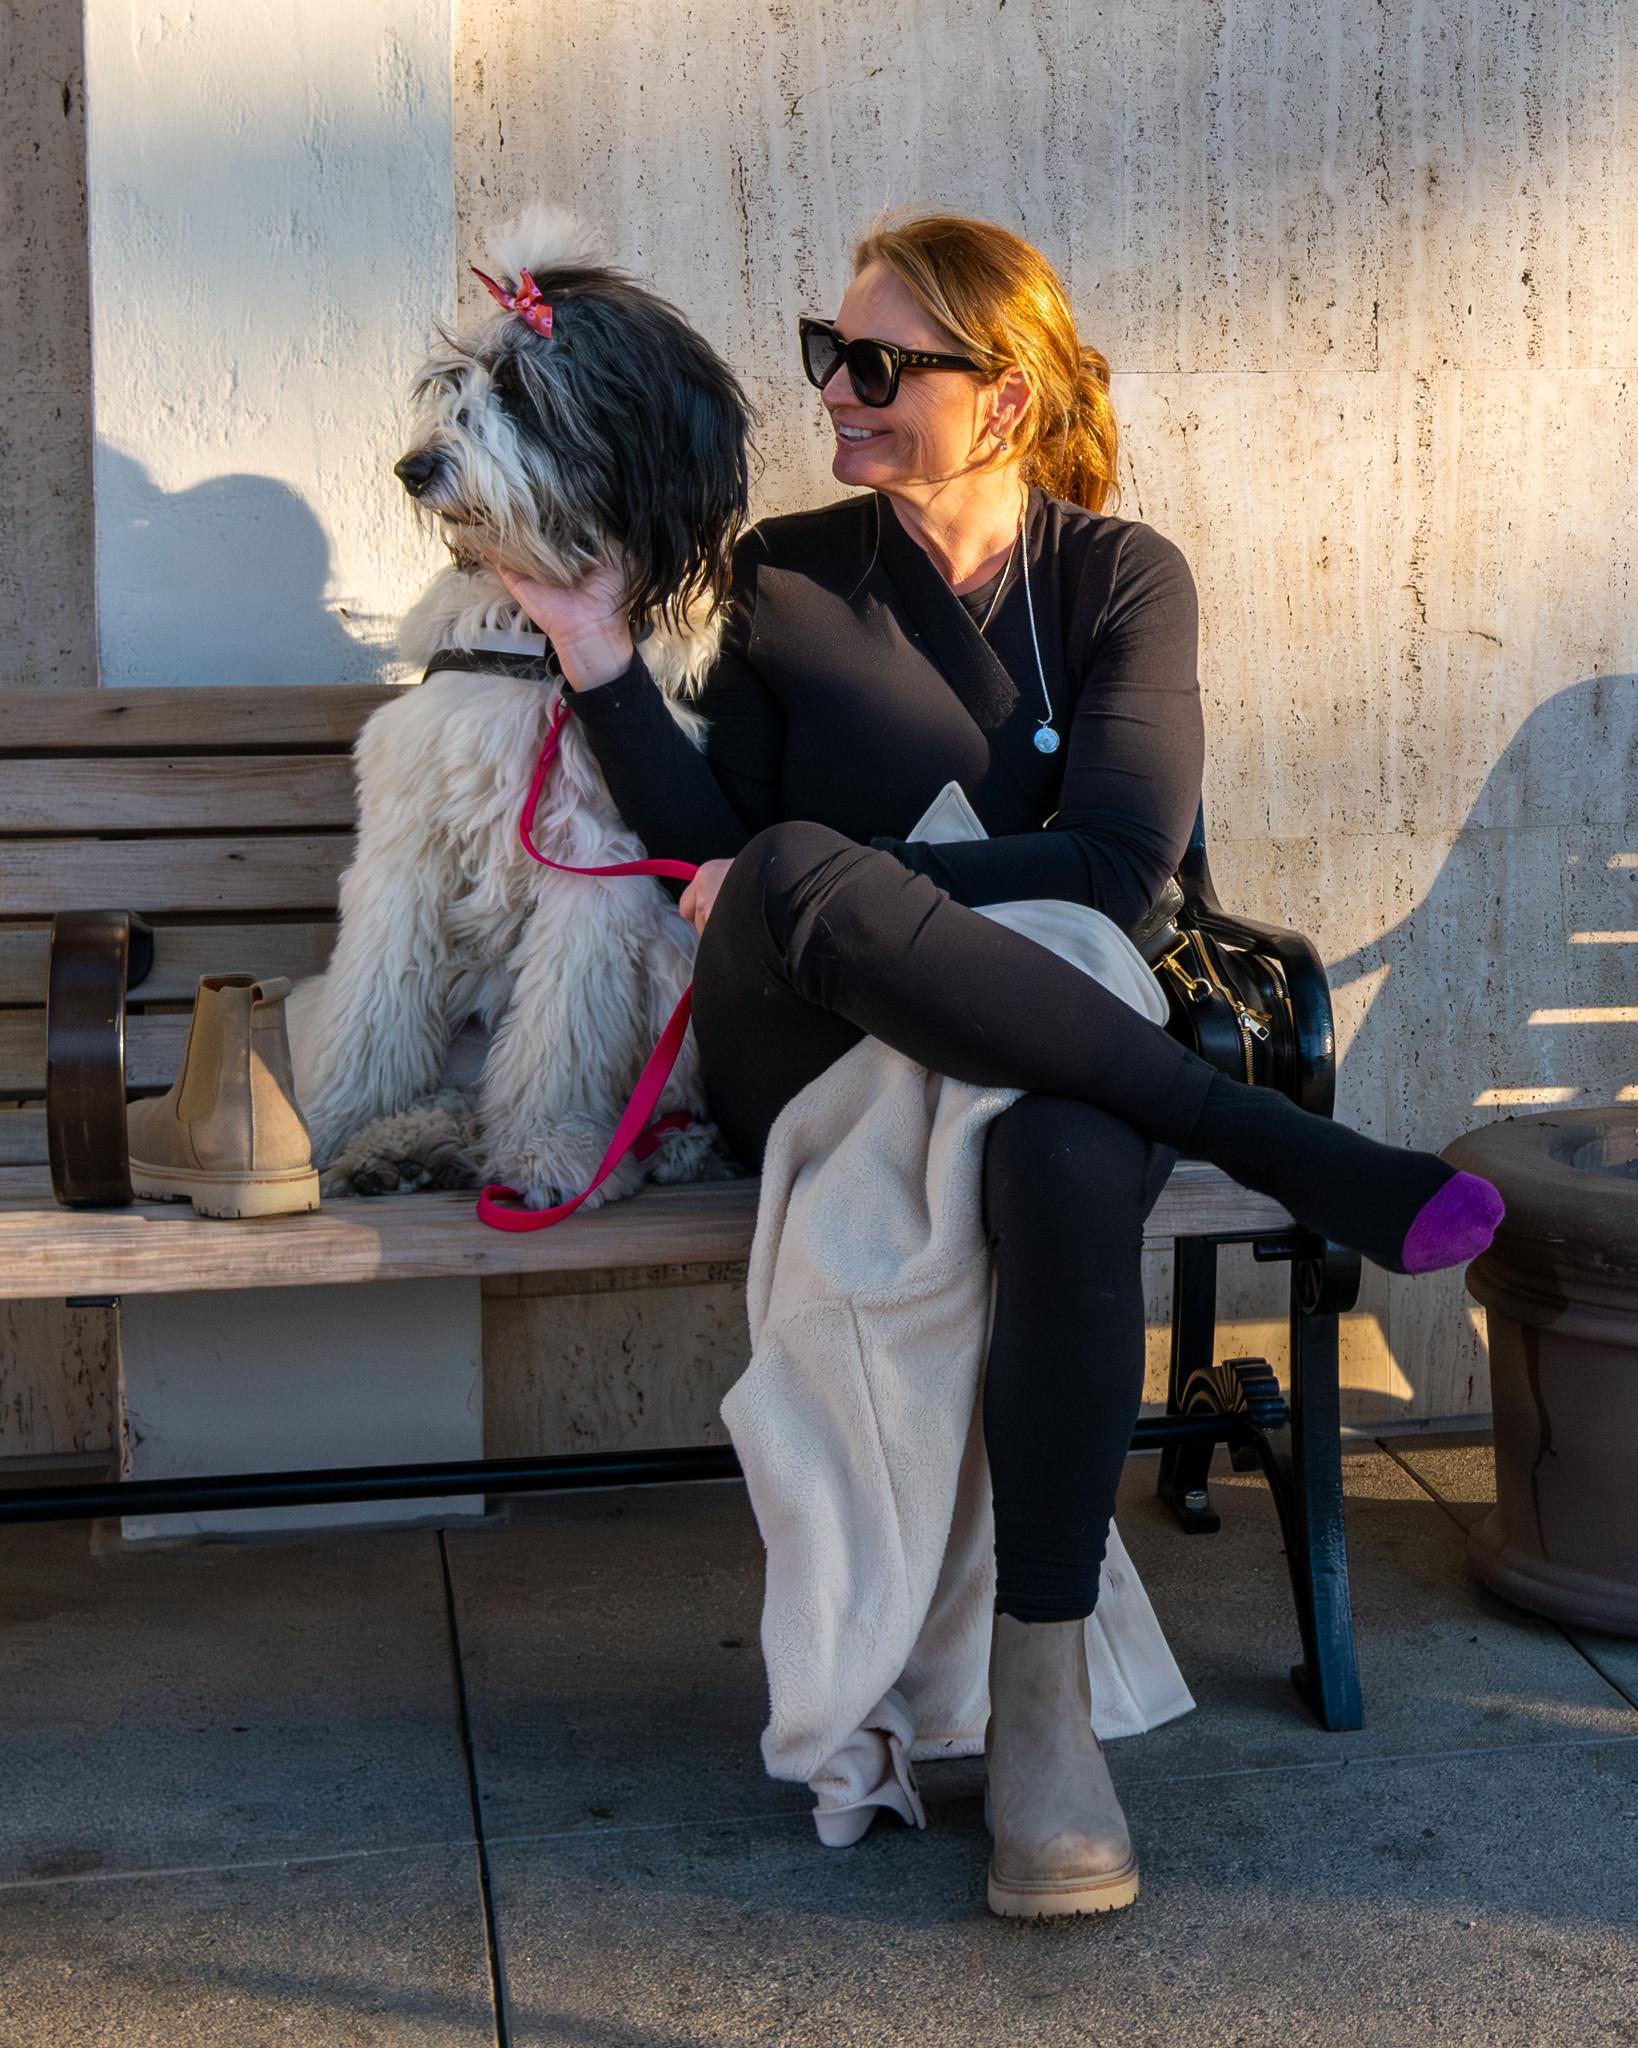
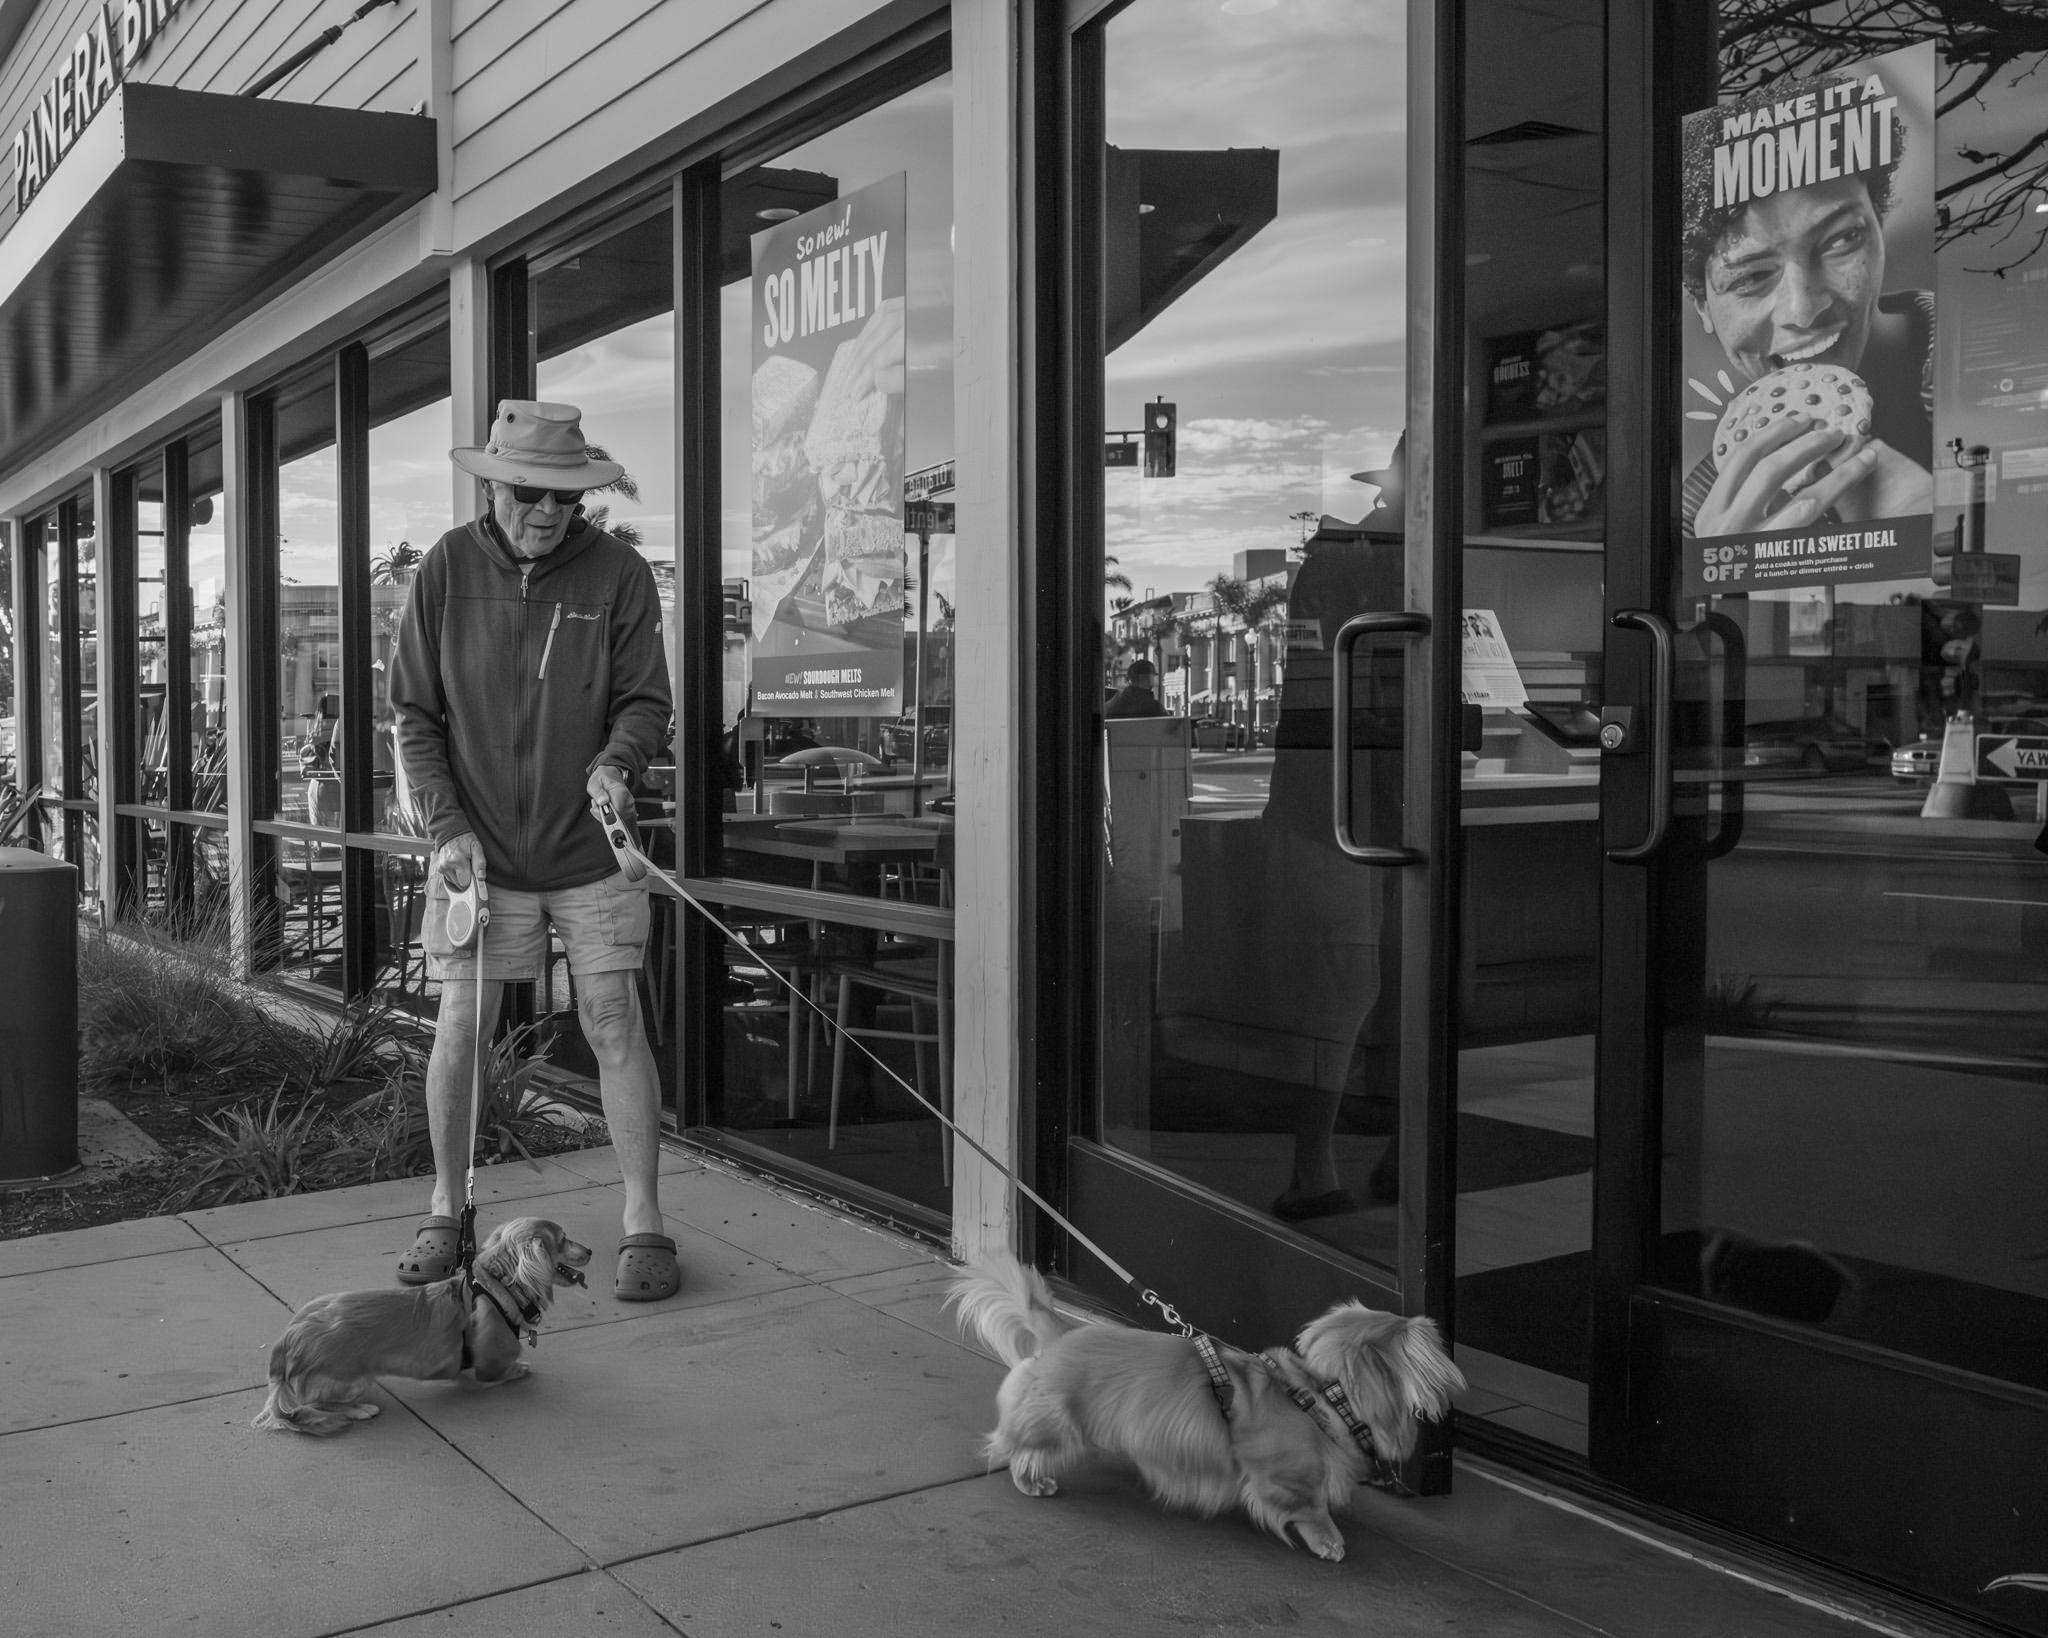
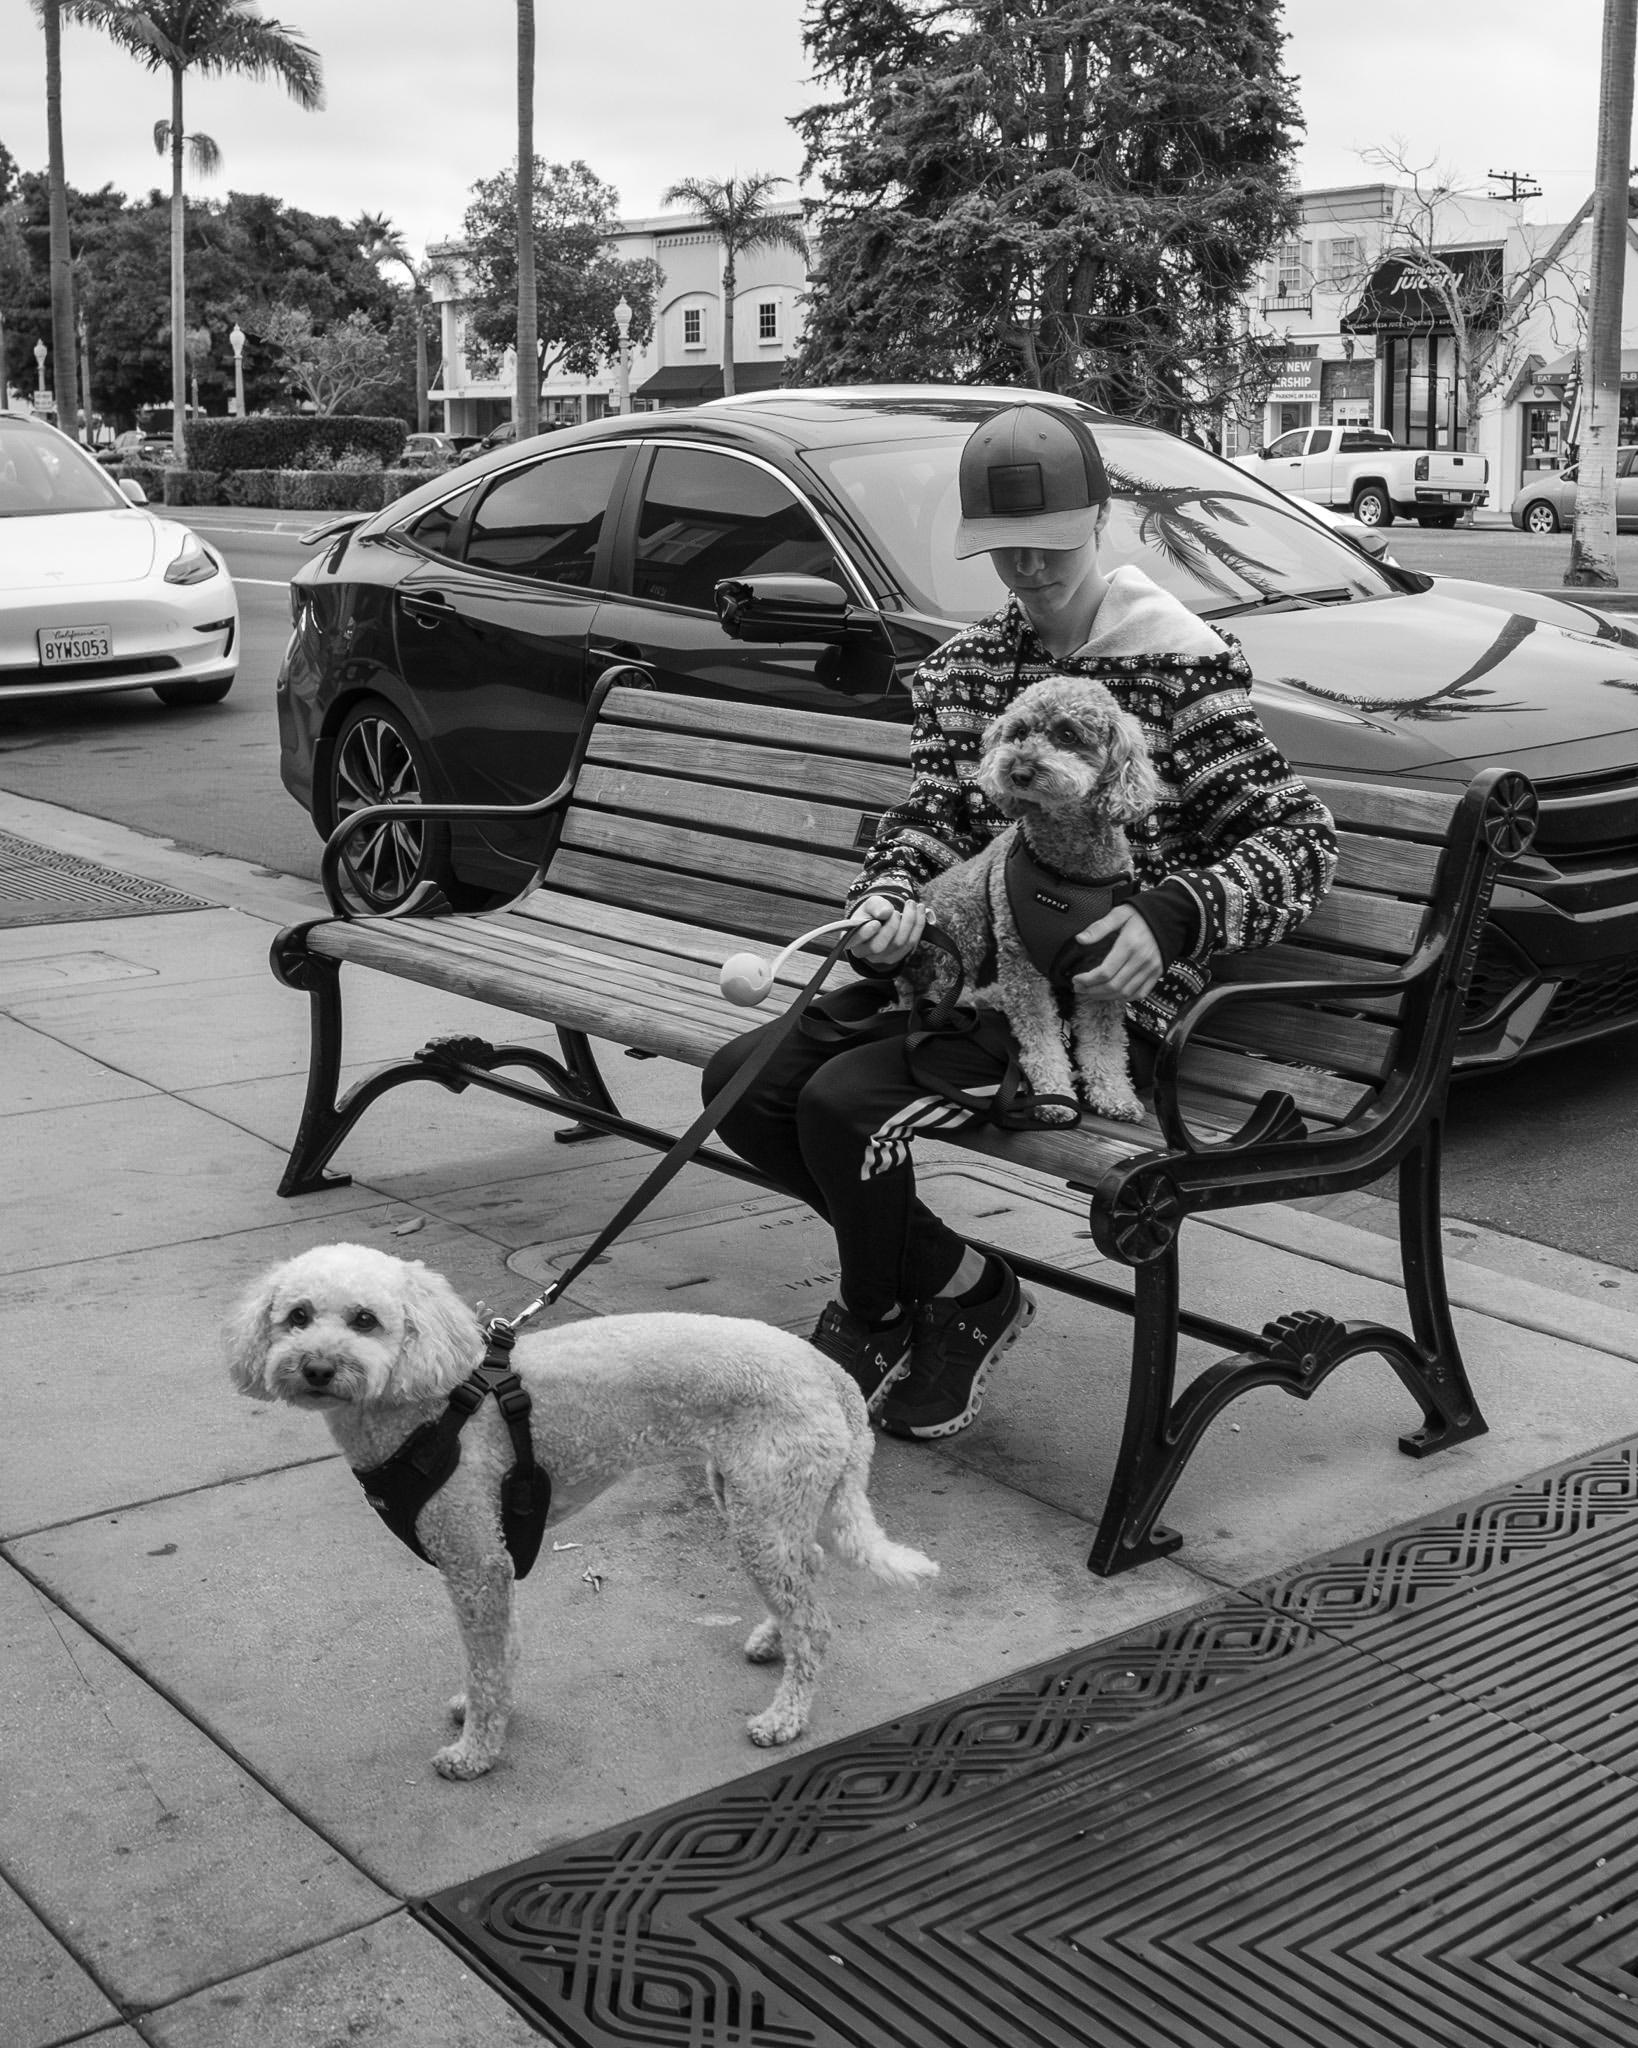
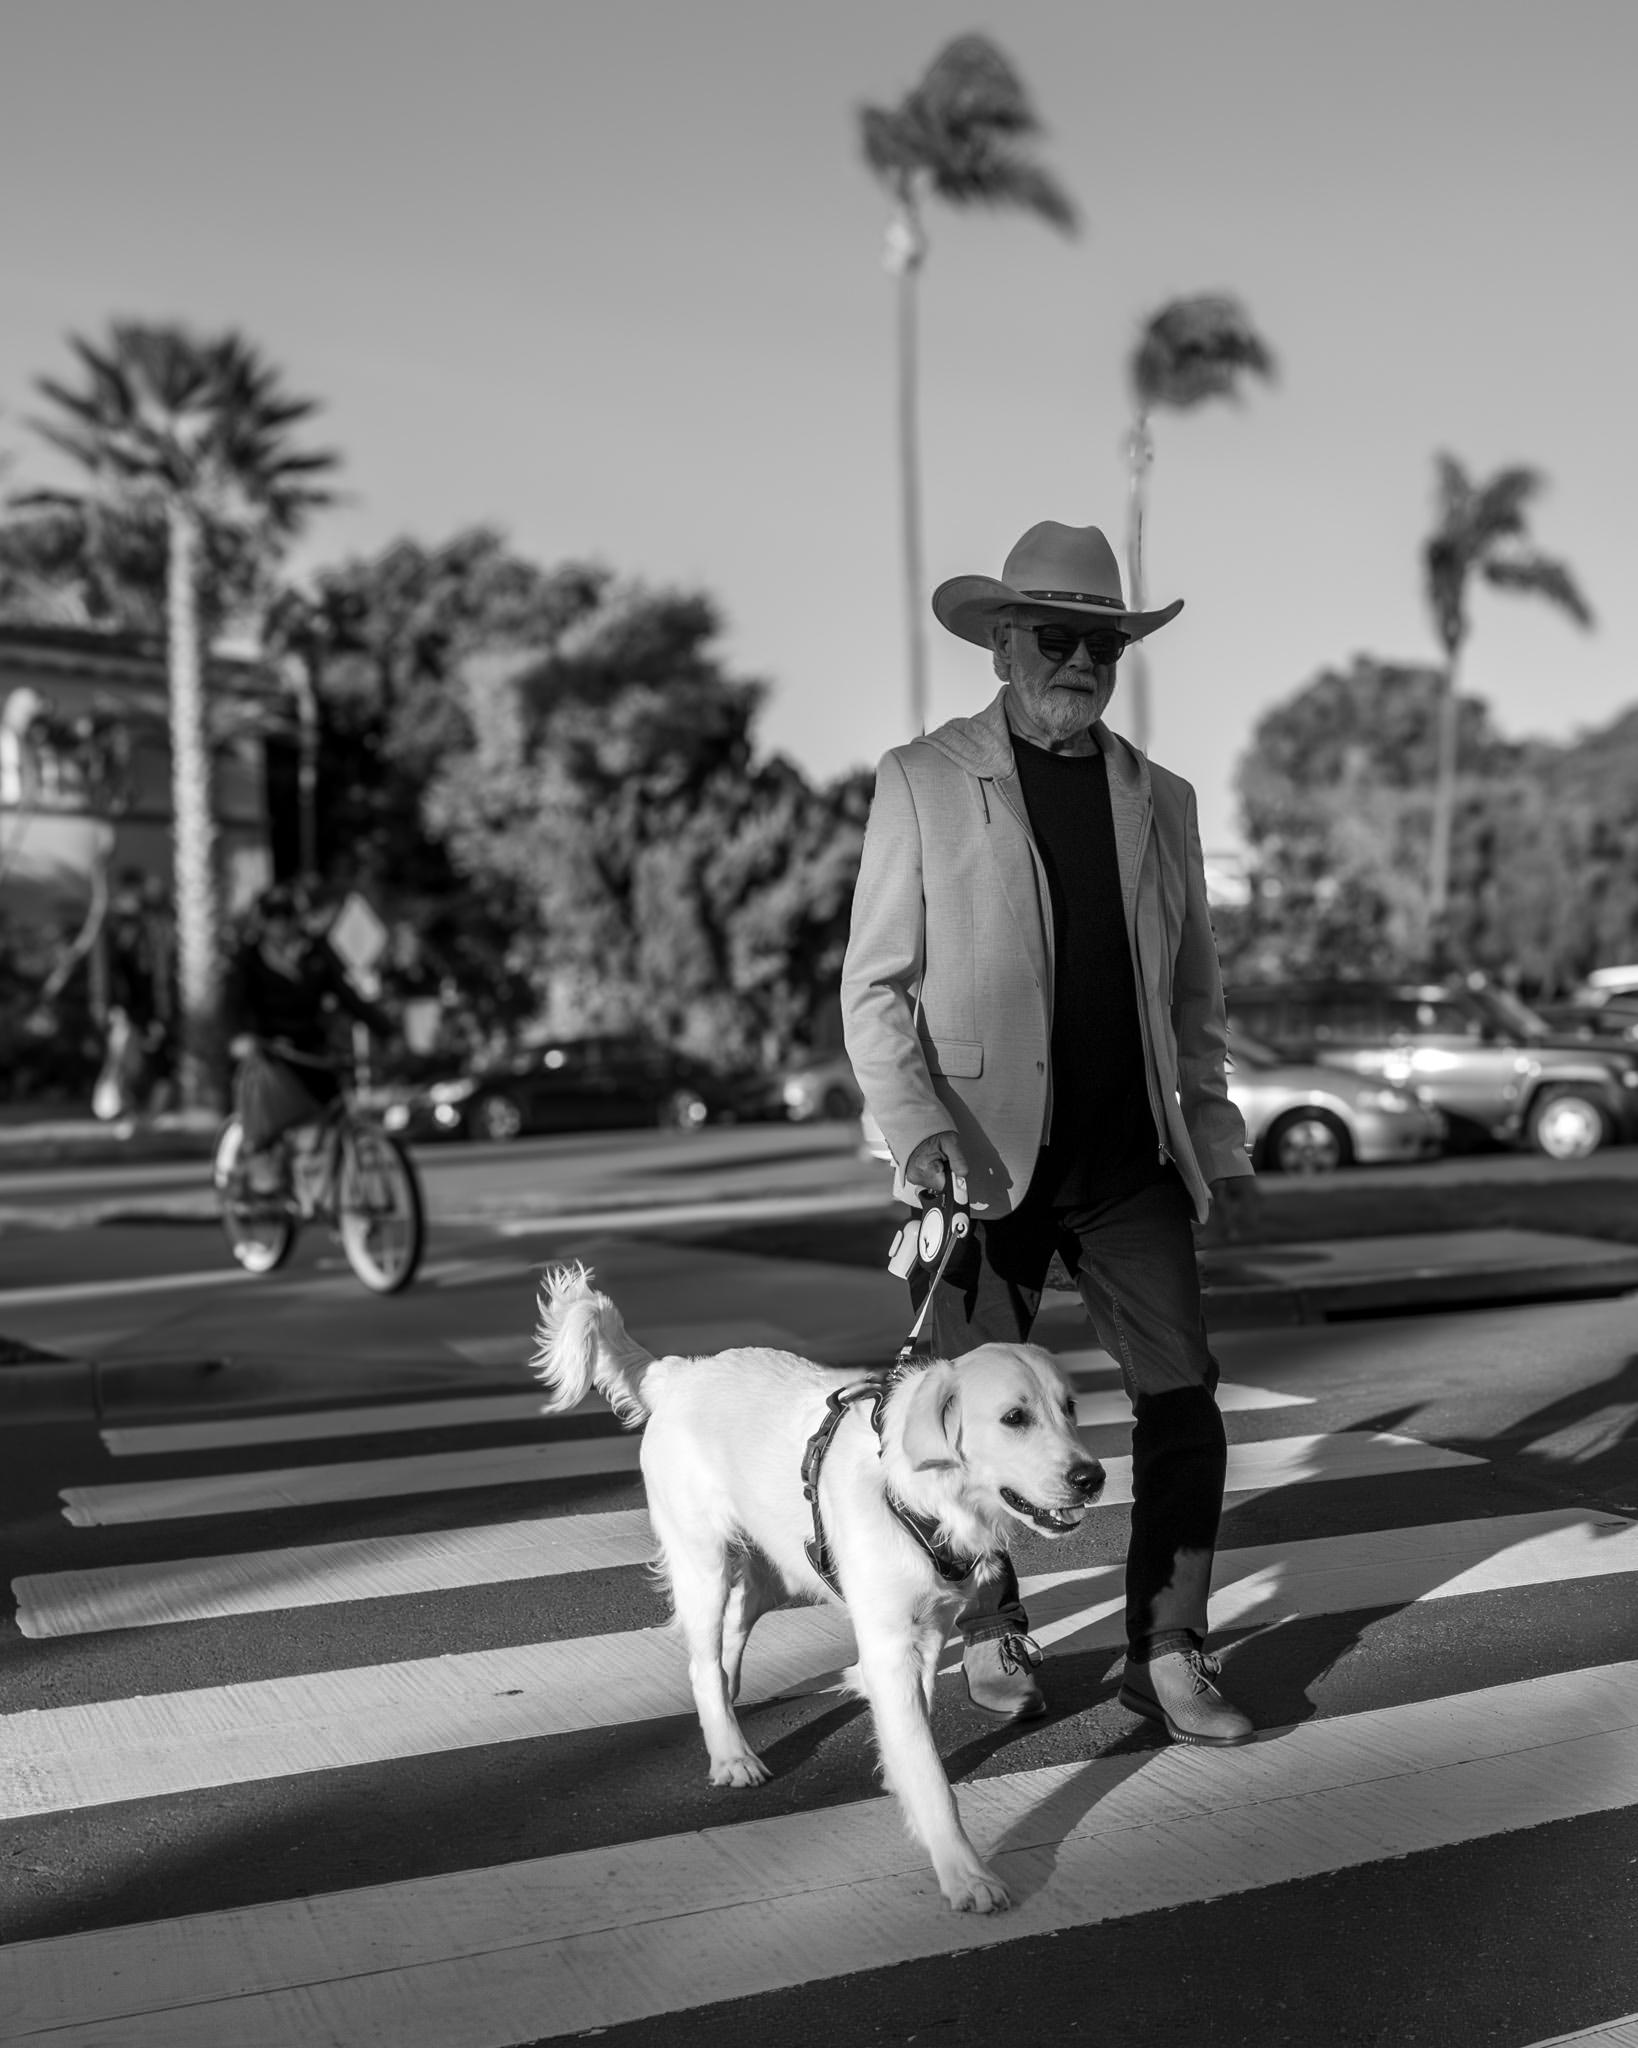
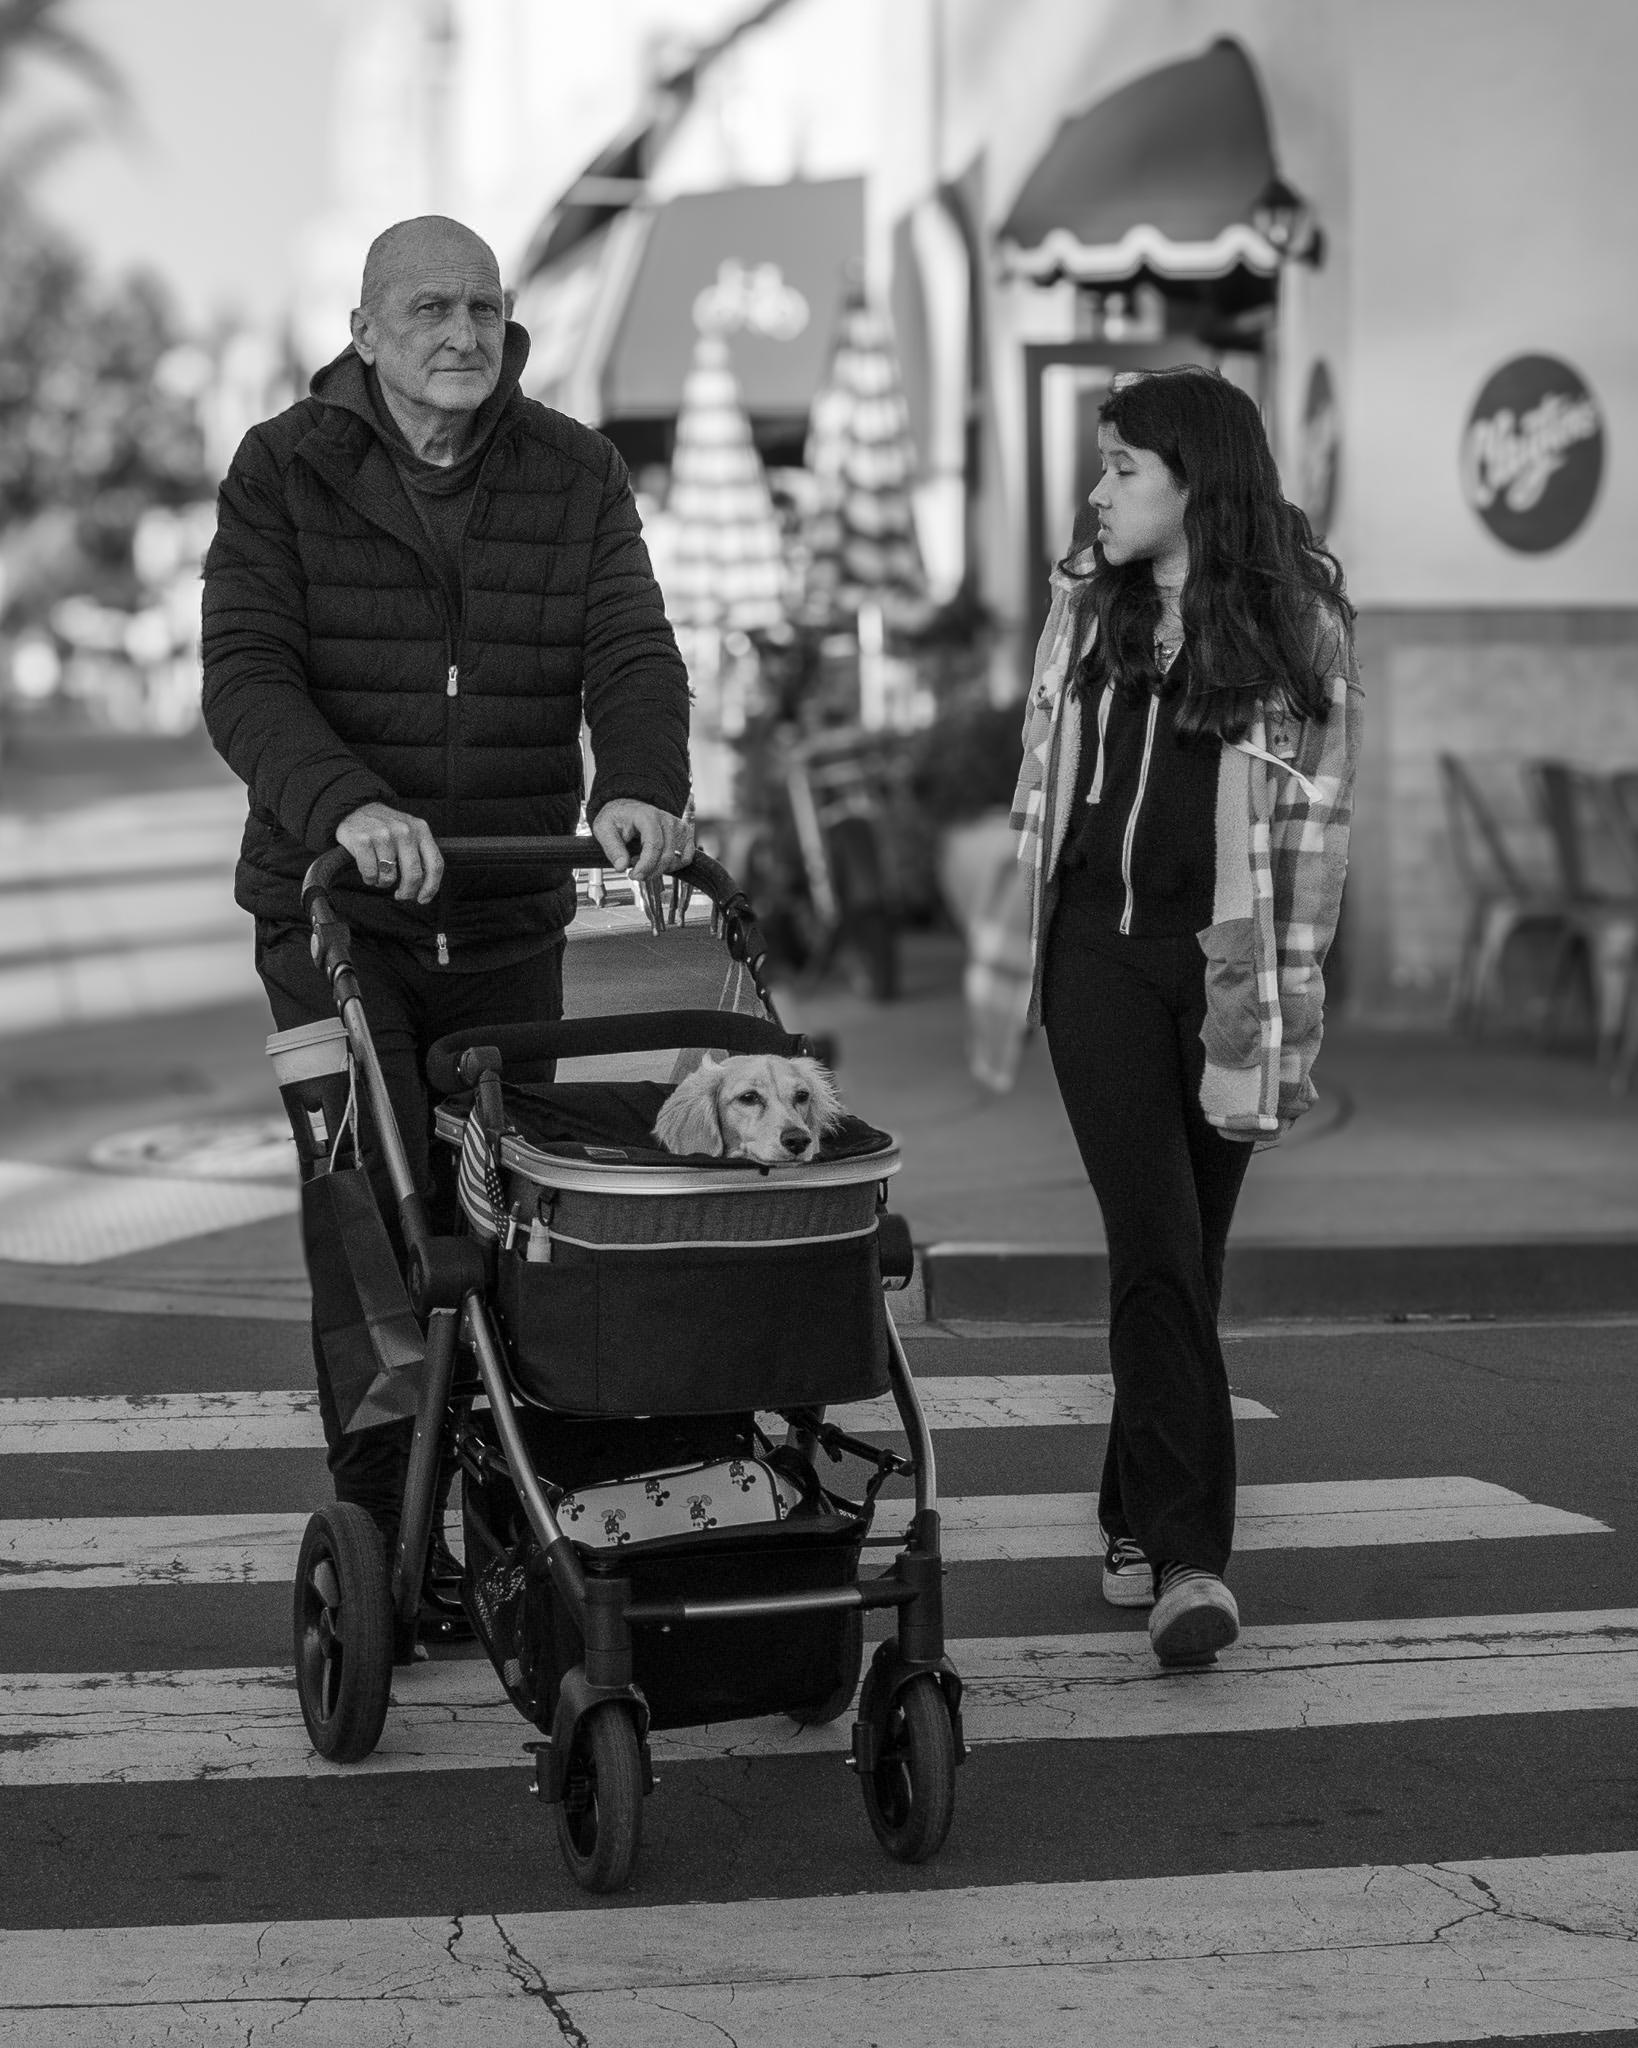
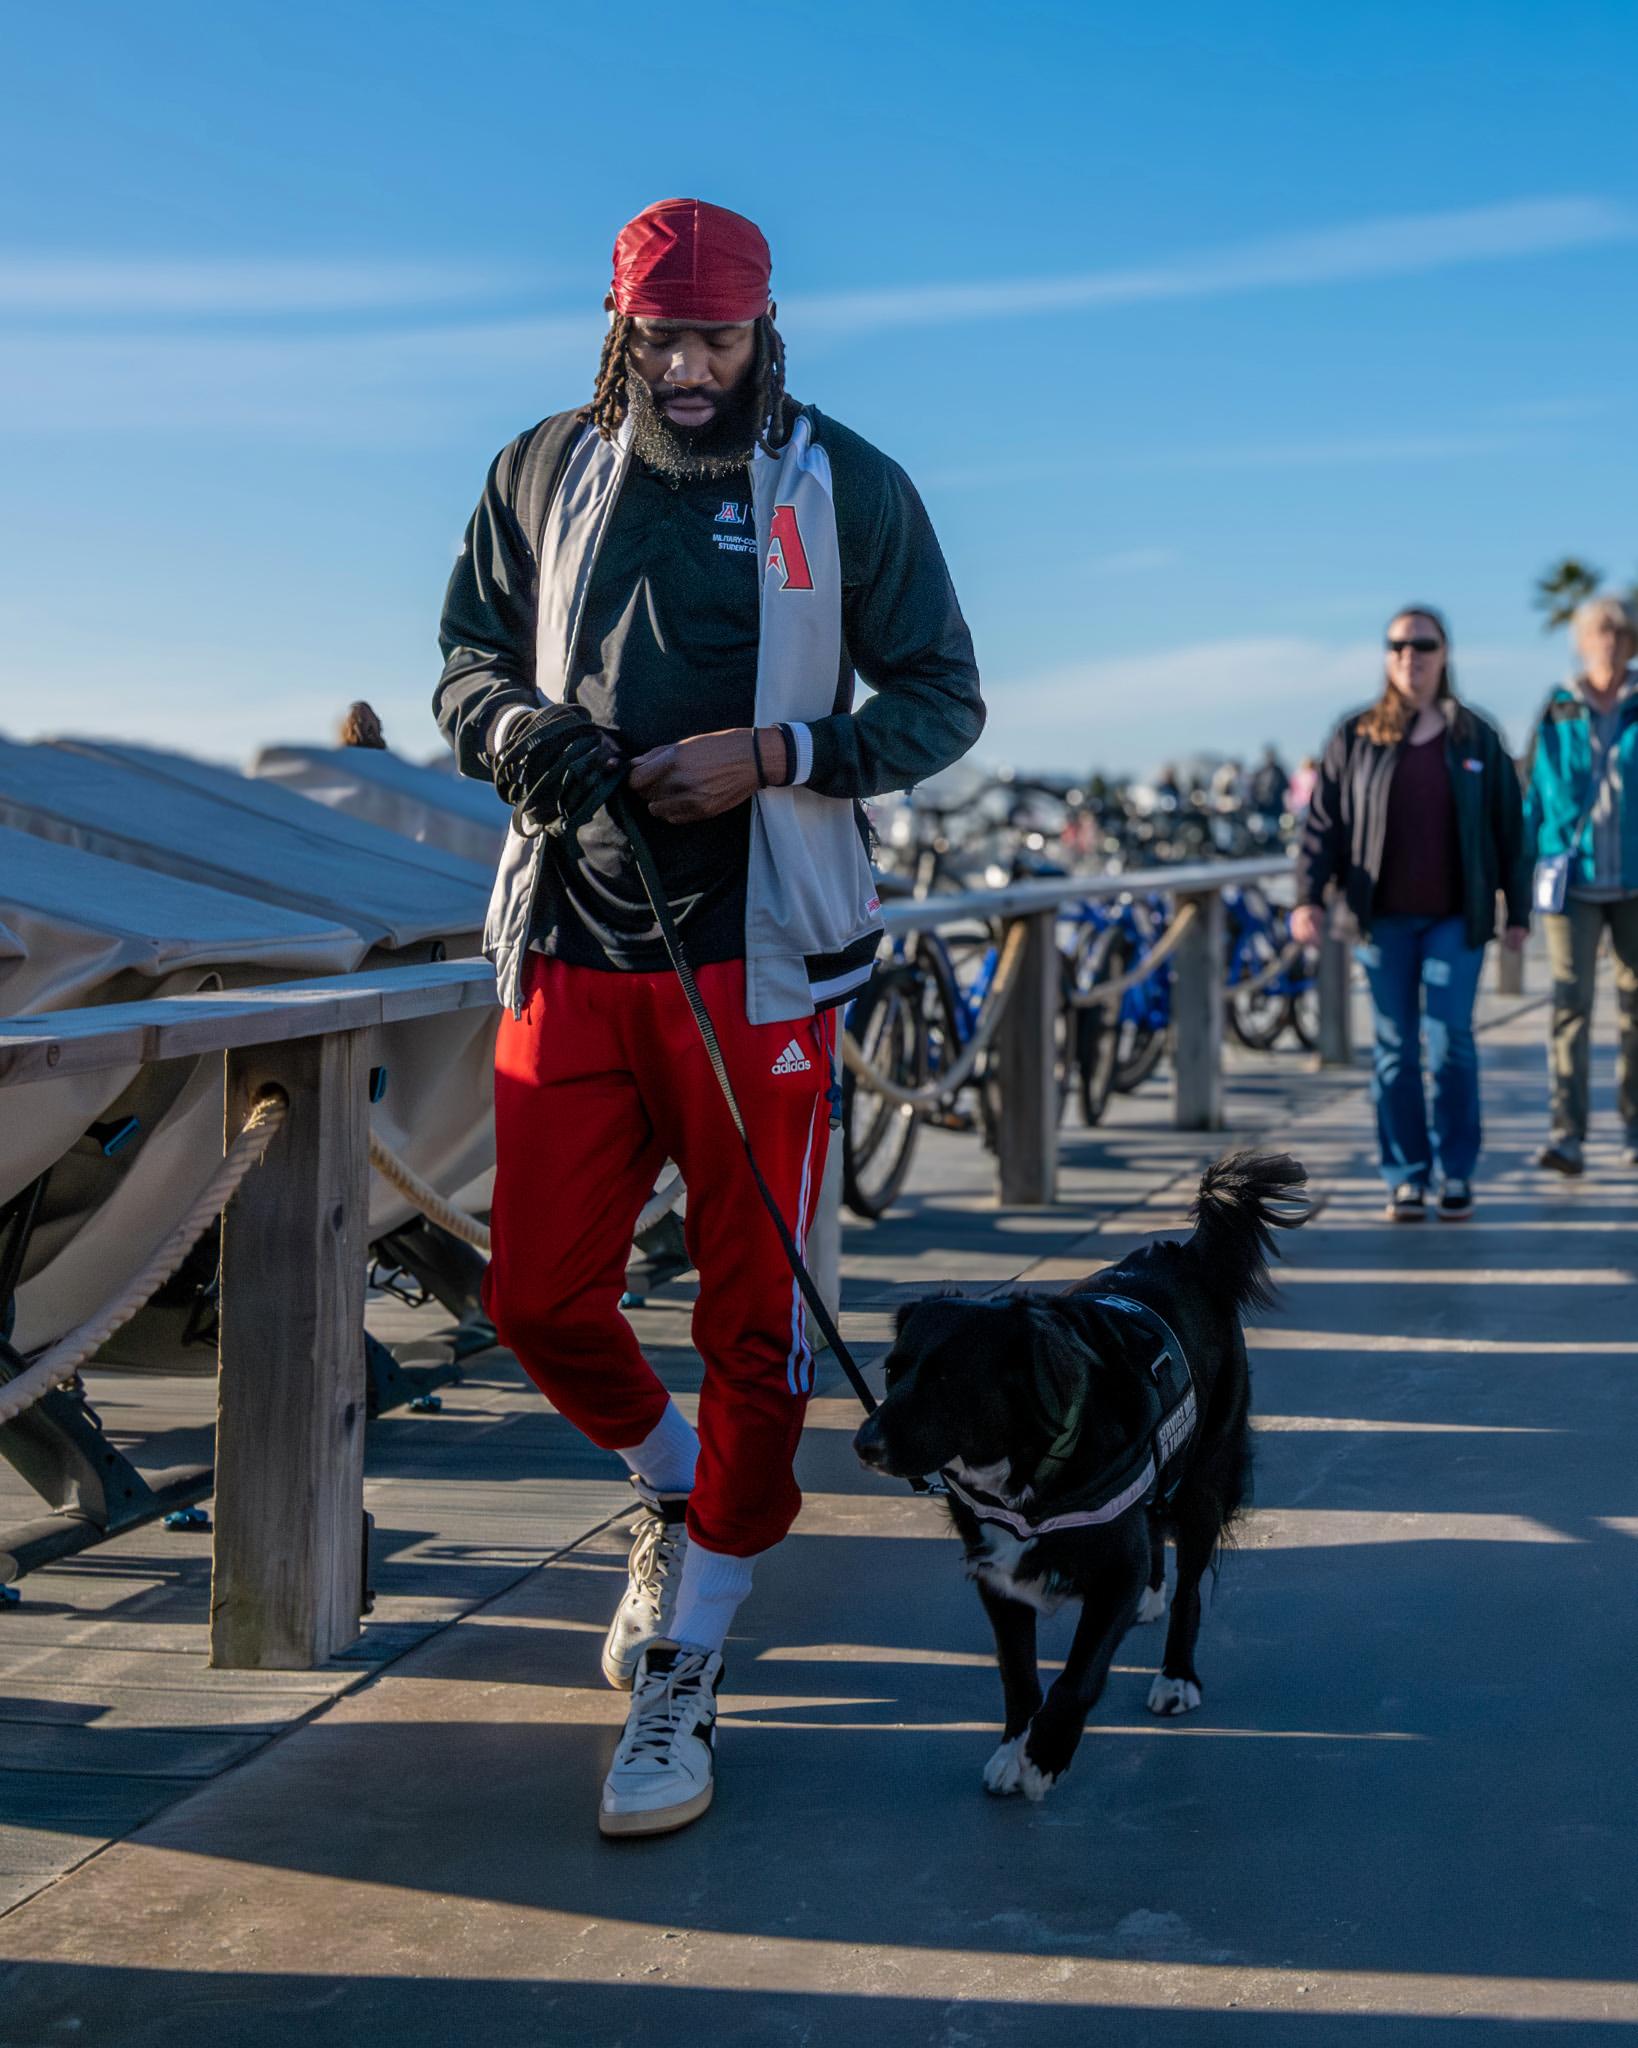
When out and about with my camera, I always see people walking dogs. I therefore decided to hone my street photography skills by taking candid shots of dog walkers. Although a somewhat quotidian subject, I hoped to capture some fun shots of people and pets.
I found having a theme to guide my early, tentative efforts at photographing strangers was helpful. And I did indeed capture a few fun pictures. The theme could be people jogging, cycling, or emerging from doorways. Whichever is a common occurrence in your neighbourhood might be the one for you.
Step 7: Practising every day
I live in a city with a year-round mild, dry climate and so regularly go for an afternoon stroll. I always take my camera, aiming to take at least one worthwhile photograph on each walk. This regular cadence has helped me to practice taking candid shots. It feels quite natural now to set my aperture and focus range as I set off, holding the camera at my hip.
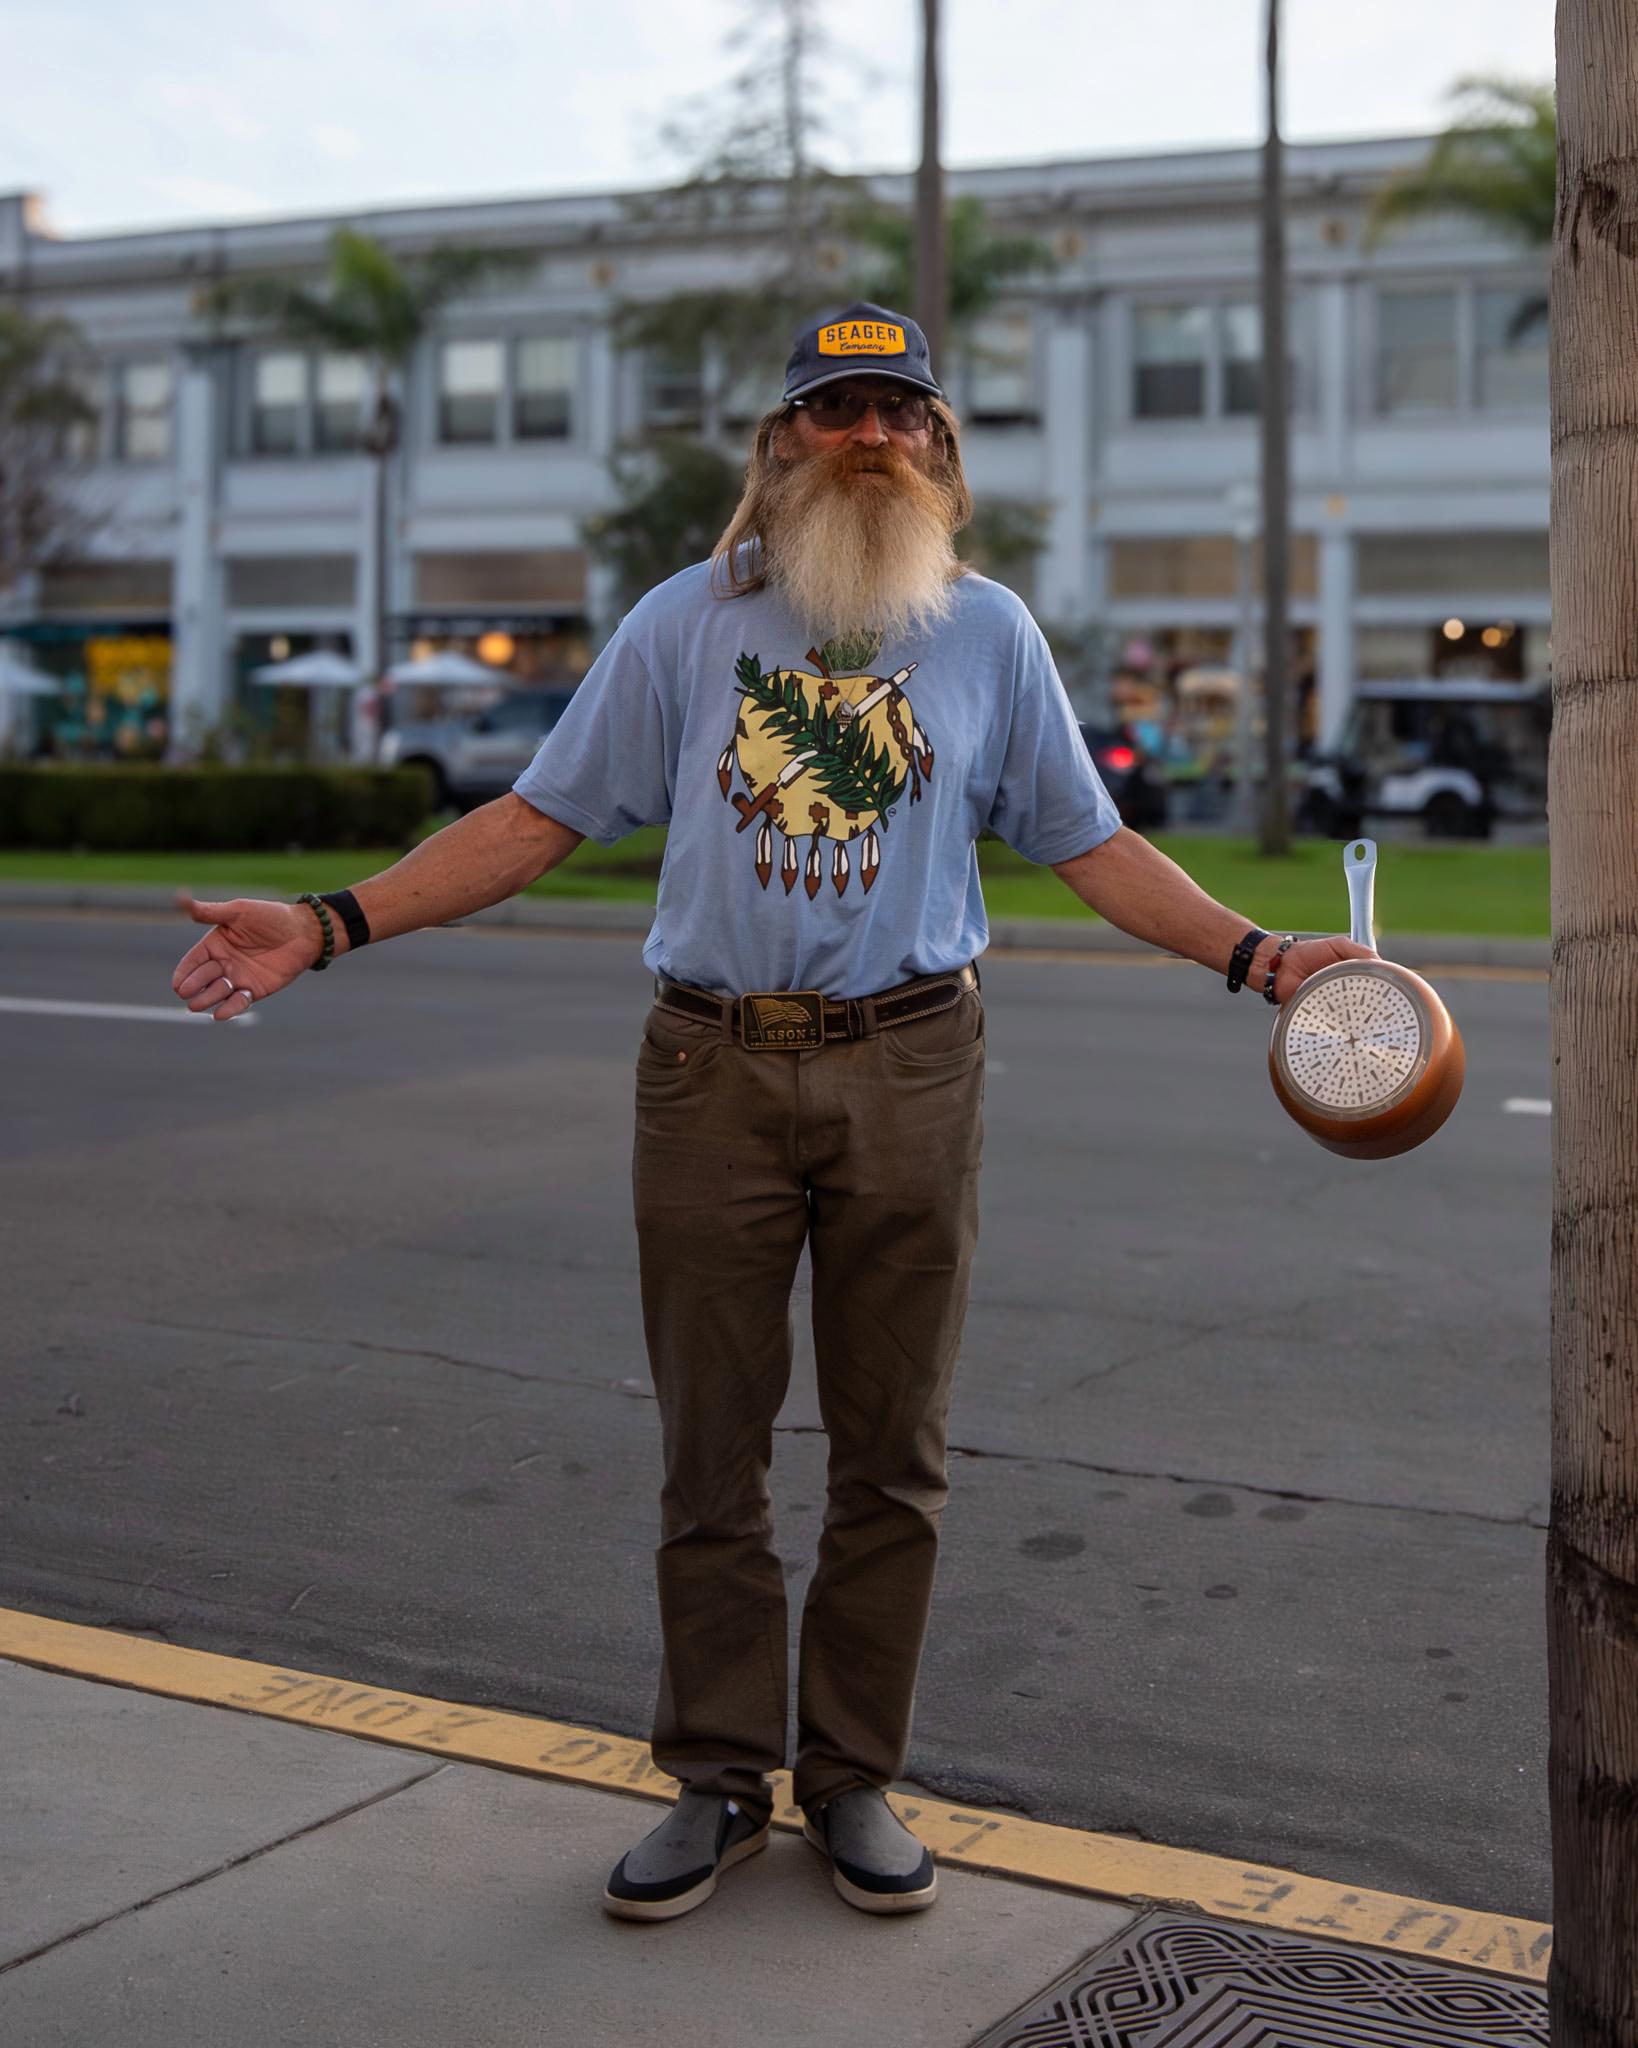
I was even able to continue my street walkabouts on a recent trip Down Under, although not focused on dog walkers.
As in most endeavours, practice helps build muscle memory and confidence. My squeamishness has receded. I would now describe my attitude to street photography as embracing its edginess and even taking a few risks.
Overcoming street photography range anxiety — how do you do it?
I am sure there are many other paths to overcoming an anxiety about photographing strangers and so enjoying street photography. It’s also the case that there are many types of street photography, not all of which include people.
All I can say is that after a hesitant start, I am ‘on the road’ — or should that be ‘on the street’? I would be fascinated to hear how others view street photography, including techniques they have developed to become a stealthy street photographer themselves.
You are welcome to share your perspectives in the comment section below.
Read more from the author
Read the first post in this series
Want to contribute an article to Macfilos? It’s easy. Just click the “Write for Us” button. We’ll help with the writing and guide you through the process.

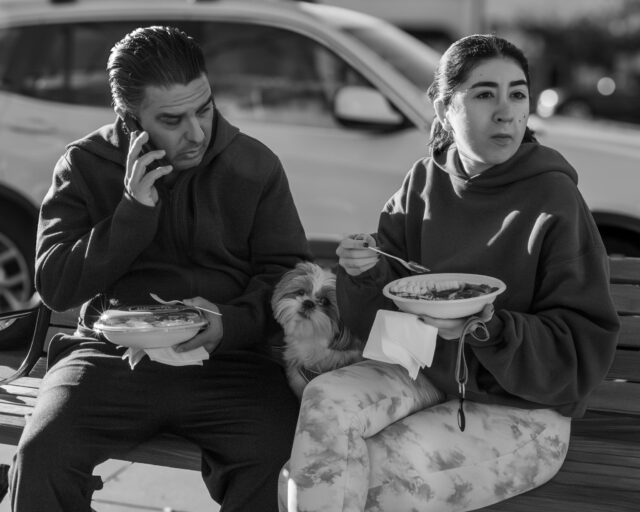

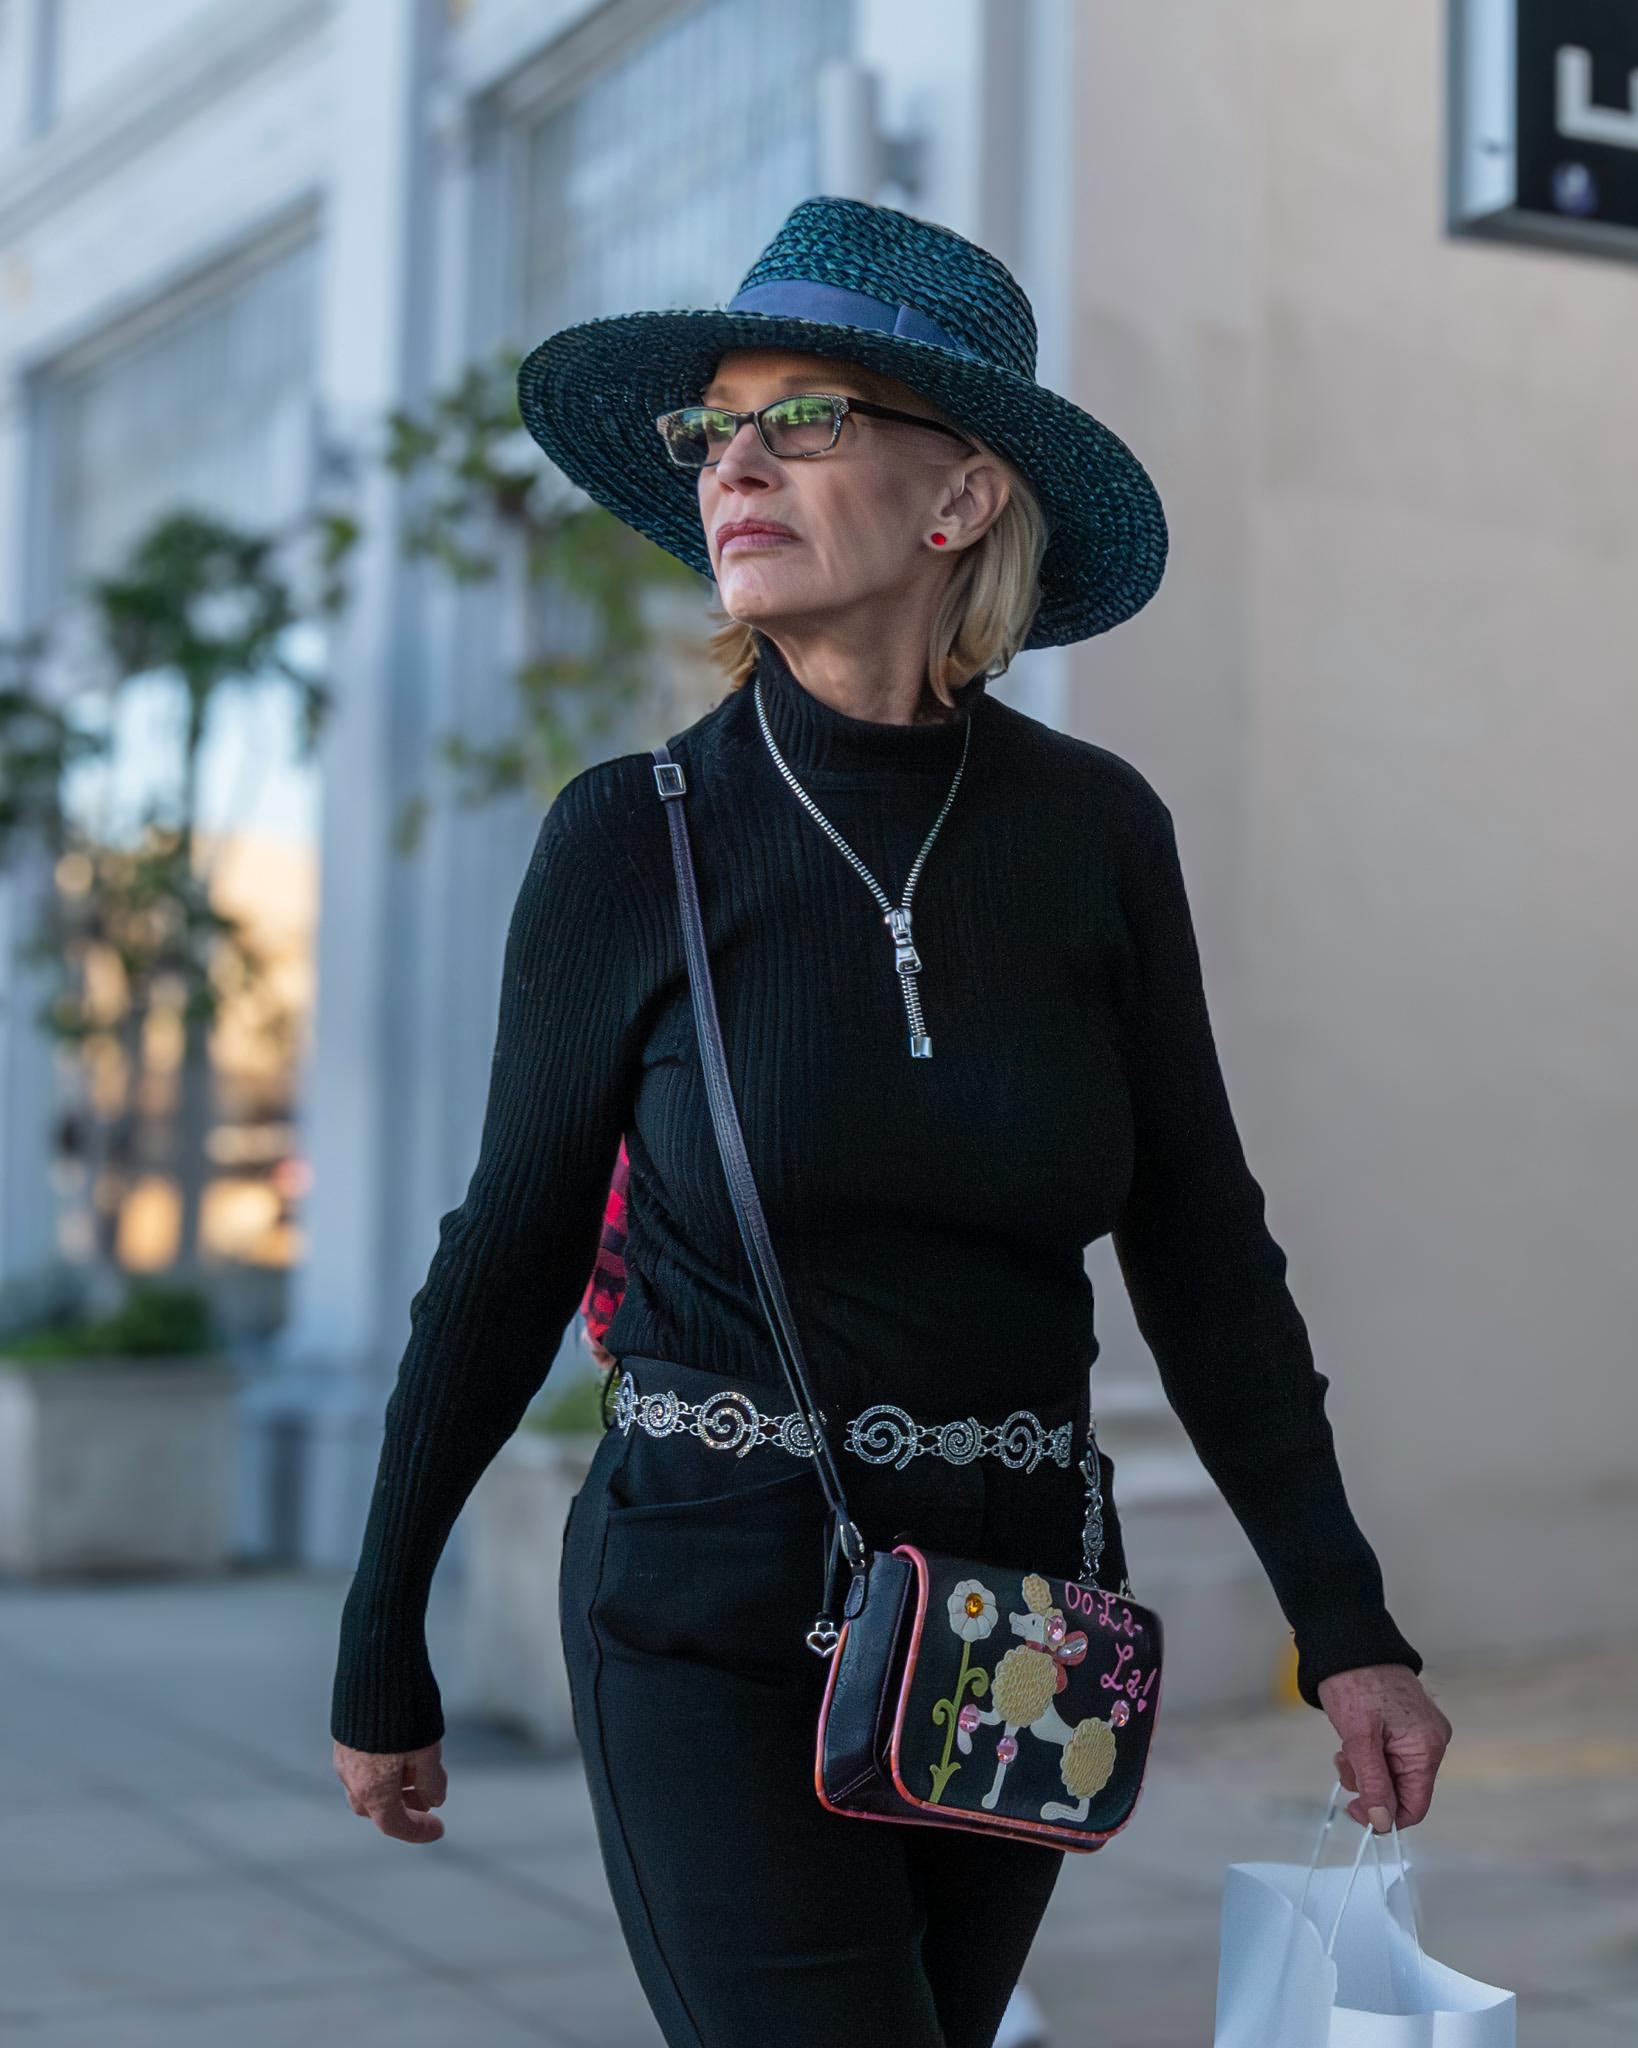
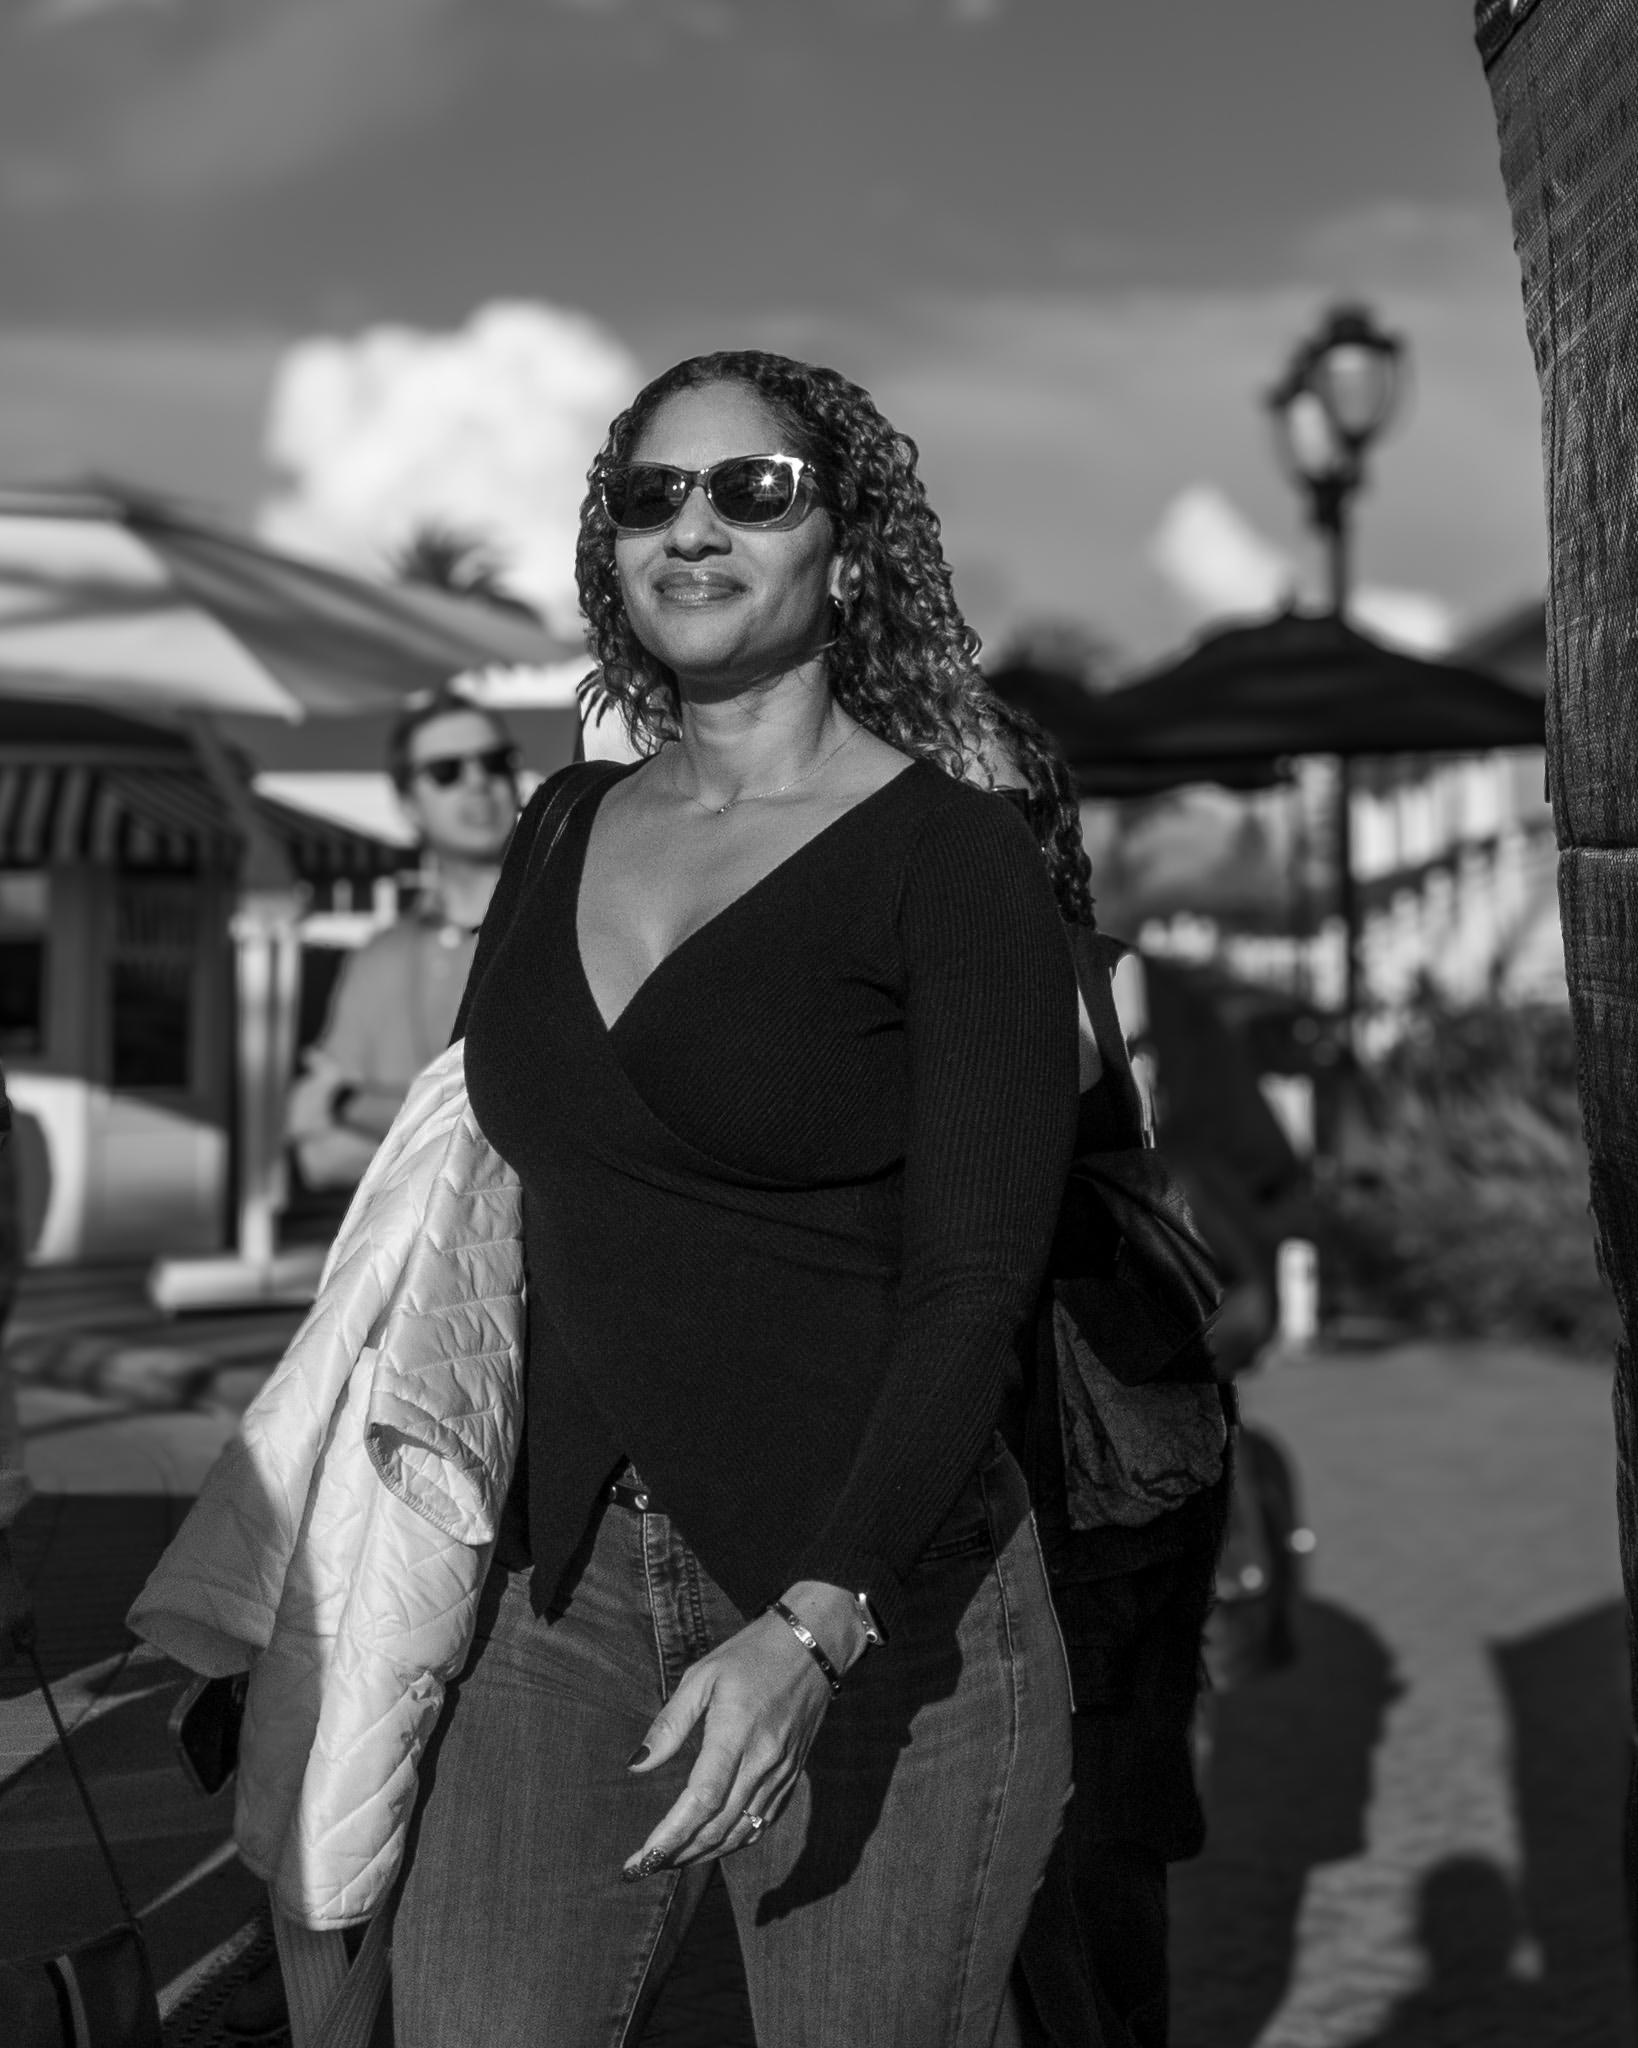
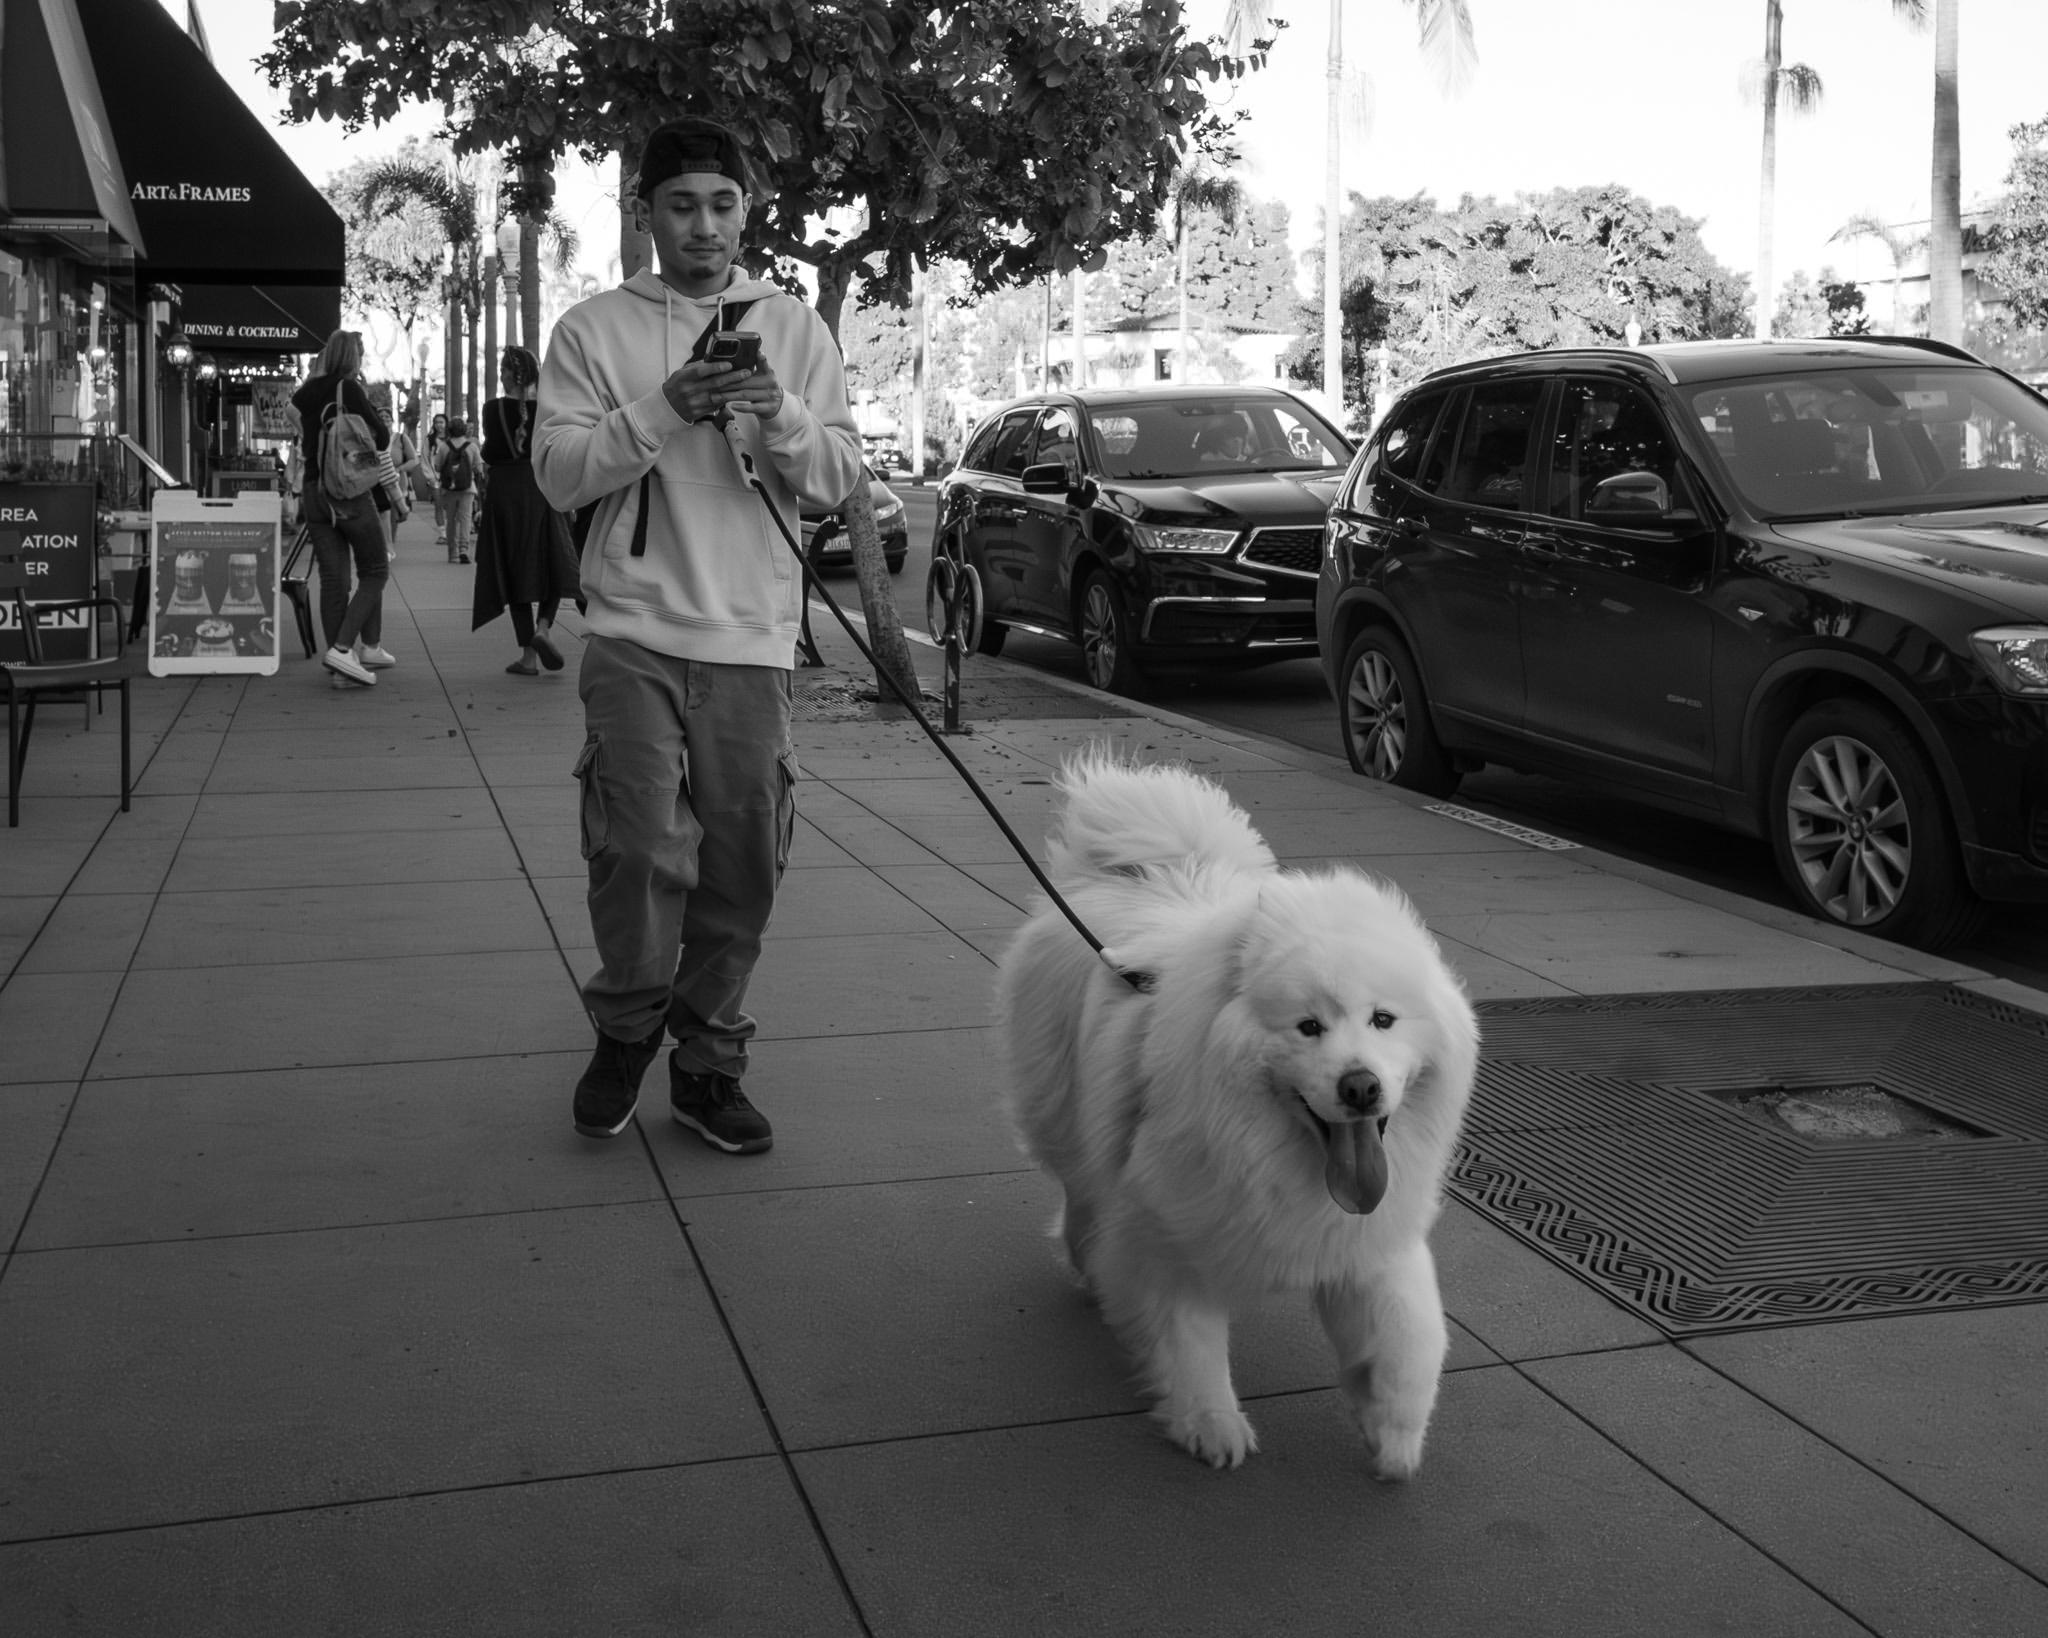


Thoughtful article and great pictures, Keith. But all this talk of GDPR and lawsuits is profoundly depressing. It’s no longer safe to take pictures if there are human beings in sight. I’m tempted to concentrate my efforts on trees in future, at least until the EU designates them as sentient beings. Then, perhaps the only safe hobby will be basket weaving.
Many thanks George! It is indeed tempting to stick to photographing non-human subjects. But, there is something fascinating about people, especially captured in candid shots, and so despite the hassles, I intend to continue. My next article will consider the pros and cons of posed versus candid shots, each of which have their place, I think. All the best, Keith
Street Photography in the EU
The keyword is DSGVO or General Data Protection Regulation which is in place since May 2016.
Photographing a person in a publice area is not sanctioned as long as the person is not in help needing conditions and the images are not commercially used.
Taking images of a car accident and posting these on the internet will get one a decent fine.
The latter is a clear violation. The rest sits in a broad grey zone, one that is really difficult to define.
I’d say that using splendid shots, like the wonderful ones in this article, could cause a law suit in Europe if published in a US book and the person finds out about it.
I’d take the same shots and would risk to show them on IG or here or whereever. One could take them off in case the person complains. That would be hard to achieve in a published and sold book.
Keith, I love to steal pictures in the streets. I wish I had more time to do so.
Greets
Dirk
“Sanctioned” is one of those annoying English words that can have two very opposite meanings. You have used to mean “to attach a sanction or penalty to the violation of”, but it can also mean “to give effective or authoritative approval or consent to” (both from Merriam-Webster).
Holy sh…t,
thanks for that explanation.
Me, translating from German, to be sanctioned means to get a penalty or whatever punishment for an action.
And I meant the punishment.
Greets Dirk
Now you come to mention it, Martin, you are quite right. I began to wonder why “sanction” has this surprisingly ambiguous meaning. A quick google on the etymology of the word gives us an idea:
Where does sanction come from? The first records of sanction come from the 1500s. It is derived from the Latin sancīre, meaning “to decree” or “to prescribe by law.” Sancīre also means “to make holy” and is the root of words like sanctify and sanctuary.
So it’s either illegal or it’s holy (by extension, good). When tempted to use the word in such a context, it’s safer to look up a synonym to avoid confusion!
Mike, Thanks. It’s Latin’s fault, again. My own post got me curious as well, and I looked up words that can have opposite meanings. They are officially called contranyms, contronyms, antagonyms, or autoantonyms. I’ll take the first.
One site listed 20, another 30, yet another a whopping 75!
We live and learn. I like to think I learn at least one new fact every day. So contronym is my choice for today.
Hi Dirk, Many thanks for sharing the EU perspective on this fraught topic. I have taken street photos in several EU countries and included them in Macfilos articles. This use of them clearly sits in that broad grey zone. I do not see a book in my future, but if I did, I think I would definitely stick to inanimate objects! All the best, Keith
Regarding step 2, my preference is to set both the aperture and shutter speed manually, and leave Auto ISO to do what it will. So quick to do on the Q series. The reasoning being that a too-high ISO is more forgiving and correctable than a too-slow shutter speed.
Hi Keith – agree fully that high ISO shots are preferable to blurry shots. That’s a great suggestion – which I could easily implement on all the cameras I have been using when taking street photos. I will try it out today! All the best, Keith
Martin – no, that example you gave isn’t a commercial usage. I’m in the UK and although my comments relate to there, the same principles broadly apply to many other countries. However wherever someone is, I would strongly recommend they checked the law where they are shooting and to consider cultural sensitivities and their only ethics; just because something is legal doesn’t mean you should do it.
If I take a picture of someone in a public place and they are identifiable, I have a wide latitude how how I can publish it – for example, putting it on social media, using it for artistic expression such as exhibiting in a gallery or using it for editorial purposes. Editorial use means that it could be used to illustrate a story or article – and this article is a great example of that. Editorial use includes online media newspapers and magazines. Wherever Keith got paid or not for their use in in this context will always be editorial. If I pay to access the article or the publisher is using an ad-supported model (or both), it doesn’t matter.
When the photo is used for commercial purposes essentially it’s classed as being used to advertise/promote a product or service or some sort of enterprise (so could include a charity or some public health awareness campaign) by a third-party. If, for sake of argument I have a dog treat company (Tim’s Terrier Treats – They’re Terrier-ific) and Keith allows me to use the photos in an advertising campaign, this usage is commercial regardless how much (if at all) I pay him.
Although people were often say you need a model release form to license an image of an identifiable person for commercial purposes, technically this is not the case – but you will have a job getting anyone to use an image for those purposes without a release or similar contract. If someone uses that image for commercial purposes, if there are any legal repercussions, the onus is on them to deal with those. Consequently, if someone is licensing an image to advertisers or a stock image company etc., it’s standard practice that a release is needed for it to be used.
However, a model release form isn’t necessarily a panacea for all legal issues, but that’s another story…
Thanks, Mike. It seems I opened a bigger can of worms than I intended. I do occasionally photograph strangers on the street, but usually if they are looking directly at me, I ask permission. I just feel more comfortable that way. I am speaking of instances where the person is obviously the subject – not instances where it is a general scene that happens to have people in it.
Many thanks Tim for your extremely helpful comment. You have cleared up much of the confusion about publishing rights. It sounds as if you have a lot of experience in this area. Would it be OK if I contact you directly, provided you and Editor Mike are willing to pass along contact information? Thanks again and all the best, Keith
I’ve been shooting this way for 50 years M3 to M10R…..
never a problem not asking permission..
steal the shot…then chat if necessary…
Hi Skip, many thanks for your comment. It’s reassuring to know that there is at least one other Macfilos reader who is comfortable with ‘shot snatching’. Cheers, Keith
Until last year I worked at the Aberdeen Press and Journal, one job none of the photographers enjoyed was getting photos of people leaving who were to appear in the paper the next day having been convicted. It really was a wretched assignment which we would have to take turns in doing about once a week.
On one occasion I get the message to take a shot of a particular woman as she left court. As I took the photo she screamed at me not to and the I had to delete the photos. As usual when this happened I walked back into the foyer of the court and usually the person would leave it at that and go off in a huff, a string of swear words being all the followed me. On this occasion the woman decided to stay with the swear words and came in behind me.
There was a lot of verbal abuse, so I carried on further into the foyer as security kept the woman out. Even when I was out of sight she persisted swearing and insisting that I had no right to take her photo and that the pictures be deleted. Security eventually got fed up and called the duty police officer from inside the court while the clerk to the court politely asked if I would leave via a private exit so as to not to have to be in her view again. The police officer quickly arrived and explained to the woman that I had every right to take her photo as she was in a public place when I took it. she did eventually leave.
My point being that on this occasion a police officer was needed to actually enforce my right to take a photo of a person in a public place. Not something you can always rely on of course and the officers main concern I am sure was not enforcing my right but getting the situation back under control.
Hi Paul, that’s quite a story! As I have read around this subject, I have indeed come across similar stories, where someone becomes irate because they have been photographed without having given their permission. Your example is one of the more extreme, but at least there were no blows involved. As other people have commented, and as I will touch on in my next article, there is an ethical and well as legal dimension to street photography. Most of us draw the line at photographing vulnerable people. Although you were clearly doing your job, this person might have considered themselves in a vulnerable position – leaving a court having just been convicted of a crime. Her embarrassment must have been overwhelming. Very extreme reaction though. Thanks again for sharing your salutary tale. All the best, Keith
Keith, thanks for this article.
I learned the knack of zone focus over 50 years ago, with my Rollei 35. Because, well, that’s the only way one can focus with that camera.
I am still conflicted about photographing strangers, surreptitiously or not. I have always understood it is legal to photograph someone in a public place. Photographing is one thing, publishing is another. Perhaps you will address the subject of model releases in a future article? Asking for permission to photograph is one thing, asking to sign a release is another.
You do not need a model release unless the image is commercially used such as in advertising.
So publishing on a “blog”, with ads on the sidebar, is not commercial? Just asking.
Hi Martin, not sure about blog sites with ads, but since there are no ads on Macfilos (just articles) we are not a ‘commercial’ operation.
Curious about this ‘ad’ issue. MACFIILOS does head it’s sidebar with ‘Leica Q3 half-case by Arte di Mano’, and further down, there’s a Red Dor Cameras link.
Do these not qualify as ads because they’re informational, and the sire derives no income from them?
Personally I’d put ‘donate’ closer to the top, but that’s probably why I’m not running the site 🙂 🙂
Indeed, no money changes hands. We still run at a loss despite the generous contributions from readers. The Red Dot panel is free mention agreed ten years ago. In return we get a mention in the Leica pocket book.
Hi Martin, I will be considering the ‘rights and wrongs’ of candid street photography in a forthcoming article. Unfortunately, I will not specifically address the issue of gaining the subject’s permission to publish their image. I am hoping that among our readership are folk knowledgeable in the legal aspects of publishing. Brian’s comment suggests that he is familiar with this issue. Cheers, Keith
I think that in Italy, going by my own experience, a person does NOT have the right to photograph another person ..even in a public place.. unless the person being photographed gives their permission.
You make a good point: The law may be different in other counties.
In any case, even if by common law one can photograph someone in a public place, they can claim harassment or stalking, if of a mind to. Not to throw cold water on Keith’s plan, but I have multiple reasons why I am somewhat reticent.
David – that’s not the case. The laws in Italy are very similar to the UK; France and Germany have more stringent right to privacy.
As I said, “going by my own experience” I’ve found that some – not all – people in Italy can get quite stroppy about having their photo taken even in a public space.
(The website ‘Quora’ gives the info, though I can’t vouch for its accuracy, specifically about Italy “..If a person is in a public setting, he or she can’t expect privacy, so you are allowed to photograph them. You are allowed to photograph a group of people in a public setting, but you are not allowed to single out anyone without their consent.”)
From my own experience, when returning a hired car at Bari airport – and unable to find the correct car parking area – I showed the hire clerk where I had parked the car, and took a photo of him as I handed him the keys, to prove that I had returned the car to the Avis representative. He took enormous exception to having his photo taken without his consent, and told me (he was Italian) that in Italy it is illegal to take a photo of any person without their consent.
Your own experience – or understanding or interpretation of the law there – may, of course, differ.
Correction: I’ve just checked that photo (taken 3rd October 2017) and the car hire clerk in question was wearing a ‘Europcar’ badge, not Avis. (But don’t tell him that I still have the photo, or he’ll get very, VERY upset!)
I just spent two weeks in italy and took 6000 pictures, most of them of strangers. The only person who objected was an English lady.
Thanks Keith,
I think you nailed what I would call the “offsets” – the things you can do to offset high ISO and shallow depth of field, higher shutter speed. And I have to say after dismissing the foldout screen on the Q3, I now find myself using it for street where it is very helpful.
But you still have to nail composition which you do really well in the shots you shared here. Kudos!
Hi Jon, many thanks! I am not surprised that you are finding that tilting screen on your Q3 helpful. I love the articulating screen on my S5. It’s still not enough to tempt me to upgrade from the Q2, but I am very tempted by the SL3. All the best, Keith
Thank you, Kieth you have confirmed my choice in your “ line of attack” -Sorry the way you take and camera settings
I am not a post-processor so cannot comment further although “armed” with your useful info I might try out…
Hi Mike, thank you. I think the availability of these machine-learning based image enhancement tools further makes the case for shooting in RAW rather than JPEG, and doing some post-processing. I would certainly not consider myself a Lightroom expert, but having had some practice, I do find it pretty easy to use now. All the best, Keith
Thanks, Keith and Cdlinz
Just had a look through my Library- Most of my street shots have been taken in Italy!!
Mind you a lot appear to be (American?) tourists 😉